Manage automated marketing campaigns
View campaign statuses and manage automated marketing activities.
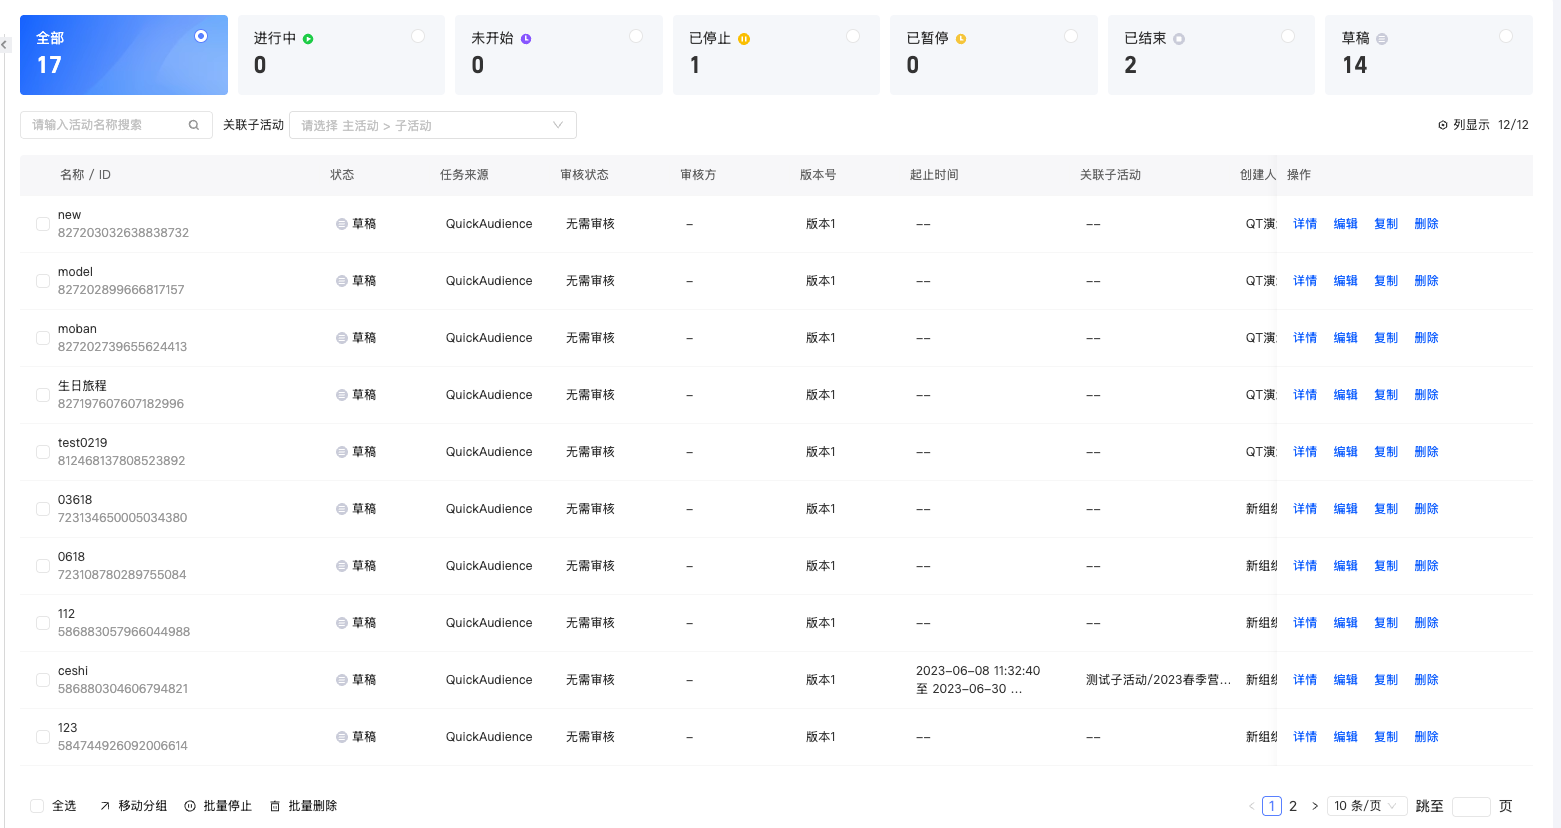
Choose Workspace> Automated Marketing to open the page shown below.
-
The left side of the page shows the activity directory, which consists of Ungrouped and other custom groups. By default, all activities in all groups are displayed.
-
The top of the page shows the total number of activities and the count for each status.
Click a status to filter the activity list to that status.
The status is divided into:
-
In progress: After an activity is published, it starts immediately if no start time is set or the start time has been reached. A stopped activity that is manually restarted also changes to In progress. For periodic activities, the interval between cycles is also considered In progress.
-
Not Started: After the activity is published, if the configured start time has not been reached, the activity remains in the Not Started status.
-
Stopped: The activity has been manually stopped.
-
Finished: The activity has completed or reached the preset stop time. Users already in the flow will finish their execution, but no new users will enter the flow.
This includes normal and abnormal termination:
-
Normal End: All components executed successfully. The activity is displayed as Completed in the activity list.
-
Abnormal end: If a component fails to execute in either a one-time or recurring activity, the activity is displayed as Abnormally Ended in the activity list.
-
-
Draft: The activity has not been published.
-
-
The bottom of the page lists all activities with their basic information.
You can search by activity name and press Enter. You can also filter by associated sub-activities. If a status filter is active at the top of the list, the search and sub-activity filters apply only to activities in that status.
Click Show Columns in the upper-right corner to customize which columns are displayed, as shown below.

Edit Activity
For any campaign, click Edit to open the canvas and modify the campaign configuration. The configuration method is the same as creating a new campaign. For more information, see Create an automated campaign.
For an activity in the In-progress, Stopped, Ended, or Abnormally Ended state, saving or publishing after editing generates a new version. For an activity in the Draft or Not Started state, edits are saved to the current version.
Version management
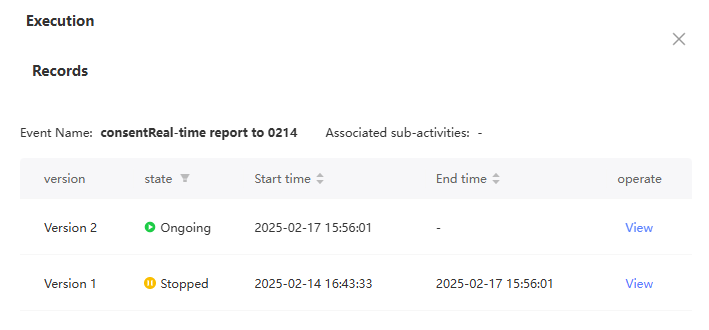
For any activity, click Details to open the canvas page. The current configuration version is displayed at the top. Click the version number to view all historical versions in a drop-down list.
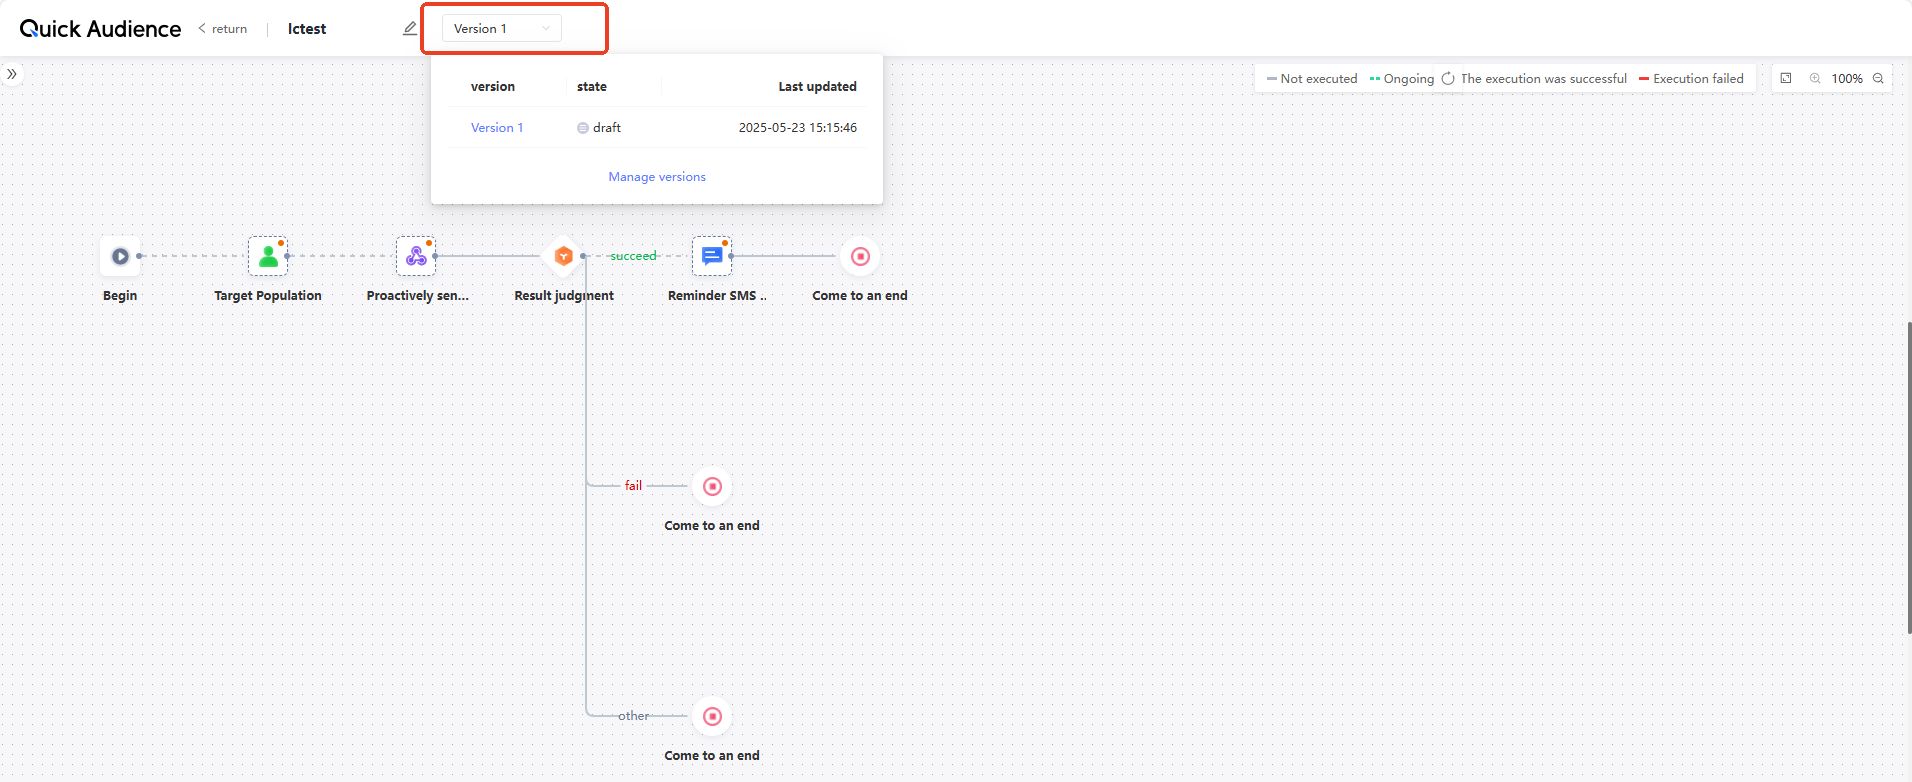
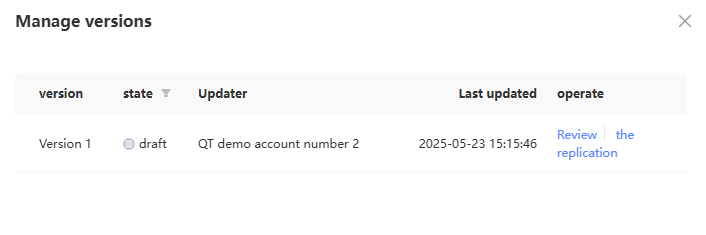
Click Manage Versions to open the version management panel on the right side of the page, as shown below. You can view, copy, stop, and start a specific version.
Copy Activity
For any activity, click Copy to open the canvas with a duplicate. The new activity is named "Original Activity Name-Copy" and retains the original configuration. Modify the campaign as needed. For more information, see Create an automated campaign.
If you copy a template-based activity, the copy is detached from the template and can be edited like a normal activity.
Stop /restart activity
Stop
For an activity in the In progress or Not started state, click Stop to stop it. The status changes to Stopped.
You can select multiple activities from the list and click Batch Stop below the list.
Restarting
For a stopped activity, click Start. If the activity is still within the configured time range and the execution count has not been reached, the activity restarts and the status changes to In progress.
-
Under the current cloud resource configuration, a maximum of 100 activities can be in progress simultaneously in the same workspace. If this limit is reached, starting a new activity fails. You must wait for an ongoing activity to end or manually stop one before starting a new activity.
-
After restarting, the activity does not resume the interrupted flow. Instead, it starts from the first component and generates a new execution record.
View activity execution
View the execution record list
A new execution record is generated each time an activity starts.
For an activity in the In-progress, Stopped, Ended, or Abnormally Ended state, or one that has been executed and then saved as a draft, click Execution Records. The Execution Records panel appears on the right side with all execution records.
Multiple execution records may exist in the following situations:
-
Periodic activities.
-
Stop the activity before it starts.
-
An activity that has been executed, then edited and republished, runs with the new configuration.
You can filter execution records by status:
-
In progress: The activity is currently executing.
-
Completed: The activity completed without any component failures.
-
Abnormal End: At least one component in the activity failed to execute.
-
Stopped: The activity is manually stopped.
You can perform the following operations on execution records:
-
View: Click View to open the canvas and view the activity configuration and execution details. For more information, see View execution details.
-
Stop: Click Stop in the Actions column to stop the activity. The status changes to Stopped.
For periodic activities, stopping one execution does not affect the execution of the next cycle.
-
Re-execute: If an activity that uses a specified target group fails to obtain crowd data, the activity ends abnormally. You can click Re-run to retry. If no round is currently in progress, the re-execution starts immediately; otherwise, it starts after the current round ends. Re-execution is not limited by the activity start and end time and does not count against the recurrence limit.
View execution details
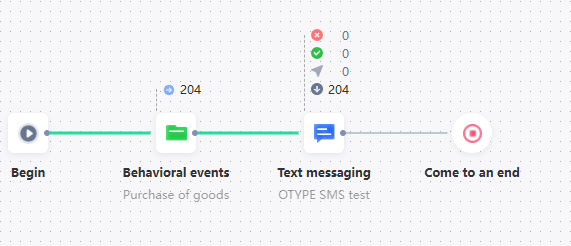
For an activity with execution records, click Details to open the canvas page shown below. This page displays the latest flow configuration version and the latest execution status. 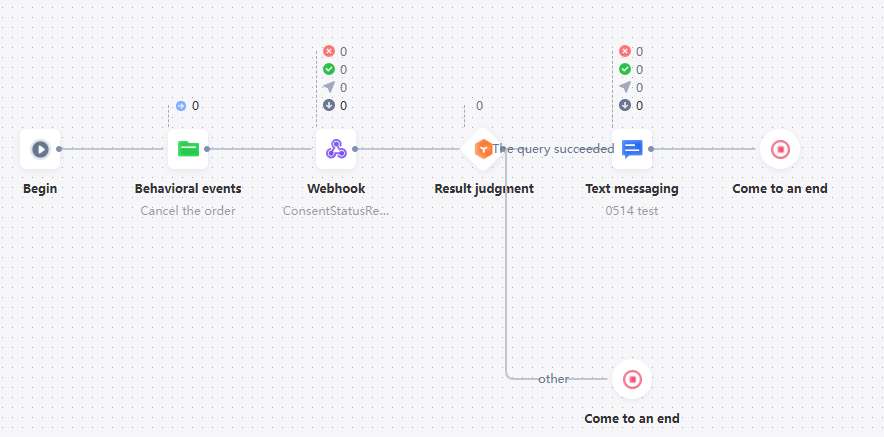
-
If the activity is in the Draft, In progress, or Not started state with no execution records, only the flow configuration is displayed without execution status.
-
If you open the page from Version Management or View in the execution record list, the page displays the flow configuration and execution status for that specific version and round.
-
Click a component to display its configuration panel on the right.
-
Execution data is displayed at the top of each component.
The execution data varies by component type:
Component Type
Execution Data Type
Display form
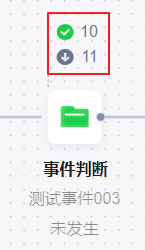
Target Population, Behavior Event, Wait To, Randomization, Label Determination, Result Determination, Generated Population, and Tagging
Number of people entering the component

In order:
-
The number of people who meet the judgment conditions to flow out of the component
-
Number of people entering the component
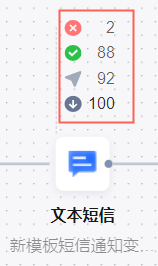
Text messages, digital messages, emails, WeChat messages, template messages, APP PUSH, Webhook, and push Kafka
In order:
-
Number of failed sends
-
Number of successful sending
-
Actual Number of Sent
-
Number of people entering the component
Target node of the AB test
In order:
-
Winning Group
-
Total number of target achieved for all groups
-
Total number of inflows for all groups
-
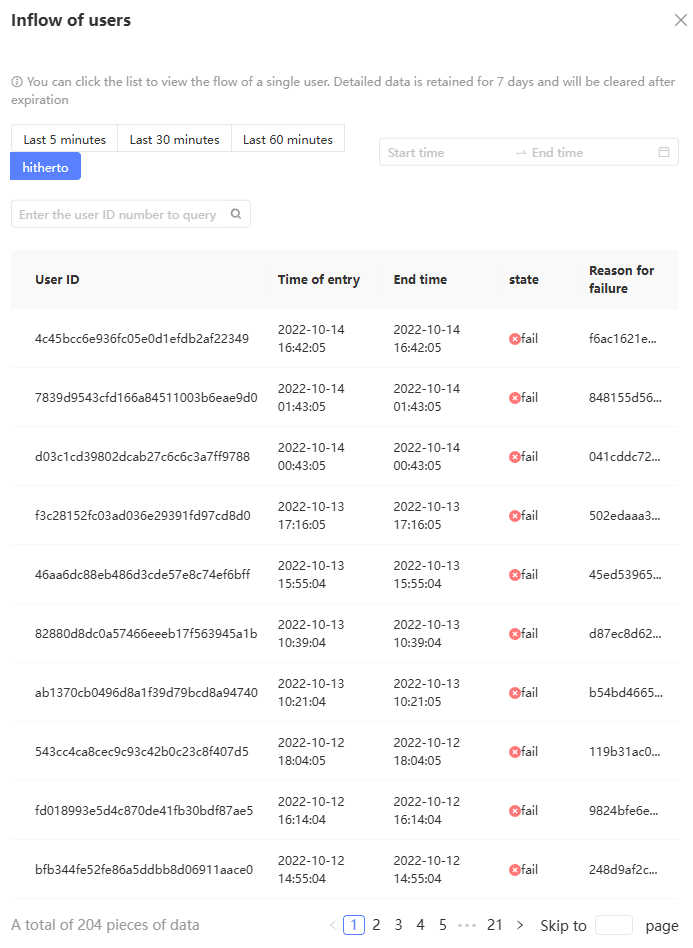
Click the Target Group or Behavior Event component in the Execution Data section to go to the Incoming Users panel. The details of the users who flow in are displayed, as shown in the following figure.
-
Click Last 5 Minutes or To Date to filter users by time period.
The Success status indicates that the user completed the flow. A failure status means the user encountered an exception, and the failure cause is displayed.
-
Click a user row to highlight that user's route through the flow with a green line on the canvas, as shown below.
-
-
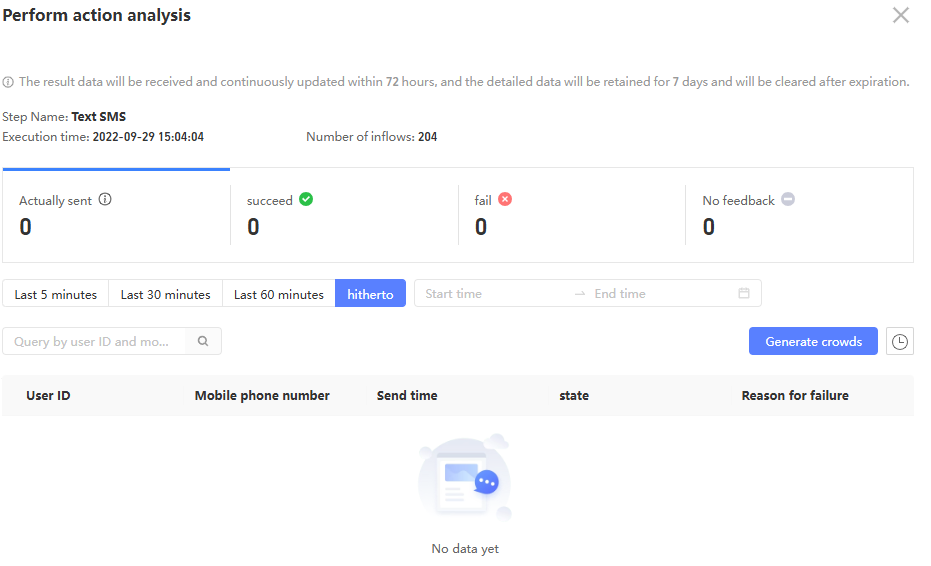
Click the execution data area of any component other than the target group and behavior event to open the execution action analysis panel with detailed execution information.
Note-
The execution action analysis metrics vary by component. The metrics shown on the page reflect the actual values.
For third-party text messages, the Short Link Click metric applies only to third-party text messages, not to Alibaba Cloud text messages. See the following figure for details.
-
The action analysis panel of an AB test component displays special information. For more information, see AB test.
-
Click the labels for different execution results to filter the user details displayed below.
-
Click Last 5 Minutes or To Date to filter users by send time period.
-
User details are displayed at the bottom and are retained for 7 days only. They cannot be viewed after expiration.
The user ID is the QAID of the user. You can query the user by using the QAID and the ID related to the marketing type.
-
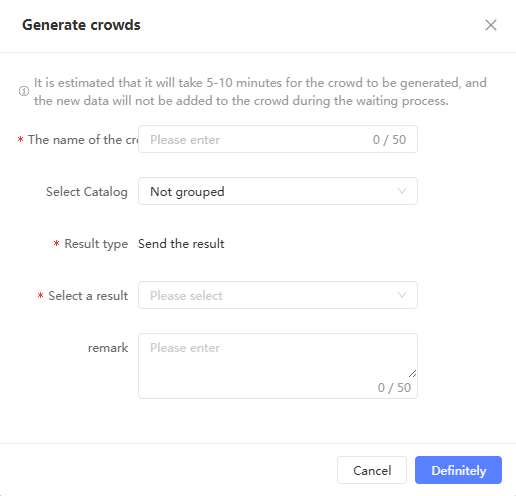
For text messages, digital messages, emails, WeChat messages, template messages, APP PUSH, coupons, shopping guide tasks, webhooks, you can click Generate Crowd in the preceding figure to save the users whose sending is successful, failed, or other receipt results as a crowd, as shown in the following figure. Click the
icon on the right side of Generated Crowd. The operation records of the generated crowd and whether the crowd is generated are displayed.
-
-

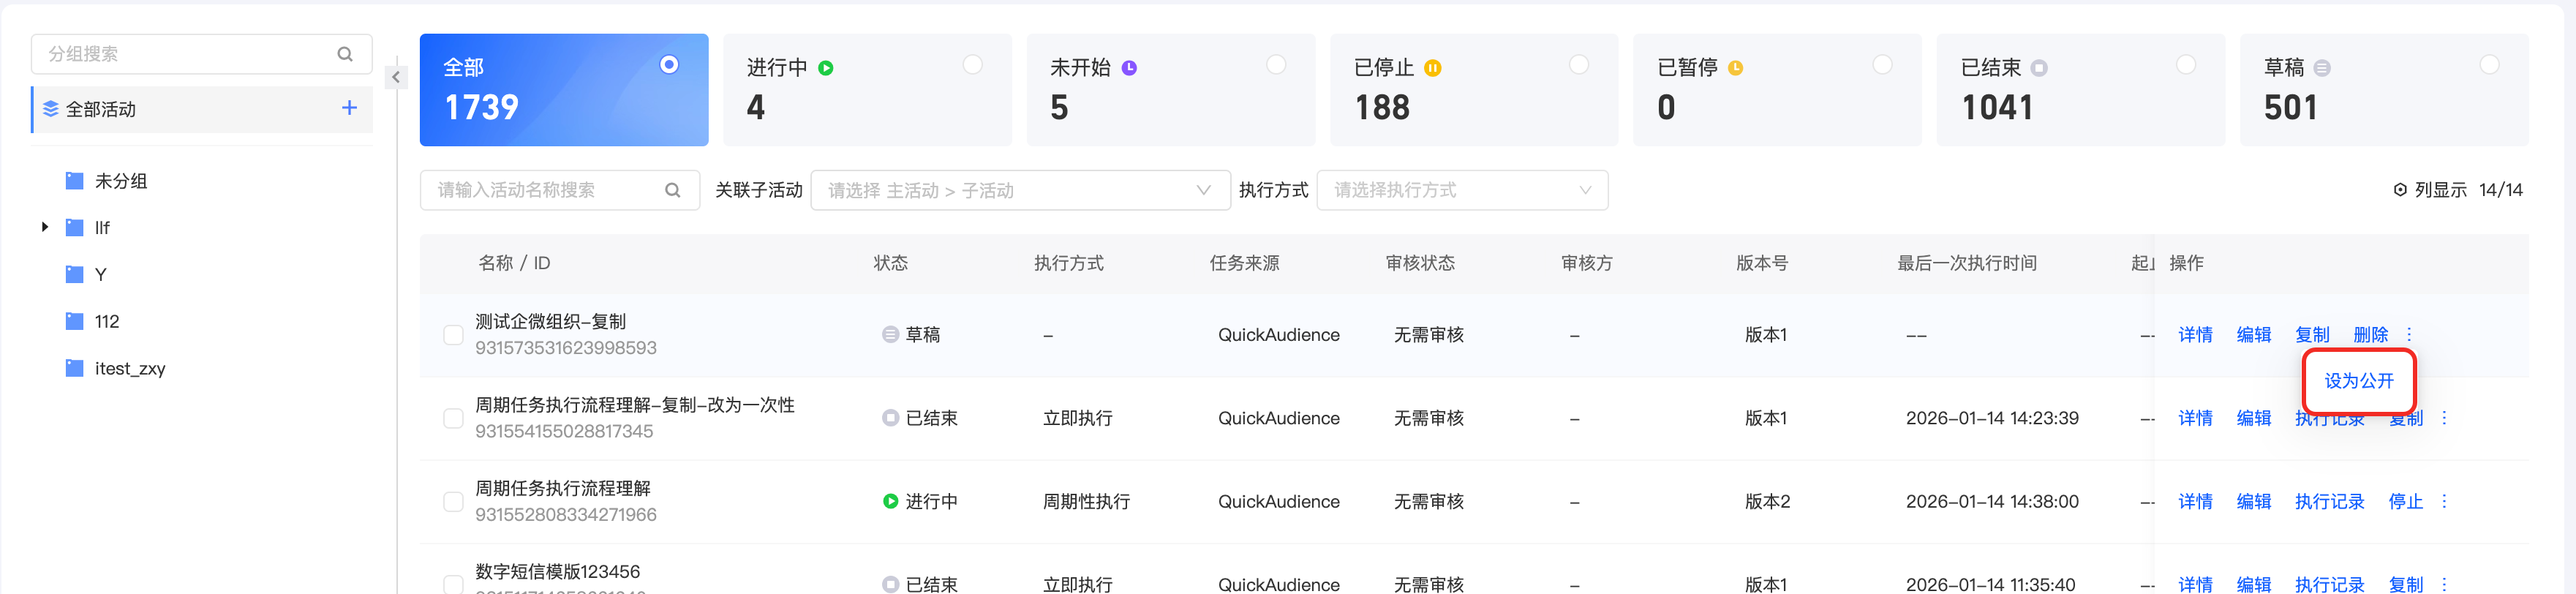
Set Public or Cancel
-
Set Public and Cancel: All activities have Set to Public and Cancel Public options. By default, new marketing activities are not public and are visible only to the creator and administrator roles. After you set an activity to public, the workspace is visible to all users. Canceling the public setting hides it again.
Mobile Groups
You can move activities to a specified group.
To move activities: Select the activities from the list and click Move below the list. In the panel that appears, select a target group and click Save.
Delete Activity
Click Delete to delete an activity that is in the Draft, Stopped, Ended, or Abnormally Ended state.
You can select multiple activities from the list and click Batch Delete below the list.
Activity Group
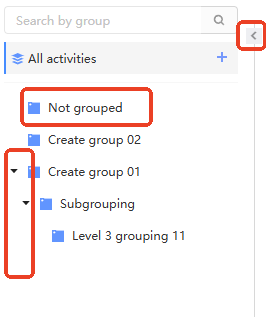
The activity groups are displayed on the left side of the page, as shown below.
-
Ungrouped activities appear under Ungrouped. You can create custom groups to organize activities by category.
-
Up to three levels of groups are supported. Click the arrow icon before a group name to expand or collapse child groups.
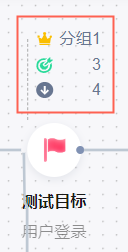
-
A dark icon
indicates that there is activity in the group, and a light icon indicates that there is no activity in the group. -
Use the search box above the group list to search for groups by name.
-
Click the arrow icon
in the upper-right corner to collapse or expand the group panel.
 indicates that there is activity in the group, and a light icon
  indicates that there is no activity in the group.
  in the upper-right corner to collapse or expand the group panel.
Add and move groups
To add groups (up to three levels), perform the following steps:
-
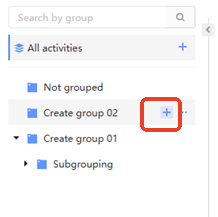
Hover over any group or all groups. The plus sign
appears as shown below. Click the plus icon. -
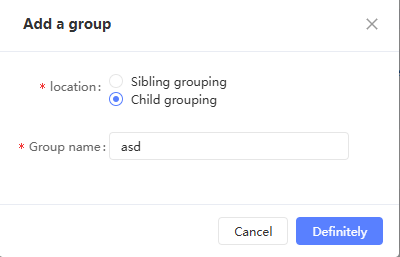
In the dialog box that appears, select whether the new group is a sibling or a child of the original group and enter a name for the new group.
In this example, a child group "Group 01" of "New sub group 02" is created.
-
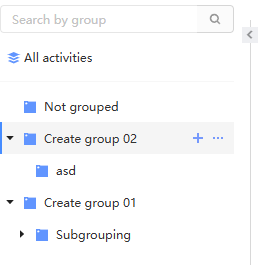
Click OK. The new group is added to the directory.
-
Drag the group to the required position to change the order and level of grouping.
 appears as shown below. Click the plus icon.
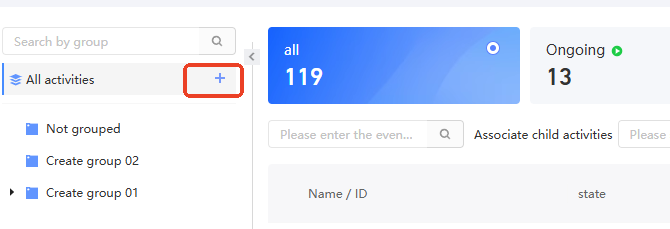
Rename a group
-
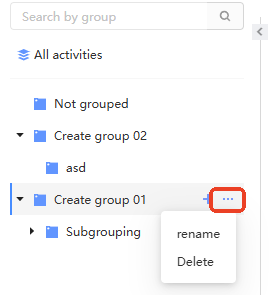
Hover over the custom group. The ellipsis icon
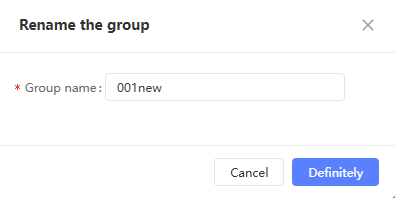
appears as shown below. Click the ellipsis icon, and then click Rename. -
In the dialog box that appears, enter a new group name and click OK.
 appears as shown below. Click the ellipsis icon, and then click Rename.
Delete a group
-
Hover over the custom group. The ellipsis icon
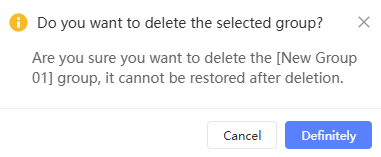
appears as shown below. Click the ellipsis icon, and then click Delete. -
If the group contains no activities or subgroups, it is deleted after you confirm, as shown below.
If the group contains activities or subgroups, a message indicates that it cannot be deleted.