You can access the tutorial artifact, including the deployment script (Terraform), related source code, sample data, and instruction guidance from this GitHub project.
Please refer to this link for more tutorials around Alibaba Cloud Database.
Database Deployment Tutorials Series: https://community.alibabacloud.com/series/118
This is an interesting web application to create an interactive roadmap, timeline, or milestone graph with Node.js and React. The backend data store is on MongoDB. This tutorial explains the steps of building and deploying on Alibaba Cloud ECS and MongoDB.
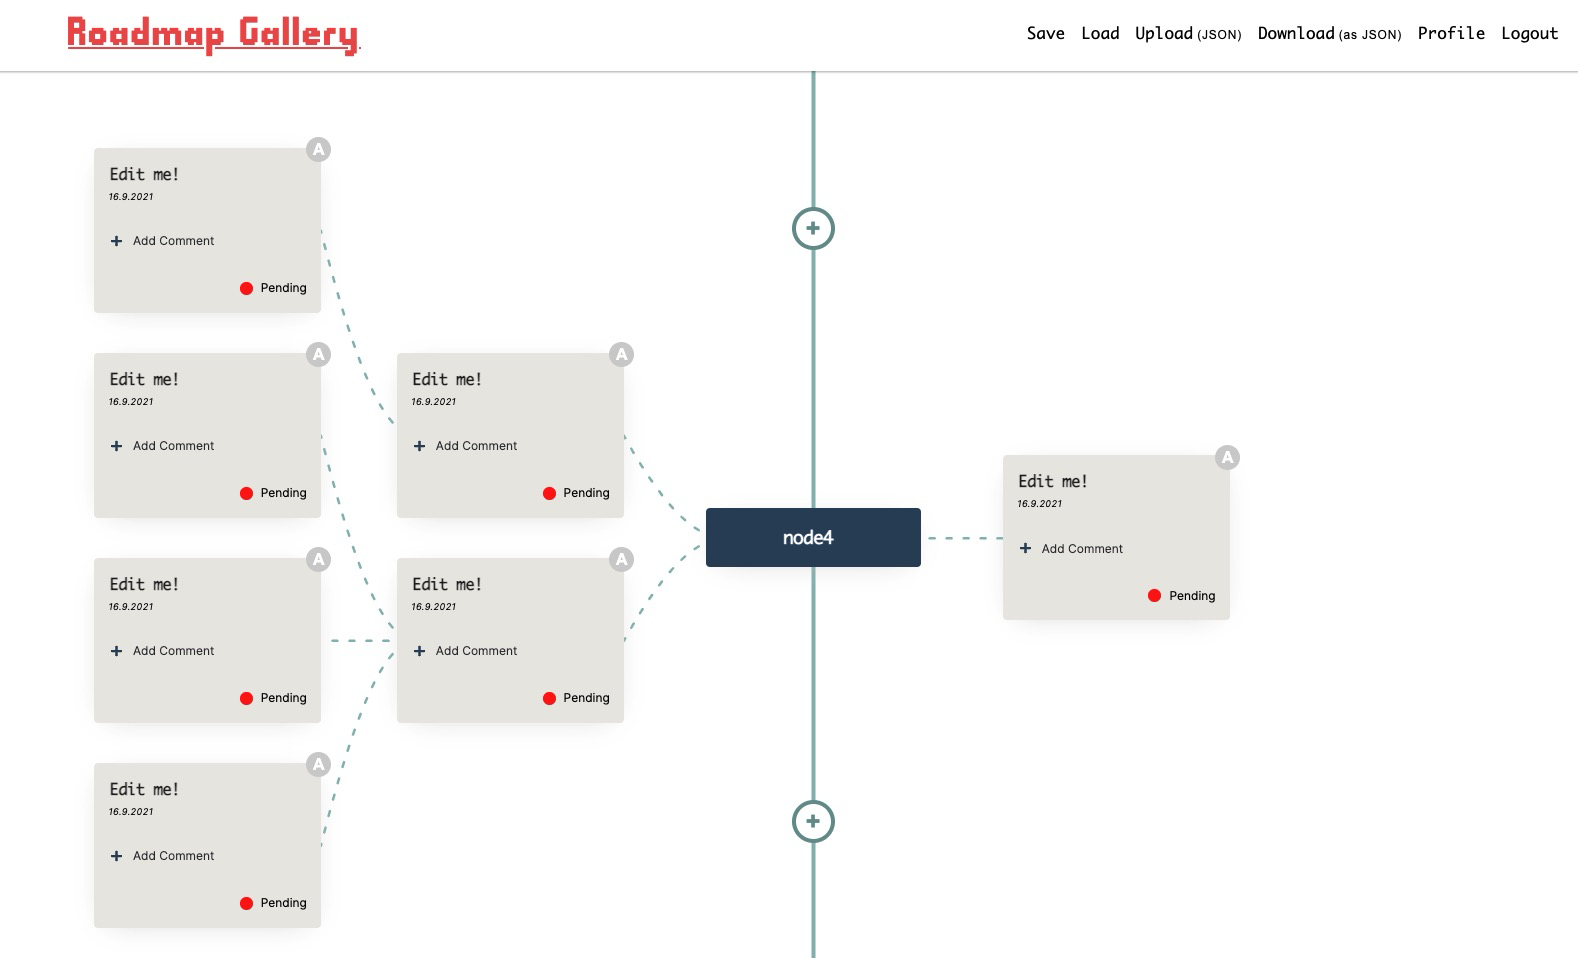
Live Demo: http://47.98.110.141/ . If you cannot open the domain URL, please make sure your VPN or network proxy is set properly.
These are the key features of this web application:
Deployment Architecture:
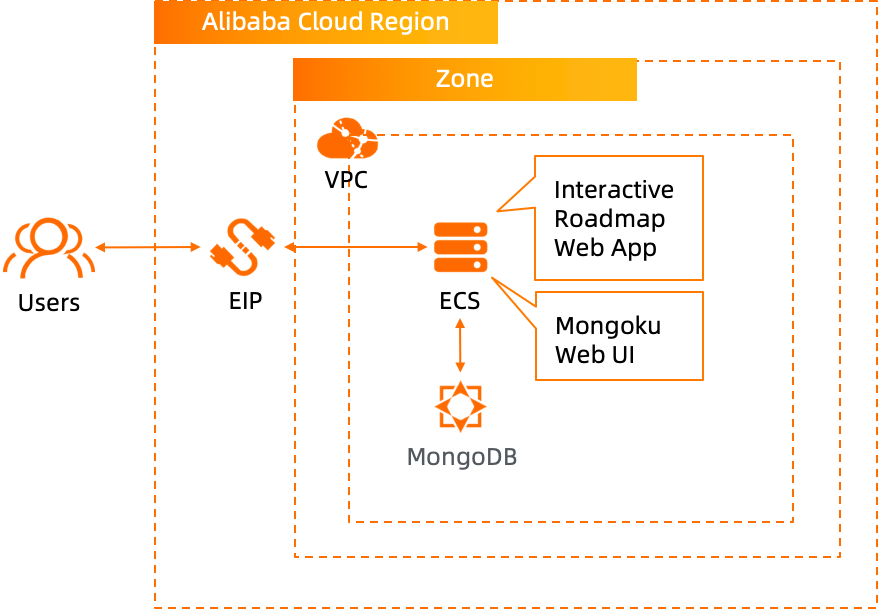
Run the Terraform script to initialize the resources. In this tutorial, we use MongoDB as the backend database, so ECS and MongoDB are included in the Terraform script. Please specify the necessary information and region to deploy it.

After the Terraform script execution finishes, the ECS instance information is listed as below:
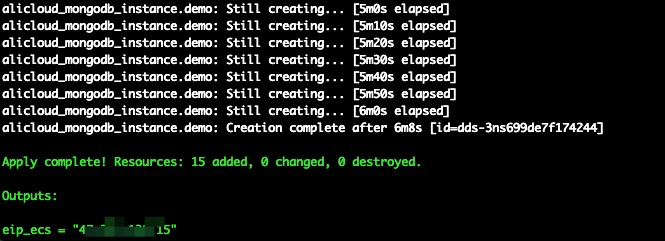
eip_ecs: The public EIP of the ECS for web app hostPlease go to the Alibaba Cloud MongoDB web console for the MongoDB instance information and the connection URI.
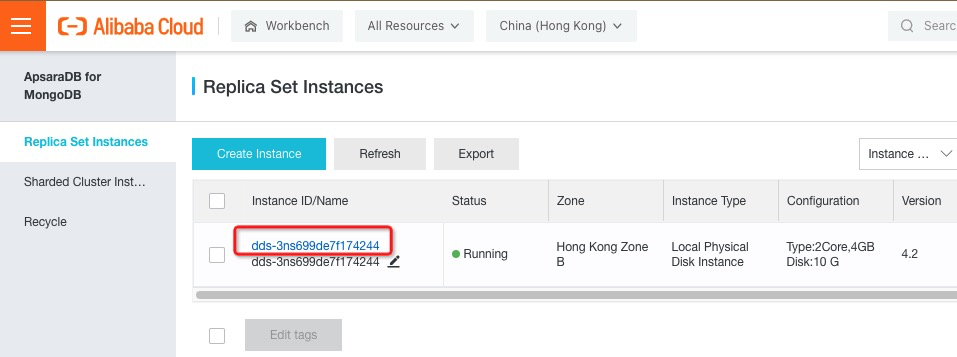
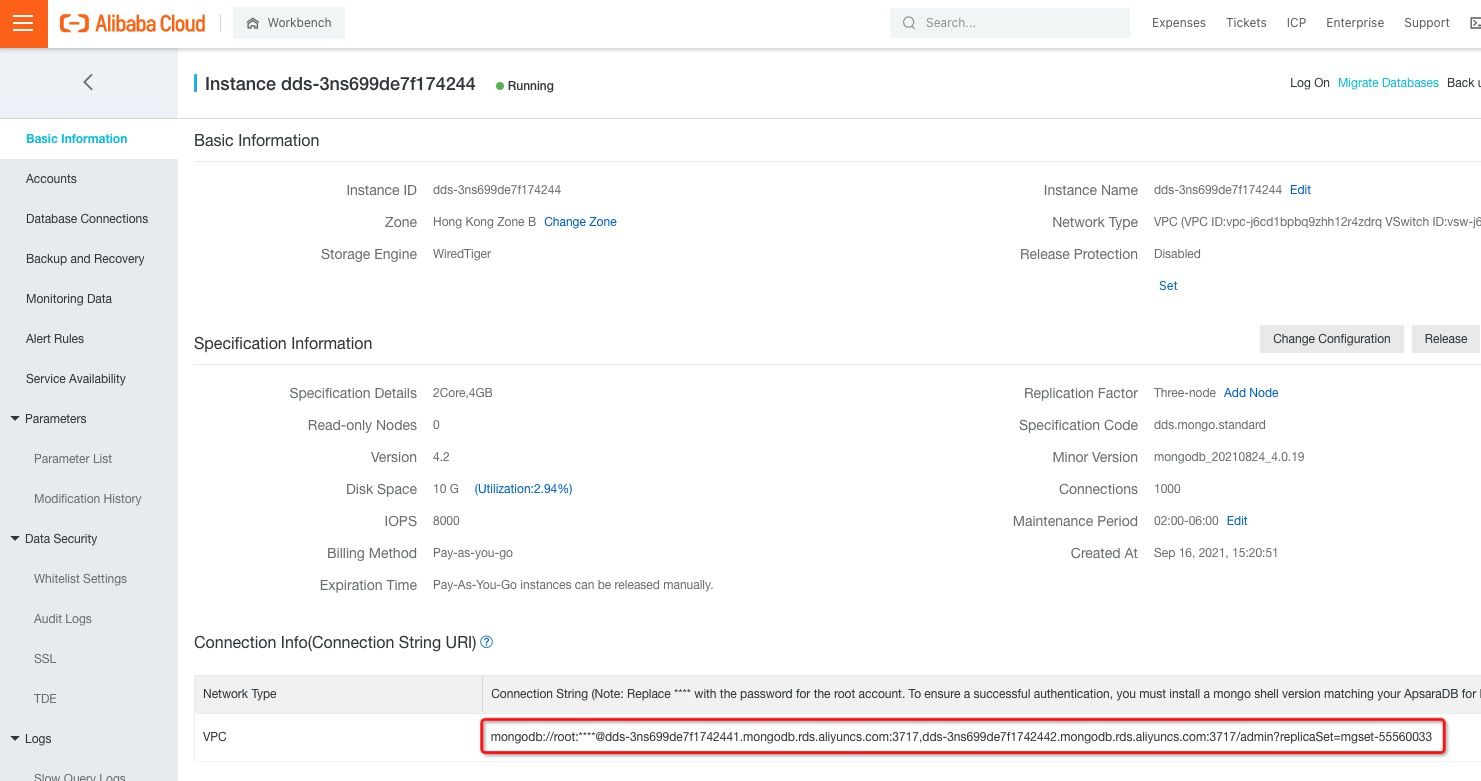
The username and password are root and N1cetest by default. They are preset in the Terraform provision script. If you've already changed it, please update it accordingly.
Please replace the string **** with N1cetest in the connection URI string, such as:
mongodb://root:N1cetest@dds-xxxx.mongodb.rds.aliyuncs.com:3717,dds-xxxx.mongodb.rds.aliyuncs.com:3717/admin?replicaSet=mgset-55560033
The MongoDB connection URI will be used later when deploying the web application.
Please log on to ECS with ECS EIP. The password is N1cetest by default, which is preset in the Terraform provision script in Step 1. If you've already changed it, please update it accordingly.
ssh root@<ECS_EIP>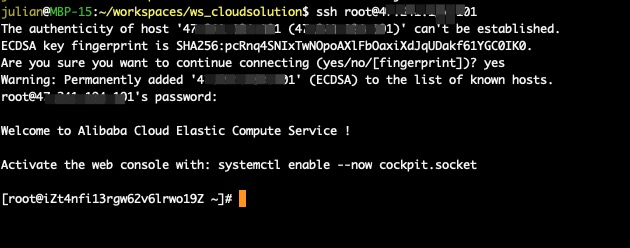
Execute the following commands to install the Git client, Node.js:
dnf install -y git
dnf install -y npmExecute the command to check the project from GitHub:
git clone https://github.com/alibabacloud-howto/solution-mongodb-labs.gitExecute the commands and edit the .env file to set up the MongoDB connection URI from Step 1. Then, save the changes to the .env file. I will use 5000 as the web app port by default. If you change it, please update it accordingly.
cd ~/solution-mongodb-labs/interactive-roadmap
vim backend/.env
Execute the following commands to build and install the backend component:
cd ~/solution-mongodb-labs/interactive-roadmap/backend
npm install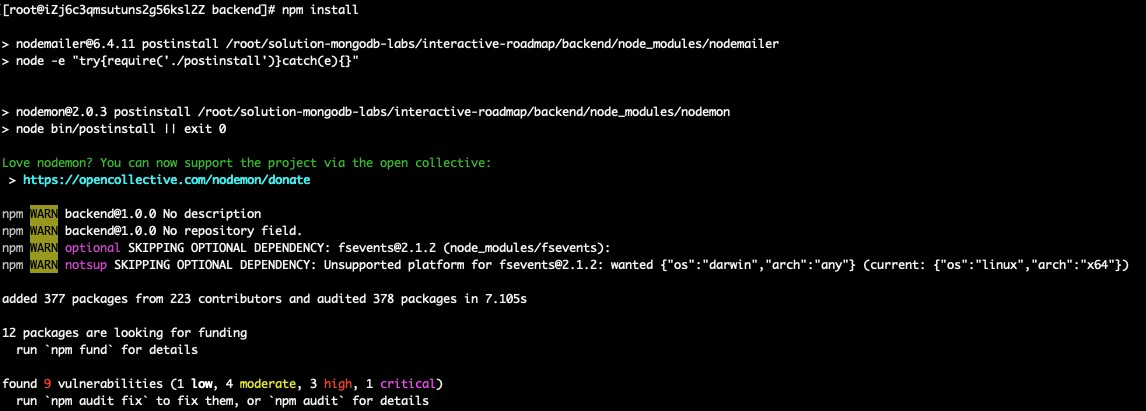
Execute the following commands to build the client component:
cd ~/solution-mongodb-labs/interactive-roadmap/client
npm install -g create-react-app
npm install --save react react-dom
npm run-script build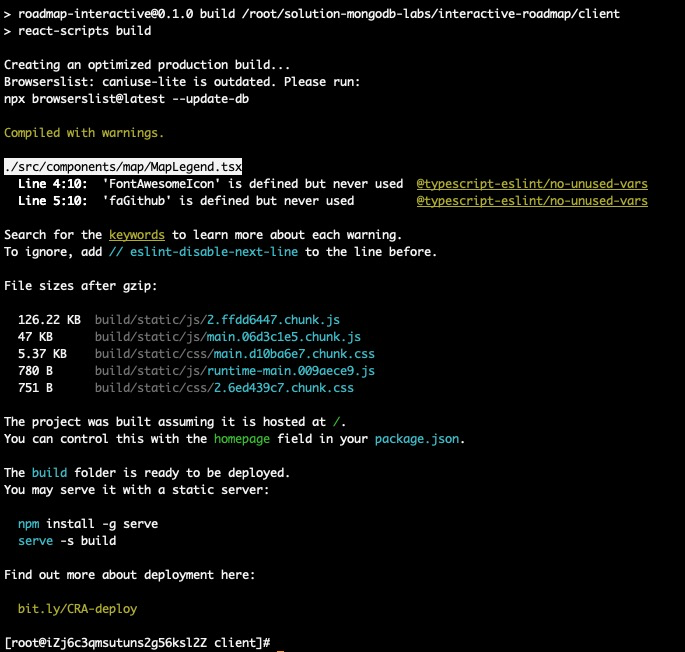
Then, the backend and client components are built successfully. Now, execute the following commands to start the web app:
cd ~/solution-mongodb-labs/interactive-roadmap/backend
npm start
Open http://<ECS_EIP>:5000/ in your web browser to visit the web app:
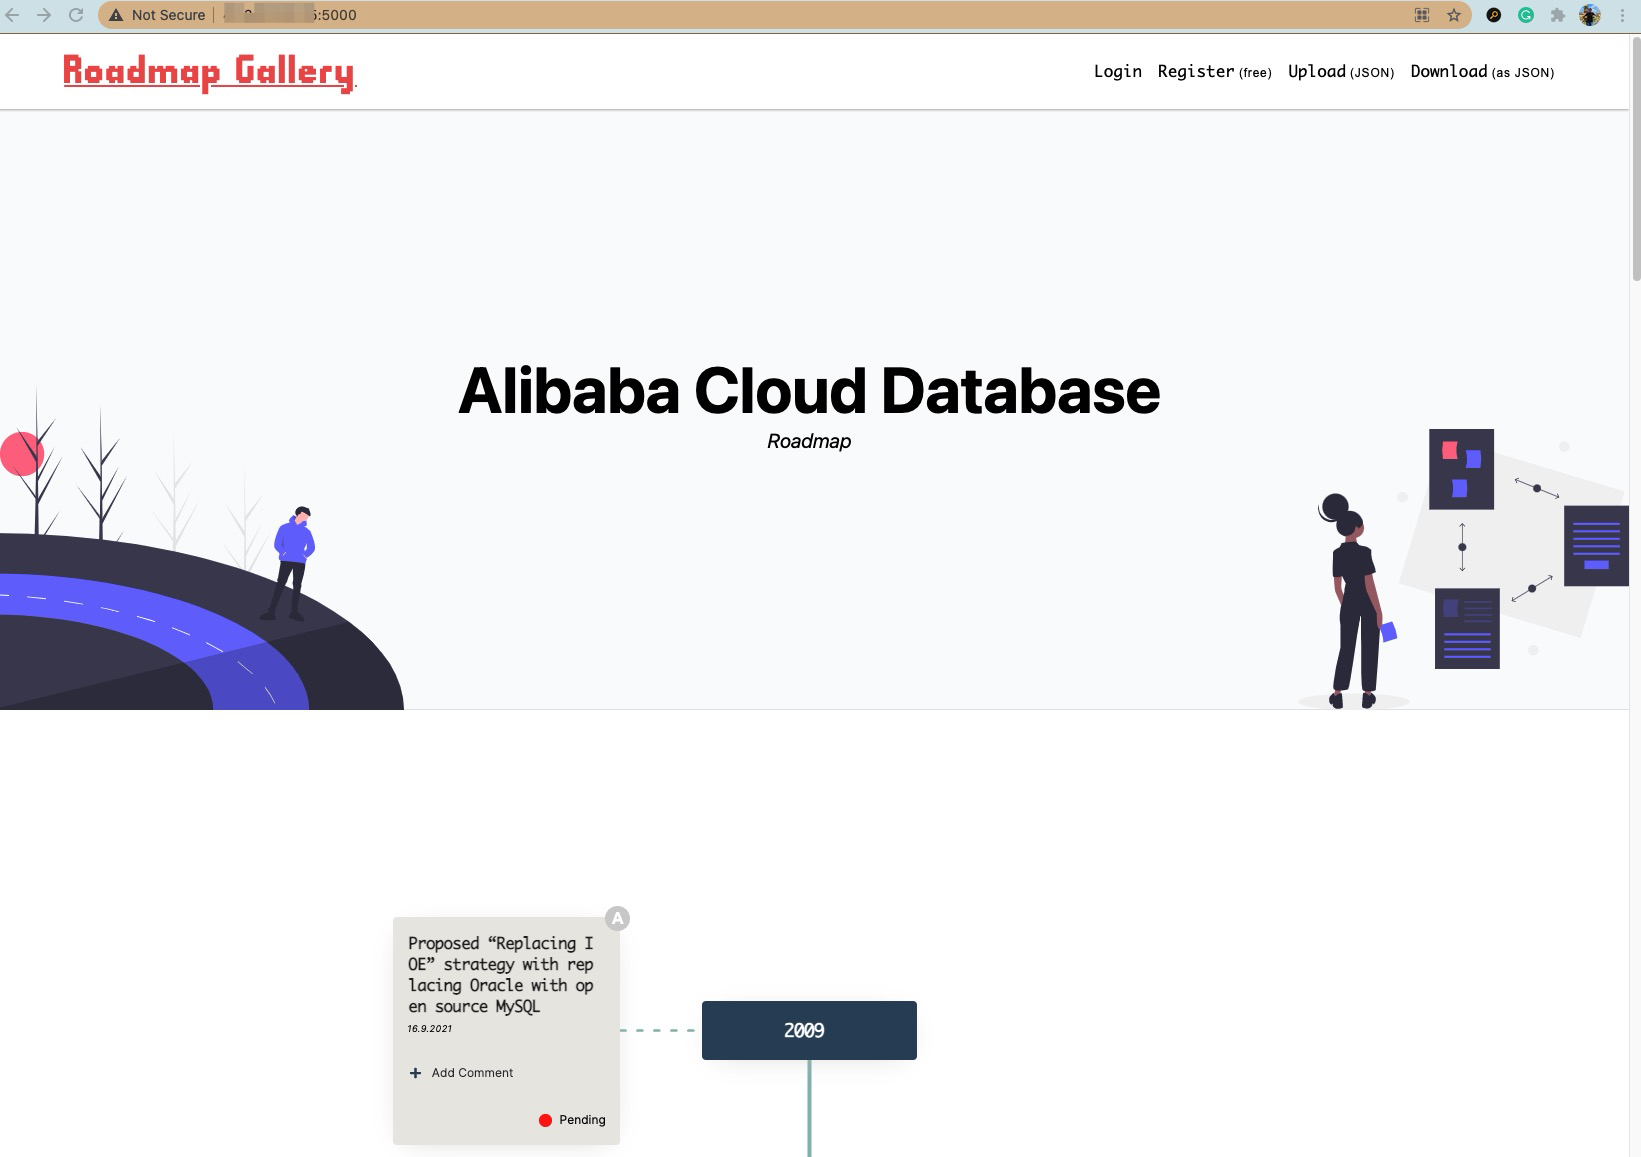
Usually, we need to run the Node.js app as a daemon process. Now, let's install pm2 to start or manage the lifecycle of the Node.js web app.
First, enter Ctrl + C to stop the web app process started by executing npm start before. Then, please execute the following commands to install pm2 and start the web app via pm2:
cd ~/solution-mongodb-labs/interactive-roadmap/backend
npm i -g pm2
pm2 start server.js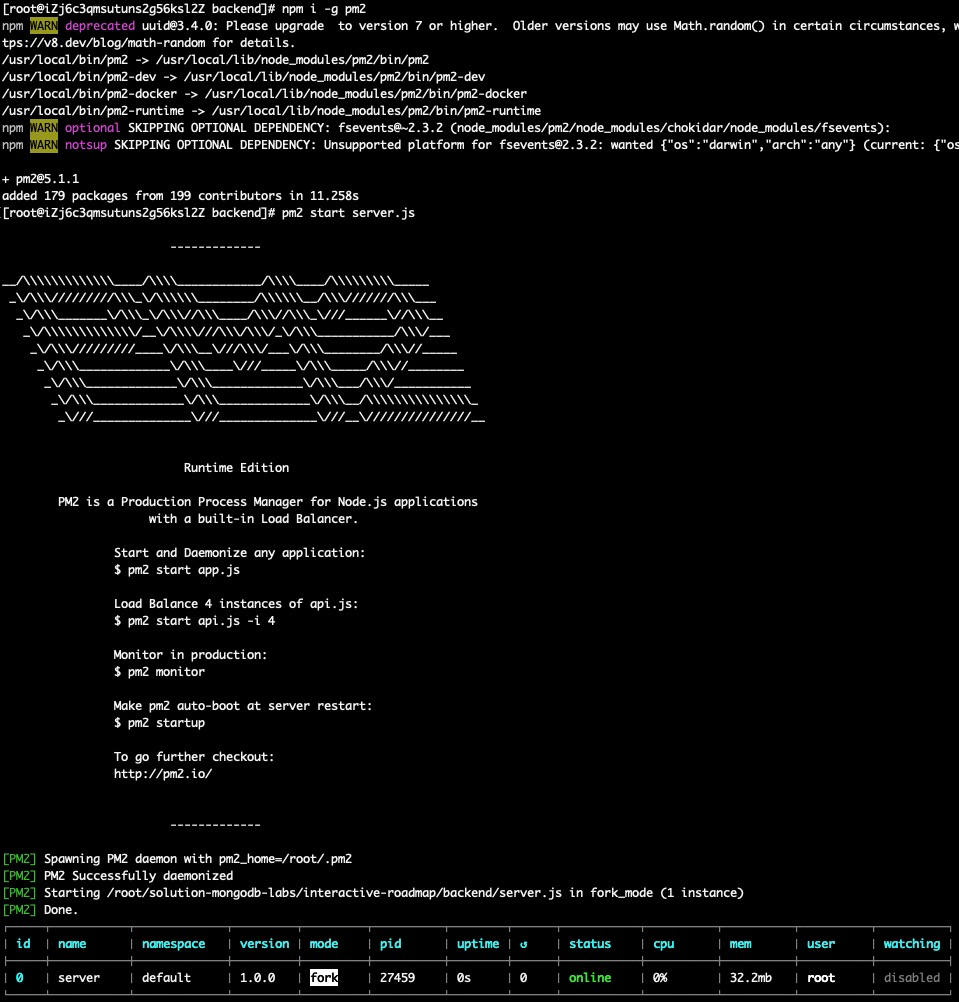
Open http://<ECS_EIP>:5000/ again in your web browser to visit the web app:
Execute the following commands to install the open-source MongoDB web admin tool Mongoku on ECS to manage data on MongoDB:
cd ~
npm install -g mongoku
mongoku start --pm2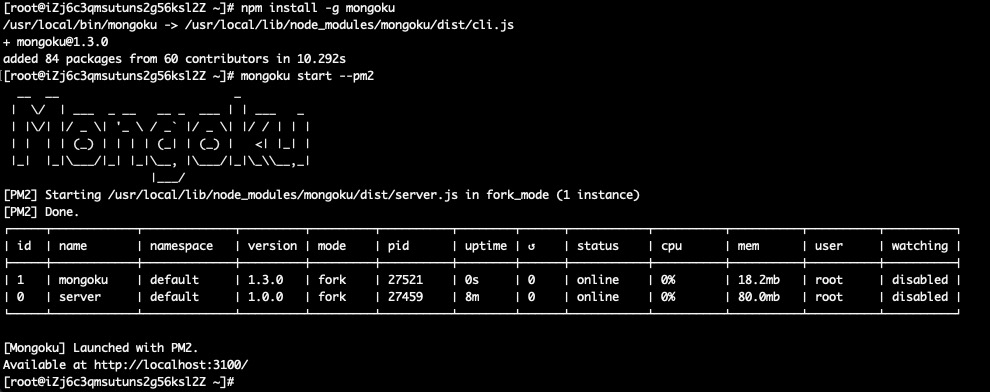
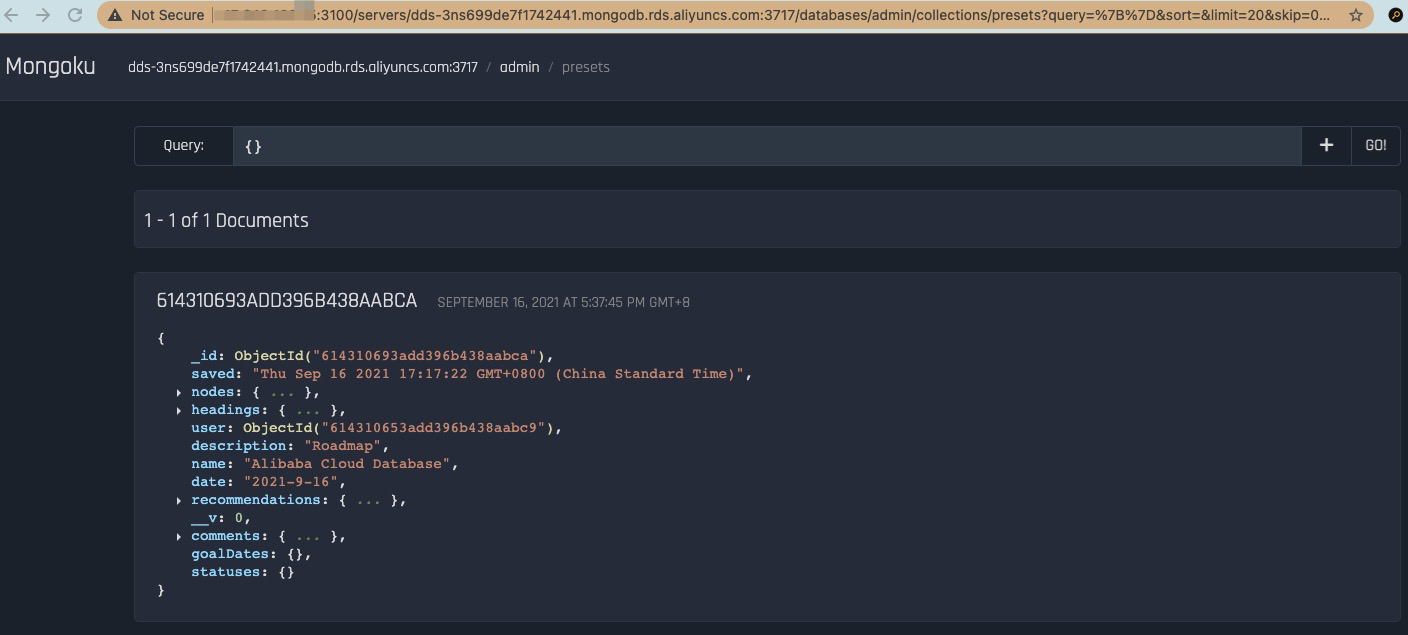
Open http://<ECS_EIP>:3100/ again in your web browser to visit the Mongoku web admin. Mongoku uses the 3100 port for web apps by default. I've already set this in the security group rule within the Terraform script.
Now, we can add the MongoDB connection URI here as the server to navigate and manage the data for this interactive roadmap web app via Mongoku. Please enjoy!


This tutorial is modified based on an app to create custom roadmap graphs to run on Alibaba Cloud. I've done some modifications and customization to make them all work on Alibaba Cloud.
Build and Run an ETL Data Pipeline and BI with Luigi and Metabase on Alibaba Cloud
Create a Social Web App with Next.js and MongoDB on Alibaba Cloud
Alibaba Clouder - December 22, 2020
Alibaba Clouder - September 2, 2019
Apache Flink Community China - December 25, 2019
Alibaba Cloud Native Community - August 4, 2023
Alibaba Cloud Community - September 22, 2022
Alibaba Clouder - September 15, 2020
 ApsaraDB for MongoDB
A secure, reliable, and elastically scalable cloud database service for automatic monitoring, backup, and recovery by time point
Learn More Web Hosting Solution
Explore Web Hosting solutions that can power your personal website or empower your online business.
Learn More Web Hosting
Explore how our Web Hosting solutions help small and medium sized companies power their websites and online businesses.
Learn More ECS(Elastic Compute Service)
Elastic and secure virtual cloud servers to cater all your cloud hosting needs.
Learn MoreMore Posts by ApsaraDB