>> Get hands-on experience with this tutorial in a lab environment.
This section is for reference. If you have already configured your resources, please skip this section and move to the next.
1. On the basic configuration page, configure the ECS basic configuration according to the following instructions. The configuration that is not mentioned remains the default option, and then click Next: Network and security group.

Note: the following configurations are used in this experiment. The configurations not mentioned remain the default options.
Configuration description:
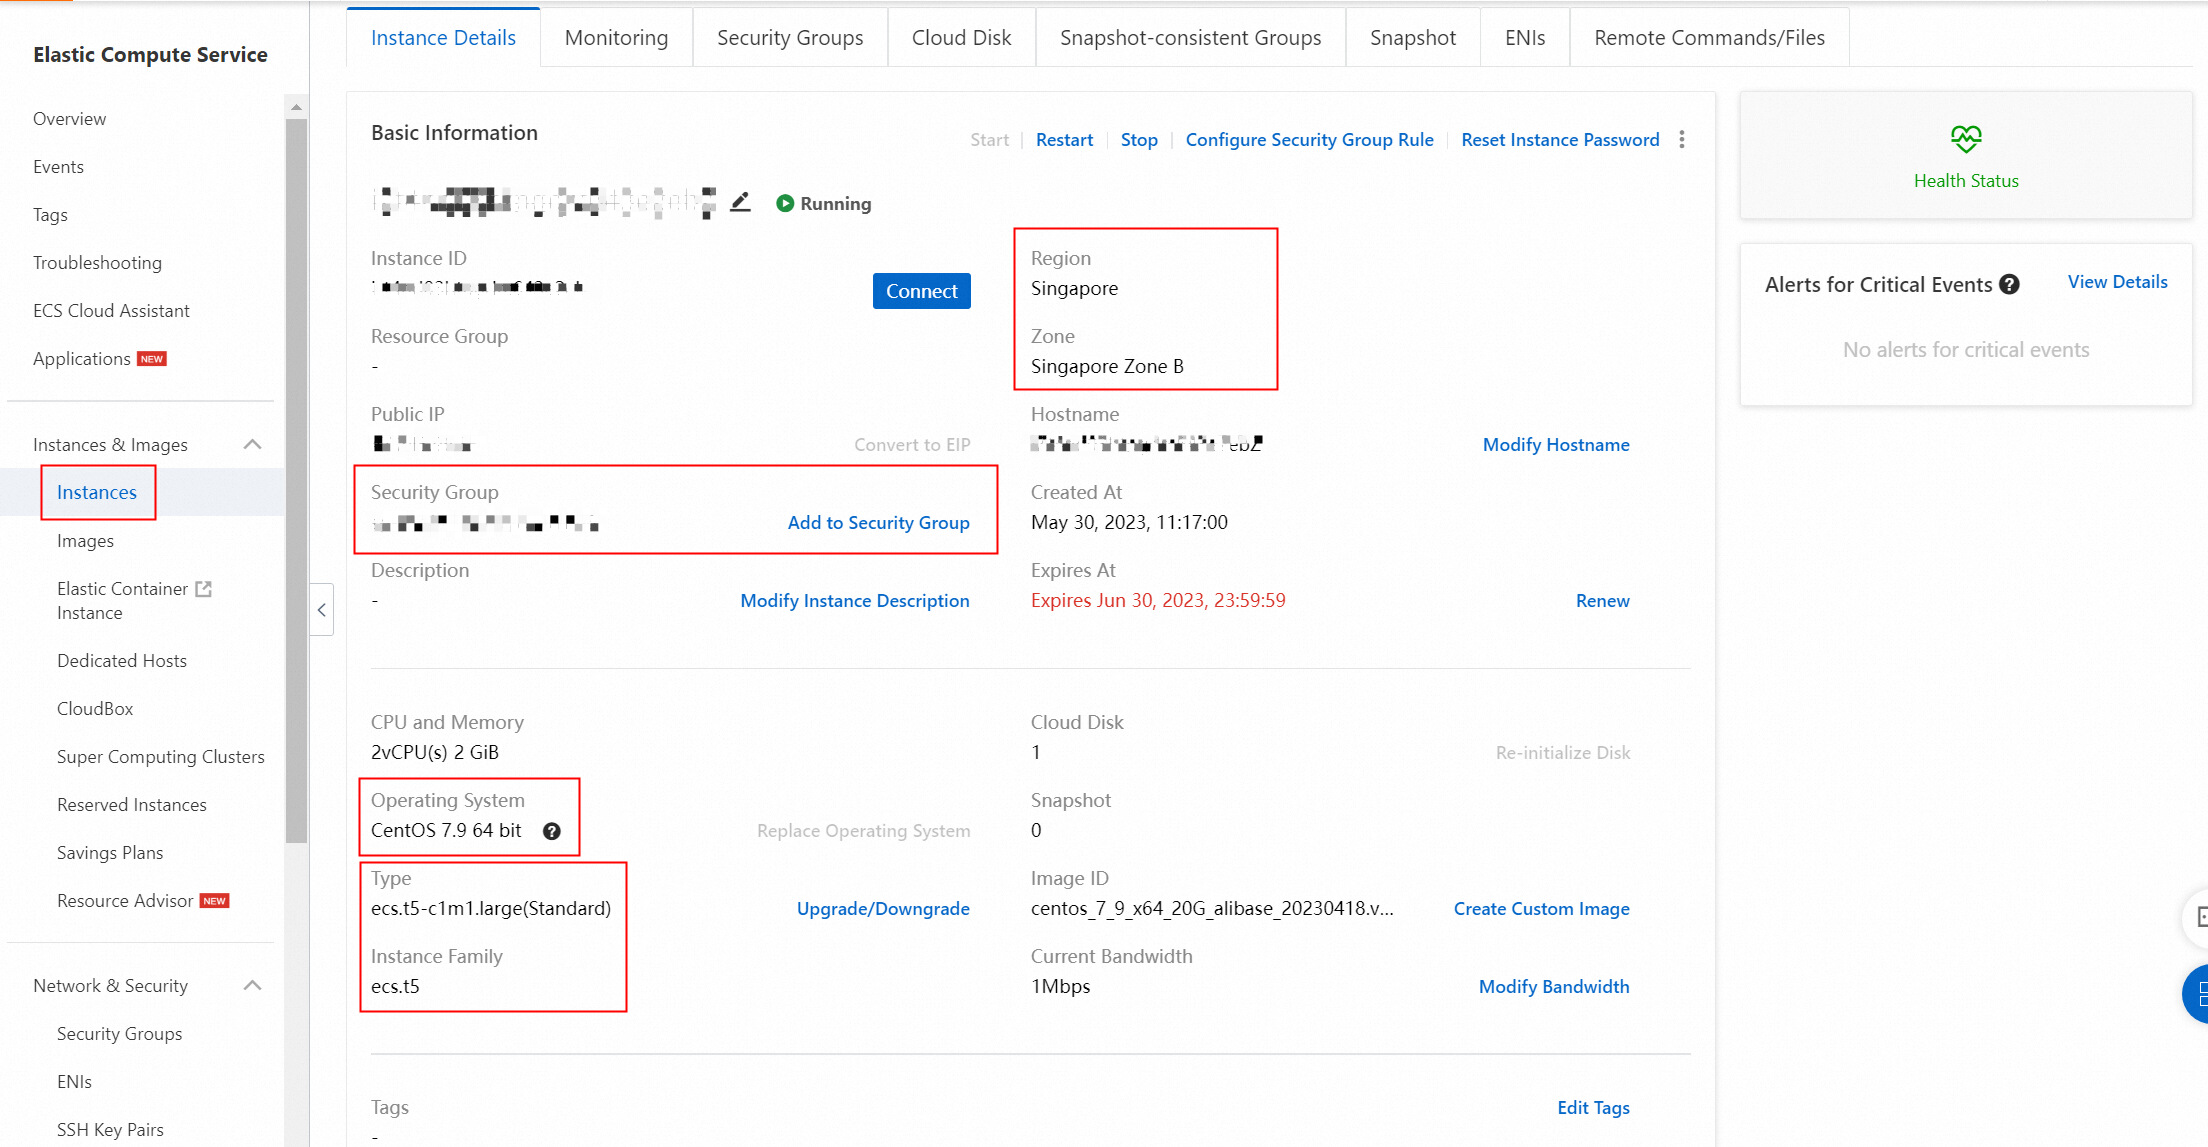
| Configuration item | Example | Explain |
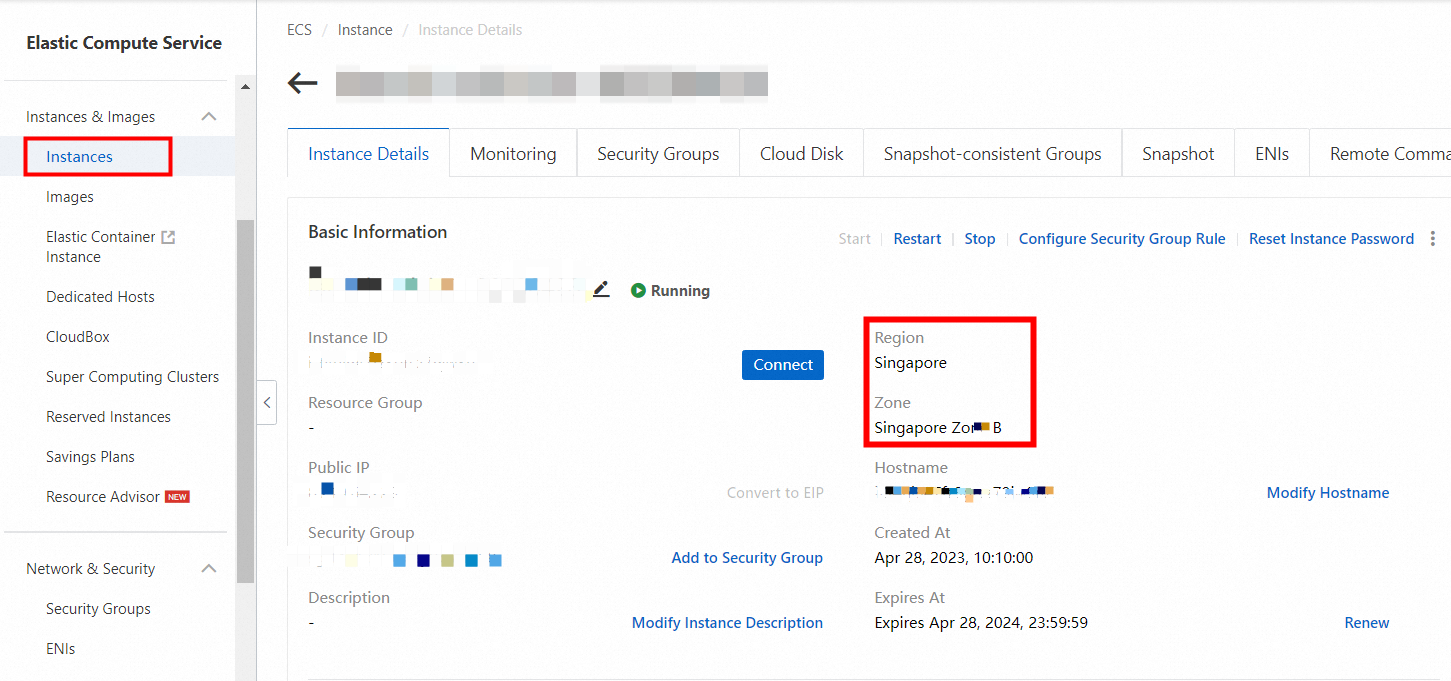
| Region and zone |
Region: Singapore Zone: Singapore Zone B |
After an instance is created, you cannot directly change the region and zone. |
| Instance type | Type family: ecs.t5-c1m1.large (Standard) | You can go to the ECS instance purchase region to view the instance purchase status in each region. |
| Image |
Type: Public image Version: CentOS 7.9 64 bit |
After the instance is started, the system disk will completely copy the operating system and application data of the image. |
2. On the network and security groups page, configure the ECS network and security group according to the following instructions. The configuration that is not mentioned remains the default option, and then click Next: Network and security group.
Configuration description:
| Configuration item | Example | Explain |
| VPC | Default VPC | Select your VPC. To create a VPC, click create in the console. |
| VSwitch | Default vSwitch | Select your vSwitch. To create a vSwitch, click create in the console. |
| Assign public IPv4 addresses | Select assign public IPv4 address | When selected, a public IPv4 address is automatically assigned. |
| Bandwidth billing mode | Pay-by-traffic | You only need to pay for the Internet traffic consumed by using the traffic mode. For more information, see Internet bandwidth billing. |
| Peak bandwidth | 5 Mbps | None. |
| Security Group | Default security group | Select your security group. You must enable ports 80, 443, 22, 3389, and 3306. To create a security group, click Create Security Group. |
3. On the System configuration page, configure the ECS system configuration according to the following instructions. The configuration that is not mentioned remains the default option, and then click Next: Group settings.
Configuration description:
| Configuration item | Example | Explain |
| login credentials | Custom password | In this tutorial, select a custom password and manually set a password for remote connection and sign in to the ECS instance. |
| Sign-in password | Ecs123456 | When you select a custom password for the Sign-in credential, you must set this option and confirm the password. When you connect to the ECS instance later, you must enter the username root and the password set here. |
| Instance name | EcsQuickStart | You can customize the instance name. |
4. On the Group settings page, all configurations remain the default option, confirm the order, and Create an instance.
Apache is a Web server software. This step describes how to install and configure Apache on an ECS instance.
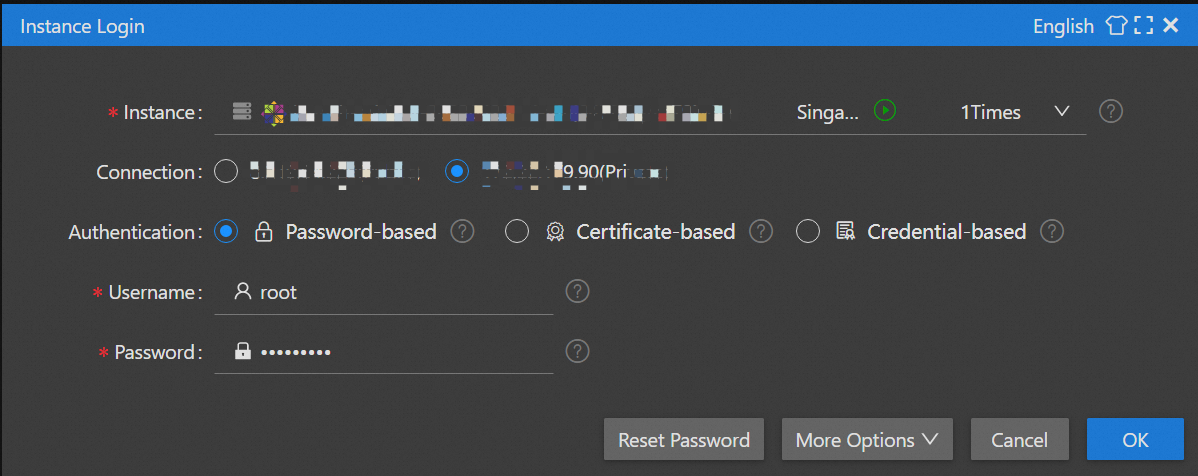
1. On the right side of the lab page, click  Icon to switch to Web Terminal.
Enter the username and password for logging on to the ECS instance.
2. Install Apache.
2.1 run the following command to install the Apache service and its extension package.
This experiment is based on the CentOS Operating System. If you are using another operating system, please refer to this link for installation.
yum -y install httpd mod_ssl mod_perl mod_auth_mysql2.2 Run the following command to check whether Apache is installed successfully.
httpd -vThe following result indicates that you have successfully installed Apache.

2.3 Run the following command to start the Apache service.
systemctl start httpd.service3. In the address bar of your local browser, visit <http:// the public IP address of the ECS instance>.
Note: You need to replace the public IP address of the ECS instance with the public IP address of the ECS instance. You can view the public IP address of the ECS instance in the ECS console.
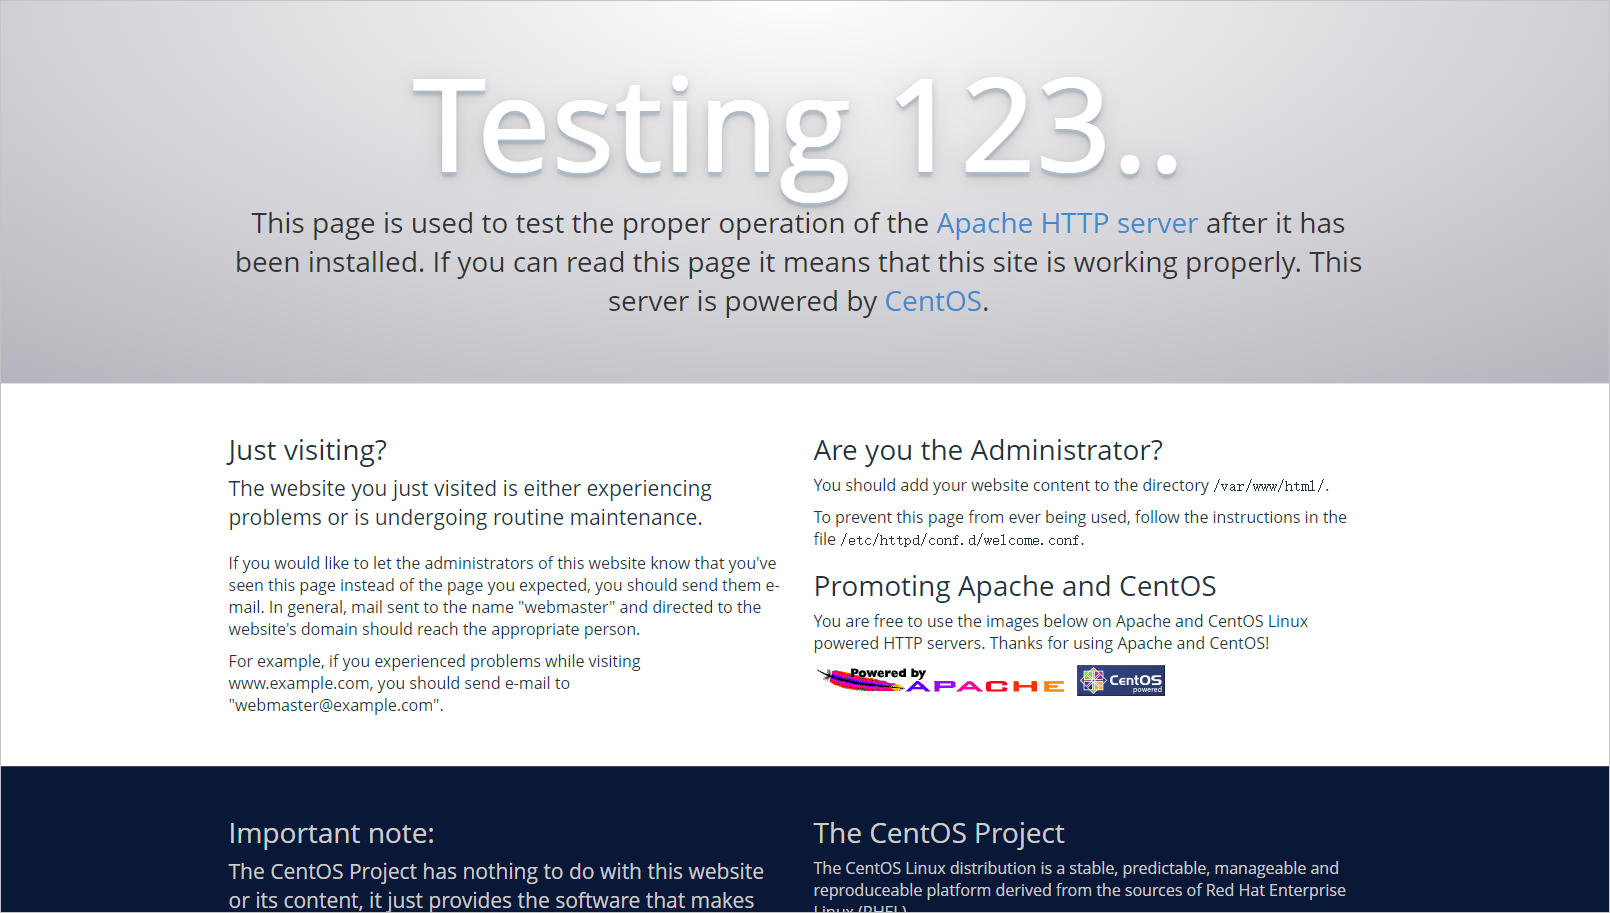
If the returned page is shown in the following figure, the Apache service is started successfully.
Because WordPress is used to build a cloud blog, you need to use the MySQL database to store data. This step will guide you to install an open source MariaDB for MySQL (MariaDB compatible with MySQL) on your ECS instance and create a blog database.
1. In the function bar on the right side of the lab, click  Icon to switch to Web Terminal.
2. Run the following command to install the MariaDB Server.
yum install -y mariadb-serverReturn the following command to indicate that you have installed MariaDB Server.

3. Run the following command to start the MariaDB Server.
systemctl start mariadb4. Run the following command to view the running status of the MariaDB Server.
systemctl status mariadbThe returned result is as follows. When you see active (running), the MariaDB Server is started successfully.
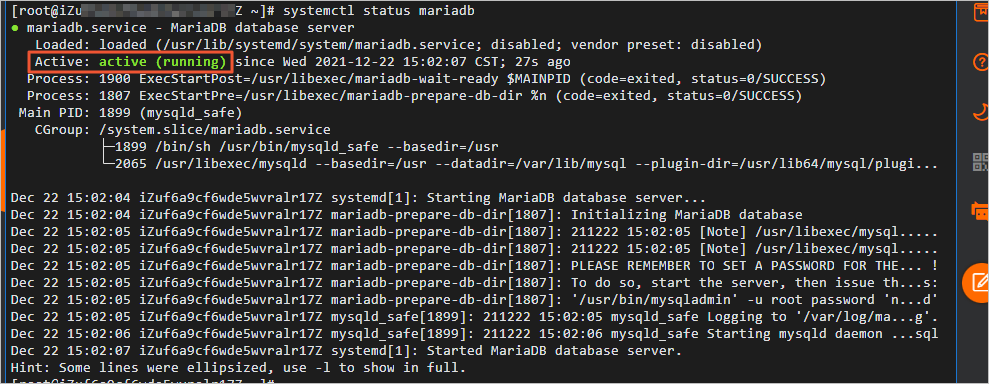
5. Run the following command to set the initial password for the database root user.
mysqladmin -u root -p passwordThe following result is returned. Since this is the first time you set the database Password, you can press Enter when the Enter Password prompt appears.

Return the following result, enter the new password as 123456789, and enter 123456789 again after entering. (The entered password will not be displayed. This is normal and there is no error.)

6. Run the following command to connect to the database.
mysql -u root -pThe following result is returned. When the Enter password prompt appears, Enter the root user password 123456789 to sign in to the database. (The password entered will not be displayed, this is normal, there is no error)

7. Run the following command to create WordPress database.
create database wordpress;8. Run the following command to view the database.
show databases;The following figure shows the WordPress database you created.
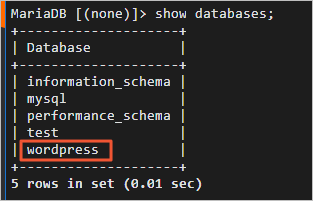
9. Run the following command to exit the database.
exit;PHP is a widely used common open source scripting language, suitable for Web site development, and can be embedded in HTML. This step describes how to install and configure the PHP service on an ECS instance.
1. Run the following command to install PHP.
yum -y install php php-mysql gd php-gd gd-devel php-xml php-common php-mbstring php-ldap php-pear php-xmlrpc php-imapThe following result indicates that you have installed PHP.

2. Run the following command to create a PHP test page.
echo "<?php phpinfo(); ?>" > /var/www/html/phpinfo.php3. Run the following command to restart the Apache service.
systemctl restart httpd4. In the address bar of your browser, visit http://<ECS public address>/phpinfo.php.
Note: You need to replace <ECS public IP address> with the ECS public IP address.
Return to the following page, indicating that the PHP language environment is installed successfully.
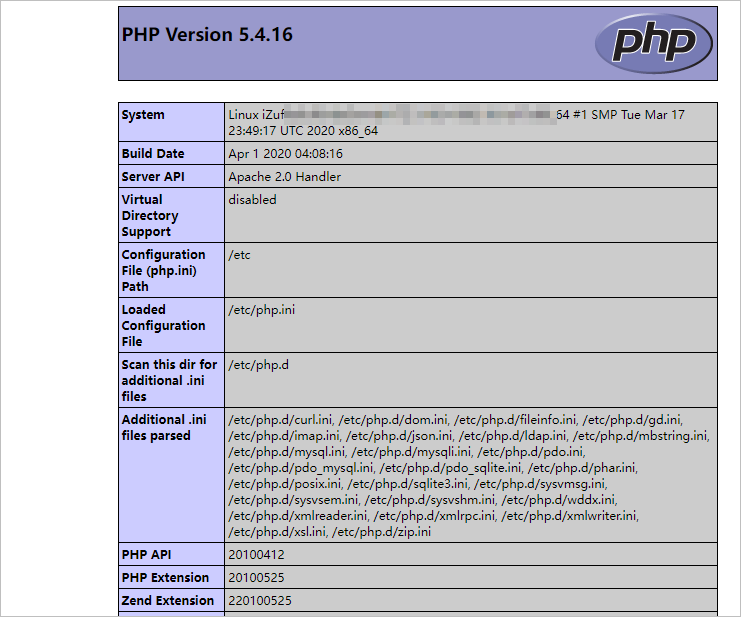
This step describes how to install and configure WordPress on an ECS instance.
1. On the right side of the lab page, click Icon to switch to Web Terminal.
2. Run the following command to install the WordPress.
yum -y install wordpressThe following result indicates that you have installed the WordPress.

3. Modify WordPress configuration file.
3.1 Run the following command to change the wp-config.php path to absolute path.
# Enter the /usr/share/wordpress directory.
cd /usr/share/wordpress
# Modify the path.
ln -snf /etc/wordpress/wp-config.php wp-config.php
# Check out the modified directory structure.
ll
3.2 Run the following command to move the wordpress file to the Apache root directory.
# Create a wp-blog folder under Apache's root directory /var/www/html.
mkdir /var/www/html/wp-blog
mv * /var/www/html/wp-blog/
3.3 Run the following command to modify the wp-config.php configuration file.
sed -i 's/database_name_here/wordpress/' /var/www/html/wp-blog/wp-config.php
sed -i 's/username_here/root/' /var/www/html/wp-blog/wp-config.php
sed -i 's/password_here/123456789/' /var/www/html/wp-blog/wp-config.php
3.4 Run the following command to check whether the configuration file information has been modified.
cat -n /var/www/html/wp-blog/wp-config.phpThe following results are returned. You can see that the configuration file information has been modified.
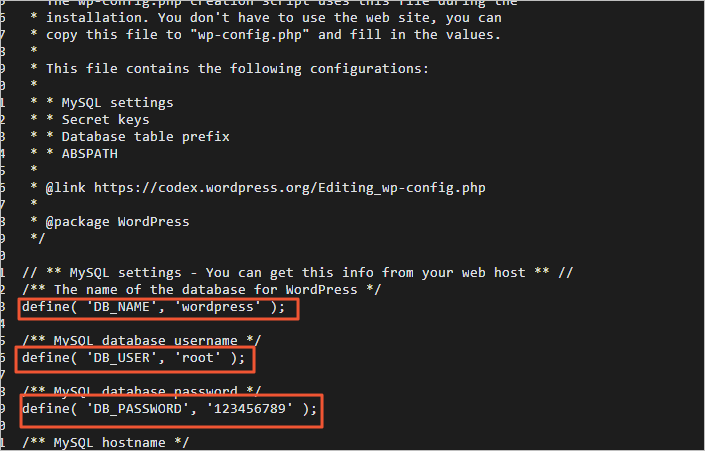
3.5 Run the following command to restart the Apache service.
systemctl restart httpdAfter completing all the preceding steps, you can test the Cloud blog based on ECS.
1. In the address bar of the browser, visit http://<ECS public address>/wp-blog/wp-admin/install.php.
Note: You need to replace <ECS public IP address> with the ECS public IP address. For example, http:// 192.168.0.1/wp-blog/wp-admin/install.php
If you have selected public resources for experiments, you can also click  Icon, switch to the remote desktop, use the remote desktop Chromium Web browser access address.
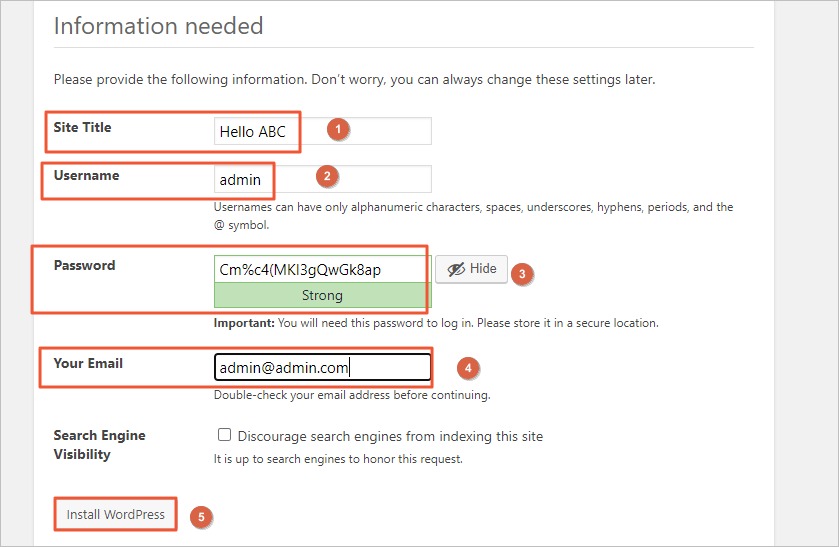
2. On the WordPress configuration page, configure relevant information and click Install WordPress.
Parameter description:
• Site Title: the name of the Site. This example is a Hello ABC.
• Username: The Username of the administrator. This example is admin.
• Password: the access Password. This example is Cm%c4(MKI3gQwGk8ap).
• Your Email: the Email address. We recommend that you use a valid Email address. If not, you can enter a virtual email address, but you cannot receive information. This example is a admin@admin.com.
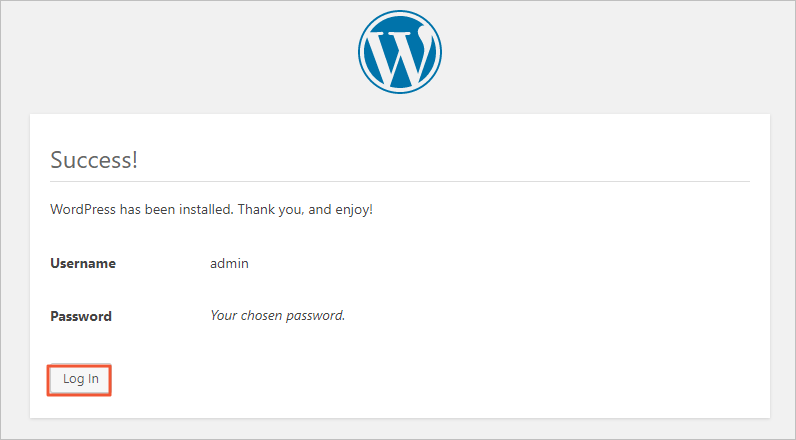
3. In Success! Page, click Log In.
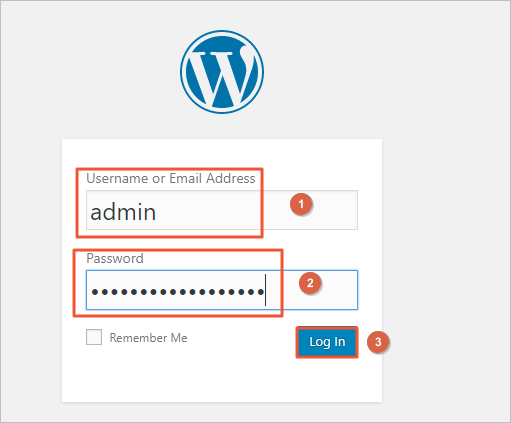
4. On the log-in page, enter your username and password, and click Log In.
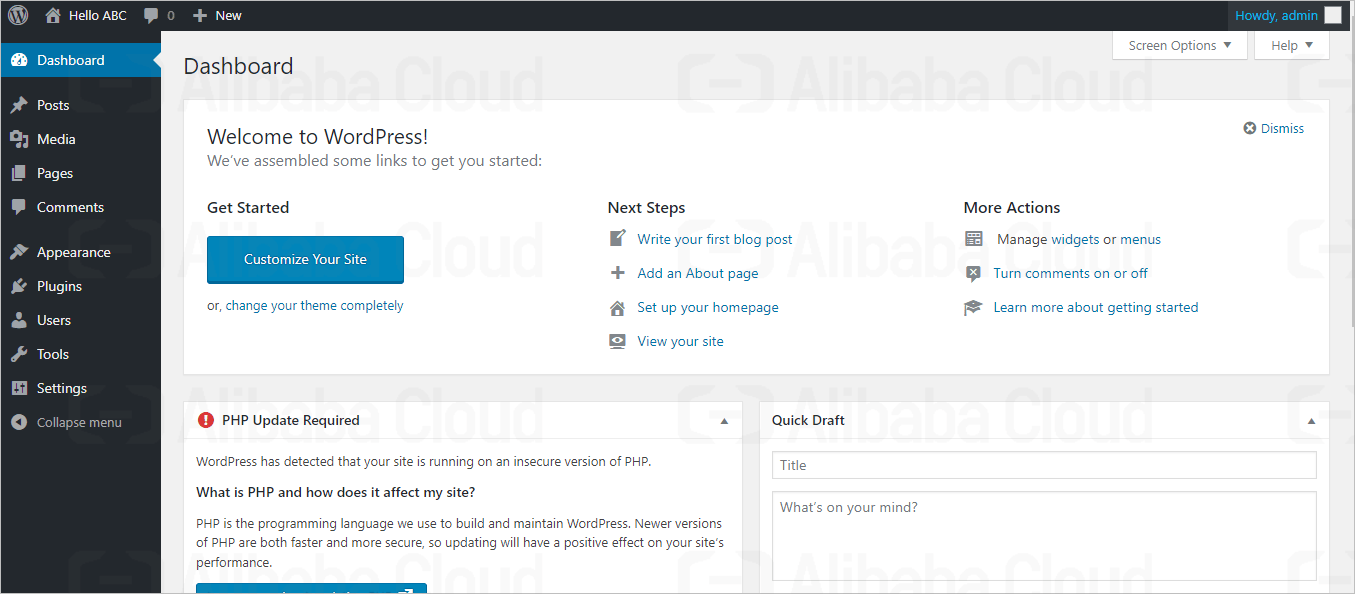
5. Return to the following page, indicating that you have successfully logged on to the homepage of your blog, and you can publish your blog.
>> Get hands-on experience with this tutorial in a lab environment.

1,304 posts | 461 followers
FollowAlibaba Cloud Community - December 12, 2023
Alibaba Cloud Community - July 3, 2024
Alibaba Cloud Community - December 14, 2023
Alibaba Cloud Community - July 5, 2024
Alibaba Cloud Community - July 2, 2024
Alibaba Cloud Community - July 3, 2024

1,304 posts | 461 followers
Follow ECS(Elastic Compute Service)
Elastic and secure virtual cloud servers to cater all your cloud hosting needs.
Learn More Web Hosting Solution
Explore Web Hosting solutions that can power your personal website or empower your online business.
Learn More YiDA Low-code Development Platform
A low-code development platform to make work easier
Learn More mPaaS
mPaaS
Help enterprises build high-quality, stable mobile apps
Learn MoreMore Posts by Alibaba Cloud Community