This topic describes the basic workflow for Cloud Drive for Enterprises (CDE) after your initial purchase to help you get started quickly.
Prerequisites
CDE is activated and a CDE instance is purchased. For more information, see Activation and purchase.
You have the permissions to operate the PDS console. If you log on as a RAM user that has not been granted the relevant permissions (AliyunPDSFullAccess), you need to grant the permissions to the RAM user.
Procedure
Step 1: Enter the enterprise name and attach a super administrator
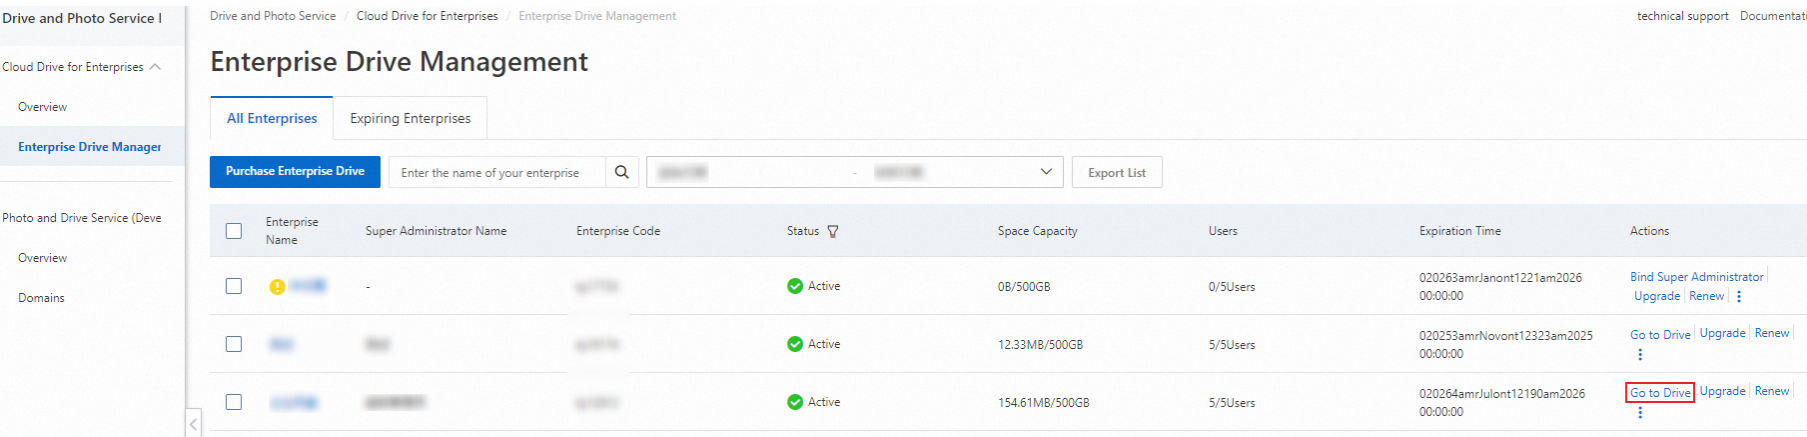
Log on to the Enterprise Drive Management page for Alibaba Cloud Drive for Enterprise. On the All Enterprises tab, click Bind Super Administrator in the Actions column of the target enterprise.
Enter the enterprise name and super administrator information, and complete binding.

Step 2: Log on to the drive
Method 1: Access the drive using a domain name
This method applies to all users.
In a browser, go to Alibaba Cloud Drive Enterprise Edition.
In the upper-left corner of the page, select International Station. Enter your enterprise code. Click The next step.
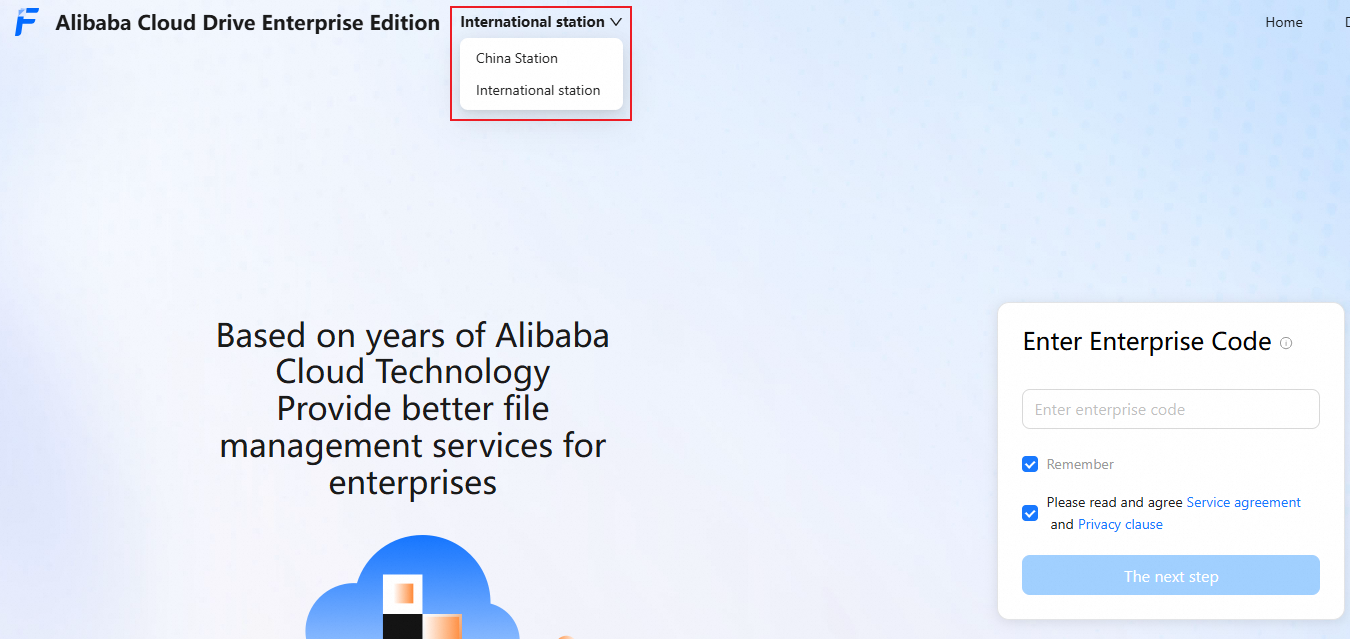
Enter your mobile number/email and the verification code that you received to log on. You can then access and use the product.
Method 2: Access the drive from the PDS console
This method applies only to users who have permissions to use the PDS console.
Log on to the Drive and Photo Service console.
In the upper-left corner of the page, select the region where your drive is located.
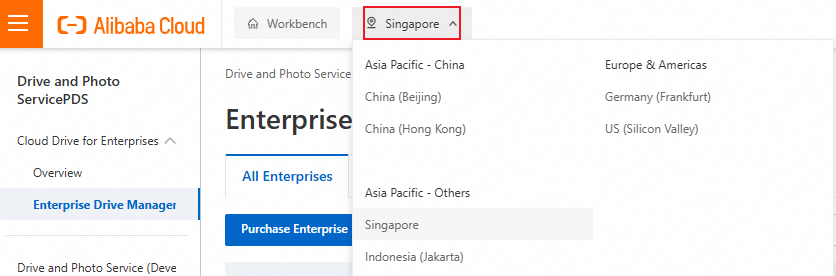
Click Go to Drive in the Actions column for the target enterprise.
You are then logged on to the drive.
Step 3: Create a team
Log on to the cloud drive with an administrator account and go to the Management Console.
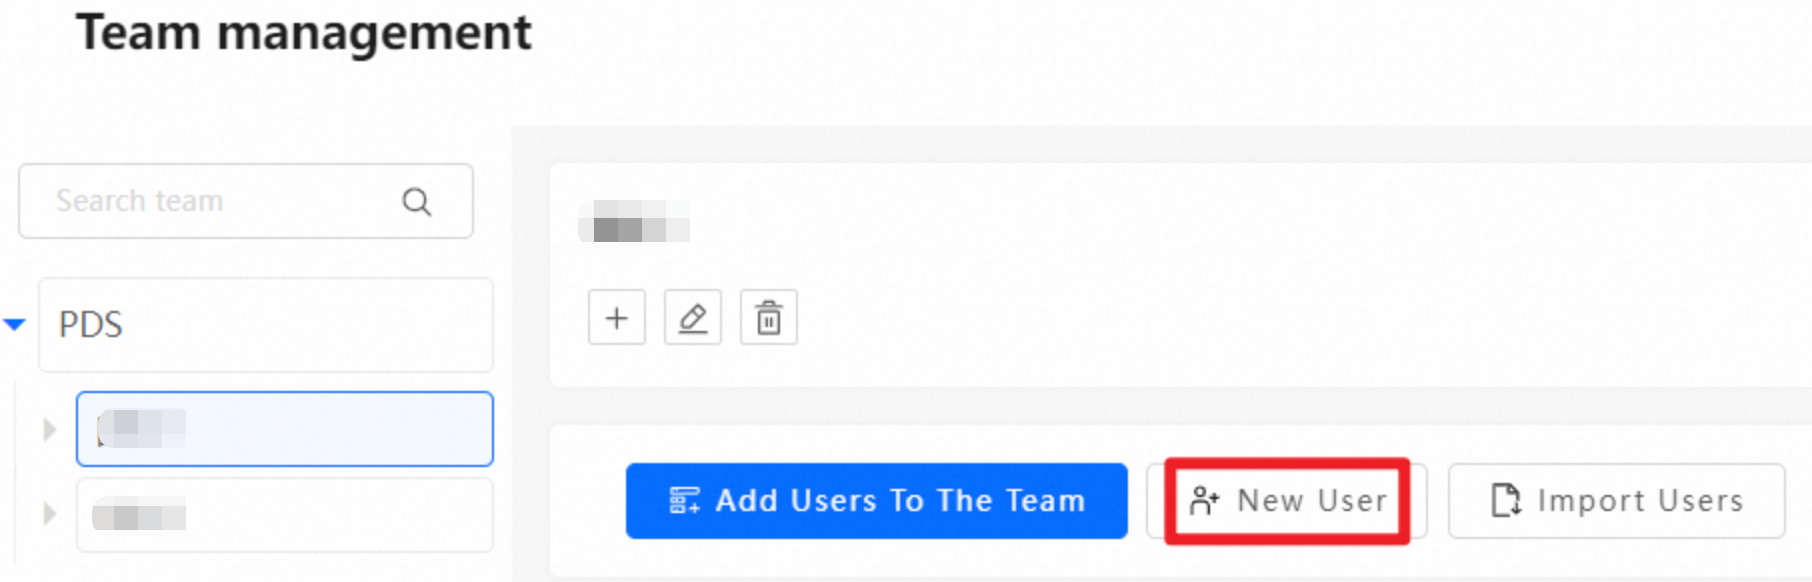
In the left navigation pane, click Team management. The Team management page opens.
In the team directory, click the enterprise name at the top, hover over the
 icon, and click New sub team.
Enter the team information and click OK.
Step 4: Create a regular user
On the Team management page, select Enterprise or a sub-team and click New User.
Enter the basic user information and phone number or email address, and click Save.
Step 5: Create a drive administrator
A network drive administrator has the same permissions as a super administrator, except that a network drive administrator cannot change their own role.
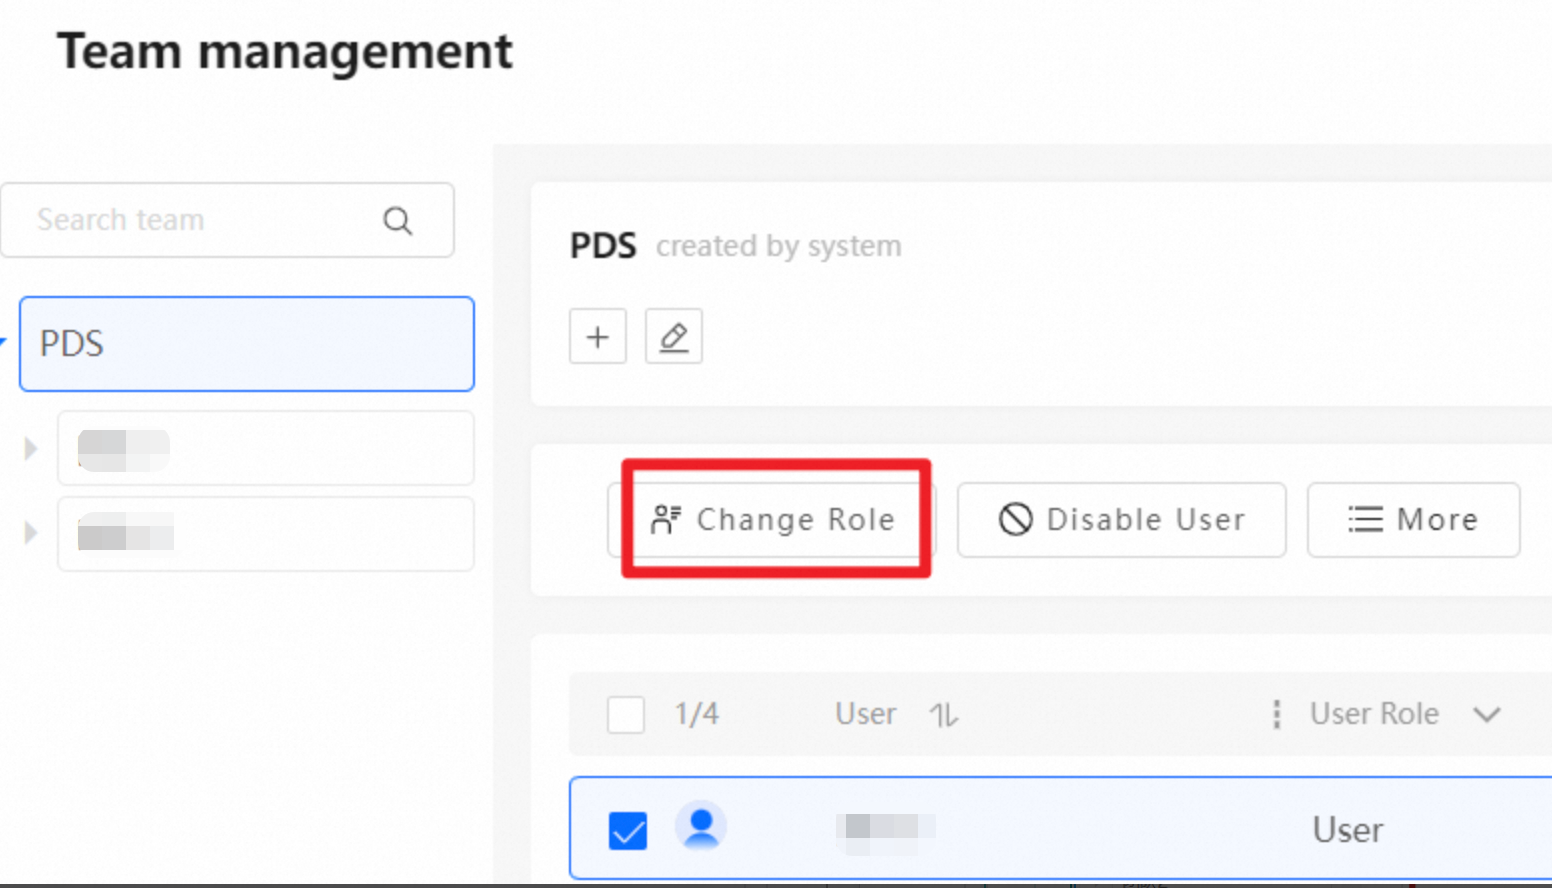
Go to the Team management page, and in the team directory, click the enterprise name at the top.
From the list of all enterprise users, select one or more users and click Change Role.
On the Change Role page, switch the role of the selected user or users to Network Drive Administrator, and then click OK to make them a Network Drive Administrator.
Step 6: Create a team administrator
A team administrator can manage team users, the team disk, and log audits. Assign users as team administrators as needed.
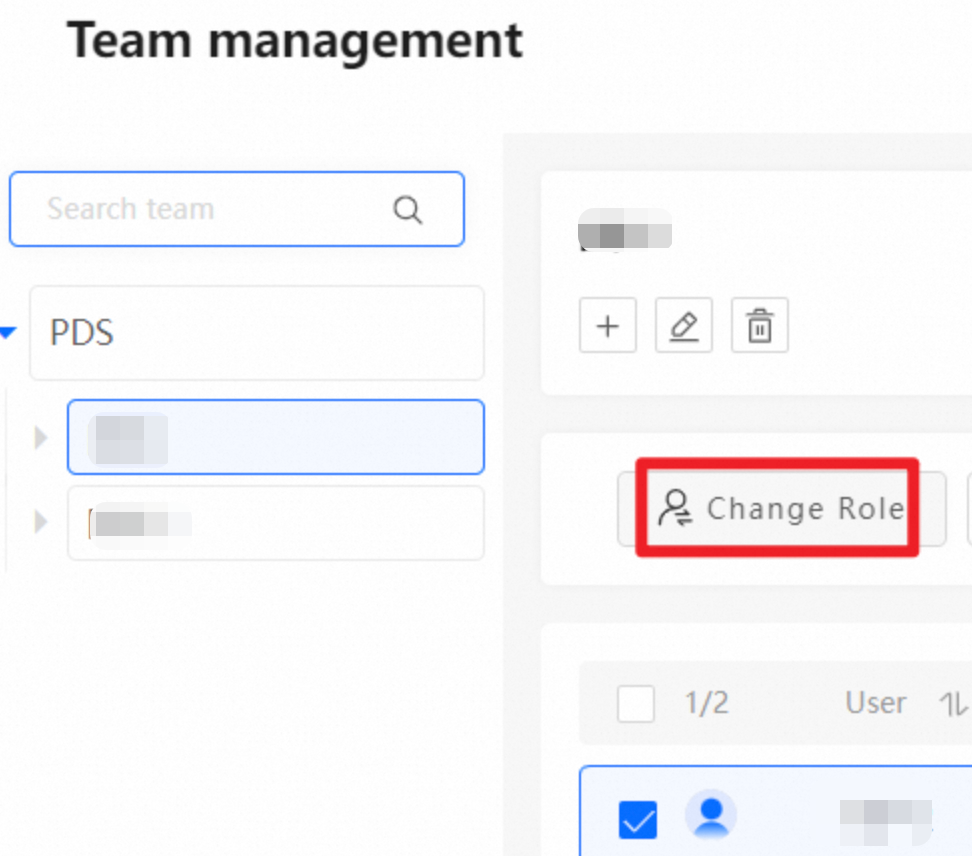
Go to the Team management page, click a sub-team in the team directory, select one or more users, and click Change Role.
On the Change Role page, switch the selected user's role to Team Administrator and click OK.
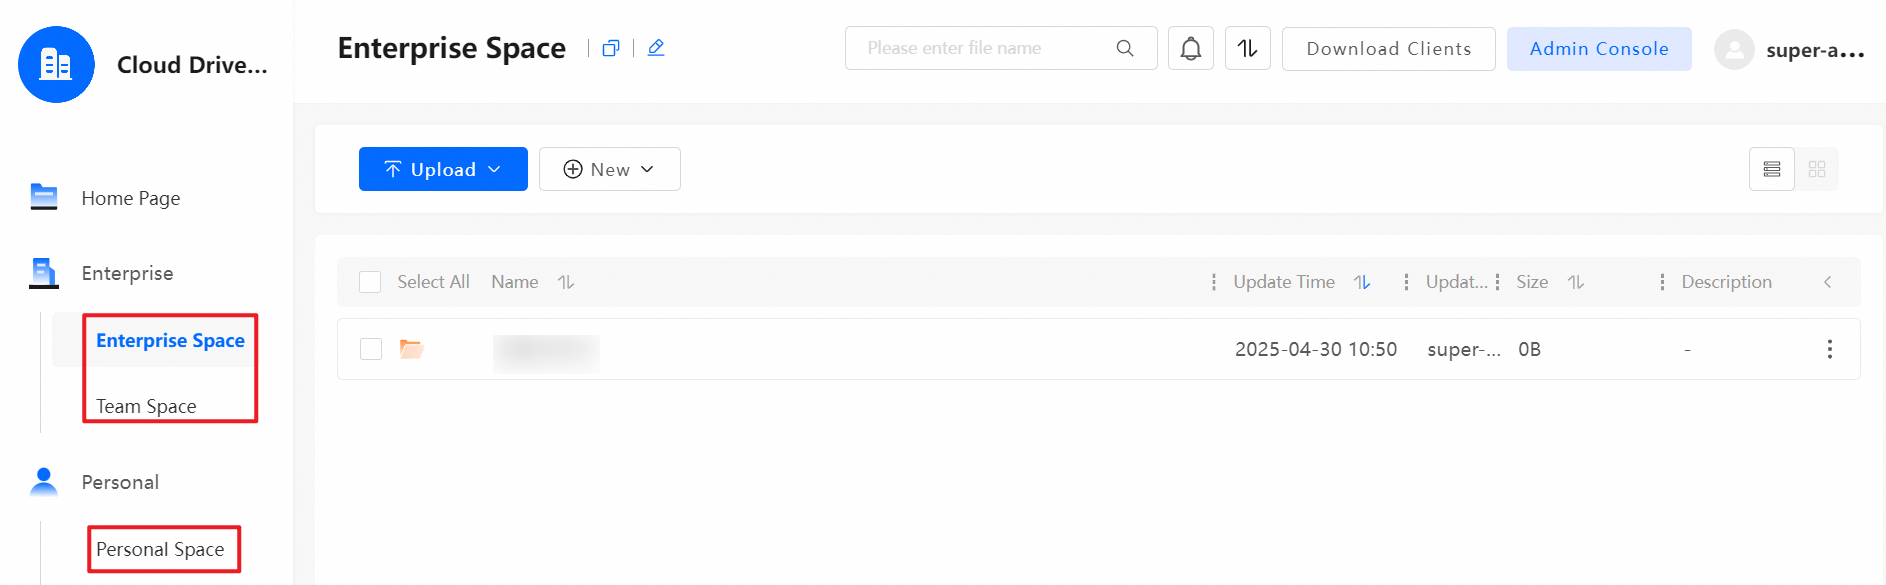
Step 7: Transfer files
From the user interface, you can transfer files in Enterprise Space, Team Space, or Personal Space.
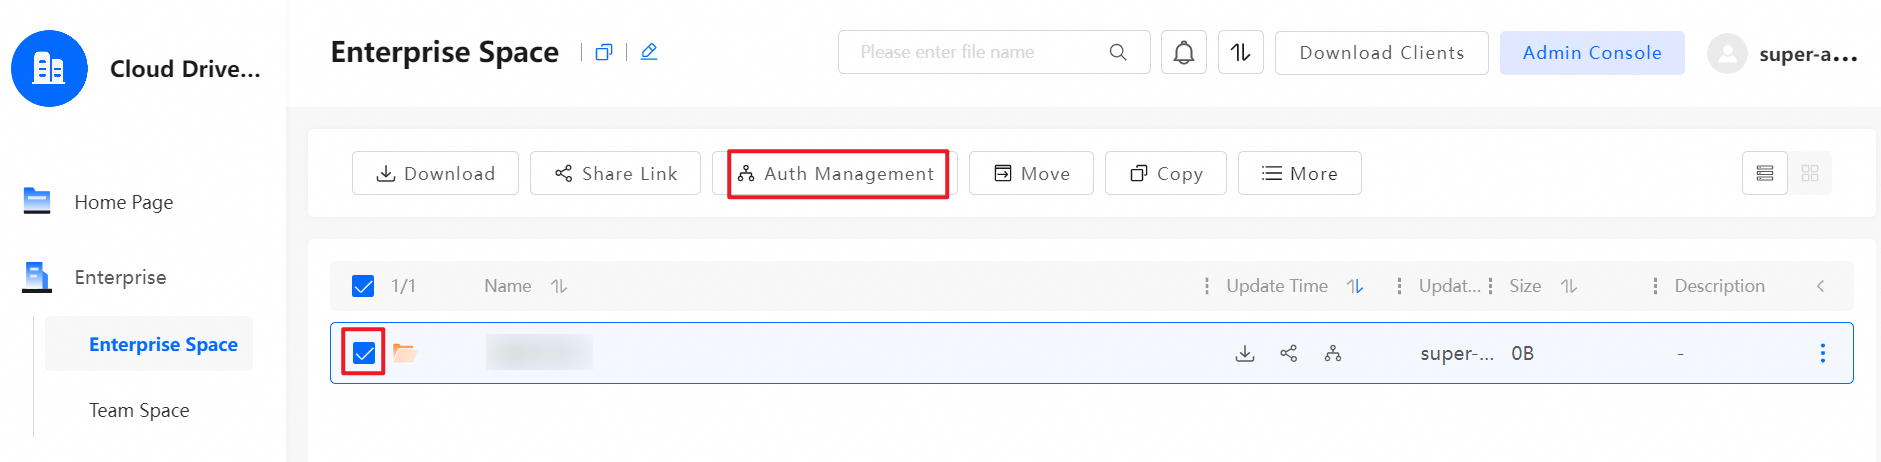
Step 8: Configure access permissions
After an administrator enables Internal Sharing/Authorization in , they must log out and log on again to the cloud drive to configure permissions.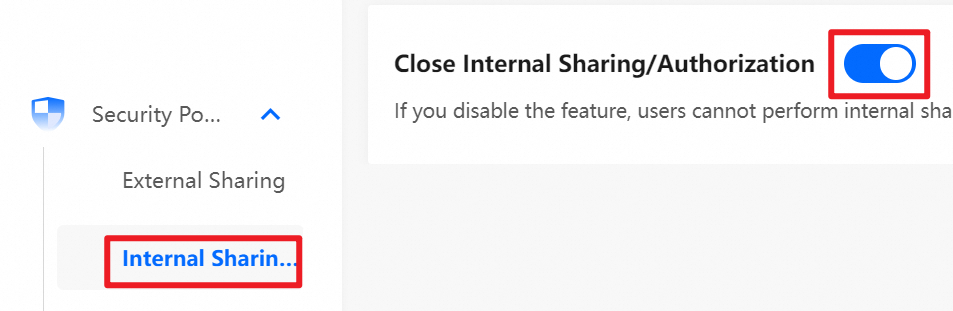
References
For information about how to download the client, see Client download.
If you are an enterprise super administrator or an administrator, see the Guide for administrators for instructions on how to use the drive.
If you are a regular user, see the Regular user guide for instructions on how to use the drive.
For information about sharing and collaboration, see Shared collaboration.
For information about how to access the drive using a personalized domain name, see Configure custom domain names.