MySQL nodes let you develop, schedule, and integrate MySQL tasks directly within DataWorks DataStudio.
Prerequisites
Before you begin, ensure that you have:
A Workflow in DataStudio. DataStudio organizes development by Workflows — create one before creating any node. For more information, see Create a workflow.
A MySQL data source added in connection string mode. MySQL nodes only support this connection mode. For more information, see MySQL data source.
(Optional; required for RAM users) The RAM user added to the workspace with the Develop or Workspace Administrator role. Grant Workspace Administrator with caution — it carries broad privileges. For more information, see Add members to a workspace.
Limitations
| Constraint | Details |
|---|---|
| Connection mode | Production data sources must be created in connection string mode. MySQL nodes do not support other modes. |
| MySQL version | MySQL 8.0 and later are not supported. |
| Supported regions | China (Hangzhou), China (Shanghai), China (Beijing), China (Shenzhen), China (Chengdu), China (Hong Kong), Singapore, Malaysia (Kuala Lumpur), Indonesia (Jakarta), US (Virginia) |
Network configuration
MySQL nodes require network connectivity between your scheduling resource group and the MySQL database.
Connectivity: Make sure the Serverless Resource Group (Recommended) or Exclusive Resource Group for Scheduling can reach your MySQL database. For details, see Network connectivity solutions.
Whitelist: If your MySQL database has an IP allowlist, add the Virtual Private Cloud (VPC) CIDR block or public IP address of the resource group to the allowlist. For details, see Configure an IP address whitelist.
Connectivity test: Test the connection when adding your DataWorks data source. For details, see Test connectivity.
Create and configure a MySQL node
Step 1: Go to DataStudio
Log on to the DataWorks console. In the top navigation bar, select the target region. In the left-side navigation pane, choose Data Integration > Data Integration. Select your workspace from the drop-down list and click Go to Data Integration.
Step 2: Create a Workflow
Skip this step if you already have a Workflow.
Hover over the
 icon and select Create Workflow.
In the Create Workflow dialog box, enter a Workflow Name.
Click Create.
Step 3: Create a MySQL node
Hover over the
icon and select Create Node > Database > MySQL. Alternatively, right-click the target Workflow and select Create Node > Database > MySQL.In the Create Node dialog box, set the Name, Node Type, and Path.
nullNode names can contain letters, Chinese characters, digits, underscores (_), and periods (.), up to 128 characters.
Click Confirm.
Step 4: Develop the MySQL task
Select a data source. Choose the target data source from the Select Data Source drop-down list. If the data source is not listed, click Create Data Source to add it. For more information, see Add a MySQL data source.
nullIn standard mode workspaces, the list shows only data sources configured for both the development and production environments. MySQL nodes only support production data sources created in connection string mode.
Select a resource group. Click the
 icon in the toolbar. In the Parameters dialog box, select the scheduling resource group.null
To access a data source over the Internet or a VPC, use a resource group connected to that data source. For more information, see Network connectivity solutions. To switch resource groups later, click Run with Parameters
and select a different scheduling resource group.Write your SQL. Enter SQL statements in the editor. Make sure the SQL complies with MySQL syntax.
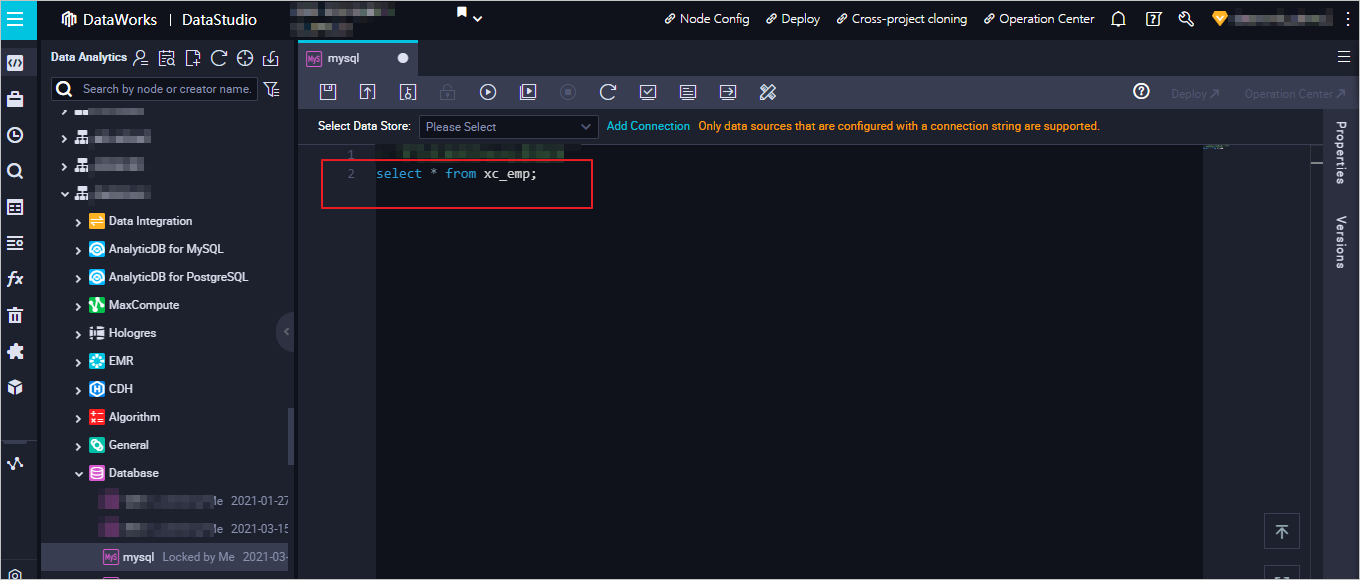 For example, to query the
 xc_emptable:select * from xc_emp;The following figure shows the query result.
 If the task fails, see Troubleshooting for common error resolutions.
Save and run the task. Click the
 icon to save, then click the
  icon to run the task.
Step 5: Configure scheduling
In the right-side navigation pane, click Properties to configure scheduling settings:
Basic scheduling properties: See Configure basic properties.
Time cycle and dependencies: See Configure time properties and Configure same-cycle scheduling dependencies.
nullConfigure Rerun Properties and Dependent Upstream Nodes before submitting the node.
Resource group: See Configure the resource property. To access a MySQL data source over the Internet or a VPC, select a scheduling resource group connected to the data source. For more information, see Network connectivity solutions.
Step 6: Submit and publish the node
Click the
icon to save the node.Click the
 icon to submit.
In the Submit New Version dialog box, enter a Change Description and click OK.
In standard mode workspaces, deploy the task to production after submission: click Task Publishing in the left-side navigation pane. For more information, see Publish tasks.
Step 7: View the scheduled task
Click Operation Center in the upper-right corner to open the production environment.
View your scheduled task. For more information, see Manage auto triggered tasks.
For a full overview of scheduled task management, see Overview.
Troubleshooting
sql execute failed! Unsupported JDBC driver
Symptom: The task fails with the error sql execute failed! Unsupported JDBC driver.
Cause: The MySQL data source was not created in connection string mode.
Fix: Recreate the data source in connection string mode. To verify the current mode, go to the Data Sources page (see Add a MySQL data source), click Edit in the Actions column, and check the configuration.
Connectivity test passes but task execution fails
Symptom: Network connectivity test succeeds, but the scheduled task still fails to execute.
Cause 1: The wrong resource group was used for the connectivity test. The connectivity test must use the same scheduling resource group that runs the task. For details, see Step 4: Test network connectivity.
Fix 1: Re-run the connectivity test using the correct scheduling resource group.
Cause 2: The resource group used for the connectivity test differs from the one selected for task execution.
Fix 2: Click Run with Parameters ![]() and switch to the correct scheduling resource group.
and switch to the correct scheduling resource group.