Manage a data dashboard
This topic describes how to manage a data dashboard, including previewing, publishing, viewing access statistics, copying, and transferring features.
Preview a data dashboard
Access the DataV console.
-
On the Workspace page, hover the mouse over any Data Dashboard.
-
Click the
 icon to preview the data dashboard.
Publish a data dashboard
Access the DataV console.
-
On the Workspace page, hover the mouse over any Data Dashboard.
-
Click the
 icon to publish the data dashboard.
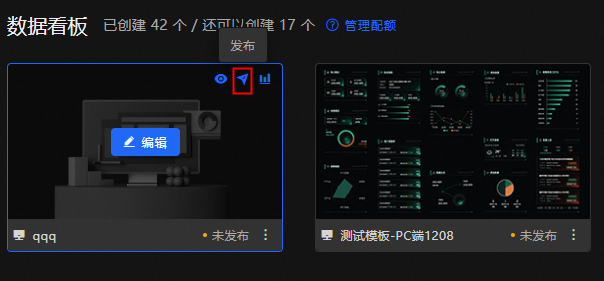
-
In the publish pop-up window, click to publish the large screen.
NoteAfter the data dashboard is Published, the content on the publish page will be locked. After each edit, you can quickly sync the published content through Snapshot Management. For more information, see snapshot management.
View access statistics
Access the DataV console.
-
On the Workspace page, hover the mouse over any Data Dashboard.
-
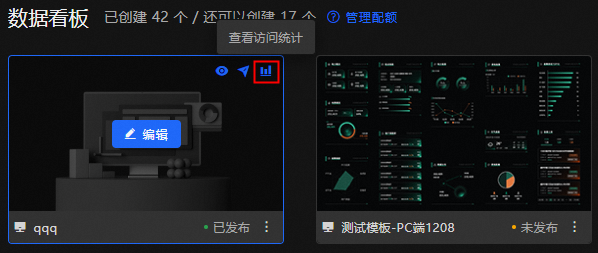
Click the
 icon to View Access Statistics for the current data dashboard.
-
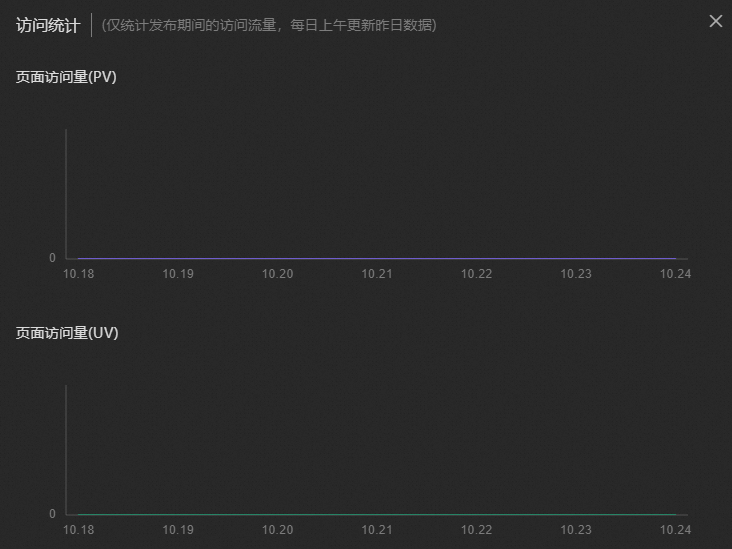
In the access statistics pop-up window, view the PV value and UV value of the current data dashboard.
Copy a data dashboard
Access the DataV console.
-
On the Workspace page, select any Data Dashboard.
-
Click
the Copy icon. The system will automatically create a replica of the current data dashboard.
 the Copy icon.
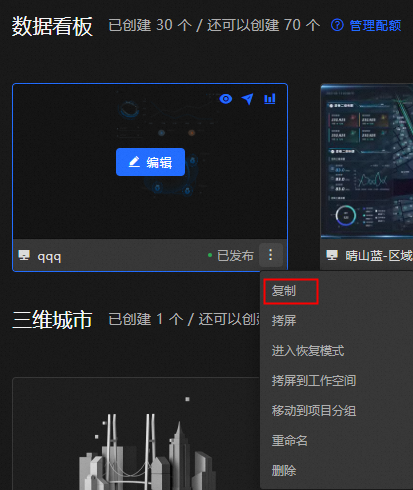
Copy and transfer a data dashboard
You can use the copy and transfer feature to copy the data dashboard for use by other users.
The Professional Edition Trial product does not have a Transfer ID. It only supports copying your own data dashboard to users of the Personal Edition and above, but cannot receive data dashboards from other users through the copy and transfer feature. For details on version specifications, see specification description.
Access the DataV console.
-
On the Workspace page, select any Data Dashboard.
-
Click the
icon below the Copy and Transfer. -
In the Copy Project to Others pop-up window, enter the Target Transfer ID and then click OK.


Enter recovery mode
If the filters you wrote have issues (such as an infinite loop causing dashboard stuttering), the datasource config has issues (such as a large amount of returned data causing dashboard stuttering), or custom components have logical issues causing the data dashboard to be uneditable, you can use recovery mode to delete problematic content and re-edit the data dashboard.
Access the DataV console.
-
On the Workspace page, select any Data Dashboard.
-
Click the
icon under Enter Recovery Mode. -
The system automatically enters the canvas editor page in recovery mode. After deleting unnecessary content, you can republish it.
NoteWhen in recovery mode, data requests and rendering are paused.

Copy and transfer to workspace
For more information, see workspace management.
Shift to project group
For more information, see project group management.
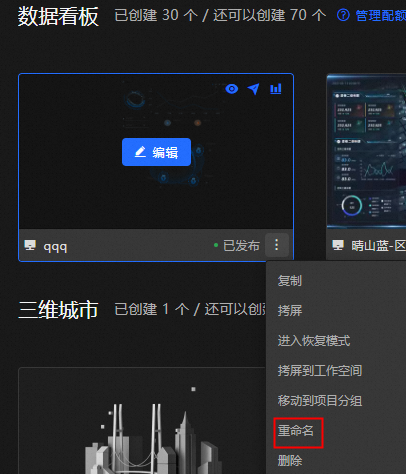
Rename a project
Access the DataV console.
-
On the Workspace page, select any Data Dashboard.
-
Click
the Rename icon. -
Re-enter the name of the data dashboard and then press the Enter key.
Delete a project
You need to shut down the publish status before deleting a data dashboard.
Access the DataV console.
-
On the Workspace page, select any Data Dashboard.
-
Click the
icon below Delete. -
In the Delete Data Dashboard pop-up window, click Delete again.
ImportantOnce a data dashboard is deleted, it cannot be recovered. Please proceed with caution.

Edit a data dashboard
For more information, see PC canvas editor overview.
Manage quota
For more information, see add a workspace.
Show all
Click Data Dashboard on the right side of Show All to jump to the All Data Dashboards page. You can quickly locate by modifying the sort method or entering the data dashboard you need to find in the search box. All operations related to the creation and management of data dashboards can also be used. You can also click the  icon or
  icon to switch to view only PC dashboards or mobile dashboards.