Add a Databricks data source to connect your Databricks database to Quick BI for data analysis and visualization.
Notes
The legacy architecture of Databricks databases does not include information_schema. Quick BI cannot retrieve table lists from the legacy architecture and supports only custom SQL for dataset creation. We recommend using the new Databricks architecture for a better experience.
Procedure
-
You can add a whitelist.
Before you connect to Databricks, add the IP addresses of Quick BI to the Databricks whitelist.
-
To navigate to the Create Data Source interface, see Create a data source.
-
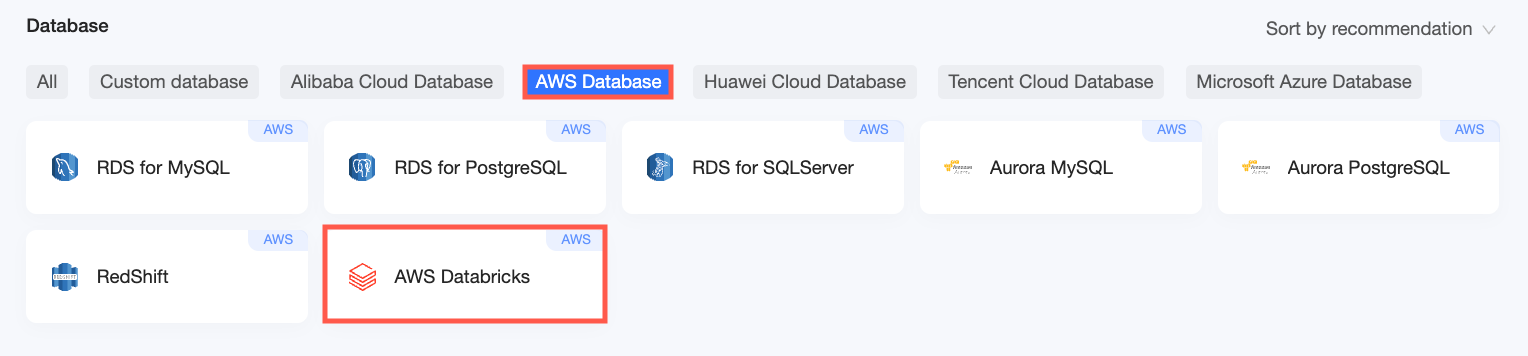
On the AWS Databases tab, select Databricks.
-
In the Configure Connection dialog box, set the parameters.
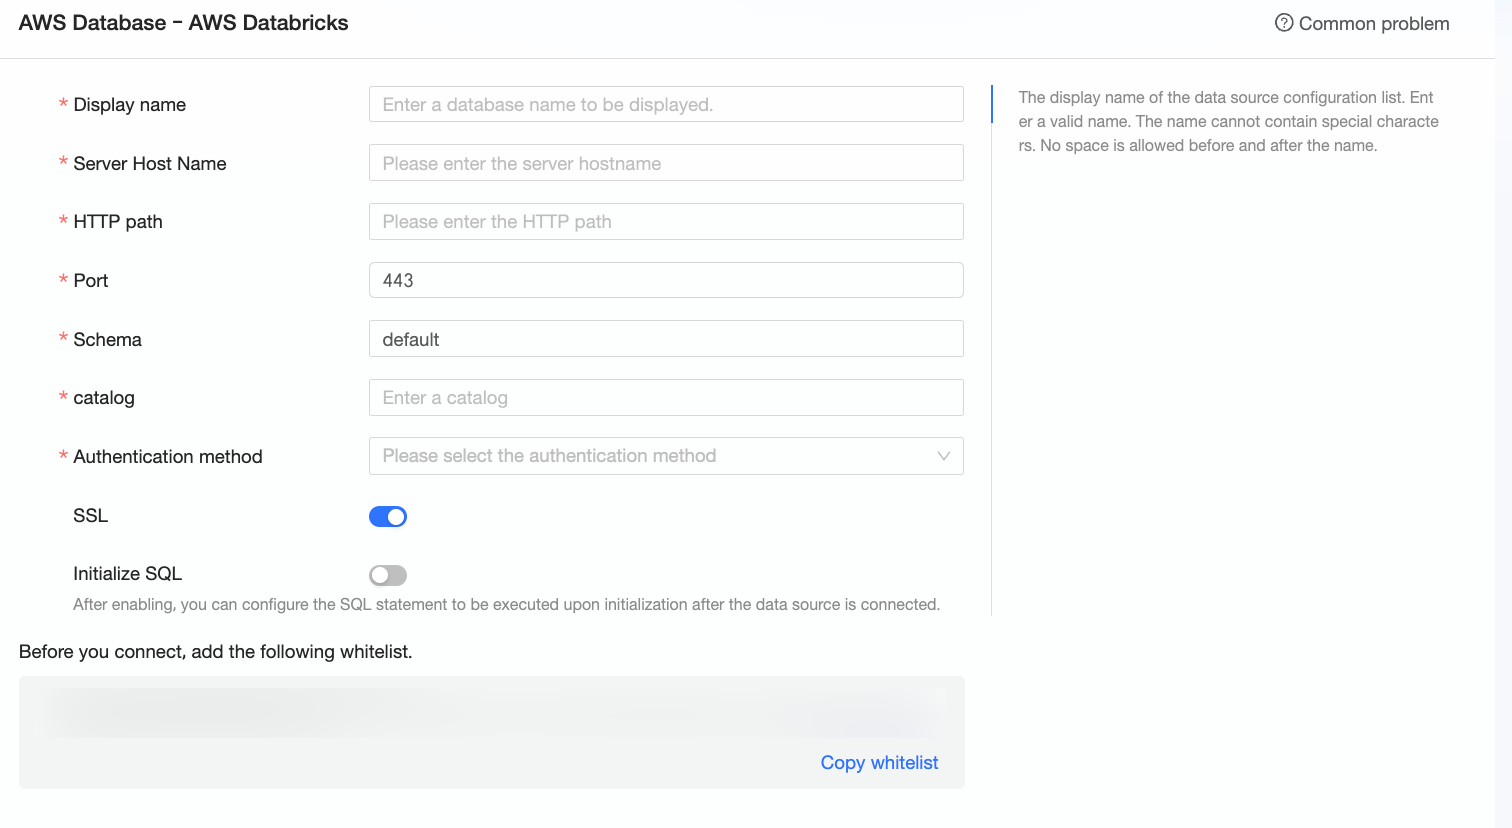
Name
Description
Display Name
The display name of the data source.
Enter a name that does not contain special characters or leading or trailing spaces.
Server Hostname
The server hostname of the Databricks computing resource.
Get the server hostname from Connection details for your SQL warehouse in the Databricks management console.
HTTP Path
The HTTP path of the Databricks computing resource.
Get the HTTP path from Connection details for your SQL warehouse in the Databricks management console.
Port
The port number of the database. The default is 443.
Schema
The name of the schema to connect to.
Catalog
The catalog that corresponds to the database.
Authentication Method
Select an authentication method: Personal Access Token or OAuth M2M.
-
If you select Personal Access Token, configure the following parameter:
-
Access Token: Enter the access token. Get the access token from Developer under Settings in the Databricks management console.
-
-
If you select OAuth M2M, configure the following parameters:
-
Application ID: The UUID or application ID of the service principal.
Get the application ID from Service principals under Settings > Identity & Access in the Databricks management console.
-
OAuth Secret: The client secret for the OAuth 2.0 connection.
In the Databricks management console, go to Settings > Identity & Access > Service principals. On the Keys tab, click Generate key to get the OAuth secret.
NoteTo ensure the data source remains active, set a long validity period. If the key expires, generate a new one and update it in the Quick BI interface.
-
SSL
If the data source uses SSL, select the SSL security protocol to protect data transmission.
Initialization SQL
An SQL statement to execute for initialization after each connection to the data source. Only `SET` statements are allowed. Use semicolons to separate multiple statements.
-
-
Click Test Connection to verify the connection to the data source.

-
After the test is successful, click OK to add the data source.
What to do next
After the data source is added, you can create datasets and start analyzing data.
-
To add data tables from the data source or custom SQL statements to Quick BI, see Create a dataset.
-
To add charts and analyze data, see Create a Dashboard and Overview of charts.
-
To drill down and perform in-depth analysis, see Step 3: Configure and display drill-downs.