Obtain the event model in the event hub. The code of the program used to track and report event data is used, and set whether the reported event data is stored in the analysis source and saved as a user behavior table or an order detail table.
Event model
track and report a complete behavioral event, which may contain the following data:
Event code: the event ID, which is required.
User ID: required.
Event Attributes: You can specify multiple attributes for an event, such as the event occurrence time, channel, product, and quantity.
Attribute Code: the ID of the attribute. This parameter is required.
Attribute Value: text, numeric, and time. Required.
NoteFor standardized order events, the product information attribute in the model is an array that contains items such as product name, product ID, unit price, and number of purchased units.
The event code and event attributes of the model must be configured when you define the event.
Event description
Choose Workspace> Configuration Management > Data Access Management > Event Hub. The following figure shows the event list. 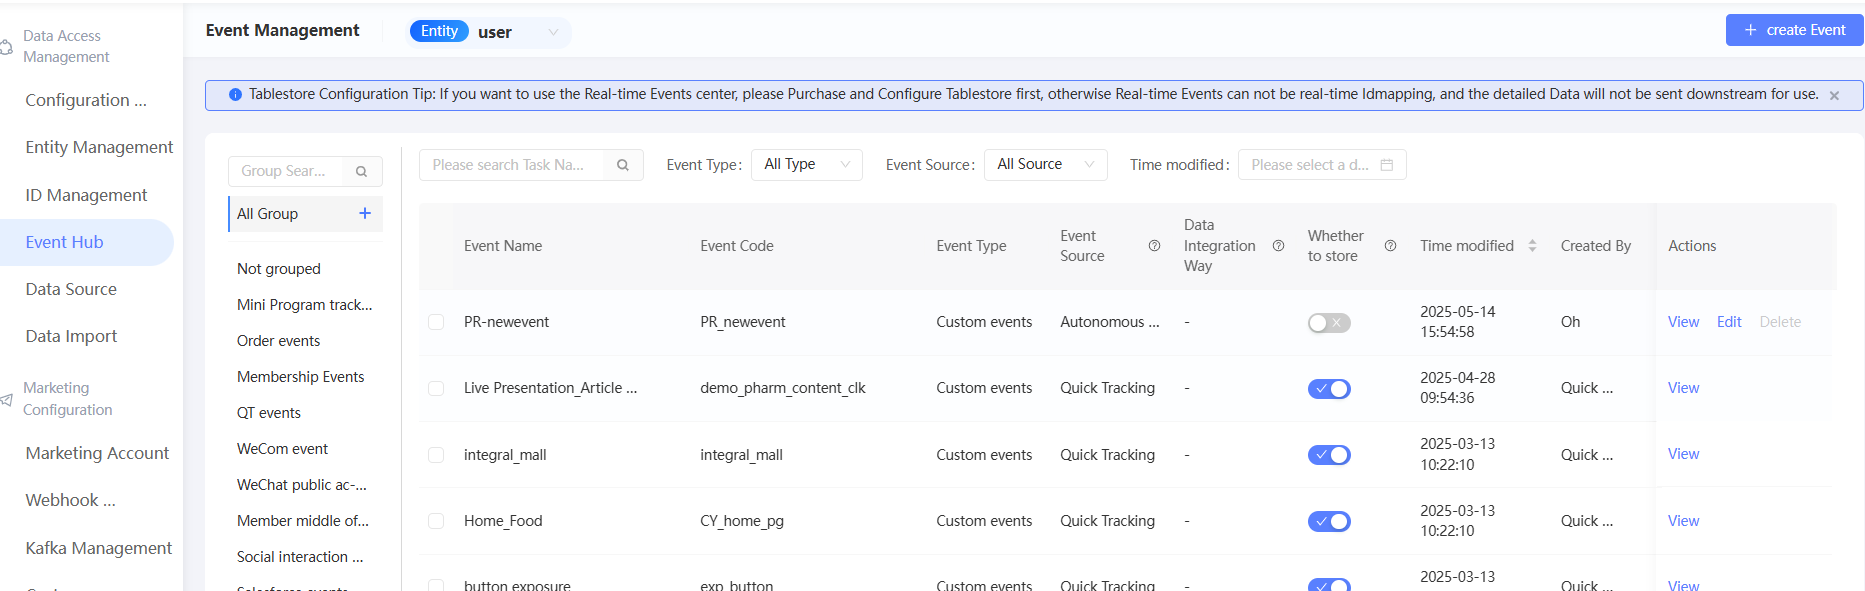
On the left side of the page, you can view event groups, which consist of Ungrouped and other custom groups. By default, all events in all groups are displayed. For more information, see Event Grouping.
The event list on the right side of the page displays the event code, event type, event source, data access method, and whether the event is stored.
You can search for events by event name and event code. You can also filter events by event type, event source, and last modified time.
Event Type
Preset events: The system has defined the codes and attributes of some common events. You can directly report data based on the defined events.
Custom Event: an event that you customize based on your business requirements.
The source of the event.
The event sources in the list correspond to different event reporting methods:
Quick Tracking: Quick Tracking is used to track and report events. This method is only applicable to apps, mini programs, and web pages (including H5 apps). Quick Audience is connected to Quick Tracking. Applications can use the SDK provided by Quick Tracking to track and report events.
Quick Tracking events include system preset events and custom events.
Quick Tracking Preset Events: the preset events provided by Quick Tracking.
Quick Tracking Custom Event: a custom event that you create in the Quick Tracking console.
After you grant QT Event Authorization, the preceding two types of events in the Quick Tracking application that you have granted permissions to the Quick Audience workspace are automatically synchronized to the event list.
Autonomous access: You can use a self-developed program to track application events, convert the event data to an event model defined by Quick Audience, and then report the event data by using the event reporting API provided by Quick Audience.
Autonomous access events include system preset events and custom events.
Autonomous access system preset events: the system preset autonomous access events. In addition to general behavior events, the system also presets three standardized order events: purchase of goods, refund of goods, and cancellation of orders. The event codes are pay_order, refund_order, and cancel_order.
Custom events: custom events that you create in Quick Audience. For more information, see Create Custom Events.
Data import method
Message Synchronization: Messages are transmitted in real time. This method is used to transmit Quick Tracking events.
API Synchronization: You can call API operations to import events in real time.
The data access method is displayed based on the actual access status only after the event is reported for the first time.
Create a custom event
If the system preset event does not meet your needs, you can customize the event:
If you use the self-access mode, you can create custom events that belong to the current workspace in Quick Audience.
If you use Quick Tracking, you must first configure applications and events in the Quick Tracking console according to Quick Tracking Reporting Process. Then, you can use QT Event Authorization to synchronize the configured events to the current workspace of Quick Audience.
To create a custom event that belongs to the current workspace in Quick Audience, perform the following steps:
Choose Workspace> Configuration Management > Data Ingestion > Event Hub.
Click Create Event in the upper-right corner. The Configure Event page appears.
Configure the parameters, as shown in the following table.

Item
Example value
Code
The name of the event.
Event code
The code of the input event. The event code must be unique in the current workspace.
When event data is reported, the event code is required and is used to uniquely identify an event.
Parameters
An event can have several attributes, such as event occurrence time, event occurrence channel, product, and quantity.
When you create a custom event, there are two out-of-box properties by default:
Event Occurring Time: the time type of the event. This parameter is encoded as the event occurrence time. Default value: Required.
Event occurrence channel: specifies the event occurrence channel, which is of the text type. By default, this parameter is required.
You can edit a preset property to change whether it is required. However, the name, encoding, and value type cannot be changed.
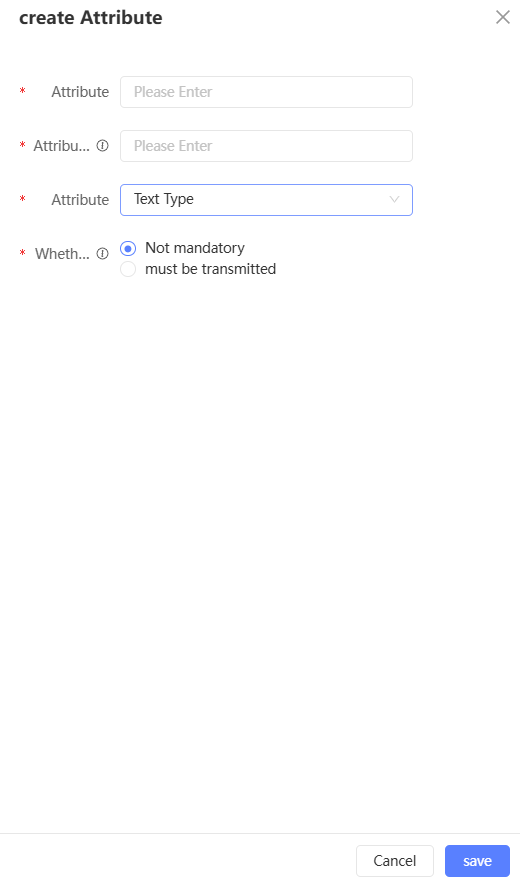
You can also add other properties and click Create Property. In the dialog box that appears, you can configure the property name, property encoding, property type (text, numeric, and time), and whether the property is required, as shown in the following figure.
You can edit a property. You can modify the property name and code. You can also delete the property.
ImportantIf you need to use the reported data in automated marketing, add the external business id attribute to the event. The attribute is encoded as outBizId and the value type is text. If you specify this property when reporting event data, the data can be used for automated marketing.
We recommend that transaction-related events report the order ID as outBizId, and coupon-related events report the coupon ID as outBizId.
After the event is configured, click Save.
As shown in the following figure, the created custom event is added to the event list and Autonomous Access is displayed as the event source.

Enable/disable storage
You can enable the storage of reported data for Quick Tracking events and self-access events. By default, you can enable the storage of events and social interaction events in the member hub. You can disable the storage of order events in the member hub.
After the storage is enabled, event reporting data is stored in the analysis source. Common behavior event data is saved as a user behavior table, and order event data is saved as an order detail table. You can use the data to filter people, generate AIPL/RFM models, and customize tags.
In the event list, turn on the switch whether to store to enable storage; turn off the switch whether to store to stop storage, the stored data is not deleted.
After storage is enabled, the event data received by Quick Audience is forwarded as follows:
After data is received, it is stored in the Tablestore instance that has the Tablestore Authorization Configuration. Then, it is ID Mapping in Tablestore in real time to obtain the user's unified identity (QAID).
NoteEvent data will go through this step regardless of whether storage is enabled. Once this is done, the event data can be used for automated marketing.
Data is temporarily stored in the Tablestore instance for two days and then automatically deleted.
The data and the QAID are synchronized to the MaxCompute Computing Source in the early morning of the next day, and then imported to the user behavior table in the Analysis Source.
In the same workspace, Quick Tracking events, autonomous access events in different user behavior tables.
For user behavior table data format, refer to the data format in User Behavior Table Data Requirements. The name of the event is stored in the Behavior Type field. The name of the Property field and statistical metric field is consistent with the name of the event property.
NoteBecause the MaxCompute side limits a table to contain a maximum of 1200 columns, QAID and event name each account for one column, when the event attribute field exceeds 1198, will be stored in a new table.
Stored event data cannot be deleted.
View events
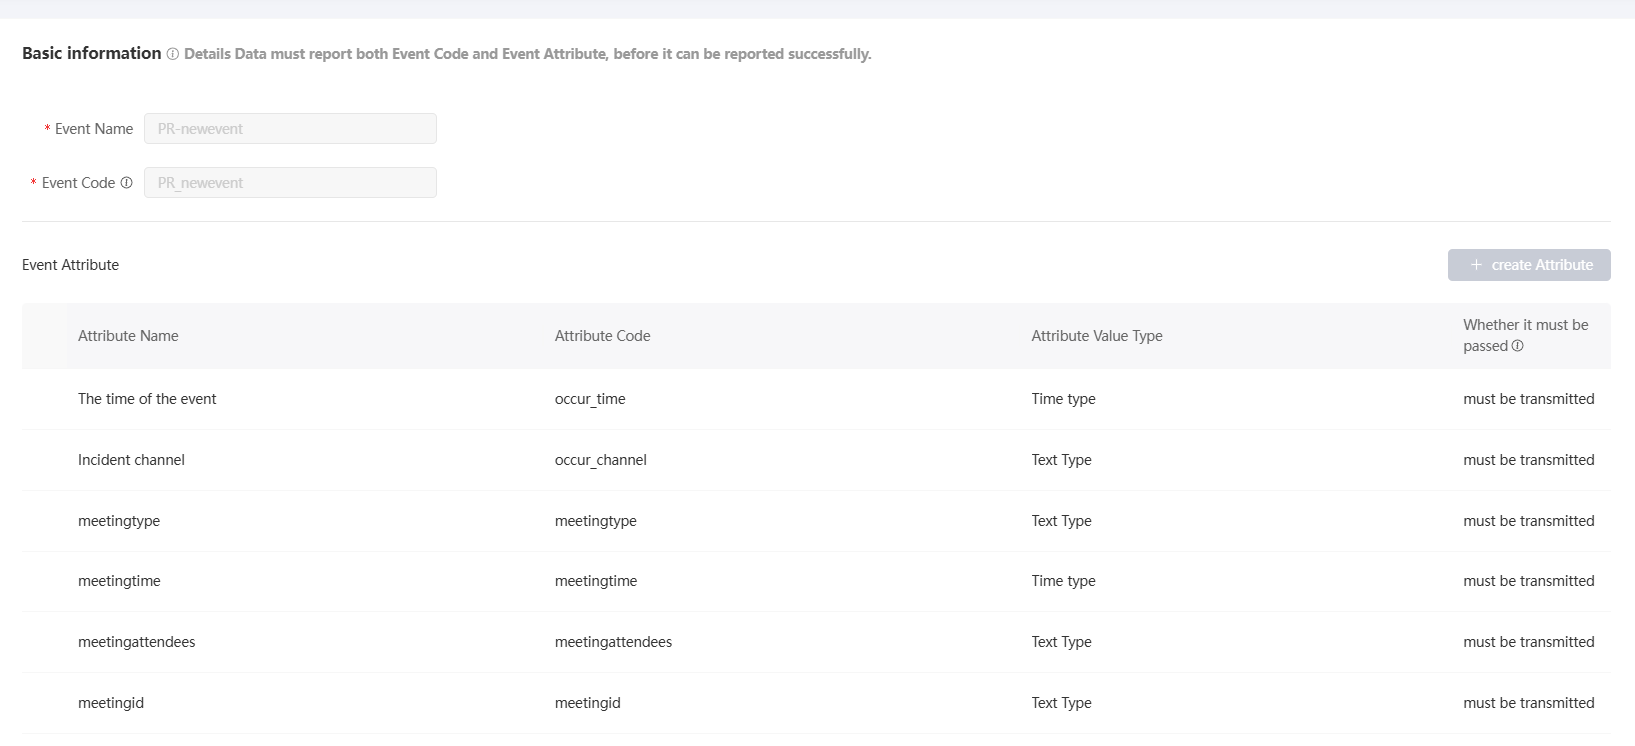
Click View. The event details page appears. The page displays the detailed configurations of the event and the automated marketing activities that use the event, as shown in the following figure.
Edit Event
Quick Tracking events belong to an application that is configured in the Quick Tracking Console. You can use QT Event Authorization to grant permissions on the space associated with Quick Audience. To edit a Quick Tracking event, you can edit the event in the application in the Quick Tracking Console.
You can edit custom events and standardized order events. The event codes are pay_order, refund_order, and cancel_order.
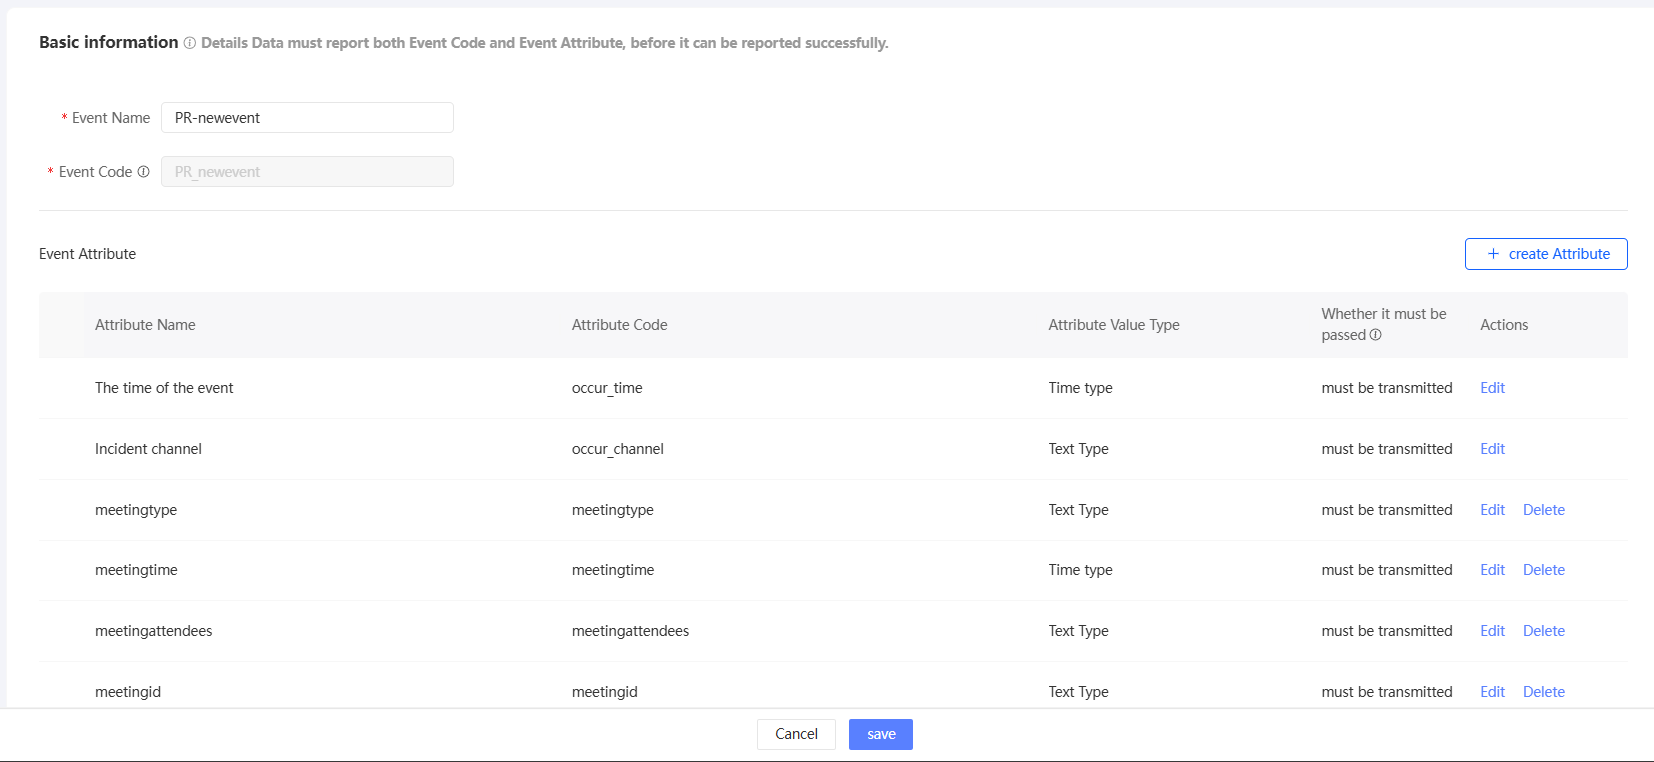
Click Edit to go to the edit page, as shown in the following figure. Edit the custom event and click Save.
you can perform the following operations:
Modifies the name of an event.
Add a new attribute.
Modifies whether preset properties and non-preset properties are required. For order events, you cannot modify whether preset attributes are required.
Modify the property name of a non-out-of-box property.
Deletes non-preset properties. You can only delete non-preset attributes that are not used by marketing activities.
Event related to the deletion of an object
You can delete custom events that are not used by marketing activities.
To delete a single event, click Delete to delete the event.
Delete multiple events at a time: Select the events that you want to delete, click Delete below the list, and then click OK.
Quick Tracking events belong to an application that is configured in the Quick Tracking Console. You can use QT Event Authorization to grant permissions on Quick Audience to the application. If you want to delete Quick Tracking events, you can delete the events in the Quick Tracking console. You can also use QT Event Authorization to grant permissions on Quick Audience to the application.
Event group
You can create groups for events to manage events by category.
Add and move groups
You can create only level -1 groups. Procedure:
Move the pointer over all groups. The plus icon
 appears, as shown in the following figure. Click the plus icon.
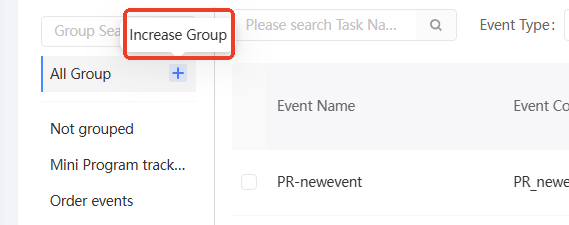

In the dialog box that appears, enter a name for the new group.
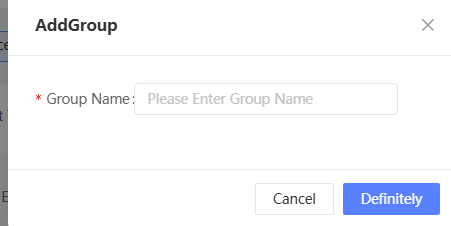
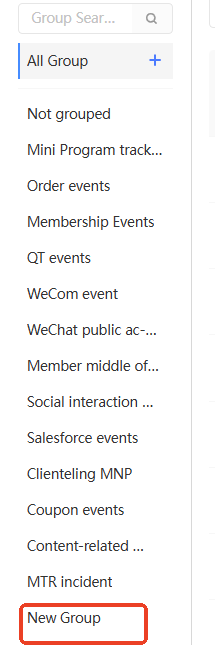
Click OK. The new group will be added to the directory.
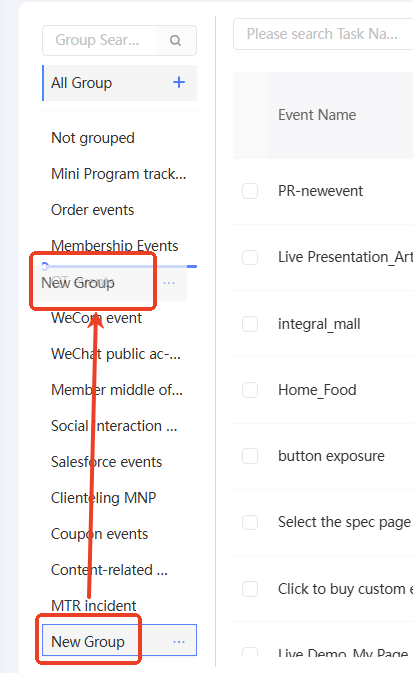
Drag and drop the group to the desired position. When the blue line appears, release the mouse to change the grouping order.
Rename a group
Move the pointer over the custom group. The ellipsis icon
 appears, as shown in the following figure. Click the ellipsis icon. The Rename button appears. Click Rename.
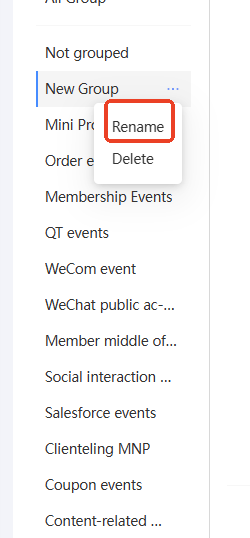

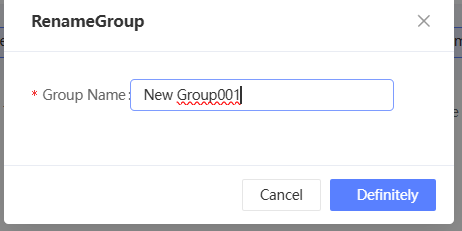
In the dialog box that appears, enter a new group name and click OK.
Deletes a group
Move the pointer over the custom group. The ellipsis icon
appears, as shown in the following figure. Click the ellipsis icon. The Delete button appears. Click Delete. 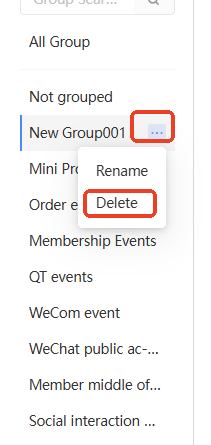
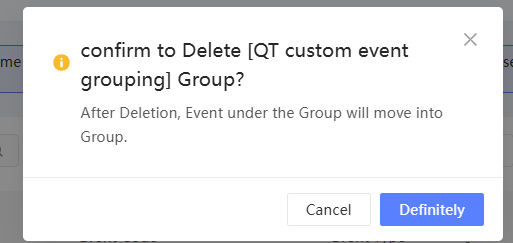
If the group does not contain events, the group will be deleted directly.
If the group contains events, click OK in the dialog box that appears. Events in the original group are moved to Ungrouped.
Event Mobile Group
You can move events to a specified group.
Move multiple events at a time: Select the events to be moved from the list and click Move Group below the list. In the panel that appears, select a group and click OK.
FAQ
What is the difference between the reported event data and the imported user behavior table?
Answer: Please note the following differences:
Item | Report event data | Import a user behavior table |
Data Source | Get real-time data. | The obtained offline data is stored in the MaxCompute computing source based on the User Behavior Table Data Requirements. |
References | User Behavior Table Structure Configuration and Scheduling Import | |
Data forwarding |
| Import and save data from a MaxCompute computing source to an analysis source. |
ID Mapping | The forwarding process is executed in Tablestore. | The forwarding process is executed on the MaxCompute computing source. |
Data Usage | Reported real-time data support for automated marketing. If stored, common behavior event data is saved as a user behavior table, and order event data is saved as an order detail table. Similar to imported tables, you can use the custom tags such as Audience Filtering, RFM Model, AIPL Model, and Preference Tags. | You can use custom tags such as Audience Filtering, AIPL Model, and Preference Tags. |
If the reported event data is not stored, how will the data flow?
Answer: The reported event data is not stored. The data transfer process is as follows:
After data is received, it is stored in the Tablestore instance that has the Tablestore Authorization Configuration. Then, it is ID Mapping in Tablestore in real time to obtain the user's unified identity (QAID).
NoteEvent data will go through this step regardless of whether storage is enabled. Once this is done, the event data can be used for automated marketing.
After the data is temporarily stored in the Tablestore instance for two days, it is automatically deleted and cannot be recovered.
For more information about the data forwarding process, see Enable/Disable Storage.