Spark on MaxCompute jobs can run in local mode or cluster mode. You can also run Spark on MaxCompute batch jobs (cluster mode) in DataWorks to integrate and schedule them with other node types. This topic describes how to configure and schedule Spark on MaxCompute jobs in DataWorks.
Overview
Spark on MaxCompute is a computing service from MaxCompute that is compatible with open source Spark. Built on a unified compute resource and dataset permission system, it provides a Spark computing framework that lets you submit and run Spark jobs using familiar development methods to meet a wide range of data processing and analytics needs. In DataWorks, you can use a MaxCompute Spark node to schedule and run Spark on MaxCompute tasks and integrate them with other jobs.
Spark on MaxCompute supports development in Java, Scala, and Python, and tasks can run in local mode or cluster mode. In DataWorks, Spark on MaxCompute batch jobs run in cluster mode. For more information about Spark on MaxCompute runtime modes, see Runtime modes.
Permissions
(Optional, required for RAM users) The RAM user used for task development must be added to the corresponding workspace and granted the developer or workspace administrator role (use caution when granting workspace administrator, as it has extensive permissions). For more information about adding members, see Add members to a workspace.
If you are using an Alibaba Cloud account, you can skip this step.
Limitations
If an error occurs when you submit a MaxCompute Spark node that uses Spark 3.x, purchase and use a serverless resource group. For more information, see Use serverless resource groups.
Before you begin
MaxCompute Spark nodes support running Spark on MaxCompute batch jobs in Java/Scala and Python. Because the development steps and configuration interface differ for each language, choose the one that best fits your business needs.
Java/Scala
Before running Java or Scala code in a MaxCompute Spark node, you must first develop the Spark on MaxCompute job code locally and then upload it to DataWorks as a MaxCompute resource. Follow these steps:
Set up a development environment.
Based on your operating system, prepare a development environment to run your Spark on MaxCompute task. For more information, see Set up a Linux development environment or Set up a Windows development environment.
Develop the Java/Scala code.
Before running Java or Scala code in a MaxCompute Spark node, develop the Spark on MaxCompute code in your local or existing environment. We recommend using the Overview provided by Spark on MaxCompute.
Package and upload the code to DataWorks.
After developing the code, package it and upload it to DataWorks as a MaxCompute resource. For more information, see Resource management.
Python (default Python environment)
In DataWorks, you can develop a PySpark job by writing code directly into a DataWorks Python resource, and then submit and run the code logic by using a MaxCompute Spark node. For information about creating a Python resource in DataWorks. For a PySpark development example, see Develop a Spark on MaxCompute application by using PySpark.
This approach uses the default Python environment provided by DataWorks, and the third-party packages that it can directly depend on are limited. If the default environment cannot meet the third-party dependency requirements of your PySpark job, refer to the Development language: Python (custom Python environment) section below to prepare your own Python environment to run tasks. You can also choose PyODPS 2 nodes and PyODPS 3 nodes, which provide better support for Python resources.
Python (custom Python environment)
If the default Python environment provided by the platform cannot meet your business requirements, follow these steps to customize the Python environment and run your Spark on MaxCompute tasks.
Prepare a Python environment locally.
Refer to PySpark Python versions and dependency support to configure an available Python environment based on your business needs.
Package the environment and upload it to DataWorks.
Compress the Python environment into a ZIP package and upload it to DataWorks as a MaxCompute resource to serve as the runtime environment for subsequent Spark on MaxCompute tasks.
Configuration items
DataWorks runs Spark on MaxCompute batch jobs in cluster mode. In cluster mode, you must specify a custom program entry point main. When main finishes (that is, its status is Success or Fail), the corresponding Spark job ends. In addition, each configuration in spark-defaults.conf must be added individually to the configuration items of the MaxCompute Spark node, such as the number of executors, memory size, and spark.hadoop.odps.runtime.end.point.
You do not need to upload the spark-defaults.conf file. Instead, add the configurations in spark-defaults.conf one by one to the configuration items of the MaxCompute Spark node.
Configurations for Java/Scala
Parameter | Description | Corresponding spark-submit option |
Spark Version | Includes Spark1.x, Spark2.x, and Spark3.x. Note If an error occurs when you submit a MaxCompute Spark node that uses Spark 3.x, purchase and use a serverless resource group. For more information, see Use serverless resource groups. | — |
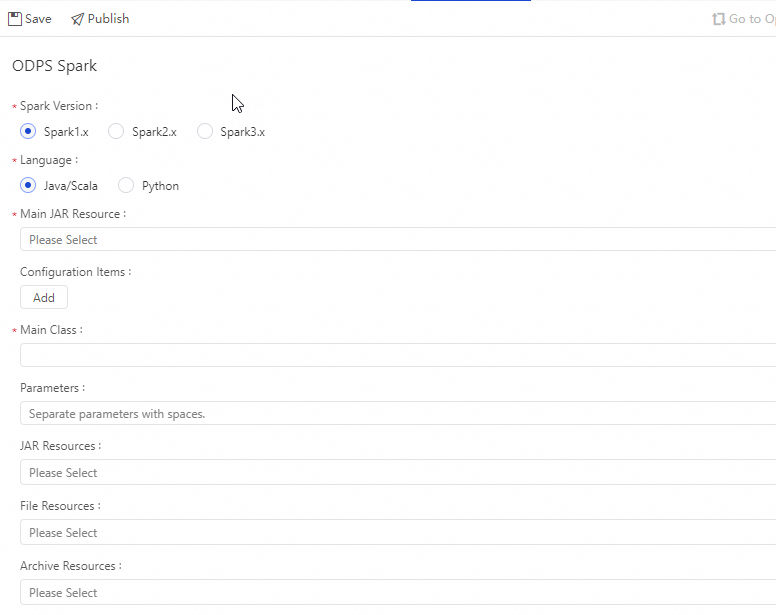
Language | Select Java/Scala or Python here. Choose based on your actual Spark on MaxCompute development language. | — |
Main JAR Resource | Specifies the main JAR resource file or main Python resource used by the task. The resource file must be uploaded to DataWorks and submitted in advance. For more information, see Resource management. |
|
Configuration Item | Specifies the configuration items used when submitting the job. Note:
|
|
Main Class | The name of the main class. This parameter is required when the development language is |
|
Parameter | You can add parameters as needed, separating multiple parameters with spaces. DataWorks supports scheduling parameters. The format of Parameter here is For the supported assignment formats of scheduling parameters, see Scheduling parameter sources and expressions. |
|
JAR Resources | Available only when the development language is The resource file must be uploaded to DataWorks and submitted in advance. For more information, see Resource management. | Resource command:
|
File Resources | File resource. |
|
Archive Resources | Only resources compressed in ZIP format are listed. |
|
Configurations for Python
Parameter | Description | Corresponding spark-submit option |
Spark Version | Includes Spark1.x, Spark2.x, and Spark3.x. Note If an error occurs when you submit a MaxCompute Spark node that uses Spark 3.x, purchase and use a serverless resource group. For more information, see Use serverless resource groups. | — |
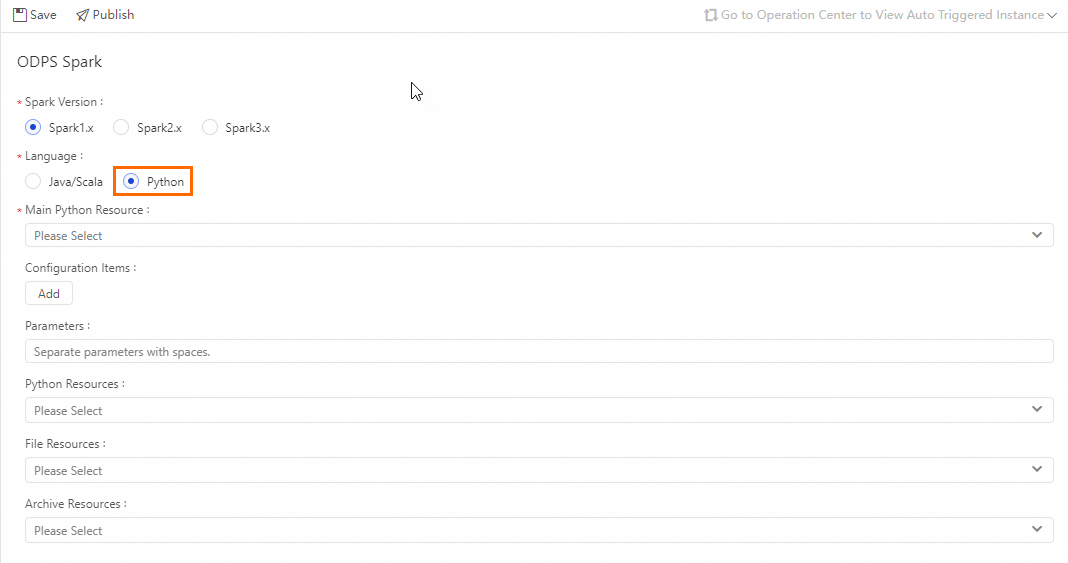
Language | Select Python here. Choose based on your actual Spark on MaxCompute development language. | — |
Main Python Resource | Specifies the main JAR resource file or main Python resource used by the task. The resource file must be uploaded to DataWorks and submitted in advance. For more information, see Resource management. |
|
Configuration Item | Specifies the configuration items used when submitting the job. Note:
|
|
Parameter | You can add parameters as needed, separating multiple parameters with spaces. DataWorks supports scheduling parameters. The format of Parameter here is For the supported assignment formats of scheduling parameters, see Scheduling parameter sources and expressions. |
|
Python Resources | Available only when the development language is The resource file must be uploaded to DataWorks and submitted in advance. For more information, see Resource management. |
|
File Resources | File resource. |
|
Archive Resources | Only compressed resources are listed. |
|
Procedure
Create a resource.
In the Resource Management section of the left-side navigation pane on the Data Studio page, click Create, select Create MaxCompute Spark Python resource, and name it
spark_is_number.py. For more information, see Resource management. The code is as follows:# -*- coding: utf-8 -*- import sys from pyspark.sql import SparkSession try: # for python 2 reload(sys) sys.setdefaultencoding('utf8') except: # python 3 not needed pass if __name__ == '__main__': spark = SparkSession.builder\ .appName("spark sql")\ .config("spark.sql.broadcastTimeout", 20 * 60)\ .config("spark.sql.crossJoin.enabled", True)\ .config("odps.exec.dynamic.partition.mode", "nonstrict")\ .config("spark.sql.catalogImplementation", "odps")\ .getOrCreate() def is_number(s): try: float(s) return True except ValueError: pass try: import unicodedata unicodedata.numeric(s) return True except (TypeError, ValueError): pass return False print(is_number('foo')) print(is_number('1')) print(is_number('1.3')) print(is_number('-1.37')) print(is_number('1e3'))Save the resource.
In the created MaxCompute Spark node, configure the node parameters and schedule settings. For more information, see Configuration items.
To run the node on a schedule, configure schedule information based on your business needs. For more information, see Configure node scheduling.
After configuring the node task, you must deploy the node. For more information, see Node and workflow deployment.
After the task is deployed, you can view the running status of scheduled tasks in Operation Center. For more information, see Get started with operation center.
NoteBecause the MaxCompute Spark node in Data Studio does not have a run entry, you must run Spark tasks from Operation Center in the development environment.
After the backfill data instance runs successfully, open the tracking URL in its runtime log to view the execution result.
References
For Spark on MaxCompute task development in other scenarios, see:
Spark FAQ: Learn about common issues during Spark execution so that you can quickly troubleshoot and resolve exceptions. For more information, see Spark FAQ.
Spark job diagnostics: MaxCompute provides the Logview tool and Spark WebUI for Spark jobs. You can check the job logs to verify that the job has been submitted and run properly. For more information, see Perform job diagnostics.