By Kelvin Galabuzi
Ghost is a popular, free, open-source blogging platform used to create and publish content to users worldwide. The platform is written in Node.js and is well-known for being a fast Content Management System (CMS), which is a key attraction for many businesses developing web content.
The following steps describe how to connect to a Simple Application Server instance on the Alibaba Cloud platform:
Note: This article assumes that you already have a running Simple Application Service instance with a domain name associated with it.
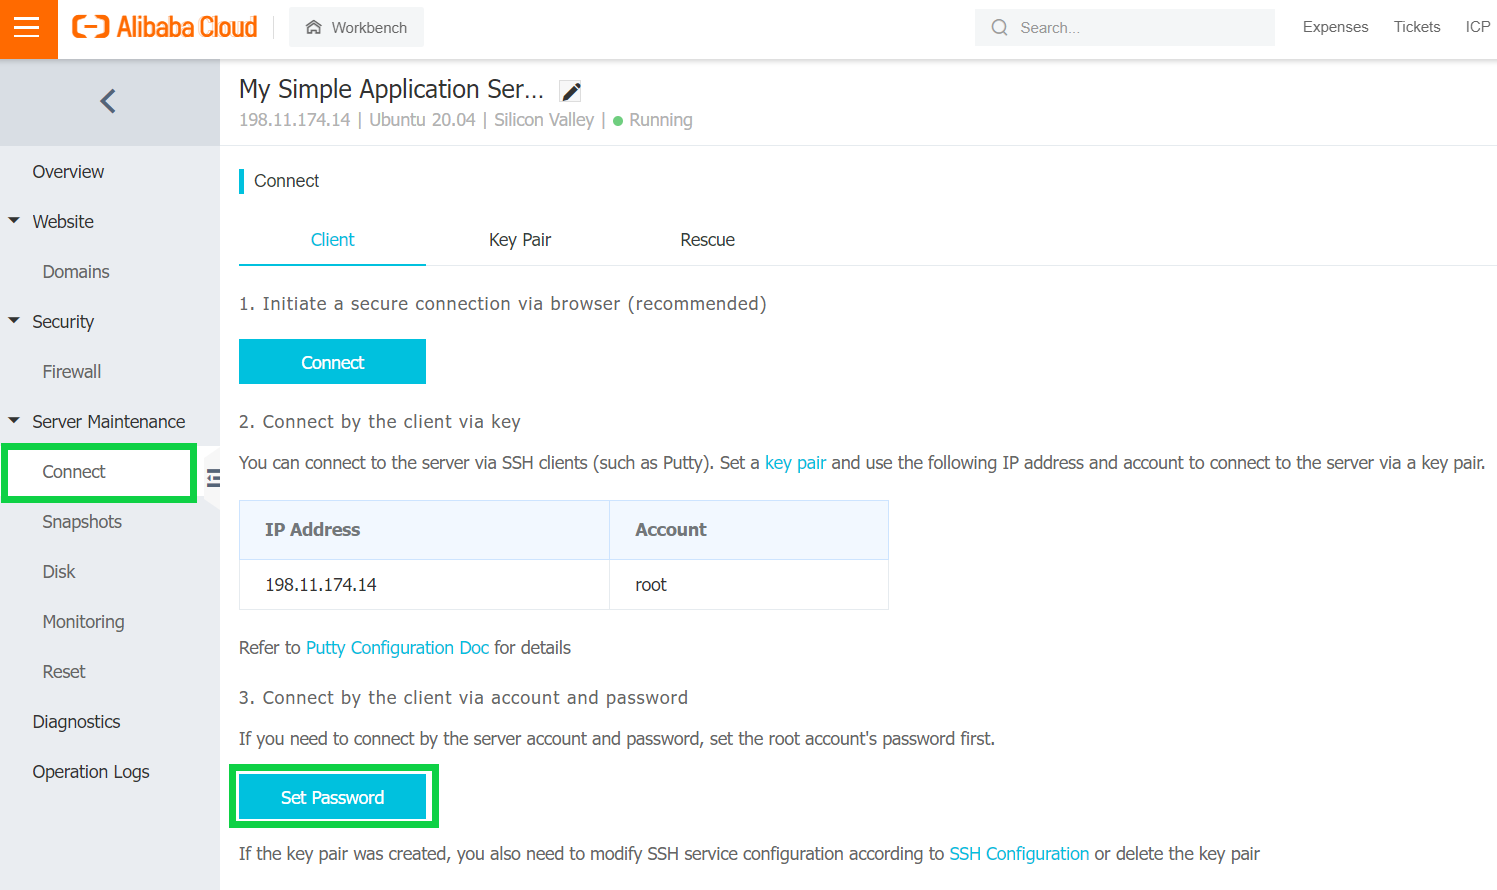
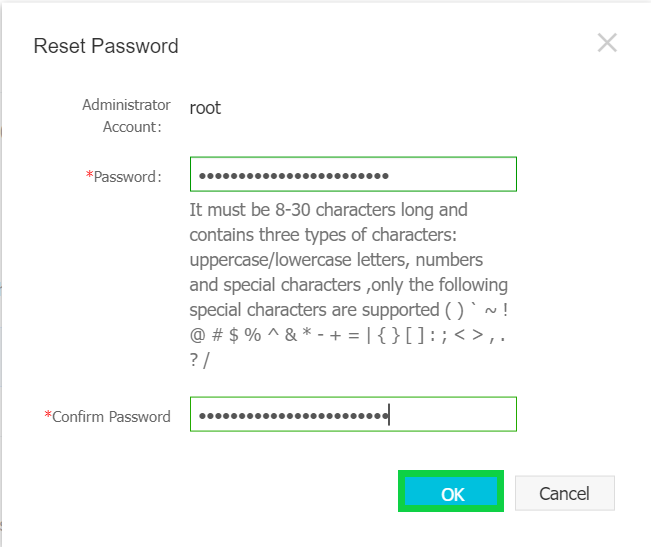
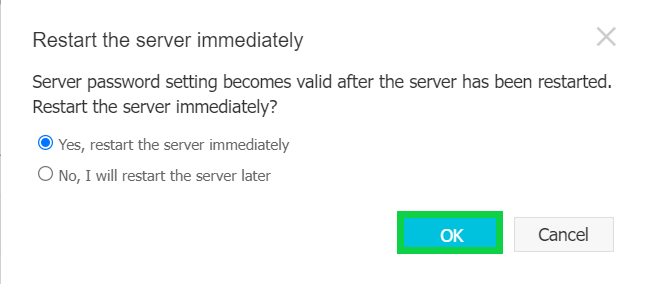
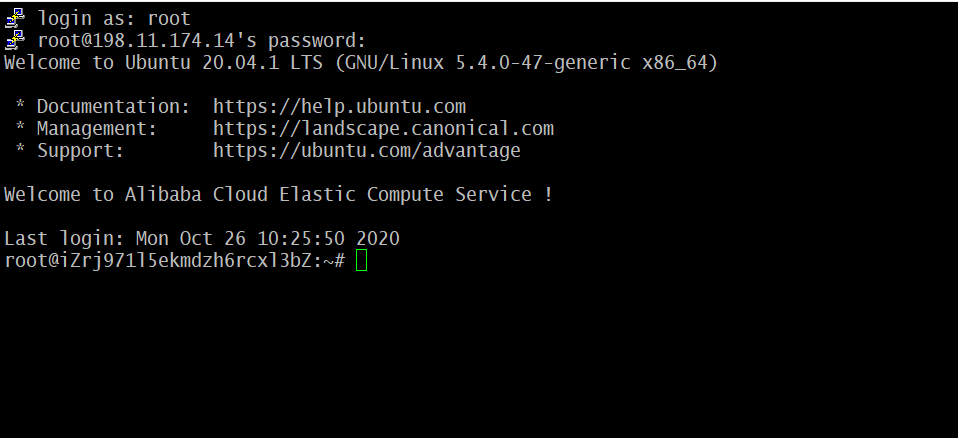
The following steps describe how to install Ghost to the Simple Application Server on Alibaba Cloud.
adduser ghostuser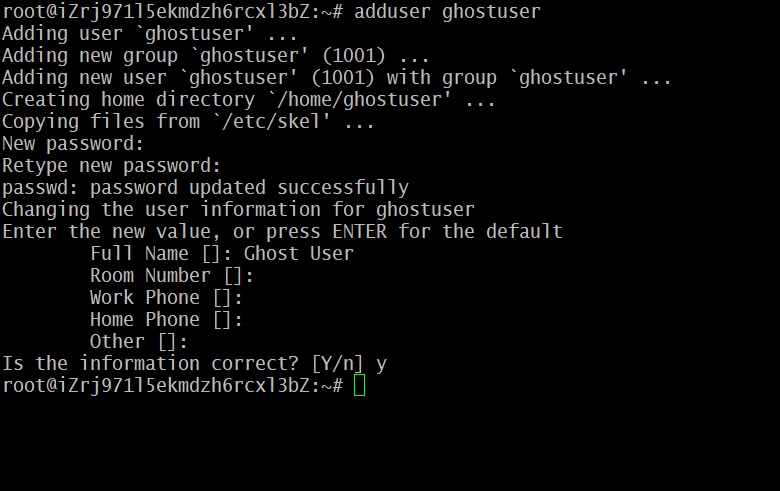
usermod -aG sudo ghostusersu – ghostuser
-Step 4: Update the packages on your system running the following commands:
sudo apt-get update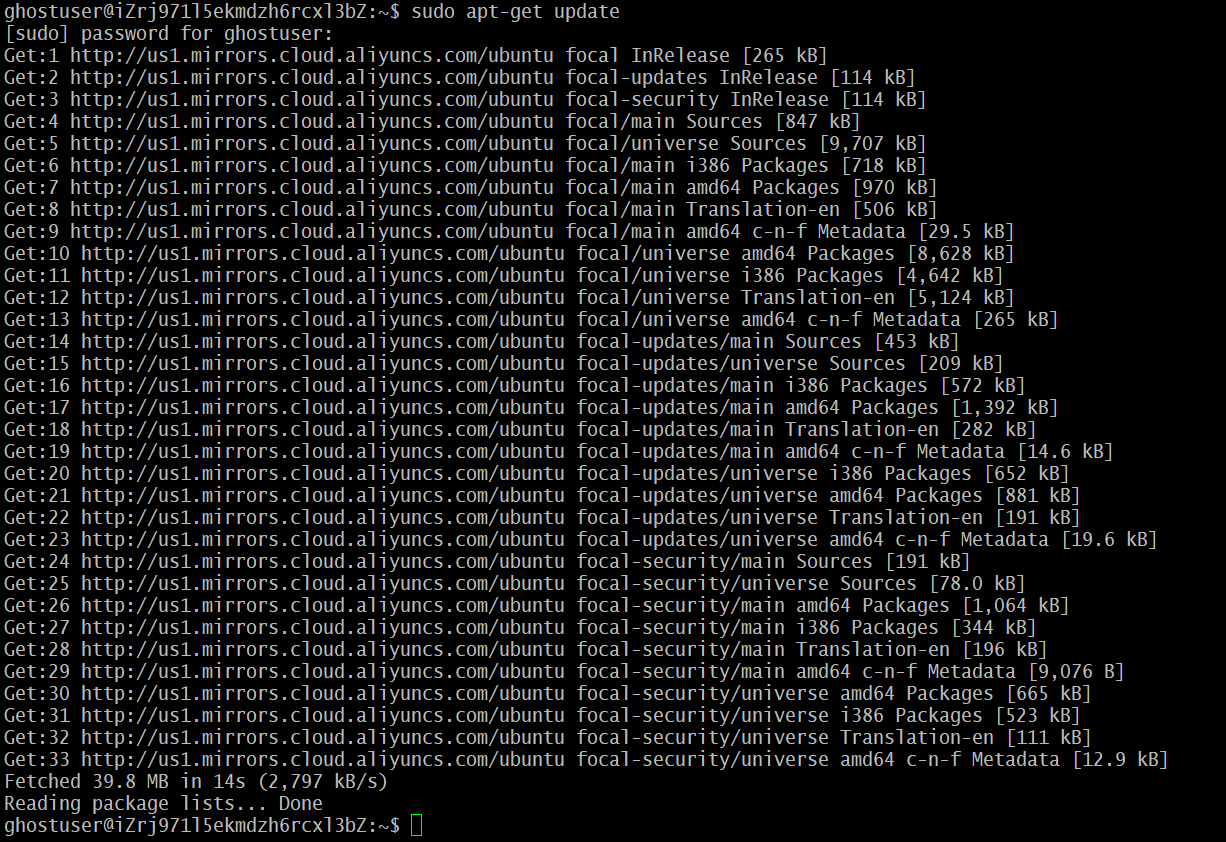
sudo apt-get upgrade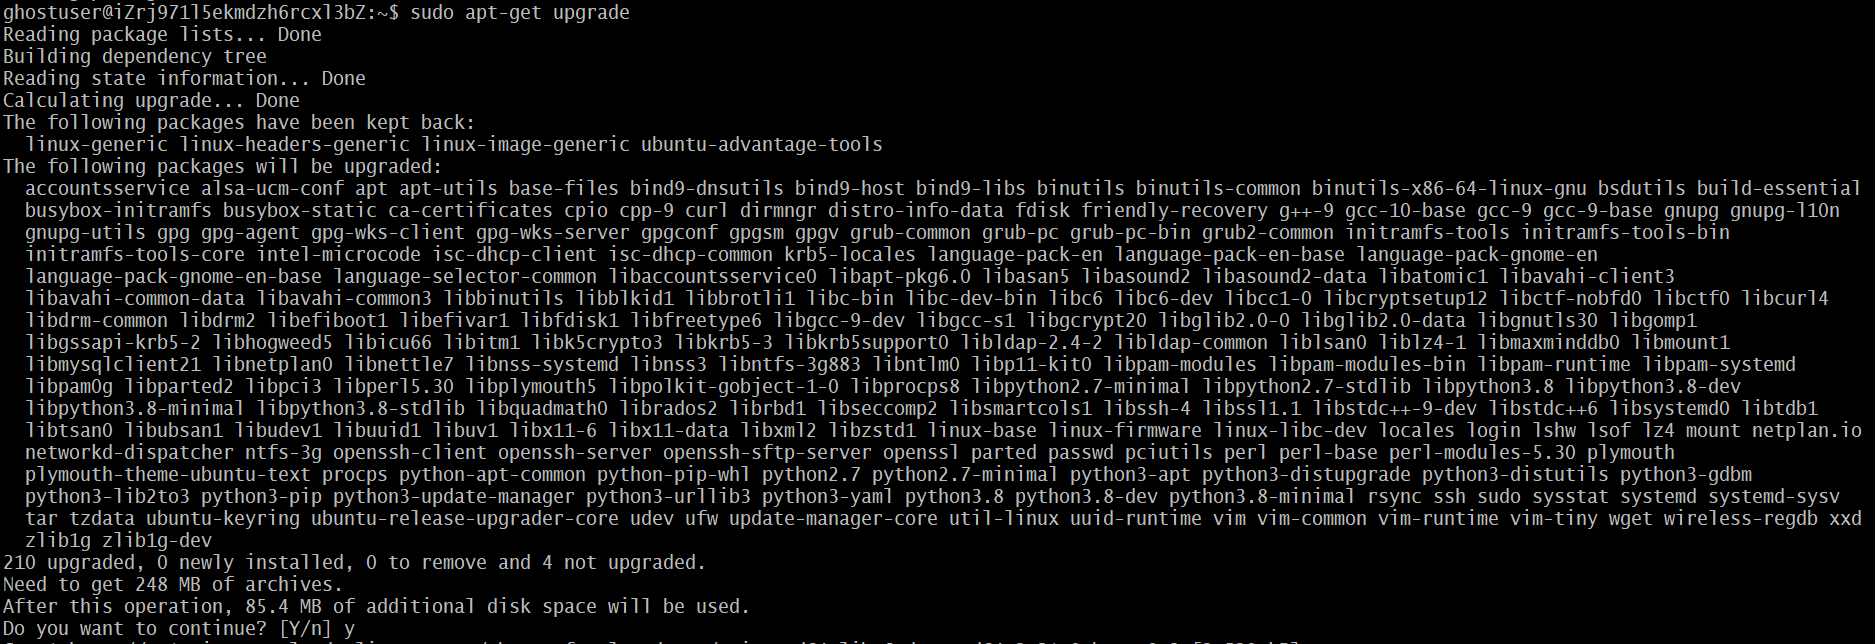
sudo apt-get install nginx
-Step 6: Open up the firewall to allow NGINX:
sudo ufw allow 'Nginx Full'sudo apt-get install mysql-server
sudo mysqlALTER USER 'root'@'localhost' IDENTIFIED WITH mysql_native_password BY 'ghostpass22';Quit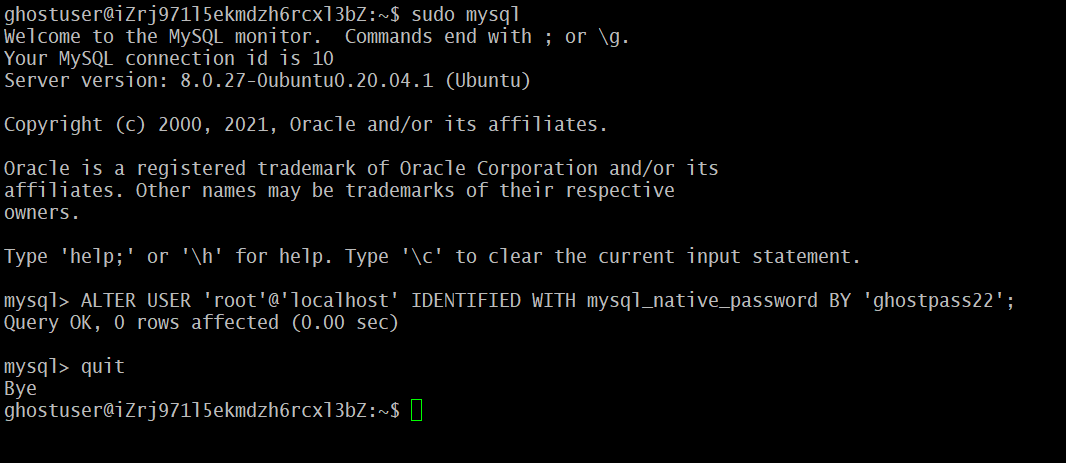
curl -sL https://deb.nodesource.com/setup_14.x | sudo -E bash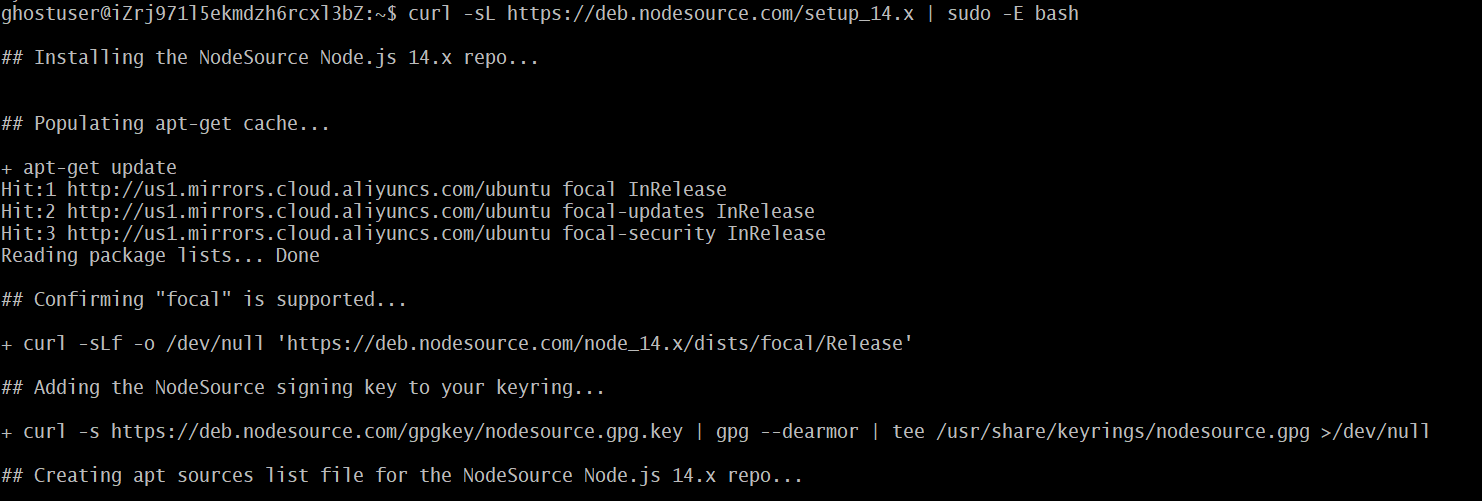
sudo apt-get install -y nodejs
sudo npm install ghost-cli@latest -g
sudo mkdir -p /var/www/buzzyshirts
sudo chown ghostuser:ghostuser /var/www/buzzyshirtssudo chmod 775 /var/www/buzzyshirts/
ghost install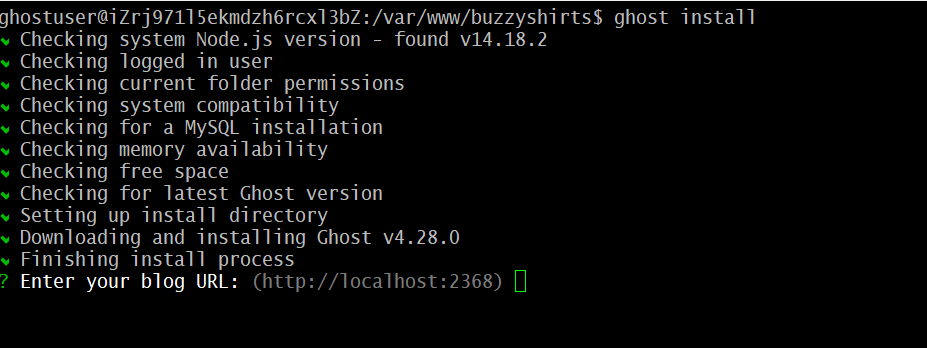
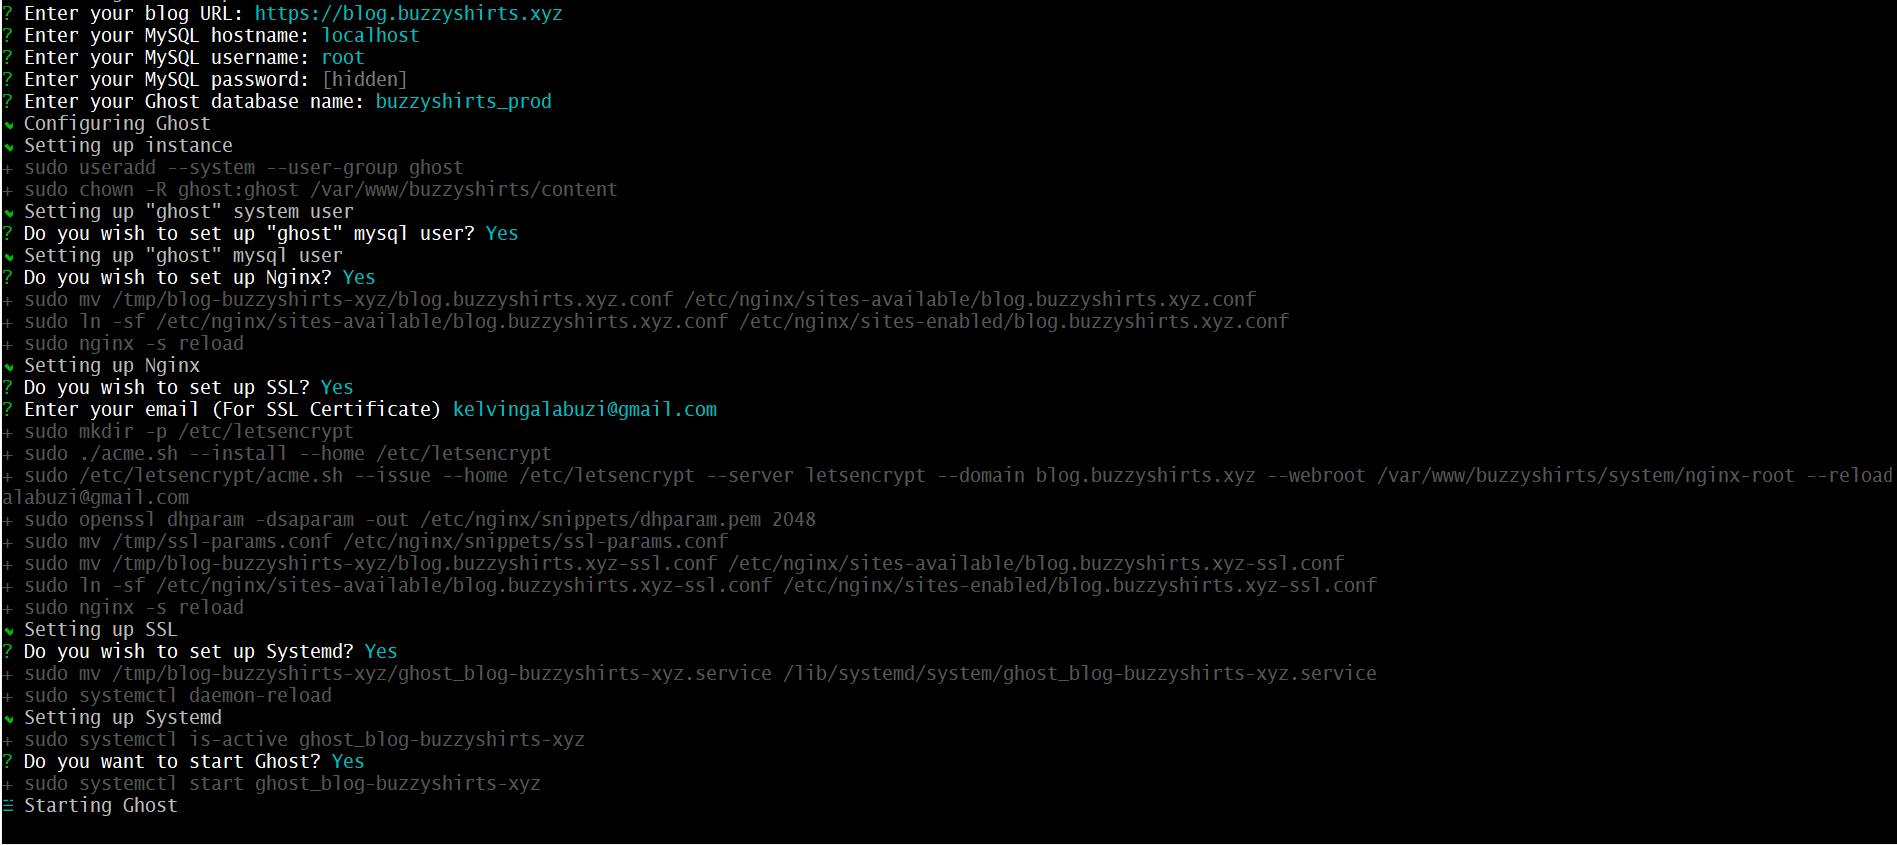
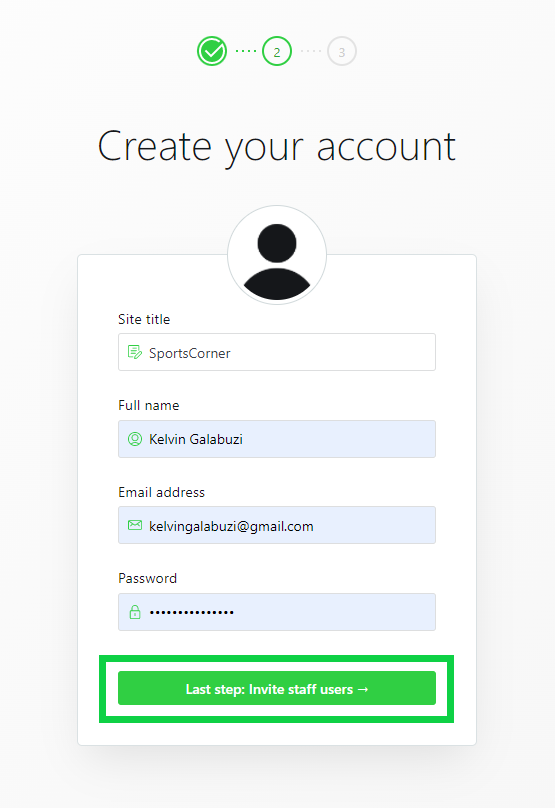
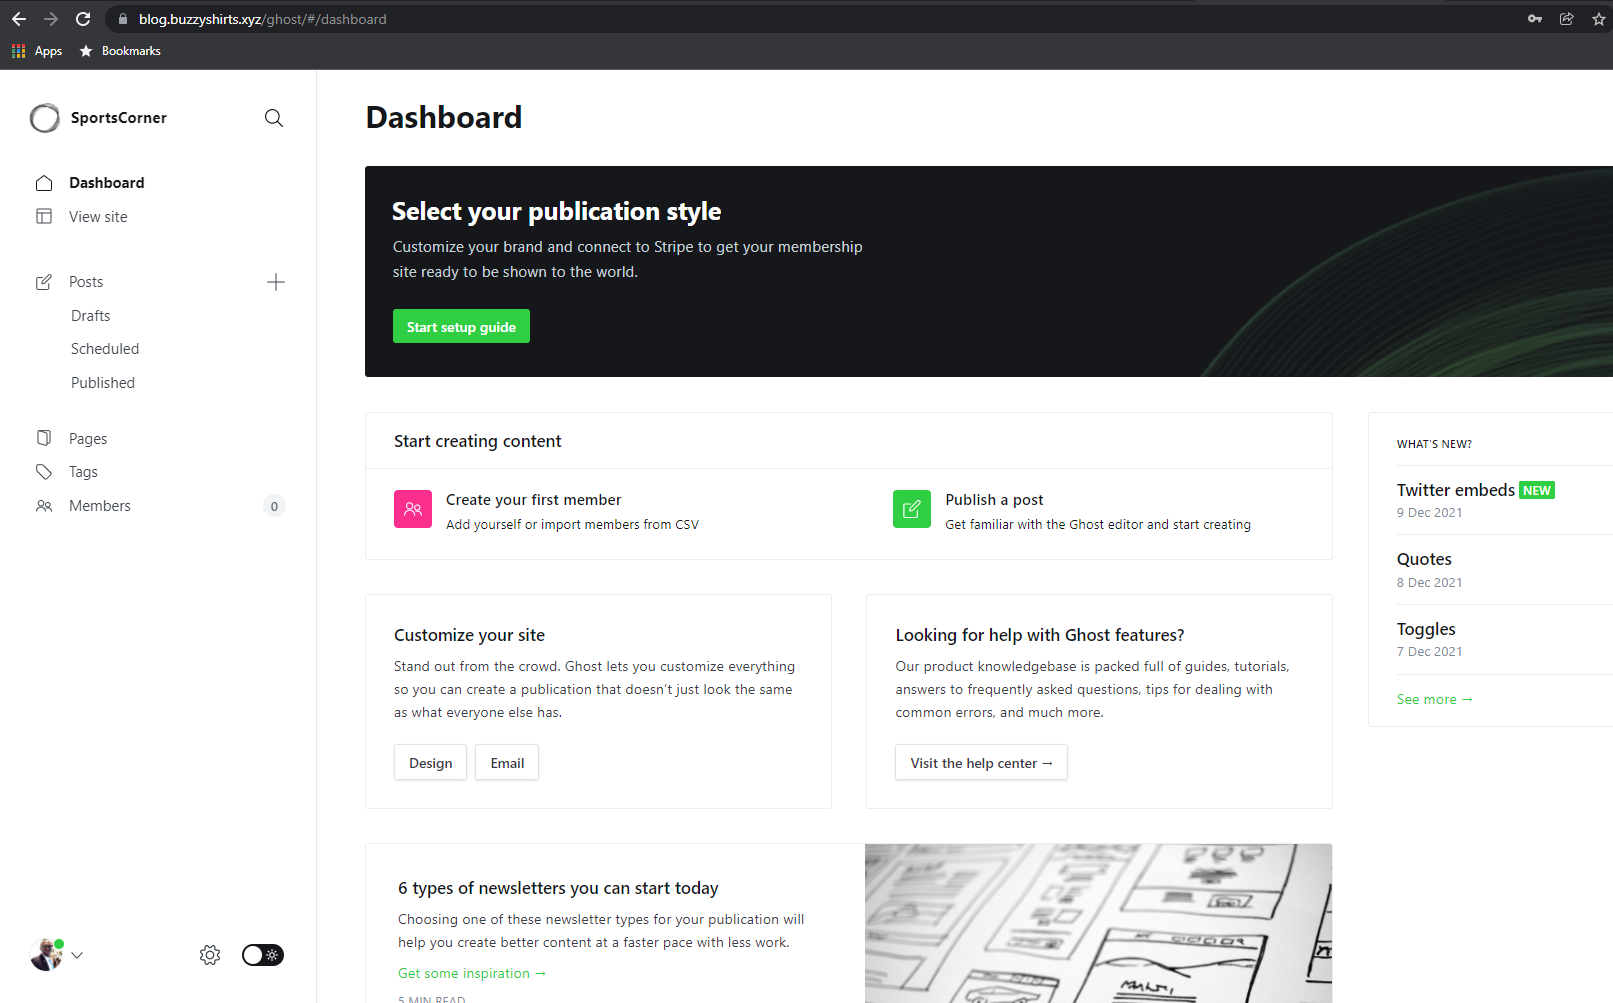
Step 14: Insert the following parameters:


The Three Pillars of Alibaba Cloud’s Well-Architectured Framework

1,304 posts | 461 followers
FollowAlibaba Clouder - May 5, 2019
Alibaba Clouder - May 6, 2019
Alibaba Clouder - December 19, 2018
Alibaba Clouder - May 6, 2019
Alibaba Cloud Community - January 10, 2024
Alibaba Clouder - August 13, 2020

1,304 posts | 461 followers
Follow Simple Application Server
Cloud-based and lightweight servers that are easy to set up and manage
Learn More Server Load Balancer
Respond to sudden traffic spikes and minimize response time with Server Load Balancer
Learn More Web Hosting Solution
Explore Web Hosting solutions that can power your personal website or empower your online business.
Learn More ApsaraDB RDS for SQL Server
An on-demand database hosting service for SQL Server with automated monitoring, backup and disaster recovery capabilities
Learn MoreMore Posts by Alibaba Cloud Community