When carrying a computer is impractical, such as during device patrol or production reporting, use mobile form filling to enter data efficiently on your phone.
Access the feature
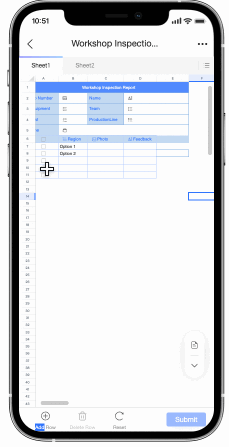
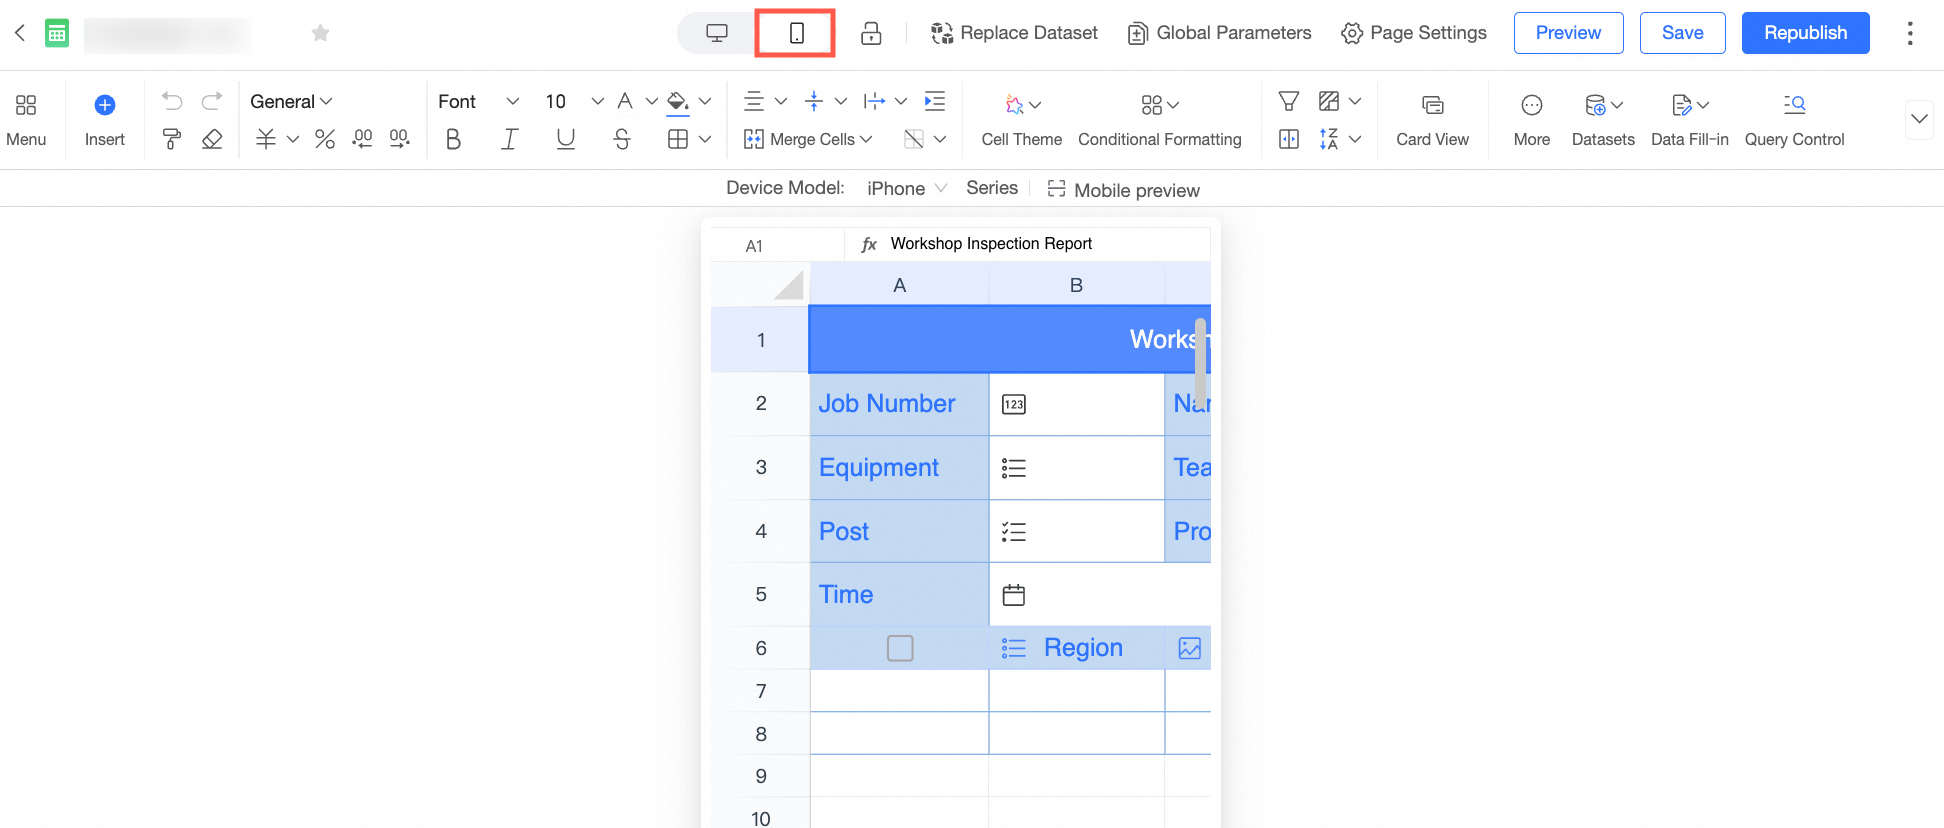
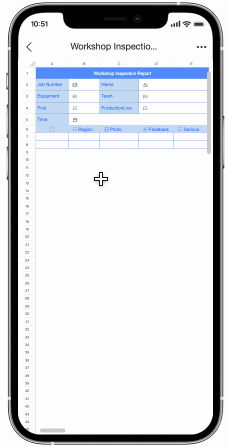
After creating a form filling or dataset filling, click the mobile switch button at the top of the menu bar to open the mobile editing page.
Data entry operations
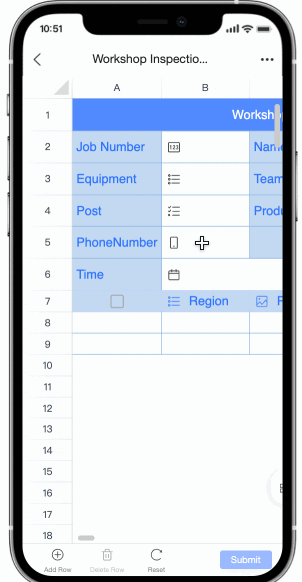
Fill a single cell
-
Double-tap a cell to open the input box and enter data.
Fill a table row by row
-
To enter data into multiple cells at once, tap the toolbar
 in the lower-right corner and tap Fill to enter view mode, where you can fill data row by row.
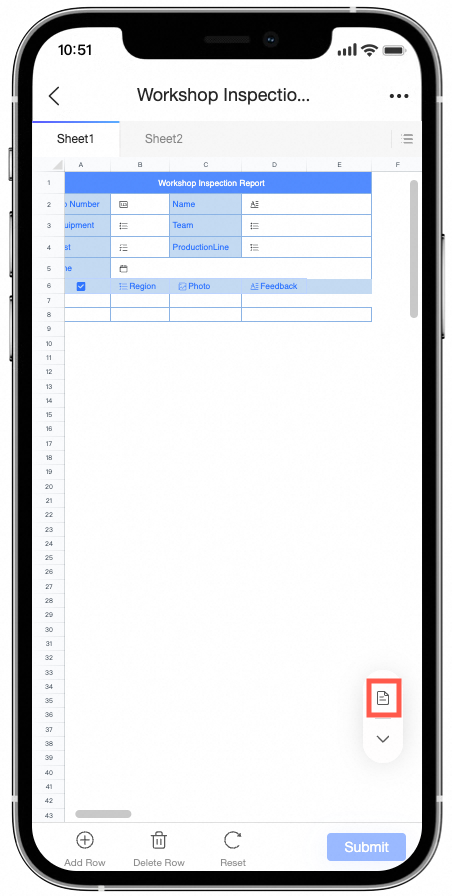
-
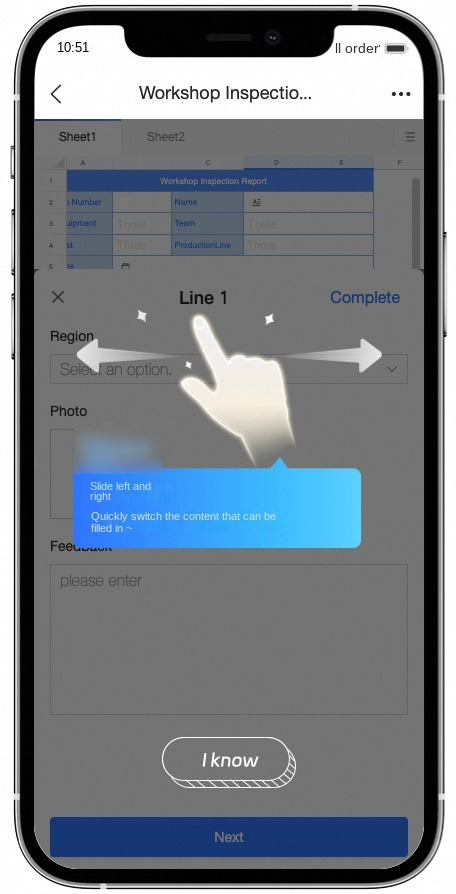
In the filling view, swipe left or right to switch between fillable fields.
-
The following image shows an example.

Combined filling
-
If your form contains both discrete fillable cells and a form filling area, you can enter data into individual cells or switch to the filling view to fill data row by row.
 Note
NoteThe filling view includes only the form filling area and excludes any discrete fillable cells.
Bottom toolbar
The bottom toolbar appears only after you configure form filling. For details, see form filling.
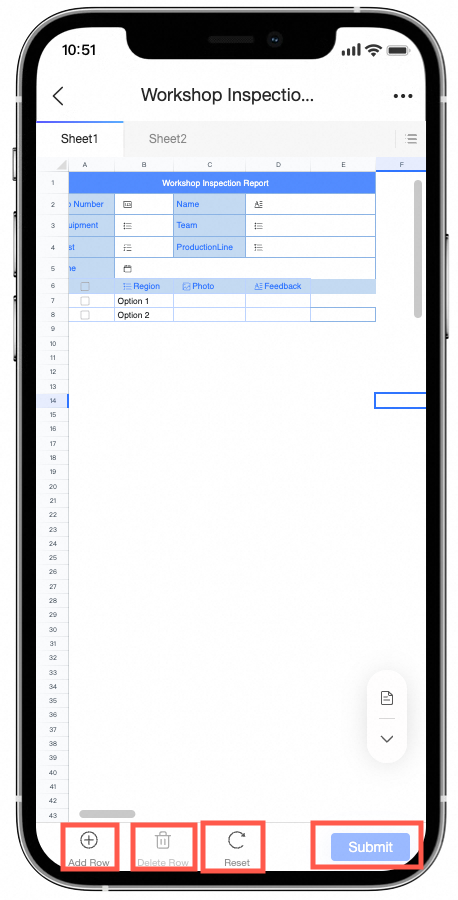
|
Actions |
Description |
|
Add Row |
Inserts a new row below the currently selected cell.
|
|
Delete Row |
Deletes the currently selected row from the filling area.
|
|
Reset |
Discards all unsaved changes in the filling area.
|
|
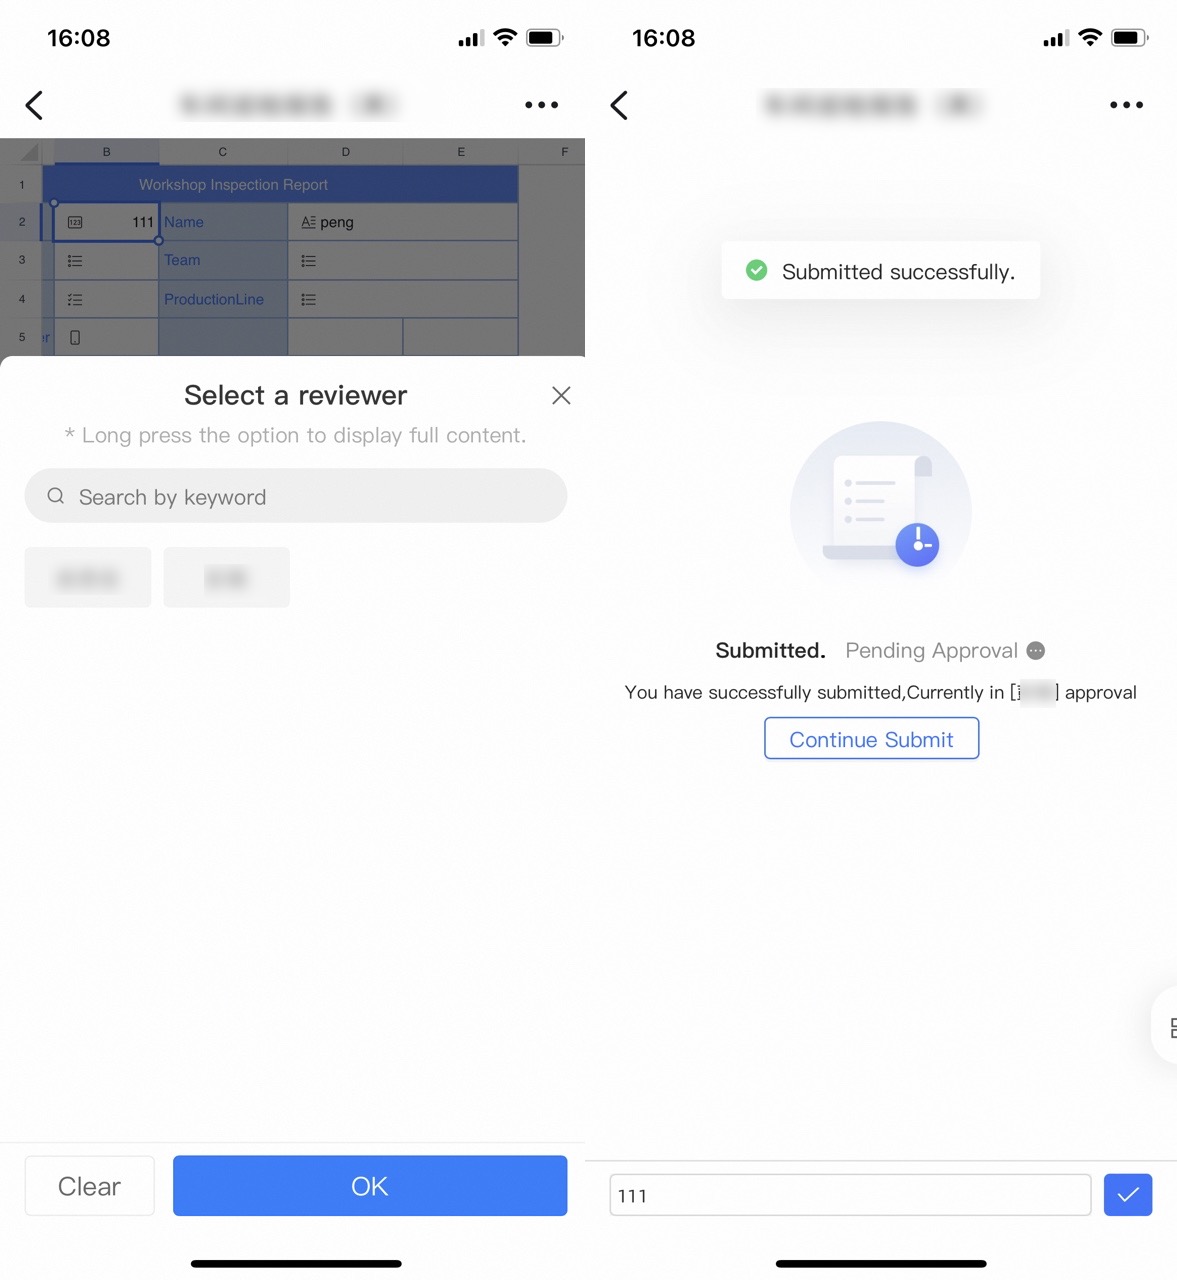
Submit |
Submits the data you entered. If storage approval is configured with multiple approvers, the approver selection page opens. |