User stage tags filter users based on your segmentation logic, similar to audience filtering, and assign different hierarchical tags to each segment. For example, you can tag users whose total purchase amount is greater than or equal to 1000 and who like food with Marketing Priority "Priority 1", and tag users whose total purchase amount is between 100 and 999 in Group A with "Priority 2".
You can use the following methods to set filter conditions:
-
Filter users by specified tag values based on the User Tags, including User Attributes and Custom Tags. Multiple conditions can be combined with AND or OR. For example, filter users whose province is Zhejiang and gender is female.
-
Based on the AIPL Model, you can filter users by AIPL model type or flow status.
-
Filter by type: Select users in the cognition, interest, purchase, or loyalty phase.
-
Filter by Flow Status: Select users whose AIPL model phase has changed. For example, select users who transitioned from the cognition phase to the purchase phase.
-
-
Based on the RFM Model, filter users by type, such as high-value users.
-
Use User Behavior and Order Details data to filter users whose behavior or order records meet specific criteria. For example, find all users who purchased product A from offline stores in the last 30 days.
NoteIf you enable event storage in Event Hub, the stored user behavior data and order details can also be used for user stage tags.
-
Based on Statistical Table data, filter users who meet specified metric and dimension requirements. For example, find users whose mobile device is in a specific city and who logged in to the app at least once in the last seven days.
-
Select an existing Audience, such as All Users of Group A.
You can combine any of these methods and use AND, OR, and difference operations to determine the final set of users to tag.
Create user stage tags
User stage tag filtering can involve various data sources. For information about importing, creating, or reporting this data, see the links above.
To create a user stage tag:
-
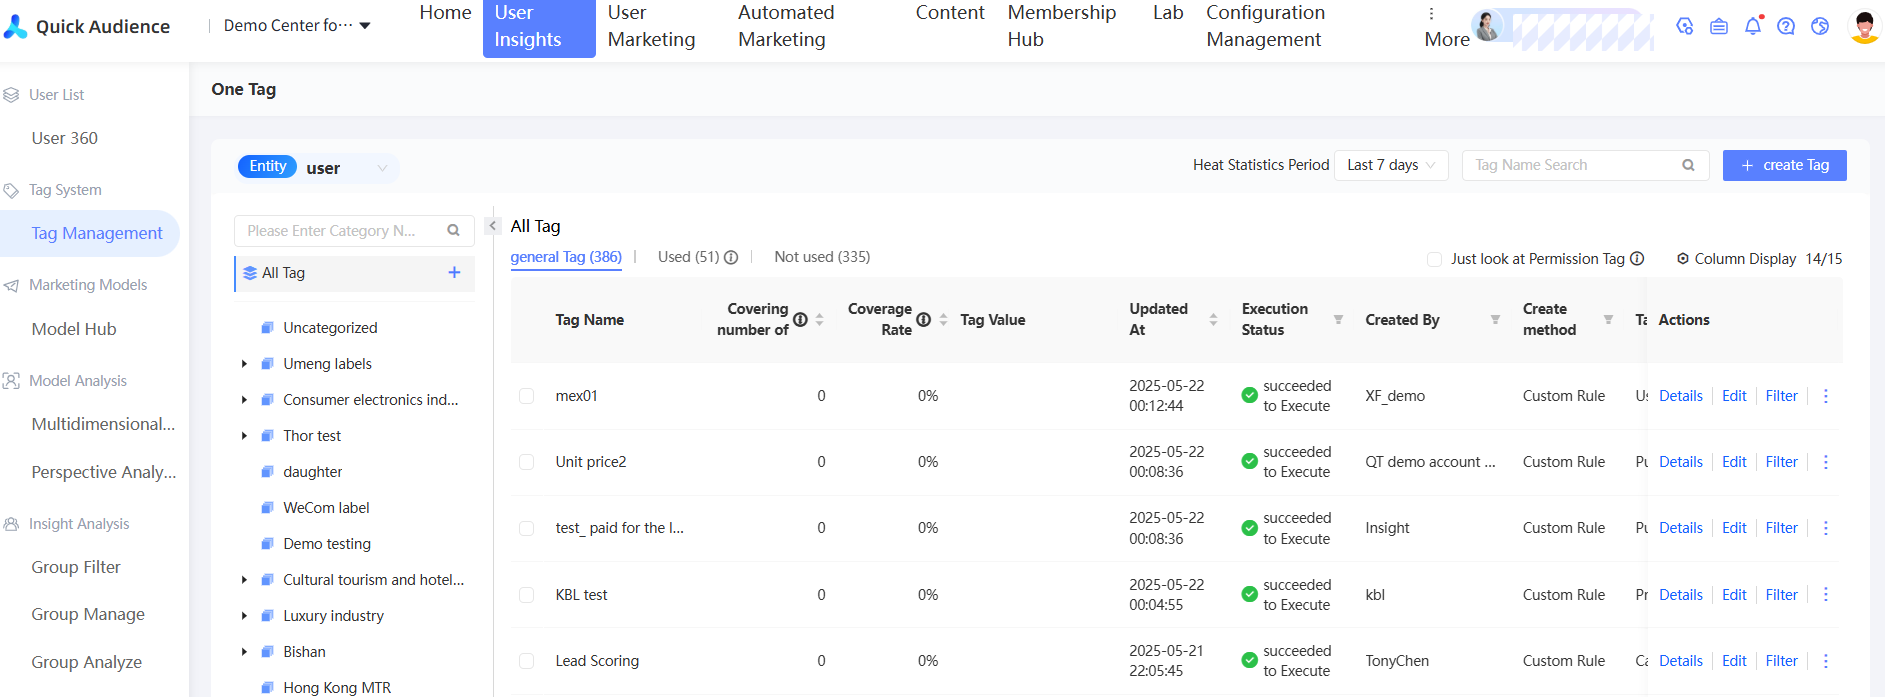
Choose Workspace> User Insight > User Tags > Tag Management.
-
Click New Tag in the upper-right corner.
-
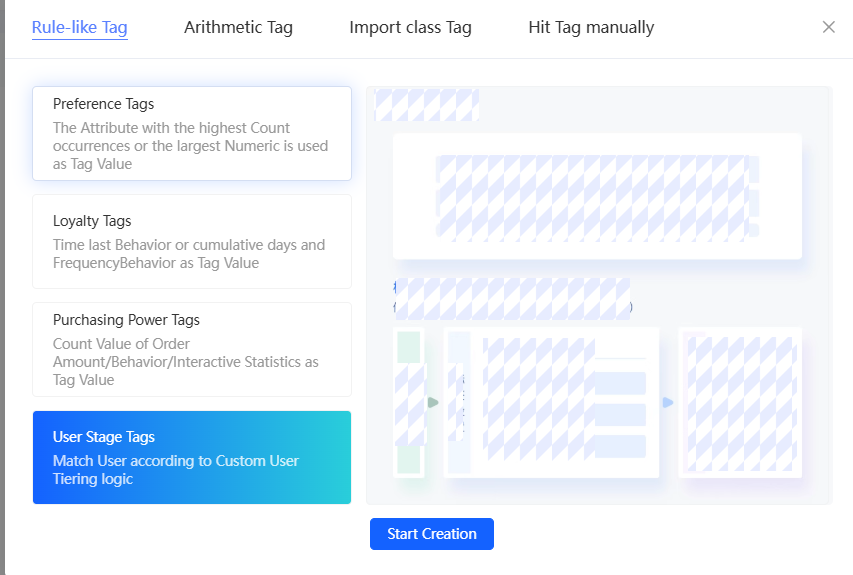
In the dialog box that appears, select User Stage tag and click OK.
-
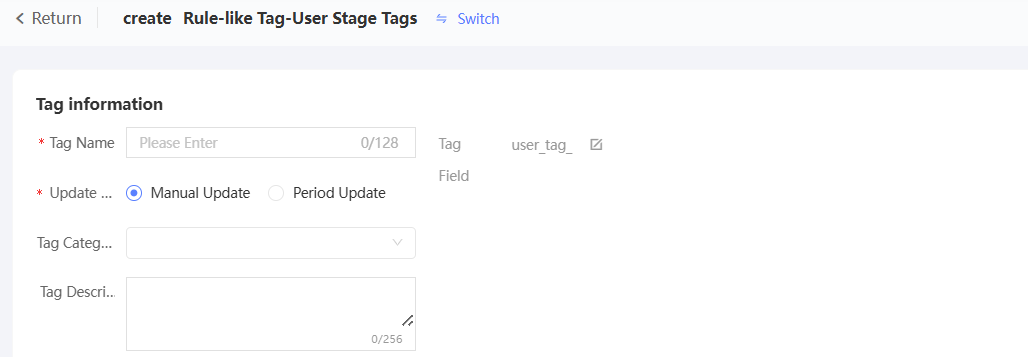
Configure the parameters in the Basic Information section.
-
Enter a tag name. Click the
 icon next to the tag field to customize the tag field name. The prefix is fixed to "user_tag_". If you do not customize the tag field name, the system will generate a field name based on the tag name.
 -
Set whether tags are manually updated or automatically updated on a periodic basis. The periodic basis supports daily, weekly, and monthly.
-
Select a tag category. The default category is "Unclassified".
-
Enter a tag description.
-
-
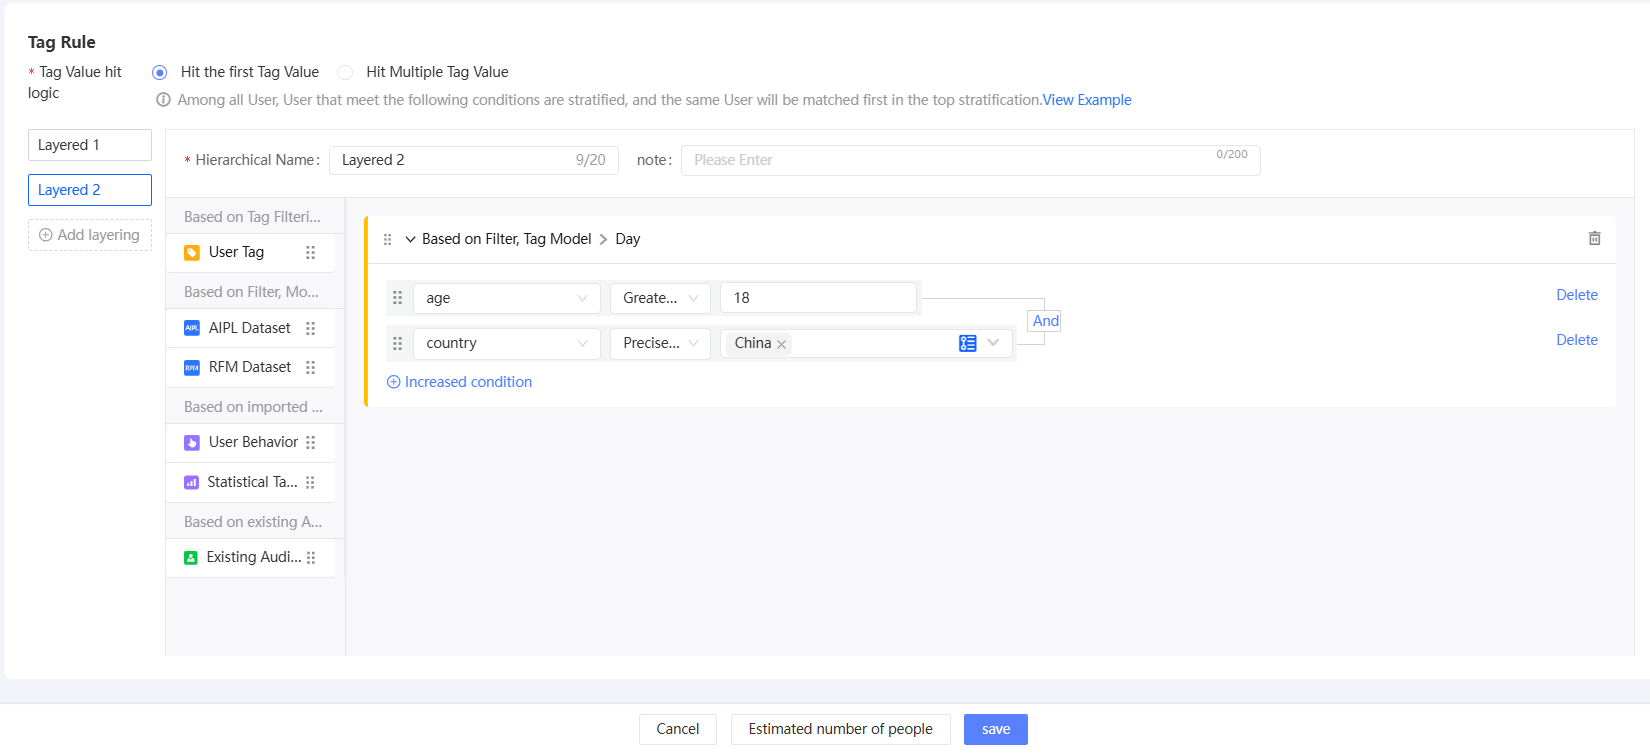
Configure tag rules.
-
Enter a layer name and note. The layer name is the tag value.
-
Set the filtering rules for this layer. The method is the same as that for crowd filtering. For more information, see Audience Filtering.
-
Click Add Layer in the left-side navigation pane to add a layer. A maximum of 20 layers are supported.
To delete a layer, move the pointer over the layer name on the left. The delete icon
 appears. Click and confirm to delete.
-
-
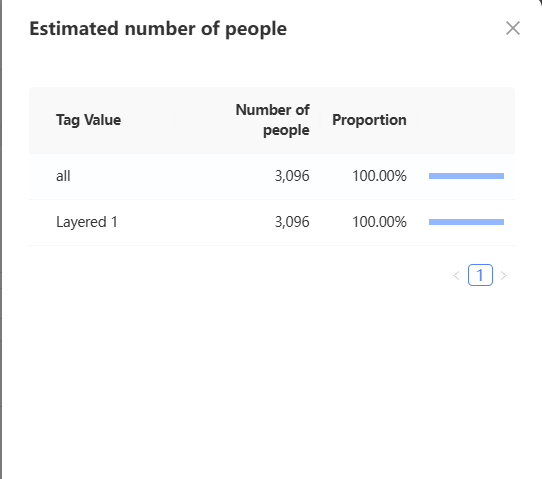
After the configuration is complete, click Estimate Number of Users in the lower part of the page. On the page that appears, you can estimate the number of users and the coverage rate of each tag.
-
Click Save. The custom tag is created.
The tag you created is added to the tag list in the Executing state. You can use the tag only after its status changes to Executing. For more information, see Tag Management.