Extract subjects and remove unwanted objects from images using AI-powered cutout and erase tools in the AI Creation Center.
Prerequisites
A super administrator or Drive administrator has enabled AI Assistant.
A super administrator or Drive administrator has enabled image editing.
Limits
Item | Limit |
Image size | Up to 20 MB |
Concurrent editing | Up to 50 images at a time |
Supported formats | JPG, JPEG, BMP, PNG, HEIC, WebP, TIFF, AVIF |
Open AI Assistant
In the upper-right corner, click the AI Assistant icon to open the feature panel, and then select an AI image processing tool.

AI image processing
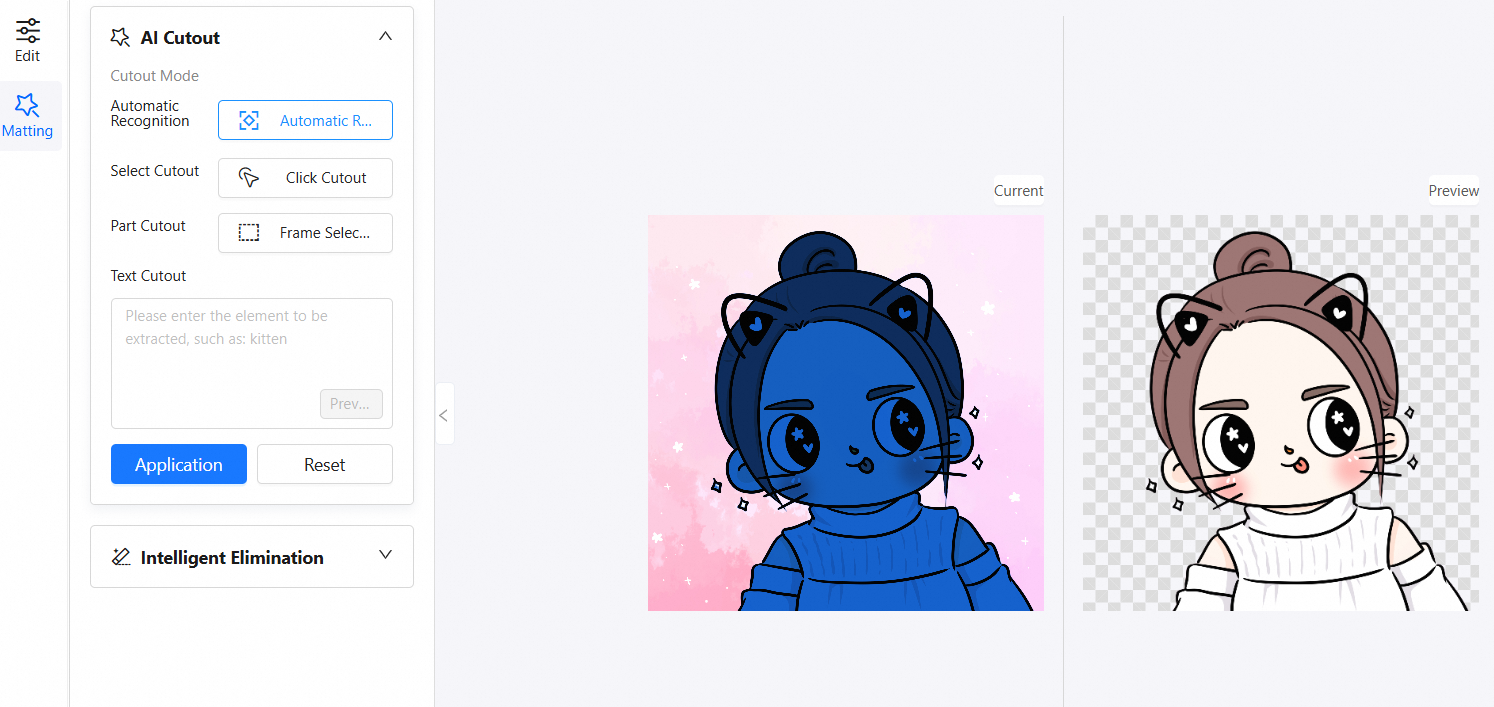
AI Cutout
Four methods are available to extract subjects from an image:
Auto detect: Automatically identifies and separates the subject with a single click. Best for images with clear, simple backgrounds.
Point seleconti: Click the areas to keep. The system expands the selection automatically. Best for extracting parts of an image with a complex background.
Marquee selection: Drag to draw a box around a specific area to cut it out. Best for extracting elements within a defined region.
Text-based cutout: Enter a description such as "cat", and the AI detects and extracts the matching element. Best for extracting subjects by name or category.
Each method is suitable for different scenarios. Select the tool that best fits your needs to create high-quality cutouts.
Smart Erase
Smart Erase removes unwanted objects from an image. Three methods are available:
Point selection: Click the target area to erase it and automatically fill in the background.
Marquee selection: Draw a box around the area to remove. Suitable for larger or irregularly shaped objects.
Text-based removal: Enter a description of the content to remove, such as "cat", and the AI detects and removes the matching element.
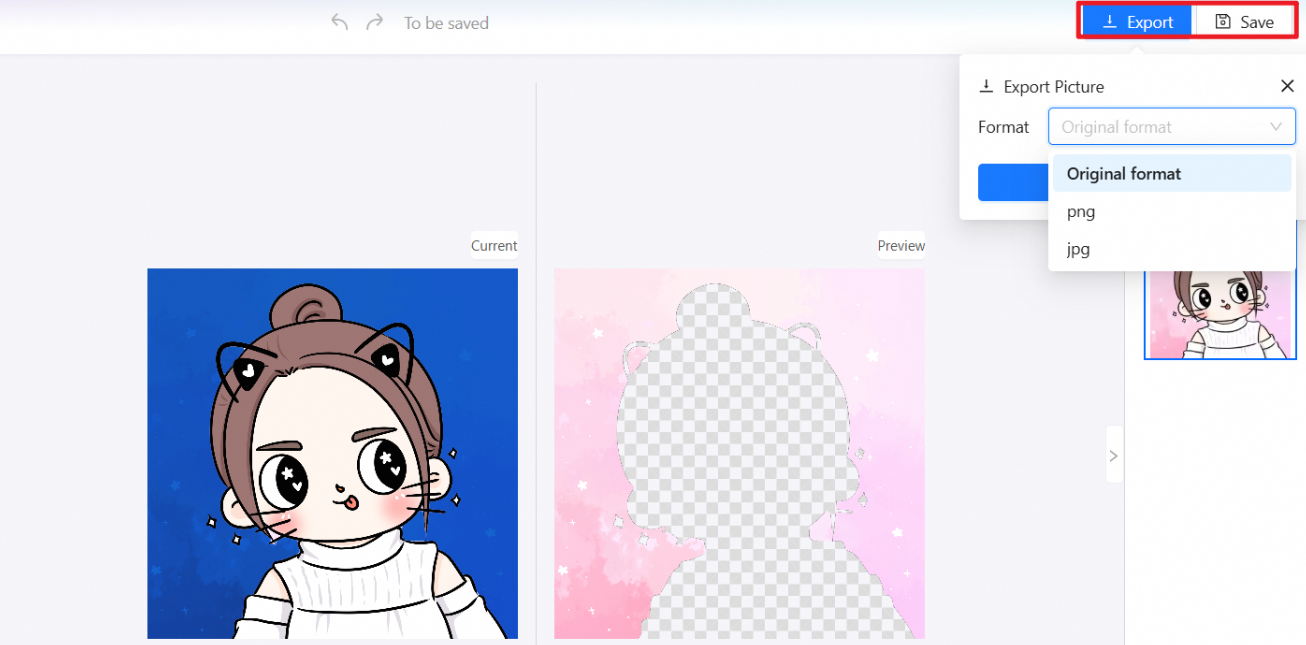
Export or save
After you finish editing, use Export or Save to store or share the processed image.
Export: Click Export in the upper-right corner to download the edited image to your local device.
Save: Click Save in the upper-right corner. A dialog box appears with the following options:
Overwrite: Replaces the original image file. Use this option to save your final result.
Save as a copy: Creates a copy in the original path and keeps the original image unchanged.
Save as...: Saves the image to a different path in the drive. Useful for categorization or backup.
When you export or save, select the desired image format, such as JPG or PNG, from the drop-down list.