This topic describes how to use the Kohya tool.
Log on to the PAI ArtLab console.
Prerequisites
You have enabled PAI ArtLab and granted the required permissions. For more information, see Enable PAI ArtLab and grant permissions.
(Optional) You have claimed a free trial or coupon, or purchased a resource plan. For more information, see PAI ArtLab billing.
Use your resources, coupon, or resource plan before they expire. For more information, see View usage and validity period.
Procedure
This topic uses an example of training an oil painting model to demonstrate how to use Kohya (Exclusive Edition). This example uses a dataset of 15 oil paintings of natural landscapes with a resolution of 768 × 768 pixels for model training.
Step 1: Create a dataset
Log in to PAI ArtLab. In the upper-right corner, hover over the
 icon and select the China (Shanghai) region.
On the Dataset page, click Create Dataset and enter a name for the dataset.
Navigate to the dataset you created, click Create Folder, and enter a name for the folder.
The folder name must be in the format of Number_CustomName. The number specifies how many times the images in the folder are repeated during training. For example,
30_test.Upload images to the created folder. The images must meet the following requirements:
The dataset must contain more than 15 clear images.
Avoid excessively high resolutions. For LoRA training based on the sd1.5 base model, an image resolution of 512 × 512 or 512 × 768 pixels is sufficient.
Avoid images that contain watermarks, are low-definition, have unusual lighting, contain complex or unrecognizable content, or are taken from odd angles.
Step 2: Annotate data
On the Toolbox page, click the Kohya (Exclusive Edition) card to start the tool.
On the tab, configure the following parameters.
Parameter
Description
Image folder To caption
Select the folder you created. If the folder does not appear in the drop-down list, you can manually enter its path.
Example:
/data-oss/datasets/test/30_test.Undesired Tags
Enter the prompts you want to exclude.
Prefix to add to WD14 caption
Enter the desired LoRA trigger word. The format is DatasetName + Number.
Example:
test1.Click Caption images to start automatic batch annotation.
Wait for 2 to 3 minutes. When captioning done appears in the log area, the annotation is complete.
On the Datasets page, open the folder you created and click an image to view its annotation.
You can also modify the annotation content.
Step 3: Train the model
On the Model > Model Scope page, select a Checkpoint model and add it to My Models.
On the Kohya (Exclusive Edition) page, select LoRA > Training and configure the following parameters.
On the Source Model tab, configure the following parameters.
Parameter
Description
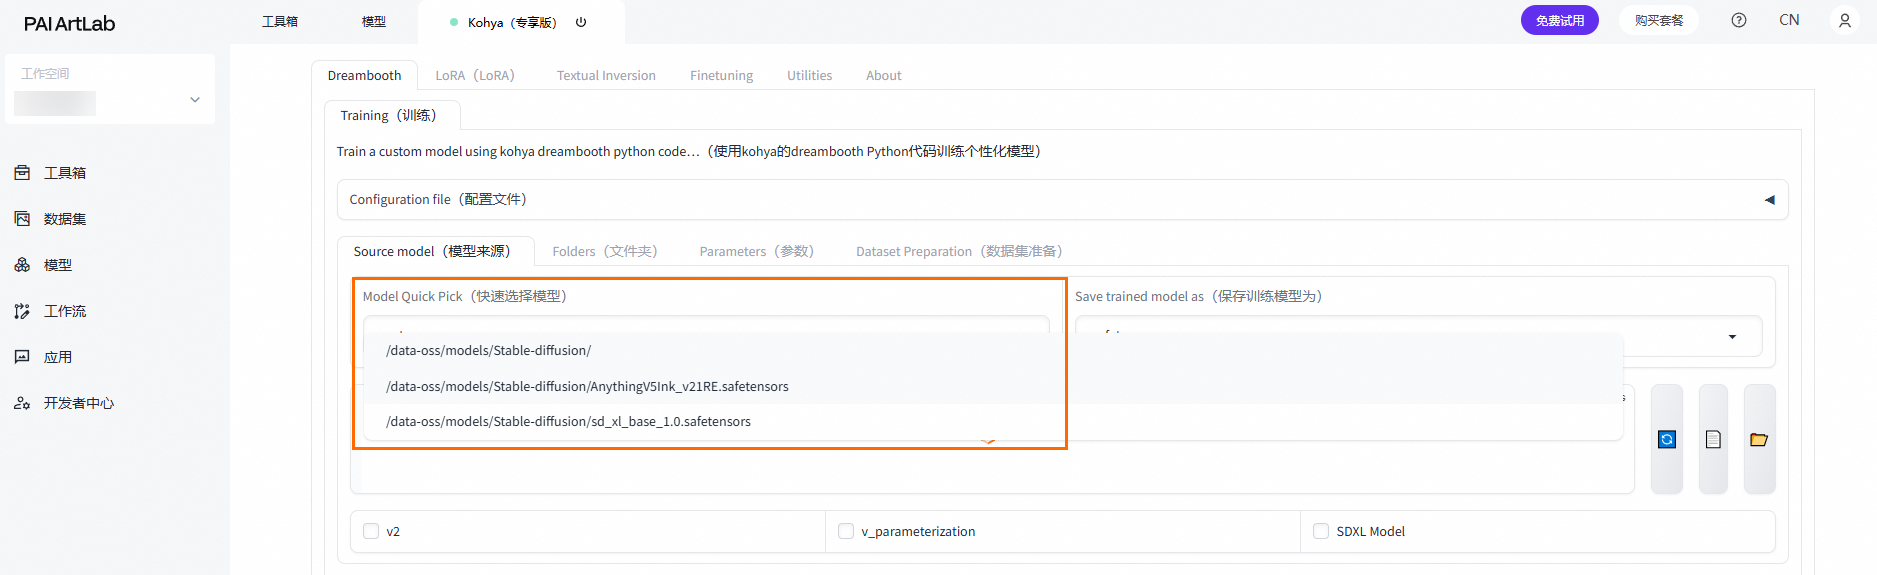
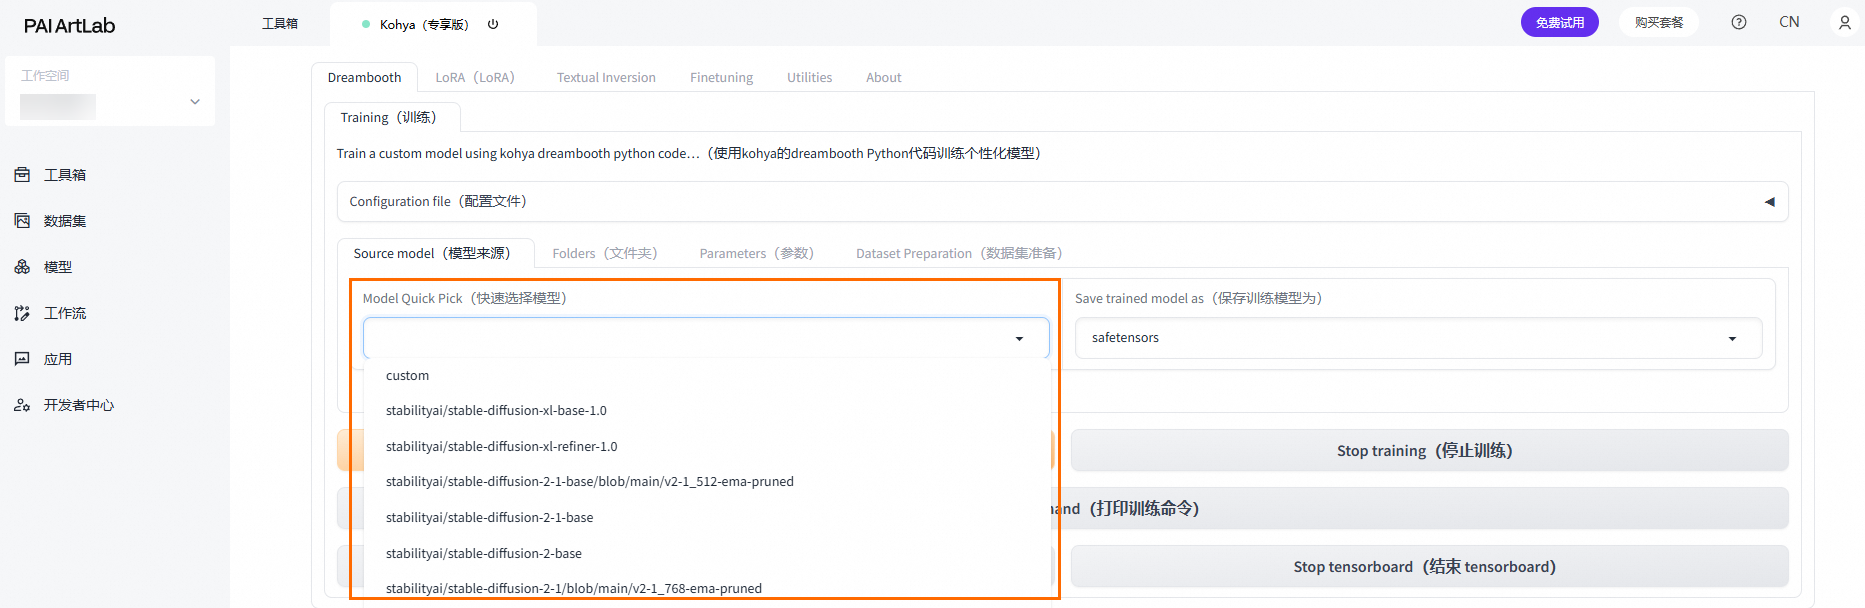
Model Quick Pick
Select custom.
Pretrained model name or path
Click the
 icon on the right to refresh the model list.
From the drop-down list, select /data-oss/models/Stable-diffusion.
Append a forward slash (
/) to the path and select the model you added.
On the Folders tab, configure the following parameters.
Parameter
Description
Output Folder
Select the dataset you created.
Model Output Name
Enter a name for the LoRA model to be trained. Example:
test.On the Parameters tab, configure the following parameters.
Parameter
Description
Epoch
Set the value to 20.
Max Resolution
Set the value to 768, 768.
Enable buckets(enables Data Containers)
Clear this check box.
Clear this check box if all files in the dataset have the same dimensions.
Text Encoder learning rate
Set the value to 0.00001.
Network Rank (Dimension)
Set the value to 128.
Network Alpha
Set the value to 64.
Click Start Training. When model saved appears in the log area, the model training is complete.
During the training process, logs are generated. The loss value is a key metric that measures the difference between the model's predictions and the actual results. The loss value varies depending on the model type. The following table lists reference values.
Model type
Loss value
Character model
0.06 to 0.09
Object model
0.07 to 0.09
Style model
0.08 to 0.13
Feature model
0.003 to 0.05
Step 4: Check the model effect
On the Model > My Models page, click the
 icon on the right of a model card to add the Checkpoint model and the generated LoRA model to Stable Diffusion (Shared Edition).
On the Toolbox page, click the Stable Diffusion (Shared Edition) card to start the tool.
Click the
to the right of Stable Diffusion Model, and then select the Checkpoint model.On the Text-to-image tab, configure the following parameters.
On the Generation tab, configure the following parameters.
Parameter
Description
Steps
Set the value to 30.
Script
Select X/Y/Z plot.
X Type: Prompt S/R
X Values: NUM,000001,000002,000003
Y Type: Prompt S/R
Y Values: STRENGTH,0.3,0.5,0.6,0.7,0.8,0.9,1
On the LoRA tab, click Refresh, and then click the LoRA model you added.
If the LoRA model you trained is not listed, you can select another trained LoRA model and then modify the prompt to reference your model.
For example, change
<lora:test-000002:1>to<lora:test-NUM:STRENGTH>.Enter the prompts.
Parameter
Description
Positive Prompt
test1, outdoors, sky, day, cloud,
water, tree, blue sky, no humans, traditional media, grass, building, nature,
scenery, house, castle,
Negative Prompt
lowres, bad anatomy, bad hands, text, error,
missing fingers, extra digit,fewer digits, cropped, worst quality, low
quality,normal quality, jpeg artifacts, signature,watermark, username,
blurry,(worst quality:1.4),(low quality:1.4), (monochrome:1.1), Eagetive,
Click Generate and wait for the image to be generated.
An X/Y/Z plot image is generated. You can use the X/Y/Z plot to test all trained models and compare the effects of different models and weights.
Related operations
Select a Checkpoint base model for training
Method 1: Select a preset Checkpoint base model on the platform, such as sd1.5 xl.
Method 2: Select a custom base model.
Set Model Quick Pick to custom. In the Pretrained model name or path field, enter /data-oss/models/Stable-diffusion, append a forward slash (
/), and then select the Checkpoint model that you added or uploaded to My Models.