Train a custom LoRA model in the cloud using Kohya (Exclusive Edition) — no local GPU required. This guide walks through the end-to-end workflow: preparing a dataset, captioning images, configuring training parameters, and evaluating the trained model.
Log in to the PAI ArtLab console before you begin.
Prerequisites
Before you begin, make sure you have:
Enabled PAI ArtLab and granted the required permissions. See Enable PAI ArtLab and grant permissions
(Optional) Claimed a free trial or coupon, or purchased a resource plan. See PAI ArtLab billing. Check the validity period to use your resources before they expire
How it works
Training a LoRA model with Kohya (Exclusive Edition) follows four stages:
Create a dataset — Upload training images into a named folder.
Caption images — Use the WD14 model to auto-generate text descriptions for each image.
Train the model — Configure and launch a LoRA training job. Monitor the loss value to assess training quality.
Evaluate the output — Run the trained LoRA in Stable Diffusion (Shared Edition) and compare results with an X/Y/Z plot.
The example in this guide trains an oil painting style model using 15 landscape images at 768 × 768 pixels.
Step 1: Create a dataset
Log in to PAI ArtLab. In the upper-right corner, hover over the
 icon and select China (Shanghai).
On the Dataset page, click Create Dataset and enter a name.
Open the dataset, click Create Folder, and enter a folder name. Folder names must follow the format Number_CustomName, where the number controls how many times images in the folder repeat during training. For example,
30_testrepeats each image 30 times.Upload your training images to the folder. Image quality requirements:
Use more than 15 clear images.
For LoRA training on the sd1.5 base model, 512 × 512 or 512 × 768 pixels is sufficient — higher resolutions are unnecessary.
Avoid images with watermarks, low definition, unusual lighting, complex or unrecognizable content, or unusual angles.
Step 2: Caption images
Captioning generates a text description for each image. The WD14 model reads each image and creates a prompt describing its content. You can review and edit captions afterward if needed.
On the Toolbox page, click the Kohya (Exclusive Edition) card to open the tool.
Go to the > Captioning tab and configure the following parameters.
Parameter Description Image folder to caption Select the folder you created. If it doesn't appear in the drop-down list, enter the path manually — for example, /data-oss/datasets/test/30_test.Undesired Tags Enter any tags you want to exclude from the generated captions. Prefix to add to WD14 caption Enter the LoRA trigger word. Use the format DatasetName + Number — for example, test1.Click Caption images. Captioning takes 2–3 minutes. When
captioning doneappears in the log, captioning is complete.On the Datasets page, open your folder and click any image to view its caption. Edit the caption text if needed.
Step 3: Train the model
Select a base model
On the Model > Model Scope page, select a Checkpoint base model and add it to My Models.
| Method | When to use | Steps |
|---|---|---|
| Preset model (recommended) | You want a platform-provided model, such as sd1.5 xl | Select the model directly from the Model Scope page. |
| Custom model | You have your own Checkpoint model | Upload a base model or add an existing model to My Models first. |
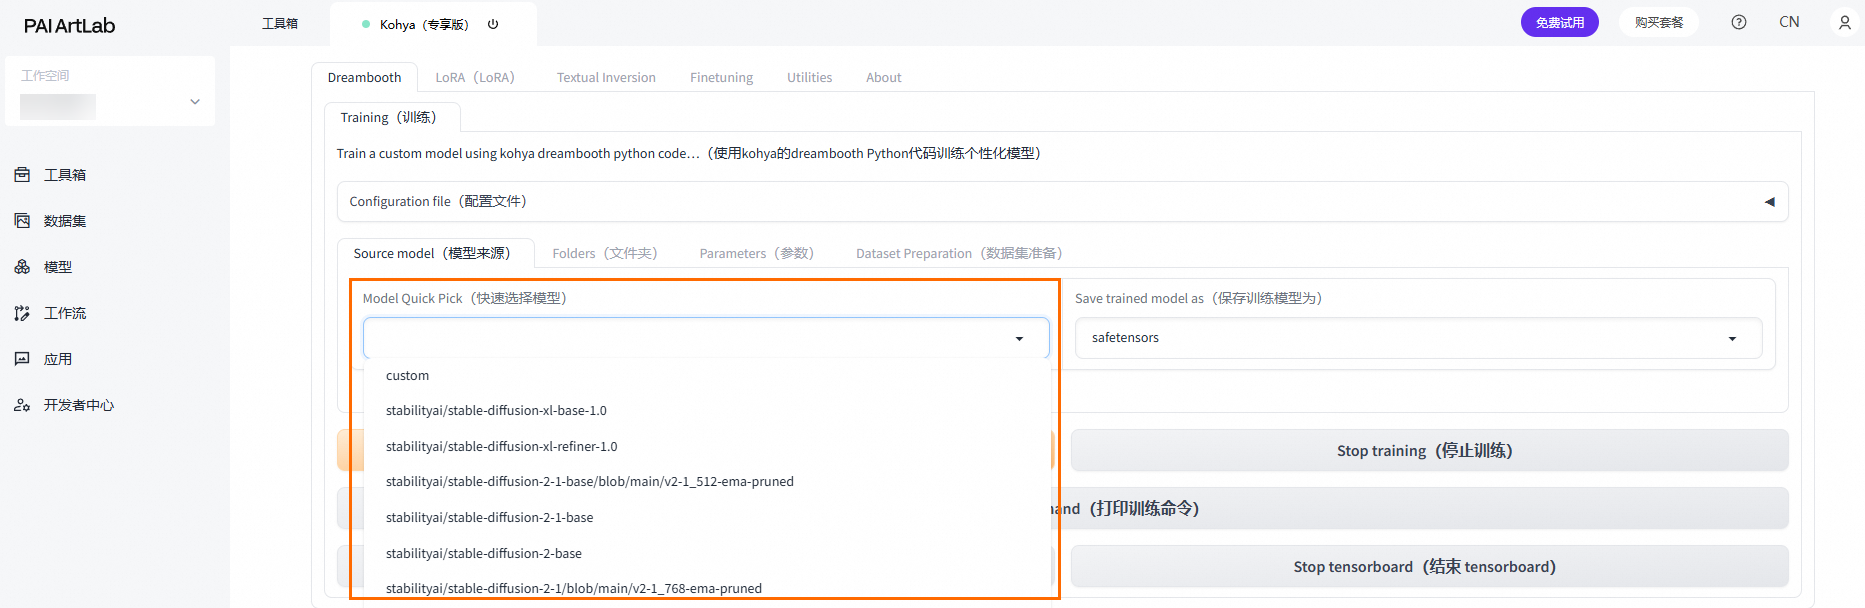
For a custom model, set Model Quick Pick to custom. In the Pretrained model name or path field, enter /data-oss/models/Stable-diffusion, append /, and then select the Checkpoint model you added or uploaded to My Models.
Configure and start training
On the Kohya (Exclusive Edition) page, go to LoRA > Training and configure each tab:
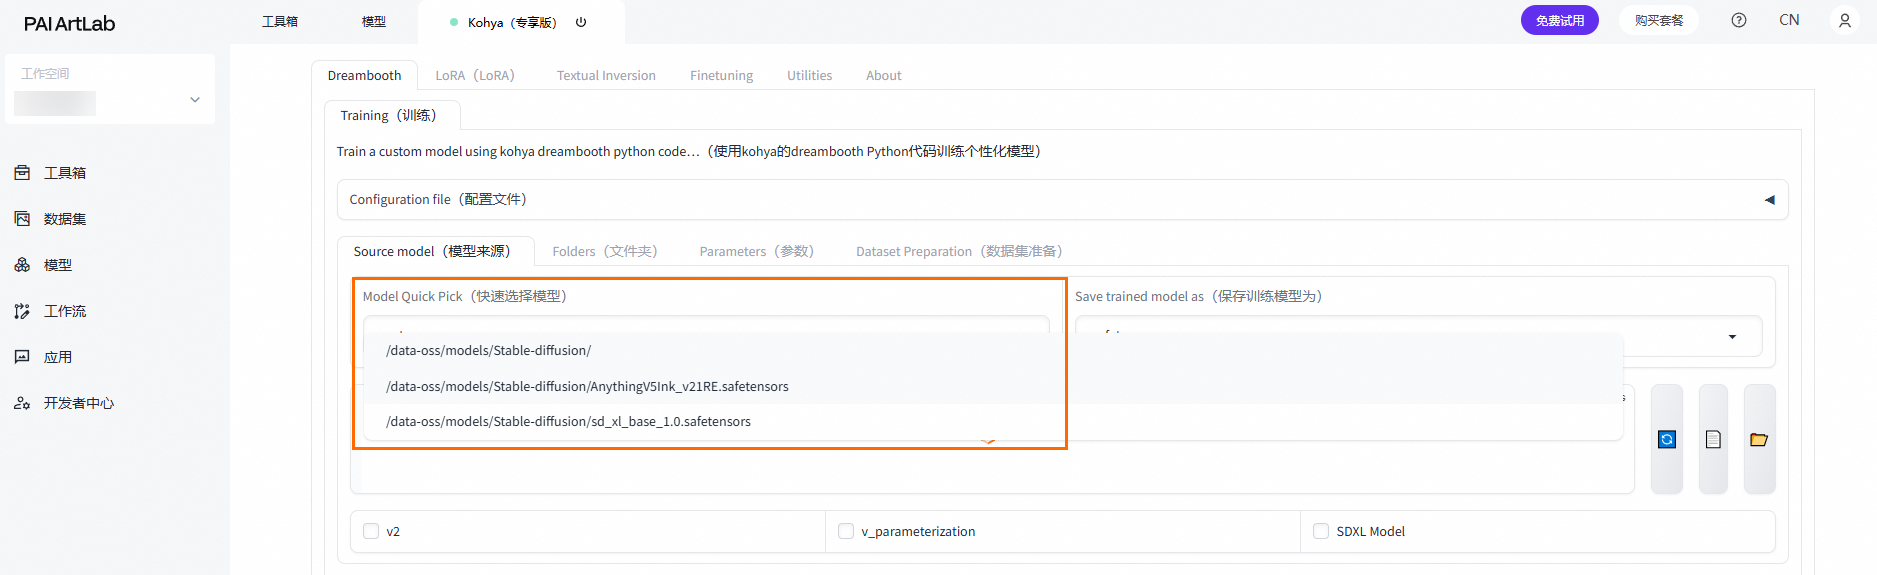
Source Model tab
Parameter Description Model Quick Pick Select custom. Pretrained model name or path Click the  icon to refresh the model list. Select /data-oss/models/Stable-diffusion, append
 /, then select the model you added.Folders tab
Parameter Description Output Folder Select the dataset you created. Model Output Name Enter a name for the trained LoRA model — for example, test.Parameters tab
Parameter Value Notes Epoch 20 Number of full passes through the dataset. Max Resolution 768, 768 Match your training image resolution. Enable buckets (enables Data Containers) Clear (unchecked) Clear this check box when all images in the dataset have the same dimensions. Text Encoder learning rate 0.00001 Controls how fast the text encoder adapts. Network Rank (Dimension) 128 Higher values capture more detail but increase file size. Network Alpha 64 Scales the LoRA's influence during training. Click Start Training. Training generates logs in real time. Monitor the loss value — it measures how closely the model's output matches the training images. Lower is generally better. Use the table below to assess whether training is on track: When
model savedappears in the log, training is complete.Model type Expected loss range Character model 0.06–0.09 Object model 0.07–0.09 Style model 0.08–0.13 Feature model 0.003–0.05
Step 4: Evaluate the model
Use an X/Y/Z plot to compare different training checkpoints and LoRA strength values side by side.
On the Model > My Models page, click the
 icon on a model card to add both the Checkpoint model and the trained LoRA model to Stable Diffusion (Shared Edition).
On the Toolbox page, click the Stable Diffusion (Shared Edition) card.
Click the
icon next to Stable Diffusion Model and select your Checkpoint model.On the Text-to-image tab, go to the Generation tab and configure:
Parameter Value Steps 30 Script X/Y/Z plot X Type Prompt S/R X Values NUM,000001,000002,000003Y Type Prompt S/R Y Values STRENGTH,0.3,0.5,0.6,0.7,0.8,0.9,1On the LoRA tab, click Refresh and select the LoRA model you trained. If your LoRA model isn't listed, select any trained LoRA model and update the prompt to reference your model. For example, change
<lora:test-000002:1>to<lora:test-NUM:STRENGTH>.Enter the prompts:
Field Value Positive Prompt test1, outdoors, sky, day, cloud, water, tree, blue sky, no humans, traditional media, grass, building, nature, scenery, house, castle,Negative Prompt lowres, bad anatomy, bad hands, text, error, missing fingers, extra digit,fewer digits, cropped, worst quality, low quality,normal quality, jpeg artifacts, signature,watermark, username, blurry,(worst quality:1.4),(low quality:1.4), (monochrome:1.1), Eagetive,Click Generate.
The X/Y/Z plot shows results for all combinations of checkpoint epochs (X axis) and LoRA strength values (Y axis). Use it to identify the checkpoint and strength that best match your target style.
What's next
To learn about billing and resource plans, see PAI ArtLab billing.