Permission management supports multi-dimensional access control at the console page and model levels. This feature is designed to meet the needs of complex organizational structures with multiple regions and users.
Identity management
A single workspace is the smallest management unit for fine-grained permission management (for models and users) and cost allocation.
Model Studio workspace permission management is based on three roles:
Super administrator: Manages users, available models, model rate limiting, and API keys across all workspaces.
Workspace administrator: Manages user permissions and resources within a specific workspace.
Regular user: Uses resources according to the assigned permissions.
Workspace permission | Super administrator | Workspace administrator | Regular user |
Allow specific model calls & rate limiting | |||
Allow specific model fine-tuning | |||
User management | |||
Manage user-accessible pages | |||
API key management | |||
Access/use authorized workspaces, pages, and resources |
Super administrator
This role includes the following two types of accounts:
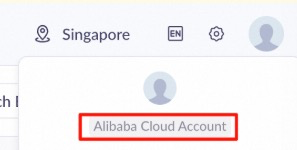
An Alibaba Cloud account, which is displayed in the upper-right corner of the Model Studio console:
A RAM user (account) with the AliyunBailianFullAccess (Model Studio administrator) system policy can use the Model Studio global management menu ( Singapore | Beijing | Virginia) to grant almost all permissions in any region and any workspace to any RAM user. (Only an Alibaba Cloud account can grant OpenAPI permissions.)
A RAM user is a sub-account created by an Alibaba Cloud account to securely assign cloud resources and permissions to team members.
The upper-right corner displays the following:

In Model Studio, a super administrator can use the global management menu ( Singapore | Beijing | Virginia) to manage multiple workspaces. The features include the following:
Create workspaces and manage workspace names.
Manage models and model rate limiting for all workspaces.
Manage accounts (users) for all workspaces.
Manage all API keys.
To enable features such as model monitoring, use an Alibaba Cloud account to grant one-time authorization and enable them in the console.
Workspace administrator
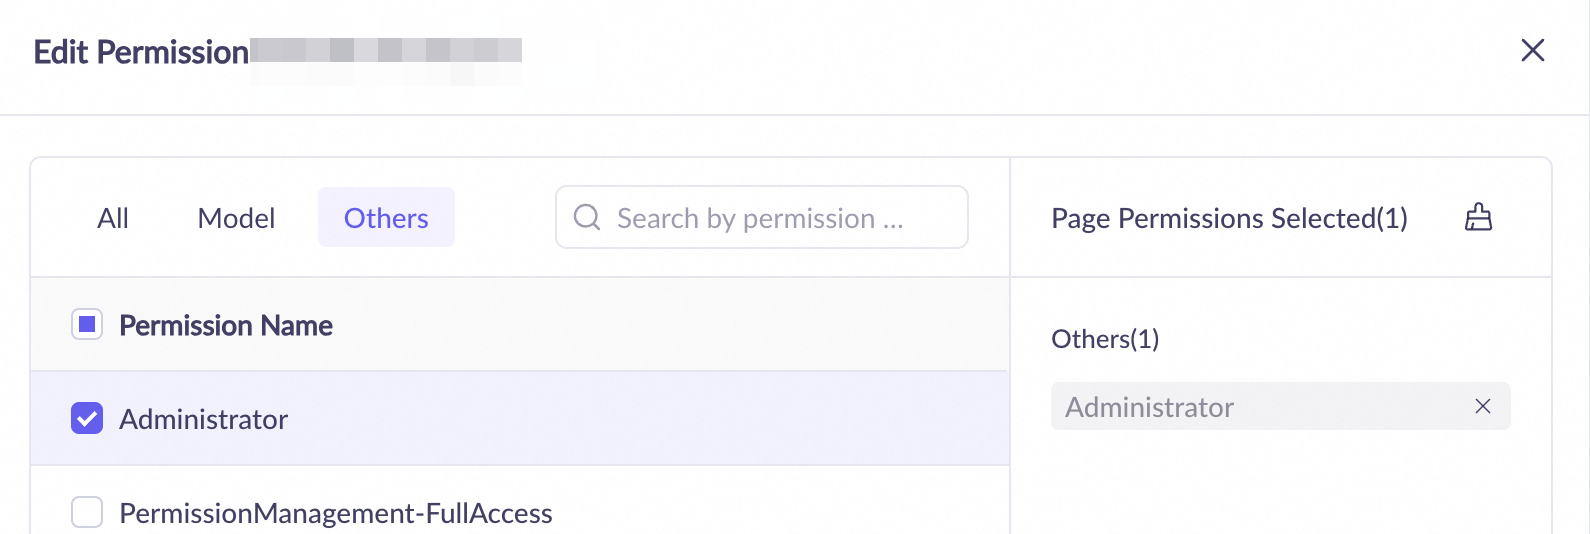
This role refers to an Alibaba Cloud RAM user who has access to the Permissions page of a workspace. You can use this page to manage the workspace.
Administrator permission includes access to all pages within that workspace.
Workspace permission management
Model Studio divides resources and workspaces by geographical region. A single workspace cannot span multiple regions. The default workspaces in different regions are also separate. Go to global management menu ( Singapore | Beijing | Virginia).
A Model Studio workspace is also the smallest management unit for fine-grained permission management. You can use it to manage the following:
Workspace permission | Super administrator | Workspace administrator | Regular user |
Allow specific model calls & rate limiting | |||
Allow specific model fine-tuning | |||
User management | |||
Manage user-accessible pages | |||
API key management | |||
Access/use authorized workspaces, pages, and resources |
Limit model calls: You can manage whether a model can be called (from the console and via API) in the workspace and set Request Number Limit and Token Limit for the model.
This limit cannot be set for the default workspace. In the default workspace, all models can be called without rate limiting.

Limit model training: You can manage whether a model can be fine-tuned (from the console and via API) and deployed in the workspace after fine-tuning.
This limit cannot be set for the default workspace. In the default workspace, all models that support fine-tuning can be fine-tuned and deployed after fine-tuning is complete.

User (account) console permission management: You can manage whether a RAM user can use the features of the workspace console and which features they can use. This does not limit the API calls made with an API key that belongs to the user.
No settings are required for an Alibaba Cloud account. An Alibaba Cloud account can access all pages of all workspaces.
API key permissions
An API key can belong to only one user and one workspace within a single region. It cannot be transferred to another workspace or user. The callable features and model rate limits for an API key are consistent with the permissions of its Workspace and are not affected by user (account) console permission management.
The status of an API key changes based on operations performed on its owner account:
Triggering operation | Alibaba Cloud account API key | RAM user API key | RAM role API key |
Deleting an API key | Becomes invalid and cannot be recovered | Becomes invalid and cannot be recovered | Becomes invalid and cannot be recovered |
Removing a user from a workspace | - | Becomes invalid The API key becomes valid again after the user is added back to the workspace. | Remains valid |
Deleting a user or role in the RAM console | - | Becomes invalid and cannot be recovered | Remains valid |
Manage API keys: Go to the Permissions page in the left-side navigation pane of the Model Studio console. Add API key permissions for a RAM user. This grants the RAM user permissions to create, delete, and view all API keys in the workspace.

OpenAPI permissions
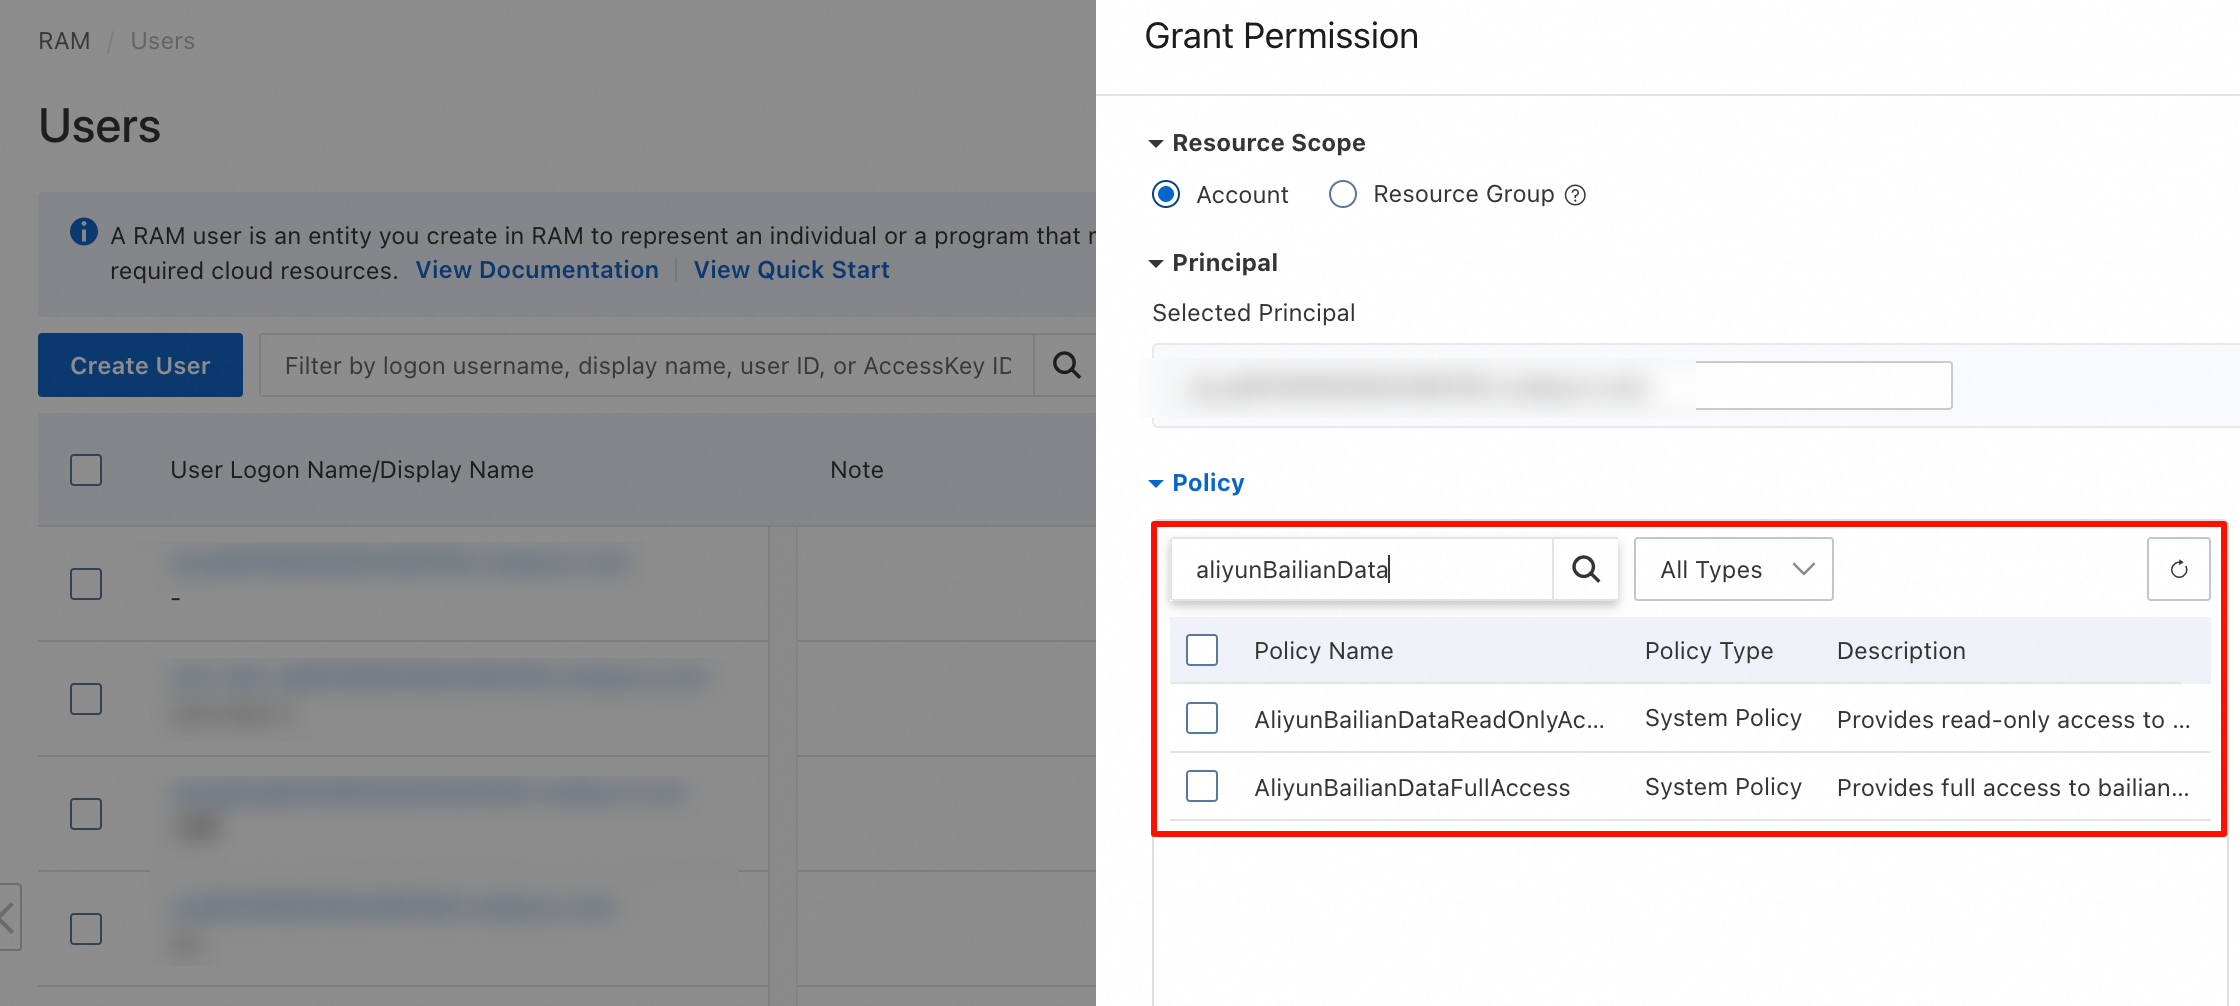
By default, RAM users do not have permission to call the OpenAPI for features of Model Studio applications, such as data, knowledge bases, and prompt engineering.
To invoke the operation, you must use your Alibaba Cloud account in the RAM console to grant one of the following permissions to the RAM user:
AliyunBailianDataFullAccess: Allows the user to call all APIs in the Model Studio application API catalog.
AliyunBailianDataReadOnlyAccess: Allows the user to call read-only APIs in the Model Studio application API catalog, such as DescribeFile - Query file status and GetIndexJobStatus - Query the status of a knowledge base creation job.
Going live
Workspace planning strategies
By environment (recommended): Create separate workspaces for development, testing, staging, and production environments to achieve strict environment isolation.
project-dev-workspaceproject-test-workspaceproject-prod-workspace
By line-of-business: Create separate workspaces for different business departments within the company, such as marketing, after-sales, and design, to simplify permission and cost management.
marketing-team-workspacecustomer-team-workspace
Rate limiting strategies
Allocate the total quota of the root account to each workspace proportionally. Reserve a portion as a buffer to handle traffic bursts.
Example: If the total account quota is 1,000 QPM, the allocation plan is as follows:
project-prod-workspace: 600 QPM (60%)project-test-workspace: 200 QPM (20%)project-dev-workspace: 100 QPM (10%)Reserved buffer: 100 QPM (10%)
Billing and subscription permission management
By default, RAM users do not have permission to view Alibaba Cloud bills or purchase subscription products. To grant these permissions, you must add specific permissions for the RAM user in the RAM console.
The following permissions grant a RAM user the ability to view bills for all Alibaba Cloud products or purchase all subscription products. Grant these permissions with caution.
To allow a RAM user to view Alibaba Cloud bills, you must add the
AliyunBSSReadOnlyAccesspermission to the RAM user.To allow a RAM user to purchase Alibaba Cloud subscription products, you must grant the
AliyunBSSOrderAccesspermission to the RAM user.
Common settings
Set up a super administrator
This operation must be performed by an Alibaba Cloud account or a RAM user with the AliyunRAMFullAccess system policy.
Go to the RAM console and add the AliyunBailianFullAccess (Model Studio administrator) and
AliyunBSSOrderAccess(purchase subscription products) permissions for a RAM user.After the setup is complete, the user can grant any permission for any region and any workspace to any RAM user, and purchase subscription products for Model Studio.
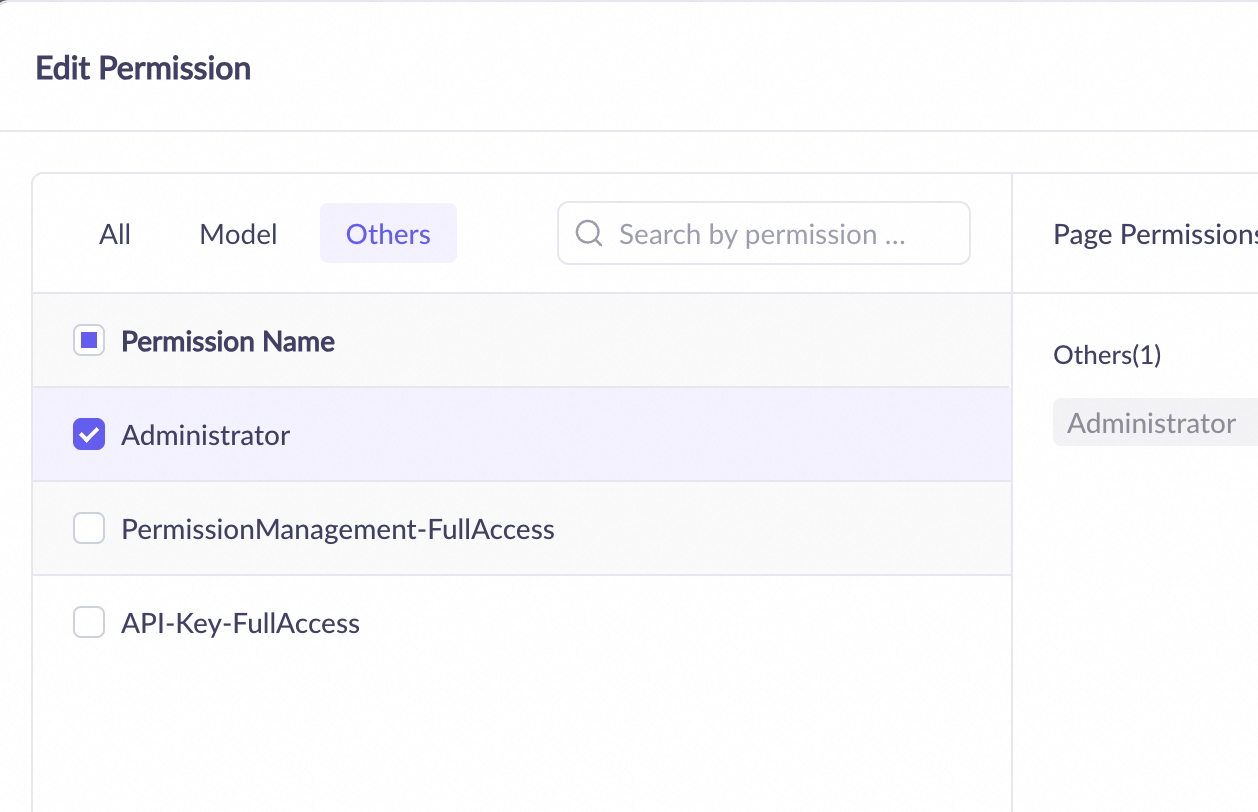
Set up a workspace administrator
This operation must be performed by a super administrator or a workspace administrator.
Go to the Permissions page in the left-side navigation pane of the Model Studio console, add the Administrator permission to the RAM user.
Set permissions for model calling
If you are not using the Default workspace, ensure that the model calling permission is enabled for the specific model in the workspace. This operation must be performed by a super administrator.
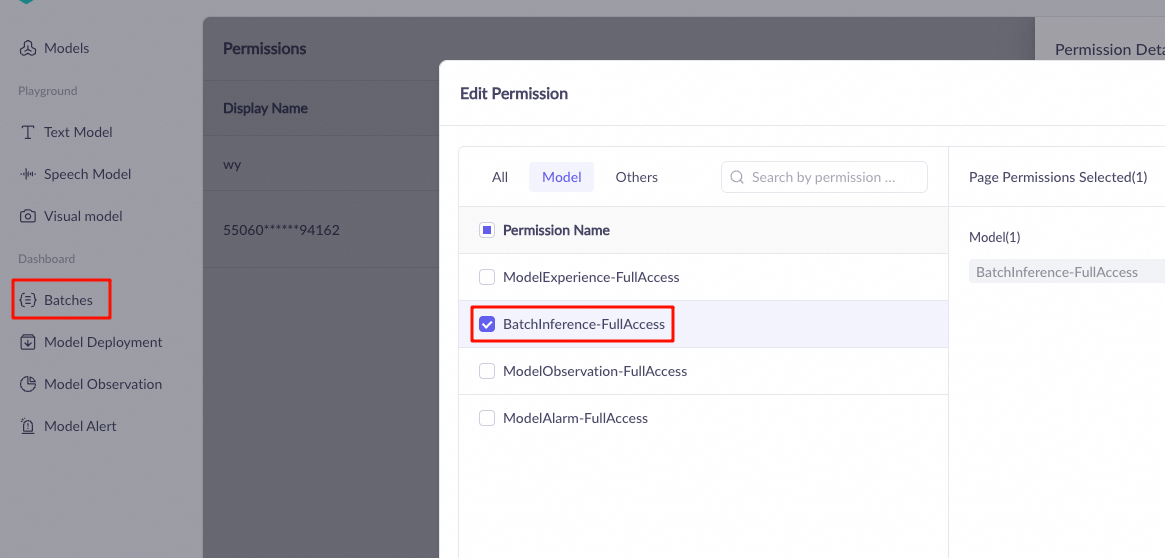
To call models from the Model Studio console, go to the Permissions page in the left-side navigation pane of the Model Studio console, add the following permissions for the RAM user. This operation must be performed by a super administrator or a workspace administrator.
ModelExperience-FullAccess permission to call models in the console.
BatchInference-FullAccess permission to support the batch inference feature.
ModelObservation-FullAccess permission, which lets you view the token consumption of model calls and evaluations.

To call models via the Model Studio API, create or assign an API key for the RAM user in the corresponding workspace. For more information, see API key permissions. This operation must be performed by a super administrator or a workspace administrator.
Set API permissions for model fine-tuning
If you are not using the Default workspace, ensure that the model fine-tuning (training) permission is enabled for the specific model in the workspace. This operation must be performed by a super administrator.
Create or assign an API key for the RAM user in the corresponding workspace. For more information, see API key permissions. This operation must be performed by a super administrator or a workspace administrator.
FAQ
1. How to get a workspace ID?
See Get a Workspace ID.
2. How to call a model in a sub-workspace?
Simply use the API key of that sub-workspace.
3. How to use an application in a specific workspace?
To use the API to manage and call an application in a specific workspace, set both the Application ID and Workspace ID.