Set up Claude Code to use Coding Plan models via Anthropic API-compatible endpoints.
Install Claude Code
Manual installation
macOS/Linux
-
Install Node.js v18.0 or later.
-
Run the following command:
npm install -g @anthropic-ai/claude-code -
Verify installation (successful if version number appears):
claude --version
Windows
Install WSL or Git for Windows, then run in WSL or Git Bash:
npm install -g @anthropic-ai/claude-codeFor details, see the Windows setup guide in the official Claude Code documentation.
Install with Qwen Code
Use Qwen Code to automate installation and avoid configuration issues.
-
Install Qwen Code first.
-
Start Qwen Code:
qwen -
Enter this instruction:
macOS/Linux
Help me install Claude Code. 1. Prerequisite: Node.js (v18.0 or later) must be installed. 2. If Node.js is installed, run the command: npm install -g @anthropic-ai/claude-code. After installation, run claude --version to verify that the installation is successful.Windows
Help me install Claude Code. 1. Prerequisites: Node.js (v18.0 or later) and Git for Windows must be installed. If they are not installed, please install them. 2. If the prerequisites are met, run the command: npm install -g @anthropic-ai/claude-code. After installation, run claude --version to verify that the installation is successful. -
Approve command execution until installation completes.
-
Exit Qwen Code:
/exit
Connection settings
Configure these settings:
-
ANTHROPIC_BASE_URL:https://coding-intl.dashscope.aliyuncs.com/apps/anthropic -
ANTHROPIC_AUTH_TOKEN: Your Coding Plan API key -
ANTHROPIC_MODEL: A supported model
macOS/Linux
-
Create and open
~/.claude/settings.json:~is your home directory. Create.claudefolder if needed:mkdir -p ~/.claudenano ~/.claude/settings.json -
Replace YOUR_API_KEY with your API key:
{
    "env": {
        "ANTHROPIC_AUTH_TOKEN": "YOUR_API_KEY",
        "ANTHROPIC_BASE_URL": "https://coding-intl.dashscope.aliyuncs.com/apps/anthropic",
        "ANTHROPIC_MODEL": "qwen3.5-plus"
    }
}
Save and restart terminal to apply settings.
-
Create or edit
~/.claude.jsonand sethasCompletedOnboardingtotrue:{ "hasCompletedOnboarding": true }hasCompletedOnboardingmust be a top-level field (not nested).This prevents the
Unable to connect to Anthropic serviceserror on startup.
Windows
-
Create and open
C:\Users\YourUsername\.claude\settings.json:CMD
-
Create the folder.
if not exist "%USERPROFILE%\.claude" mkdir "%USERPROFILE%\.claude" -
Create and open the file.
notepad "%USERPROFILE%\.claude\settings.json"
PowerShell
-
Create the folder.
mkdir -Force $HOME\.claude -
Create and open the file.
notepad $HOME\.claude\settings.json
-
-
Replace YOUR_API_KEY with your API key:
{
    "env": {
        "ANTHROPIC_AUTH_TOKEN": "YOUR_API_KEY",
        "ANTHROPIC_BASE_URL": "https://coding-intl.dashscope.aliyuncs.com/apps/anthropic",
        "ANTHROPIC_MODEL": "qwen3.5-plus"
    }
}
Save and restart terminal to apply settings.
-
Create or edit
C:\Users\YourUsername\.claude.jsonand sethasCompletedOnboardingtotrue:{ "hasCompletedOnboarding": true }
Get started
-
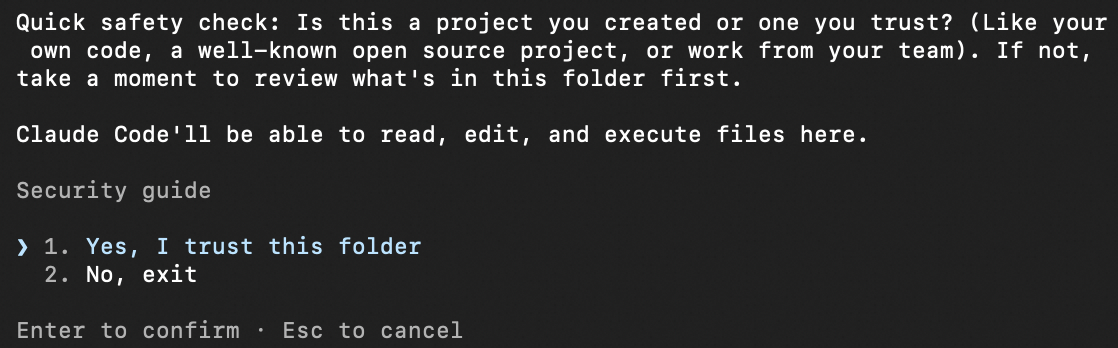
Navigate to your project and start Claude Code:
cd path/to/your_project claude -
Grant file execution permission after startup.
-
Run
/statusto verify configuration (model, Base URL, API key).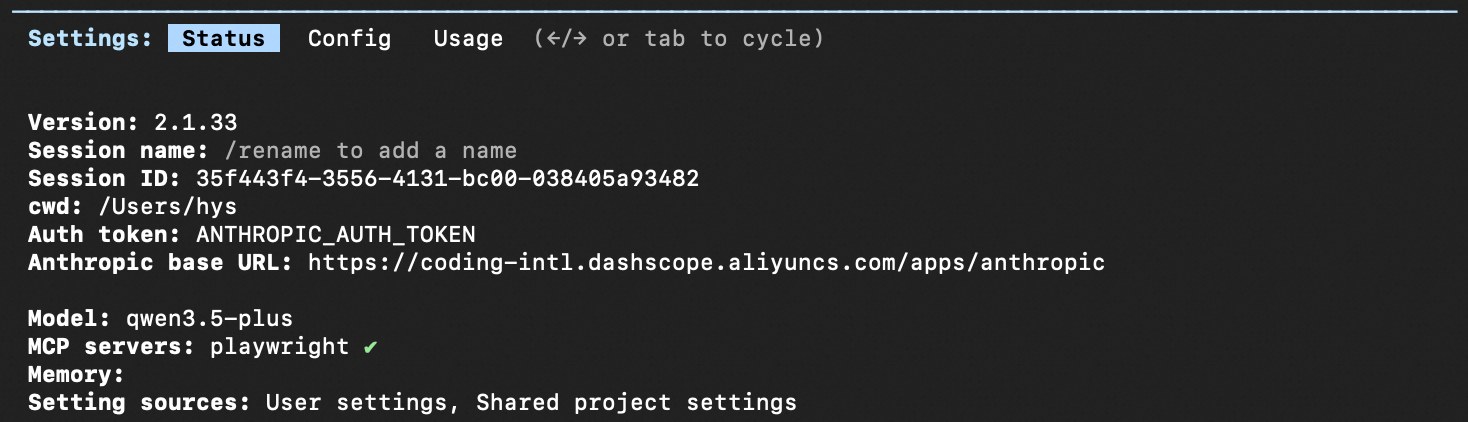
-
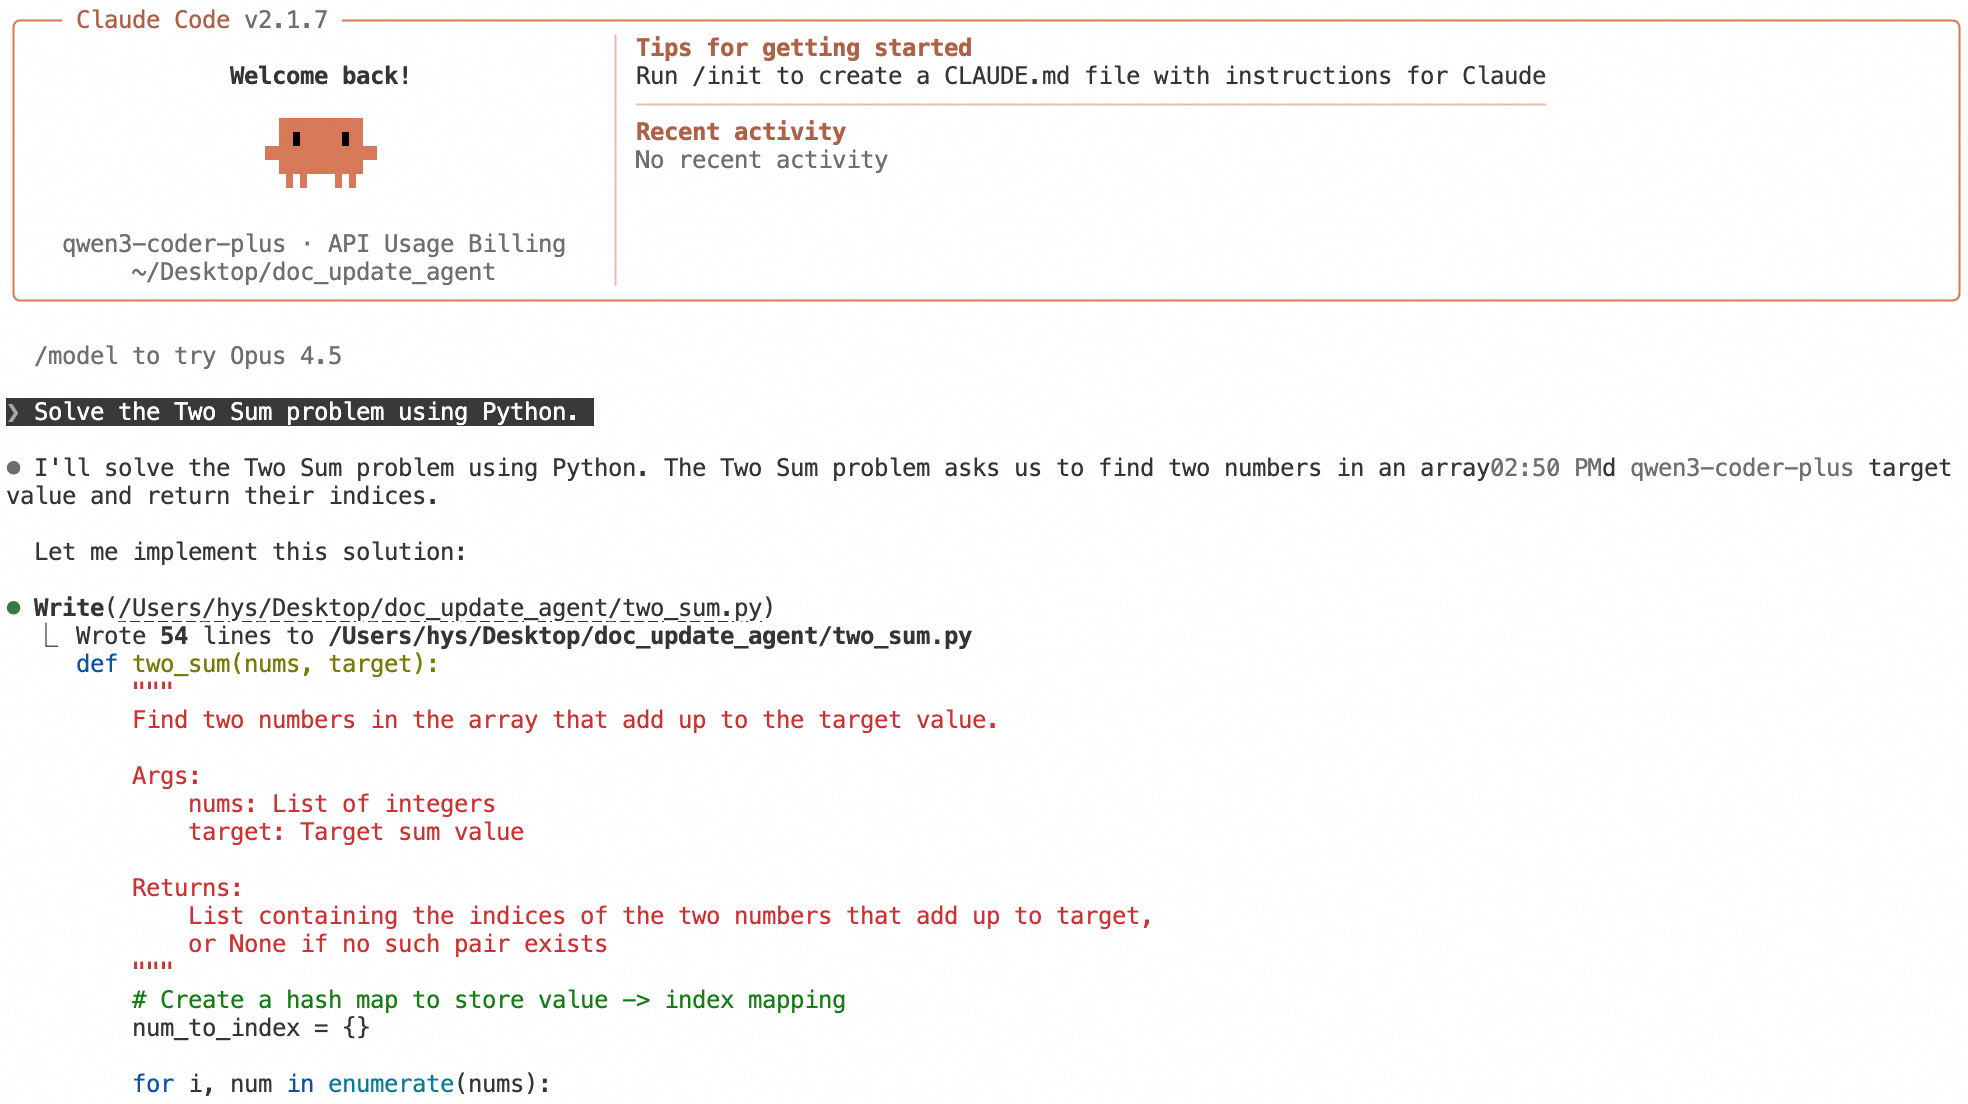
Start a conversation in Claude Code.
Switch models
-
At startup:
claude --model <model_name>(e.g.,claude --model qwen3-coder-next) -
During session:
/model <model_name>(e.g.,/model qwen3-coder-next)
Common commands
|
Command |
Description |
Example |
|
/init |
Generate a CLAUDE.md file in project root for project-level instructions and context. |
/init |
|
/status |
View configuration (model, API key, Base URL). |
/status |
|
/model <model_name> |
Switch models. |
/model qwen3-coder-next |
|
/clear |
Clear conversation history. |
/clear |
|
/plan |
Enter planning mode to analyze solutions without modifying code. |
/plan |
|
/compact |
Compress conversation history to free context window space. |
/compact |
|
/config |
Open configuration menu for language, theme, and other settings. |
/config |
See official documentation for more commands.
Extend capabilities
Extend Claude Code with MCP and skills (e.g., web search for real-time info, image understanding for analysis). See Best practices for details.
Install and use IDE extension
Claude Code IDE extension supports VS Code, VS Code-based IDEs (Cursor, Trae), and JetBrains IDEs (IntelliJ IDEA, PyCharm).
VS Code
-
Complete connection settings. Windows: install WSL or Git for Windows.
-
Open VS Code, search for
Claude Code for VS Codein marketplace, and install.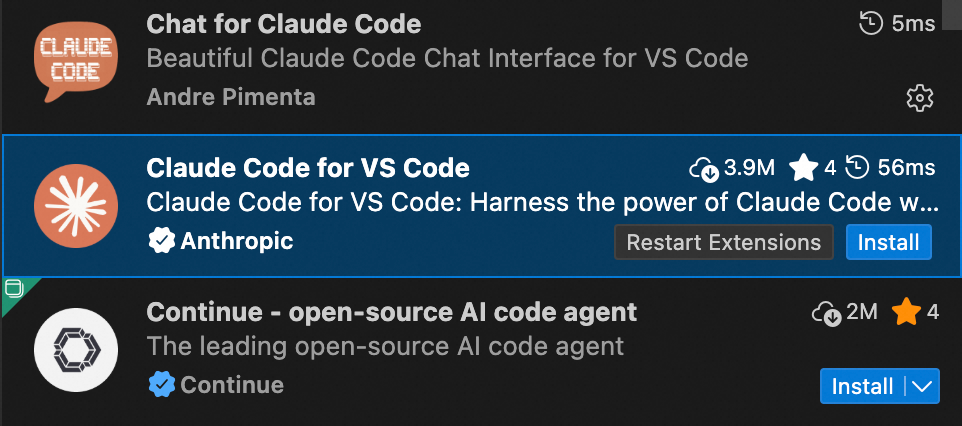
-
Restart VS Code and click the upper-right icon to open Claude Code.

If Anthropic login appears, complete connection settings first.
-
Switch models: Type
/→ General config → set supported model in Selected Model → start new conversation.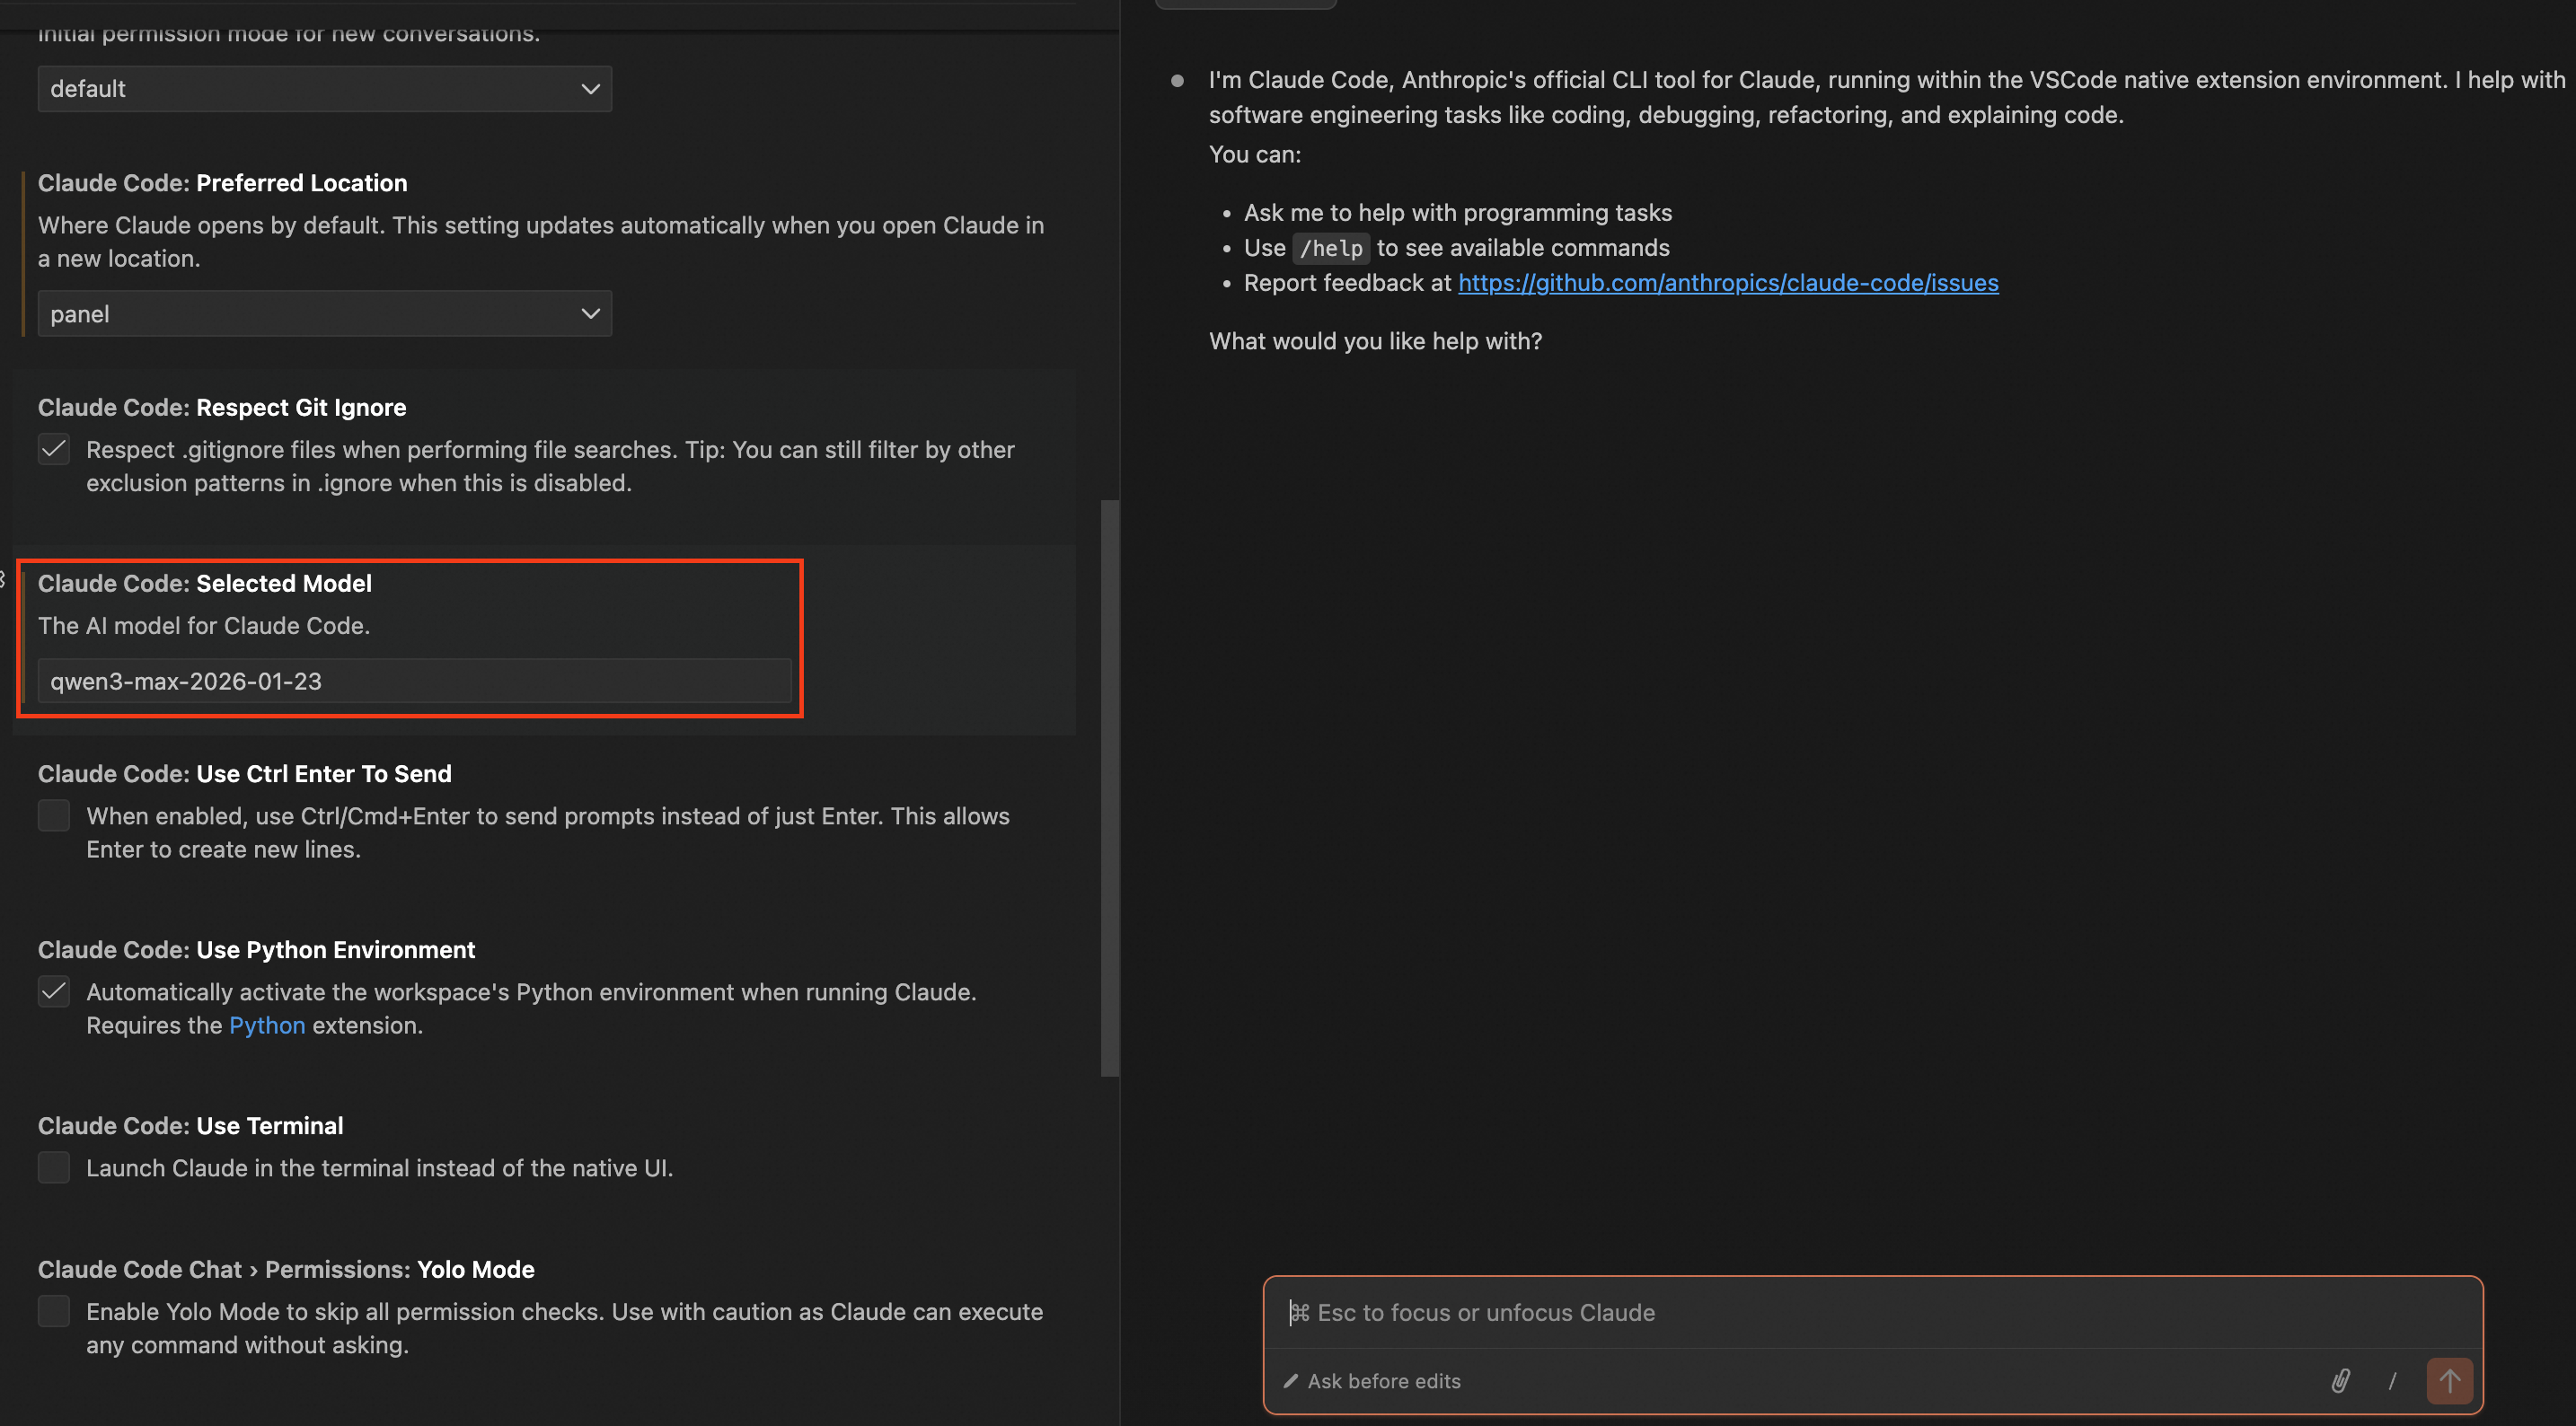
JetBrains
-
Complete installation and connection settings.
-
Open JetBrains IDE (IntelliJ IDEA, PyCharm, etc.), search for
Claude Codein marketplace, and install.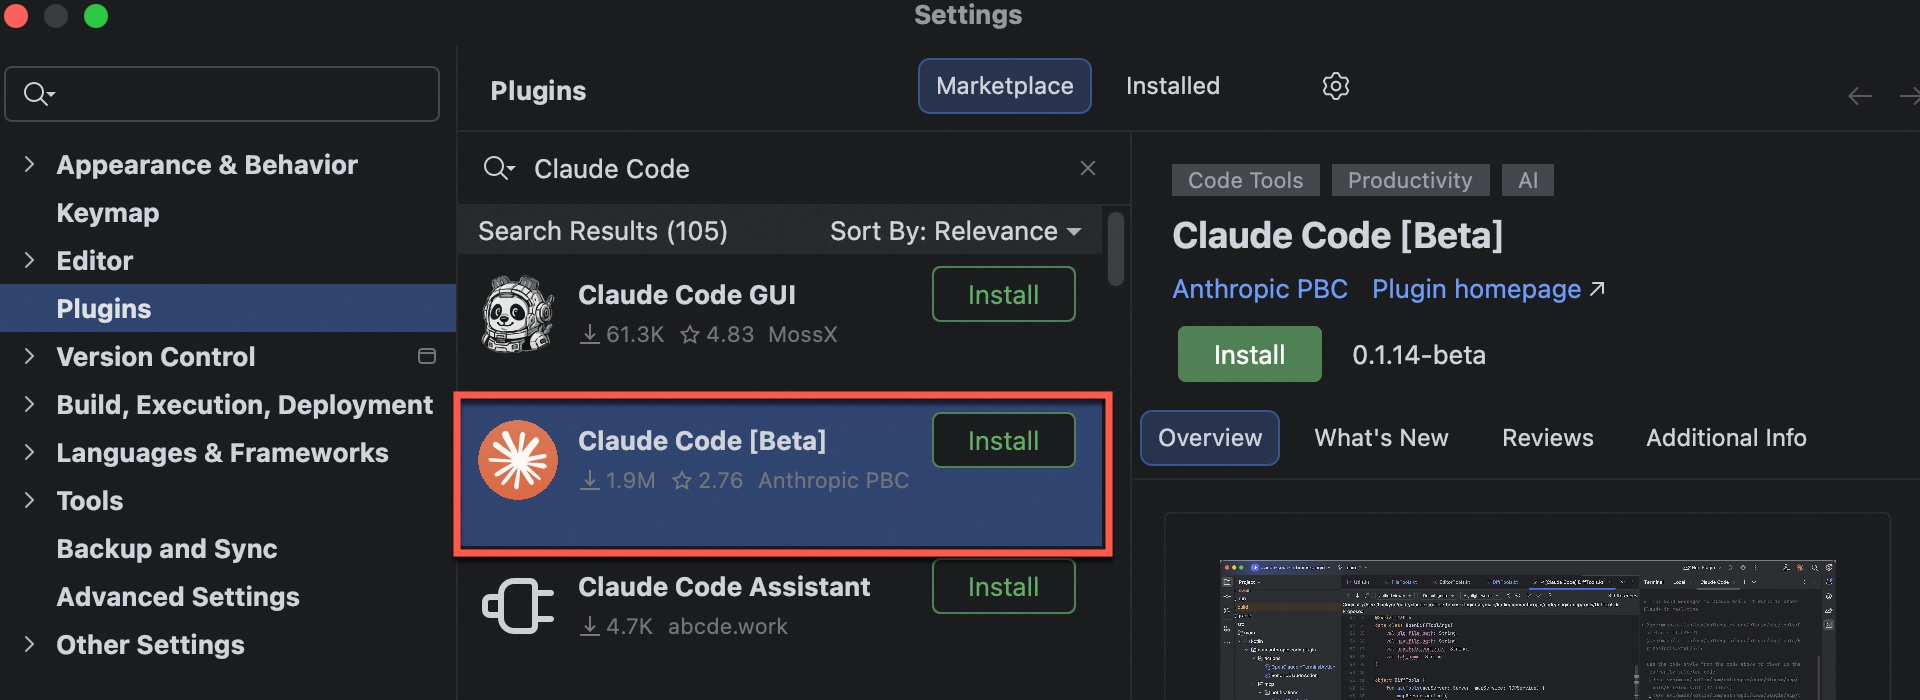
-
Restart IDE, click upper-right icon to start, and use
/model <model_name>to switch models.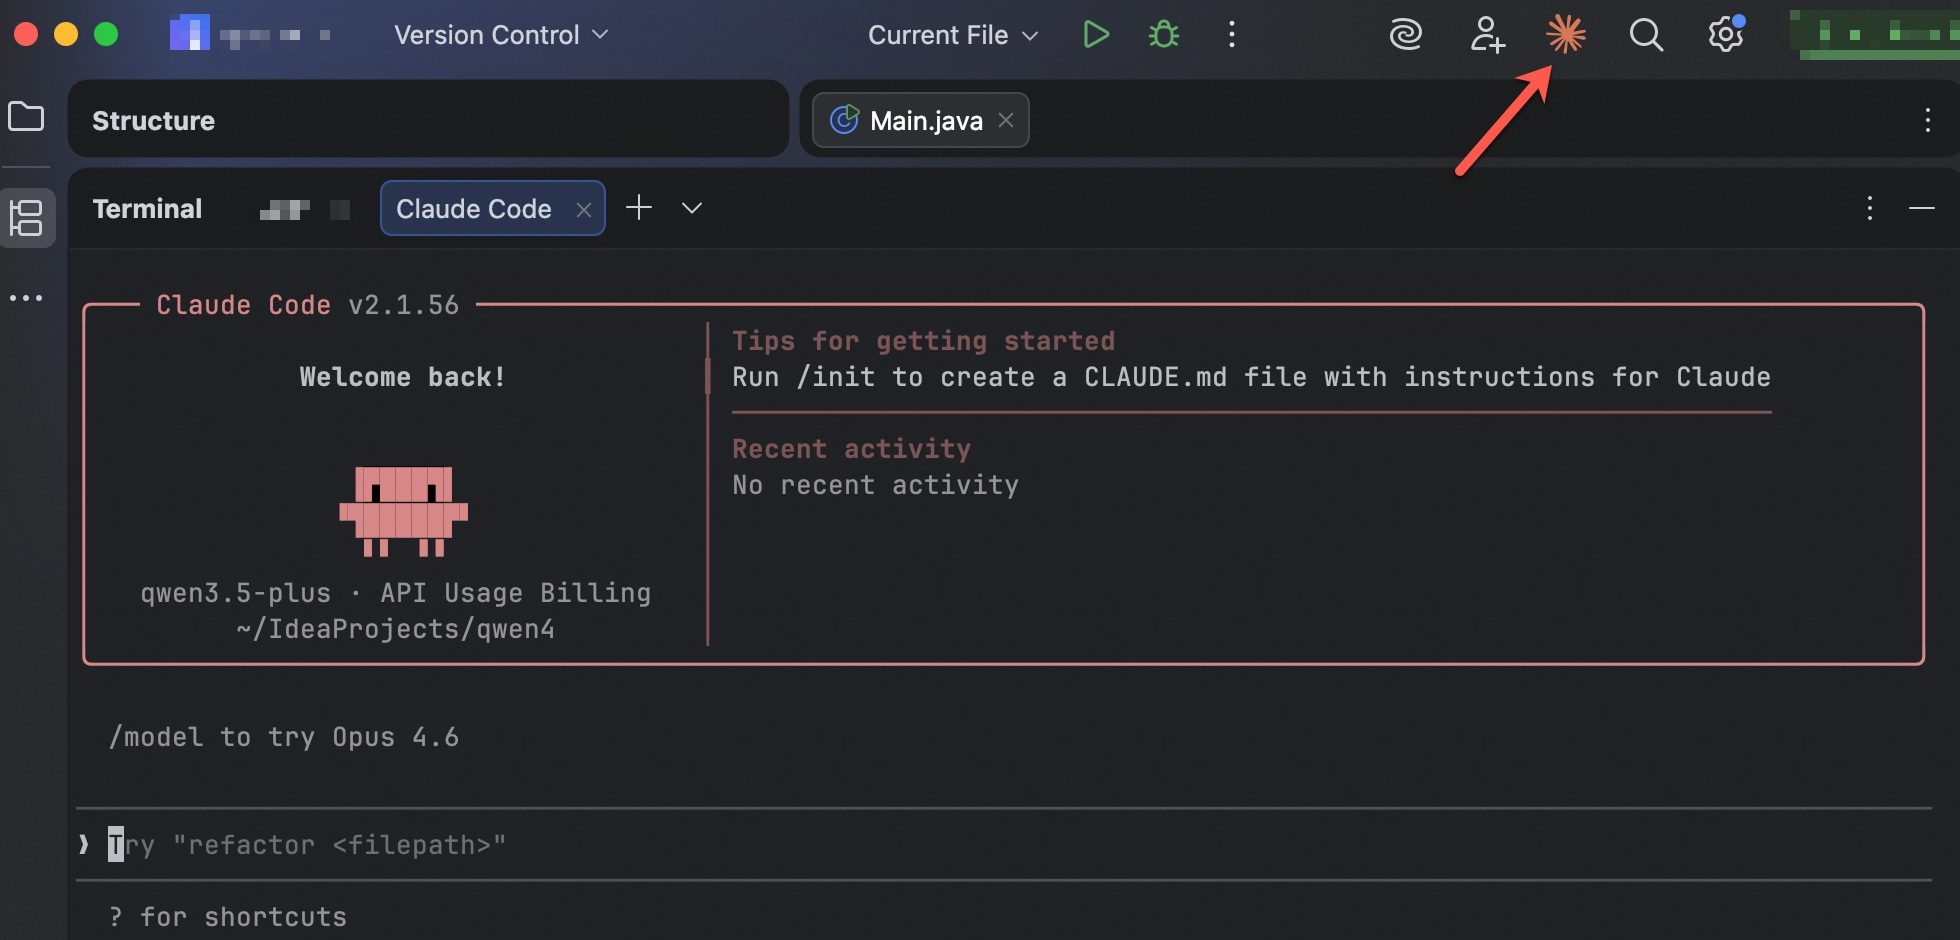
If
Not logged in. Please run /loginappears, complete connection settings first.
Error codes
FAQ
See FAQ.
Best practices
1. Manage context
-
Clear regularly: Use
/clearto reset conversations, preventing old context interference and saving tokens. -
Compress proactively: Use
/compactto summarize key decisions and modified files, retaining core memory. -
Specify files explicitly: Use
@to reference files (e.g.,write a test for @auth.py), preventing inefficient full-project scans. -
Use sub-agents: For large tasks, let Claude start sub-agents. Sub-agents return concise conclusions, preserving main conversation context.
2. Plan first, then execute
-
Enable Plan mode: Analyze solutions before complex tasks without modifying files.
-
Quick access: Press
Shift + Tabtwice. -
Prompt format: "First, output a detailed implementation plan. Modify files only after I confirm."
-
-
Reduce trial-and-error: Ensure closed-loop logic before code changes.
3. Consolidate core project knowledge: Write CLAUDE.md
-
Include key info: CLAUDE.md auto-loads at session start. Add build commands, code specs, and workflows.
-
Maintain dynamically: Keep content concise. Record only global conventions; add rules as project evolves.
4. Extend capabilities: MCP and skills
-
MCP: Install a mature MCP Server to connect to external services. For example, add a web search MCP.
-
Skills: Write a detailed skill description. Claude decides whether to call the tool based on the definition of its purpose. For example, add a visual understanding skill.
-
Skills vs MCP: Skills teach "how" (workflow knowledge), MCP provides "tools" (external interfaces). They're complementary; skills can also integrate external APIs.
5. Automated guardrails: Hooks
-
Use hooks: Hooks auto-run scripts at Claude workflow lifecycle nodes (e.g., PreToolUse for pre-execution validation), ensuring 100% execution of key validations.
-
Configuration methods:
-
/hooksfor interactive setup. -
Edit
.claude/settings.json. -
Ask Claude to write it (e.g., "Write a hook that runs eslint after every file edit").
-
6. Establish a self-check loop
-
Enforce validation: Run test cases (
pytest,npm test) after code changes. -
Define success criteria: Ensure compilation passes and API returns 200 (use
curlto verify). -
Visual feedback: Take browser screenshots for frontend changes to verify UI.