If you receive a region upgrade or migration notification from Alibaba Cloud, you must migrate your Key Management Service (KMS) keys and secrets to the destination region before the deadline. This topic describes how to choose the correct migration path for your key storage type and complete the migration.
Prerequisites
Before you begin, ensure that you have:
Received a region upgrade or migration notification from Alibaba Cloud
Disabled key rotation for all keys you plan to migrate. For more information, see Key rotation
Choose your migration path
Your migration method depends on where your keys are stored. Use the table below to identify your path before reading further.
| Key storage type | Migration method | Go to |
|---|---|---|
| Software-based KMS instance | Back up the source instance and restore to a new instance in the destination region | Migrate keys in software-based KMS instances |
| Hardware KMS instance | Decrypt all data in the source region, transfer plaintext to the destination region, and re-encrypt | Migrate keys in hardware KMS instances |
| Outside a KMS instance (default keys) | Decrypt all data in the source region, transfer plaintext to the destination region, and re-encrypt | Migrate keys outside KMS instances |
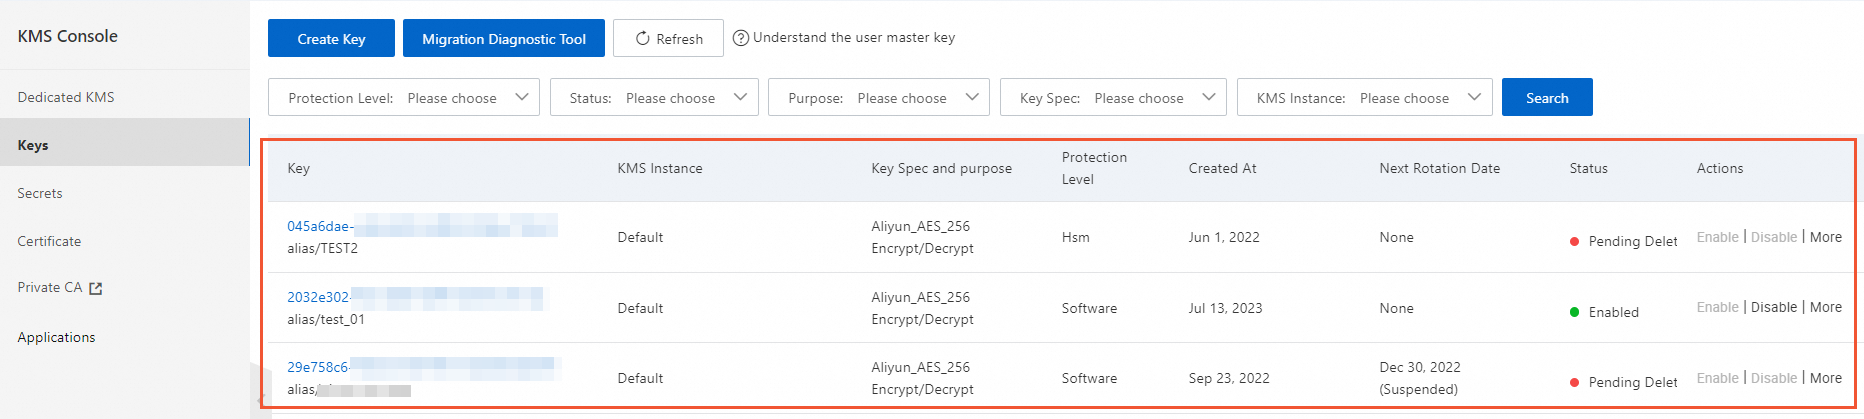
To find keys outside KMS instances, log in to the KMS console, select a region from the top navigation bar, and go to the Keys page. All keys on the Default Keys tab are keys outside KMS instances.
For encrypted data managed by Alibaba Cloud services: Follow the data migration guide for the specific Alibaba Cloud service. The steps in this topic apply to self-managed applications only.
Migrate keys in software-based KMS instances
Use this path if your keys are stored in a software-based KMS instance. The migration uses backup and restore. The example below migrates Instance A in Region A to Instance B in Region B.
Before you start: Determine whether your source and destination regions are in the same country or across borders — the restore procedure differs. Identify this first, then follow the corresponding sub-steps in Step 3.
Step 1: Create Instance B in Region B
Create and enable a new KMS instance in the destination region. For more information, see Purchase and enable a KMS instance.
Step 2: Back up Instance A in Region A
Each region includes one free backup instance, which can back up one software-based KMS instance. To back up multiple software-based KMS instances, purchase additional backup instances.
Log in to the KMS console. In the top navigation bar, select Region A. In the left navigation pane, click Security Operations > Disaster Recovery > Backups.Log on to the KMS console
On the Backups page, find the backup instance and click Enable in the Actions column.
In the Enable Backup dialog box, select Instance A for Source Instance, enter a name for Backup Alias, and click OK.
The backup takes approximately five minutes, depending on the number of resources in Instance A.
Step 3: Restore data to Instance B
Follow the steps for your scenario.
Same country
In the top navigation bar, select Region A. On the Backups page, find the backup instance and click View Data in the Actions column.
On the Fully Backed up Keys tab, select the keys to migrate and click Batch Restore at the bottom of the page.
In the Restore Data panel, select Instance B in Region B as the destination, and click OK.
Cross-border
In the top navigation bar, select Region A. On the Backups page, find the backup instance and click Download in the Actions column.
Select a Backup Date and click OK. Save the Encryption Key and download the Backup Data file.
In the top navigation bar, select Region B. On the Backups page, click Upload Backup.
Enter the Decryption Key and a Backup Name, click OK, and upload the backup file for Instance A.
In the list of backups, find the uploaded backup and click View Data in the Actions column.
On the Fully Backed up Keys, Incrementally Backed up Keys, or Rotated Keys tab, click Restore Data in the Actions column, select the Destination Instance, and click OK.
Step 4: Update your application to use Instance B
Update both control plane and cryptographic operation configurations.
| Operation type | What to update |
|---|---|
| Control plane operations | If you use an Alibaba Cloud SDK, change the endpoint to the KMS service endpoint for Region B. For endpoint values by region, see Regions and zones. |
| Cryptographic operations | If you use the KMS Instance SDK, replace the ClientKey, instance CA certificate, and connection parameters. Follow the steps below. |
To update cryptographic operation parameters:
In Region B, create an application access point (AAP) to access Instance B. For more information, see Create an AAP. After creating the AAP, save the following credentials:
Credential Default filename ClientKey file (ClientKeyContent) clientKey_****.jsonClientKey password (ClientKeyPassword) clientKey_****_Password.txtKMS instance CA certificate PrivateKmsCA_kst-******.pemUpdate the KMS Instance SDK initialization parameters in your code. For example, if you use the KMS Instance SDK for Java, update the following parameters:
Parameter Update clientKeyFilePathorclientKeyContentPath to or content of the new ClientKey file clientKeyPassNew ClientKey password endpointDomain name of Instance B, for example, kst-hzz659dfeee864za2****.cryptoservice.kms.aliyuncs.comcaCertPathorcaCertPath to or content of the CA certificate for Instance B
Migrate keys in hardware KMS instances
KMS does not support direct migration for keys in hardware KMS instances. The procedure varies based on the key usage type.
ENCRYPT/DECRYPT keys
The process is the same for both symmetric and asymmetric keys.
In the source region, use the original key to decrypt all ciphertext and encrypted data keys.
Transfer the plaintext data and plaintext data keys to the destination region.
In the destination region, purchase and enable a KMS instance. For guidance, see Instance selection and Purchase and enable a KMS instance.
Use the new KMS instance to re-encrypt your data. For implementation details, see Use a KMS key to encrypt and decrypt data online and Use envelope encryption.
After confirming the original key is no longer in use, disable it in the source region and then schedule it for deletion. See Disable keys and Schedule key deletion.
SIGN/VERIFY keys
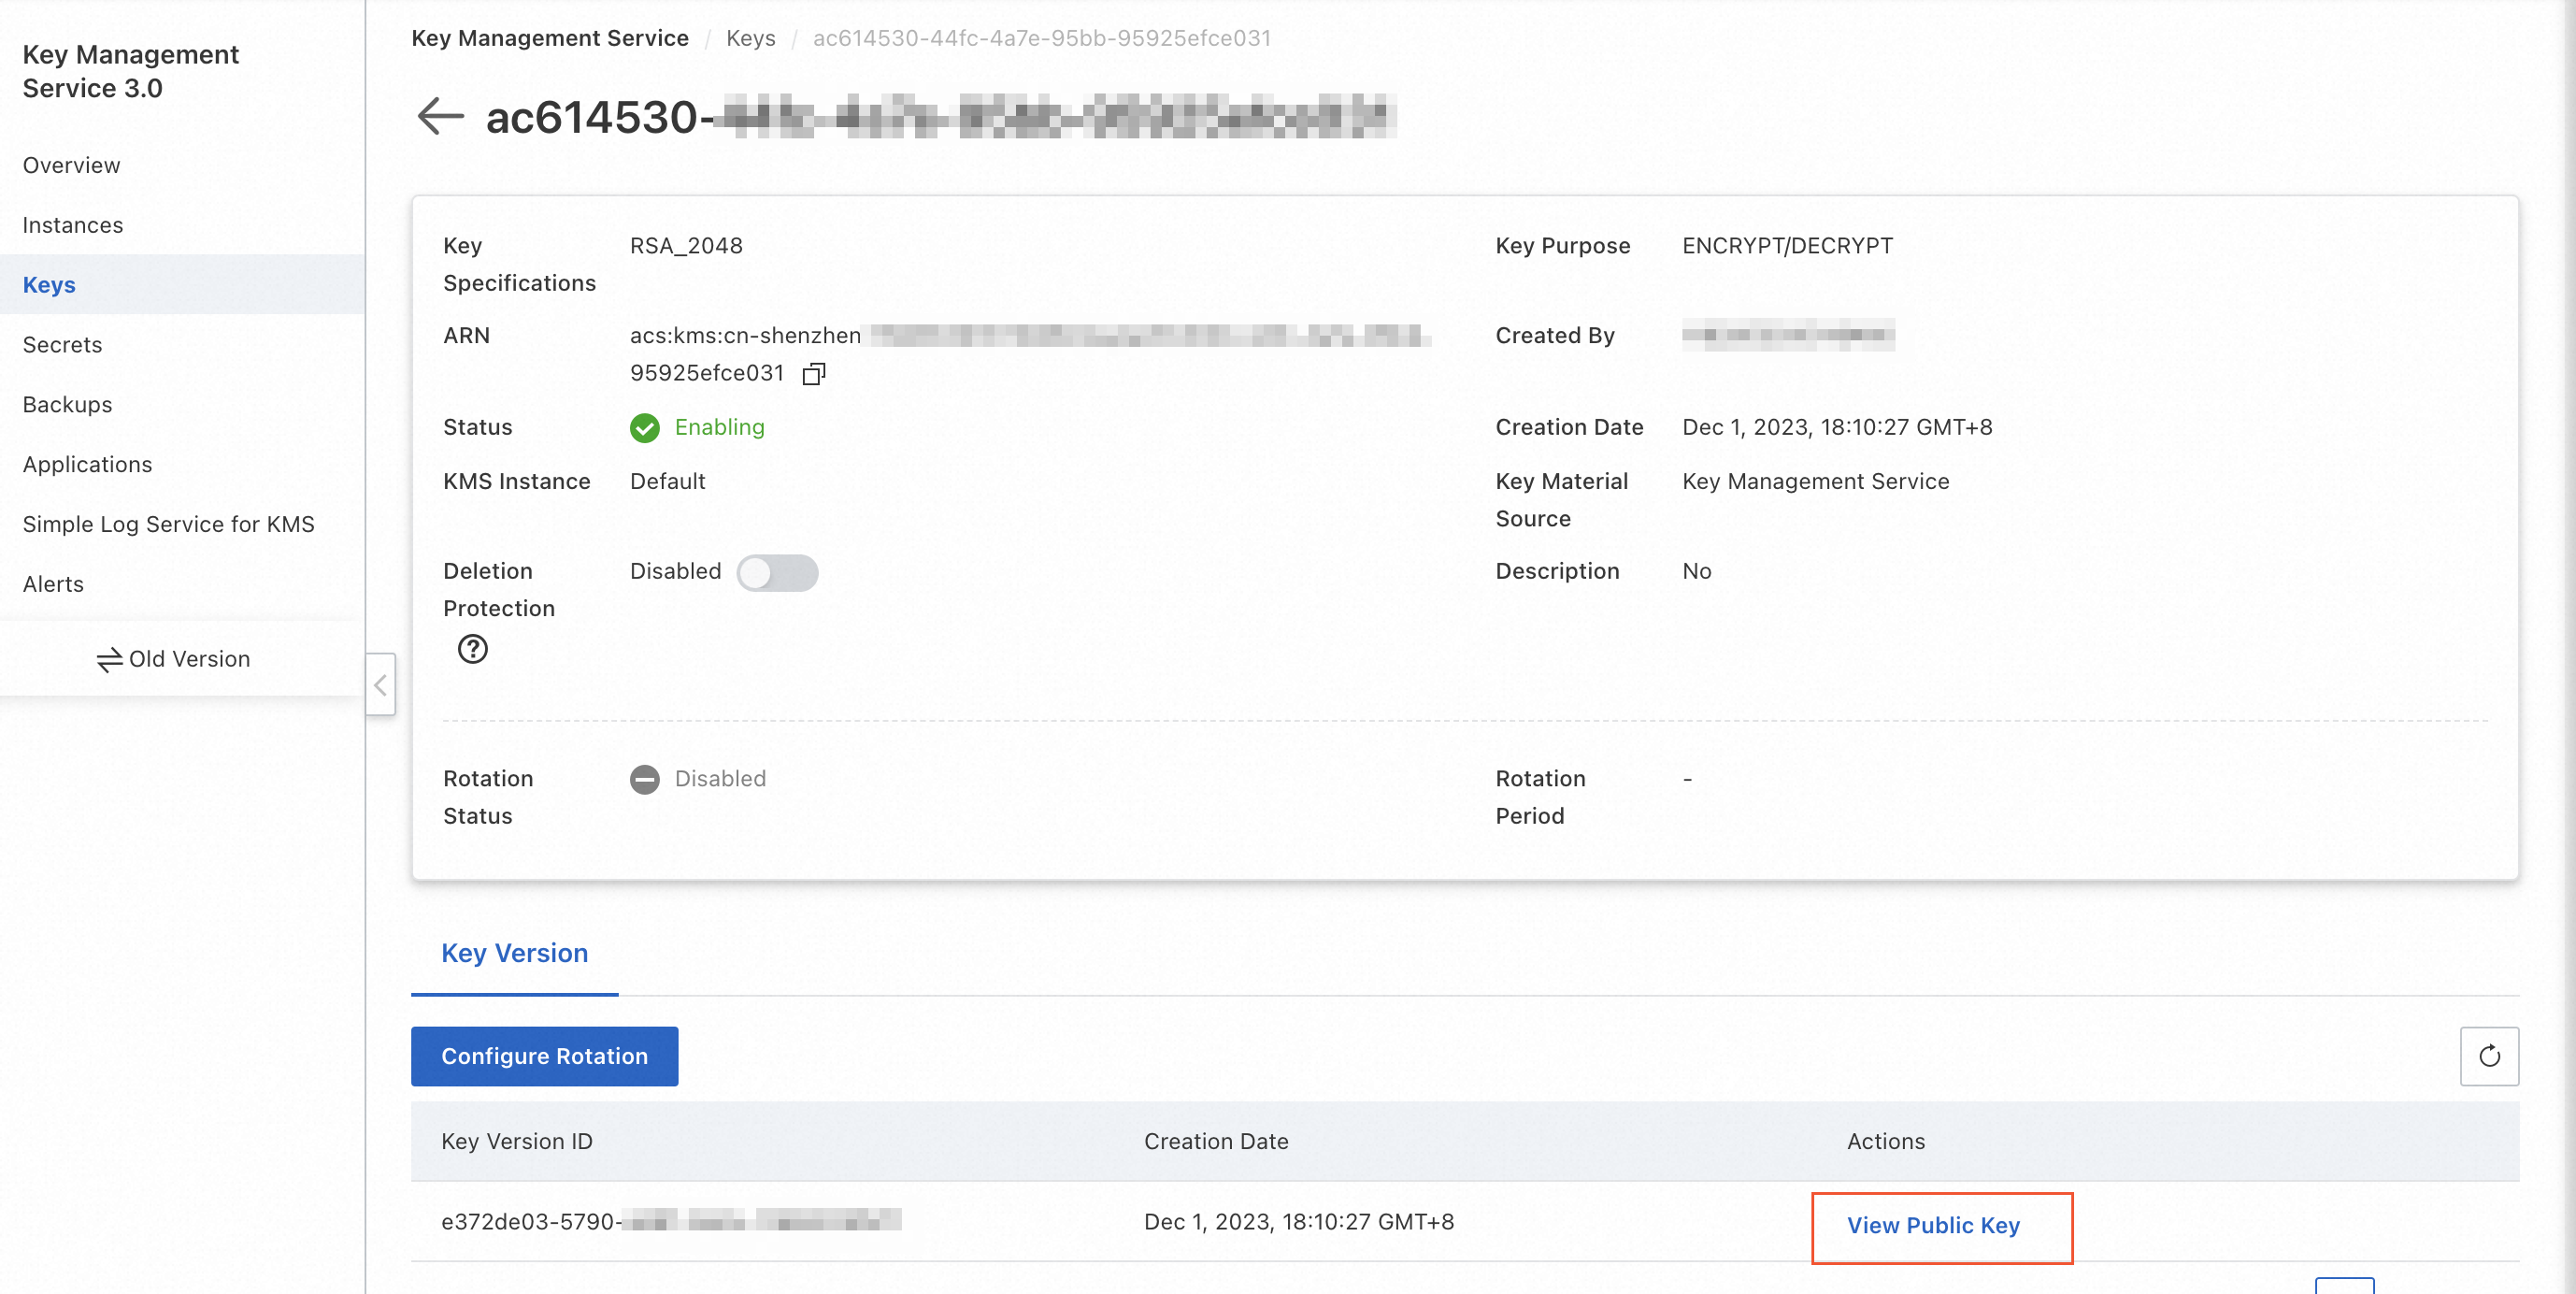
In the source region, download and save the public key of the customer master key (CMK). Retain it for as long as signature verification against existing signatures is required. Log in to the KMS console, then view and save the public key as shown below.
In the destination region, purchase and enable a KMS instance. See Instance selection and Purchase and enable a KMS instance.
Create a key in the new KMS instance. See Software-protected keys or Hardware-protected keys.
Use the KMS Instance SDK for all new signing and verification operations. See KMS Instance SDK.
After confirming the original key is no longer in use, disable it in the source region and then schedule it for deletion. See Disable keys and Schedule key deletion.
Migrate keys outside KMS instances
Keys outside KMS instances appear on the Default Keys tab of the Keys page in the KMS console.
In KMS V3.0, the Default Keys tab shows one CMK and multiple service keys. In older KMS versions, the tab shows all your CMKs. In the new console, these keys are view-only. To modify their properties, use the old version of the KMS console.
KMS does not support direct migration for keys outside KMS instances. Follow the same re-encryption procedure described in ENCRYPT/DECRYPT keys above.