Some Express Connect partners have already connected their networks to Alibaba Cloud access points. If you choose one of these Express Connect partners, you only need to connect your data center to the partner's access point, and then request them to create a hosted connection for you. Your job is to accept the shared port, then create a Virtual Border Router (VBR) to route traffic between your virtual private cloud (VPC) and your data center.
Prerequisites
Before you begin, make sure that:
-
The Express Connect partner has completed one of the following:
-
New hosted connection: The partner has created a shared port for you.
-
Existing hosted connection: The partner has added a shared port for you.
-
-
You have read the billing rules for hosted connections.
How it works
The steps you follow depend on whether you are setting up a new hosted connection or adding a shared port to an existing one.
| Scenario | Steps |
|---|---|
| New hosted connection |
|
| Add a shared port to an existing hosted connection |
|
Step 1: Accept a shared port
After the partner creates or adds a shared port, accept it in the Express Connect console. If the partner is the payer, no payment is required on your end.
-
Log on to the Express Connect console.
-
In the top navigation bar, select the region of the hosted connection.
-
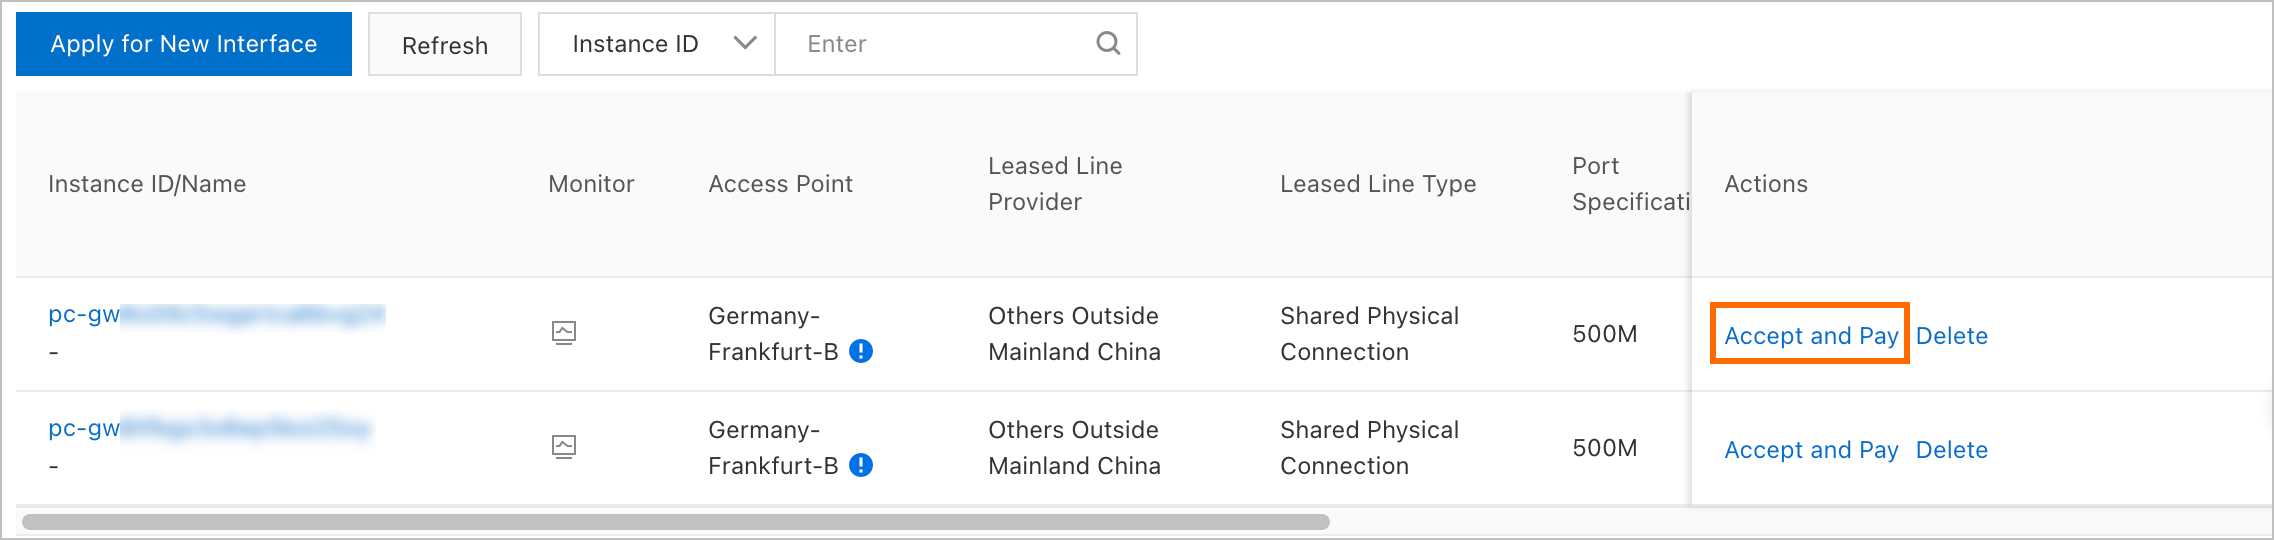
On the Physical Connection page, find the hosted connection and click Accept and Pay in the Actions column.
-
In the Accept dialog box, click OK.
-
In the panel that appears, confirm the region and specification of the shared port, click Buy Now, and complete the payment.
After payment, confirm that both fields match the following before proceeding to Step 2:
| Field | Expected value |
|---|---|
| Status | Active |
| Construction Process | Complete |
For an existing hosted connection, the partner must confirm the shared port after you accept it. Once confirmed, your VBR is automatically associated with the new shared port. Your VBR configuration is unchanged and your service is not interrupted.
Step 2: Create a VBR
A VBR routes traffic between your VPC and your data center. Each shared port supports exactly one VBR.
If you already have a VBR, it is automatically associated with the shared port after Step 1. Skip this step.
-
Log on to the Express Connect console.
-
In the top navigation bar, select a region.
-
On the Physical Connection page, click the ID of the hosted connection.
-
On the VBR tab, click Create VBR.
-
In the Create VBR panel, configure the following parameters and click OK:
-
Account — Defaults to Current Account, meaning the VBR belongs to the account you are logged in with.
-
Name — Enter a name for the VBR.
-
Physical Connection Information — Select Shared Physical Connection, then select the shared port ID. The shared port must be fully constructed and in a normal state.
-
VLAN ID — Pre-filled by the Express Connect partner. This value cannot be changed.
-
Alibaba Cloud Side IPv4 Address — Enter an IPv4 address for the VBR to route traffic from the VPC to your data center.
-
Client-side IPv4 Interconnect IP — Enter an IPv4 address for the gateway device in your data center to route traffic from the data center to the VPC.
-
IPv4 Subnet Mask — Enter the subnet mask for the two IPv4 addresses above. A long subnet mask is acceptable because only two IP addresses are required.
-
After creating the VBR, you can adjust its bandwidth, modify its configuration, or delete it. For details, see Create and manage a VBR.
What's next
Delete a VBR
See Delete a VBR.
Stop instance access
Disable a shared port to stop instance access. Before disabling, delete the VBR associated with the shared port.
-
A stopped instance is not released. Contact the partner to restore it to normal status.
-
A disabled shared port continues to incur charges. See Resource usage fees. To stop billing, unsubscribe from the shared port and release it.
-
Log on to the Express Connect console.
-
In the top navigation bar, select a region.
-
On the Physical Connection page, find the shared port and choose
 > Terminate in the Actions column.
 -
In the message that appears, click OK.
Delete a shared port
Before deleting a shared port, delete the VBR associated with it.
-
Log on to the Express Connect console.
-
In the top navigation bar, select the region of the shared port.
-
On the Physical Connection page, find the shared port and click Delete in the Actions column.
-
If the port has expired, click OK in the Confirm Deletion dialog box.
-
If the port is still billed, click OK in the Confirm Deletion dialog box. You are redirected to the refund page. See Unsubscription and refund policies.
-
API reference
-
CreatePhysicalConnectionOccupancyOrder: creates an order for resource usage.
-
ConfirmPhysicalConnection: confirms an Express Connect circuit. If the operation succeeds, the circuit status changes to Confirmed.
-
CreateVirtualBorderRouter: creates a VBR.