SkyWalking is a distributed application performance monitoring (APM) and tracing system. This topic describes how to configure SkyWalking to use an Alibaba Cloud Elasticsearch V7.4.0 cluster as its storage backend, enabling end-to-end observability for your distributed applications.
How it works
SkyWalking collects telemetry data from agents running in your application, then forwards that data to the SkyWalking OAP (Observability Analysis Platform) server. OAP analyzes and aggregates the data and stores it in Elasticsearch. The SkyWalking UI reads from Elasticsearch to render dashboards and traces.
SkyWalking supports two instrumentation modes:
-
Auto-instrument agents: Instrument your application automatically without modifying application code. Supports a wide range of frameworks and libraries out of the box.
-
Manual-instrument agents: Use the OpenTracing SDK to instrument components not covered by auto-instrument agents, including private or custom components. Auto and manual instrumentation can be used together.
SkyWalking accepts data from multiple sources, including SkyWalking agents for various languages, Zipkin v1, Zipkin v2, Istio telemetry, and Envoy.
This topic covers using Alibaba Cloud Elasticsearch V7.4.0 as the SkyWalking storage backend. To report Java application data to SkyWalking instead, see Use SkyWalking to report Java application data. For the full list of middleware and components supported by SkyWalking, see Apache SkyWalking documentation.
Prerequisites
Before you begin, ensure that you have:
-
An Alibaba Cloud Elasticsearch V7.4.0 cluster. See Create an Alibaba Cloud Elasticsearch cluster.
-
A Linux server with JDK 1.8.0 or later installed. An Elastic Compute Service (ECS) instance is recommended. See Create an ECS instance and Install the JDK.
-
Ports 8080, 10800, 11800, and 12800 on the Linux server are available.
-
The firewall and Security-Enhanced Linux (SELinux) are disabled on the Linux server.
If JDK is not correctly installed, SkyWalking logs will reportJava not foundorjava-xxx: No such file or directorywhen you start the service.
Step 1: Download and install SkyWalking
-
Download the SkyWalking package for Elasticsearch 7 to your Linux server. Because this topic uses an Elasticsearch V7.4.0 cluster, select Binary Distribution for Elasticsearch 7 from the SkyWalking downloads page. Run the following command to download the package:
wget https://archive.apache.org/dist/skywalking/7.0.0/apache-skywalking-apm-es7-7.0.0.tar.gz -
Extract the package:
tar -zxvf apache-skywalking-apm-es7-7.0.0.tar.gz -
Verify the extracted files:
ls apache-skywalking-apm-bin-es7/Expected output:
agent
bin
config
LICENSE
licenses
NOTICE
oap-libs
README.txt
tools
webapp
Step 2: Configure SkyWalking to connect to the Elasticsearch cluster
SkyWalking uses H2 as its default storage backend, but H2 does not support persistent data storage. Change the storage backend to Elasticsearch by editing application.yml.
-
Open
application.ymlin theconfigfolder:cd apache-skywalking-apm-bin-es7/config/ vi application.yml -
Locate the
storagesection. Change the selector fromH2toelasticsearch7, then configure the connection parameters:storage: selector: ${SW_STORAGE:elasticsearch7} elasticsearch7: nameSpace: ${SW_NAMESPACE:"skywalking-index"} clusterNodes: ${SW_STORAGE_ES_CLUSTER_NODES:es-cn-4591kzdzk000i****.public.elasticsearch.aliyuncs.com:9200} protocol: ${SW_STORAGE_ES_HTTP_PROTOCOL:"http"} # trustStorePath: ${SW_SW_STORAGE_ES_SSL_JKS_PATH:"../es_keystore.jks"} # trustStorePass: ${SW_SW_STORAGE_ES_SSL_JKS_PASS:""} enablePackedDownsampling: ${SW_STORAGE_ENABLE_PACKED_DOWNSAMPLING:true} # Hour and Day metrics will be merged into minute index. dayStep: ${SW_STORAGE_DAY_STEP:1} # Represent the number of days in the one minute/hour/day index. user: ${SW_ES_USER:"elastic"} password: ${SW_ES_PASSWORD:"es_password"}ImportantKeep
trustStorePathandtrustStorePasscommented out. Uncommenting them without a valid keystore file causes aNoSuchFileException: ../es_keystore.jkserror.The key parameters are:
Parameter Description selectorStorage backend selector. Set to elasticsearch7.nameSpacePrefix applied to all index names created in the Elasticsearch cluster. clusterNodesPublic endpoint of your Elasticsearch cluster. Because SkyWalking and the Elasticsearch cluster are in different VPCs, use the public endpoint. To find the endpoint, see View the basic information of a cluster. userUsername for the Elasticsearch cluster. Default: elastic.passwordPassword for the elasticuser, set when you created the cluster. To reset the password, see Reset the access password for an Elasticsearch cluster. -
(Optional) Change the listening IP address or port numbers in the
coresection ofapplication.yml. The defaults are port 12800 for RESTful API and port 11800 for gRPC. This topic uses the default values.core: selector: ${SW_CORE:default} default: # Mixed: Receive agent data, Level 1 aggregate, Level 2 aggregate # Receiver: Receive agent data, Level 1 aggregate # Aggregator: Level 2 aggregate role: ${SW_CORE_ROLE:Mixed} # Mixed/Receiver/Aggregator restHost: ${SW_CORE_REST_HOST:0.0.0.0} restPort: ${SW_CORE_REST_PORT:12800} restContextPath: ${SW_CORE_REST_CONTEXT_PATH:/} gRPCHost: ${SW_CORE_GRPC_HOST:0.0.0.0} gRPCPort: ${SW_CORE_GRPC_PORT:11800} -
(Optional) Modify
webapp/webapp.ymlto change the UI port or backend endpoint. This topic uses the default values.server: port: 8080 collector: path: /graphql ribbon: ReadTimeout: 10000 # Point to all backend's restHost:restPort, split by , listOfServers: 127.0.0.1:12800
Step 3: Start SkyWalking and verify the results
-
Make sure the Elasticsearch cluster is running before starting SkyWalking.
-
Run the startup script from the
bindirectory:cd ../bin ./startup.shIf startup succeeds, you see:
SkyWalking OAP started successfully!
SkyWalking Web Application started successfully!
Running
startup.shstarts both SkyWalking OAP and the SkyWalking UI. -
Open
http://<IP address of the Linux server>:8080/in a browser to access the SkyWalking UI.The first time SkyWalking connects to Elasticsearch, startup is slower than usual because SkyWalking creates a large number of indices in the cluster. The UI page may appear blank until index creation completes. To check progress, view the logs at
<SkyWalking installation path>/logs/skywalking-oap-server.log.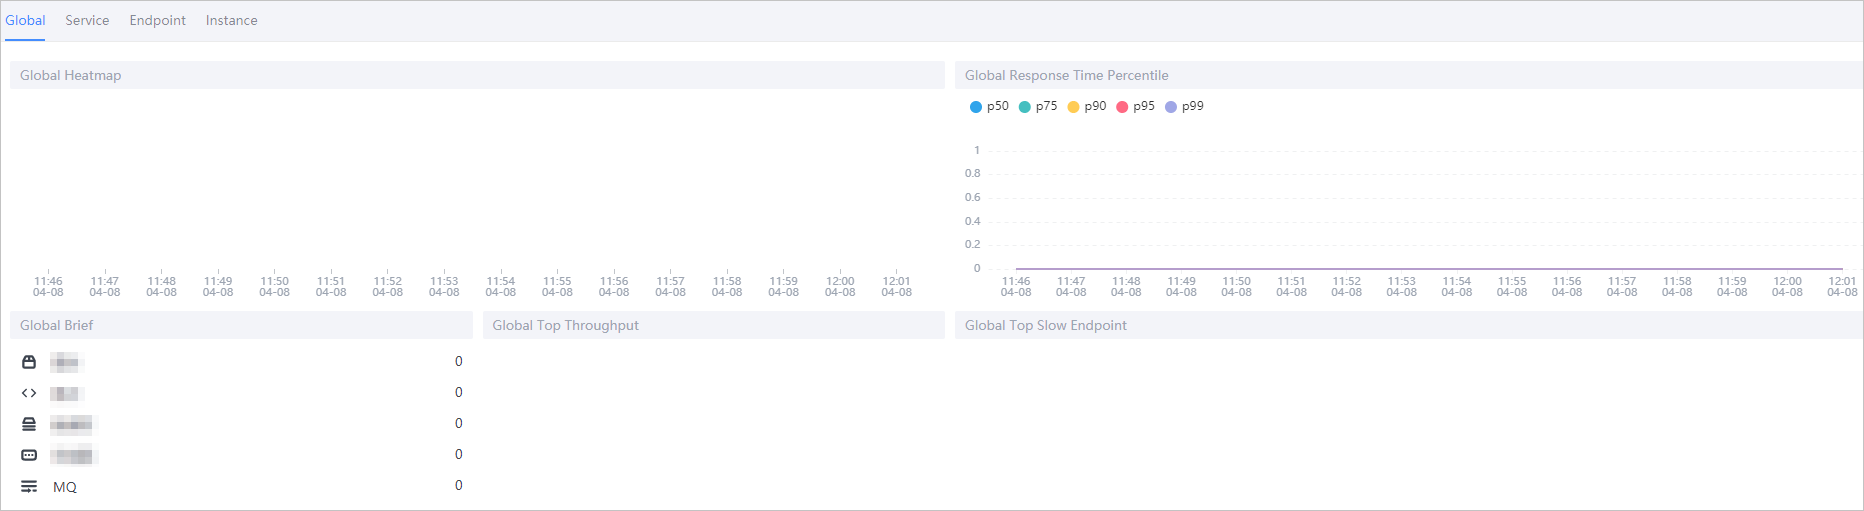
-
Verify that SkyWalking has created its indices in Elasticsearch. Log in to the Kibana console of your cluster — see Log on to the Kibana console — then run:
GET _cat/indices?vThe results list a large number of indices whose names start with
skywalking-index.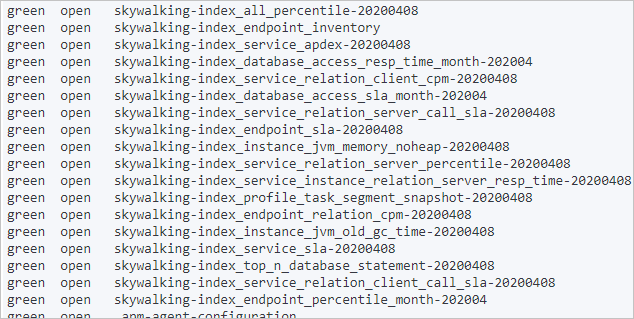
Next steps
-
To connect your application to SkyWalking, add the agent JAR at
apache-skywalking-apm-bin-es7/agent/skywalking-agent.jarto your application's JVM startup arguments. -
To learn more about supported middleware and components, see Apache SkyWalking documentation.
-
To report Java application data directly to SkyWalking, see Use SkyWalking to report Java application data.