We all know how to create a 3 tier architecture based web application using Alibaba Cloud products from our previous blog. Now there are some concerns among the developer community on how to enable an ECS to support server side execution of PHP scripts and support querying MySQL queries to database engines in other products like Apsara RDS and PolarDB. This blog will be a tutorial on how to install a web server that supports PHP scripts and external MySQL sources.
Firstly create a basic ECS instance with internal and public IP addresses configured. Public IP address can be swapped with Elastic IP as well based on convenience and the project requirements. Internal IP address is used to whitelist the ECS from the RDS instances and public IP or Elastic IP is used to access the web server from a thin client.
Login to the command prompt of workbench.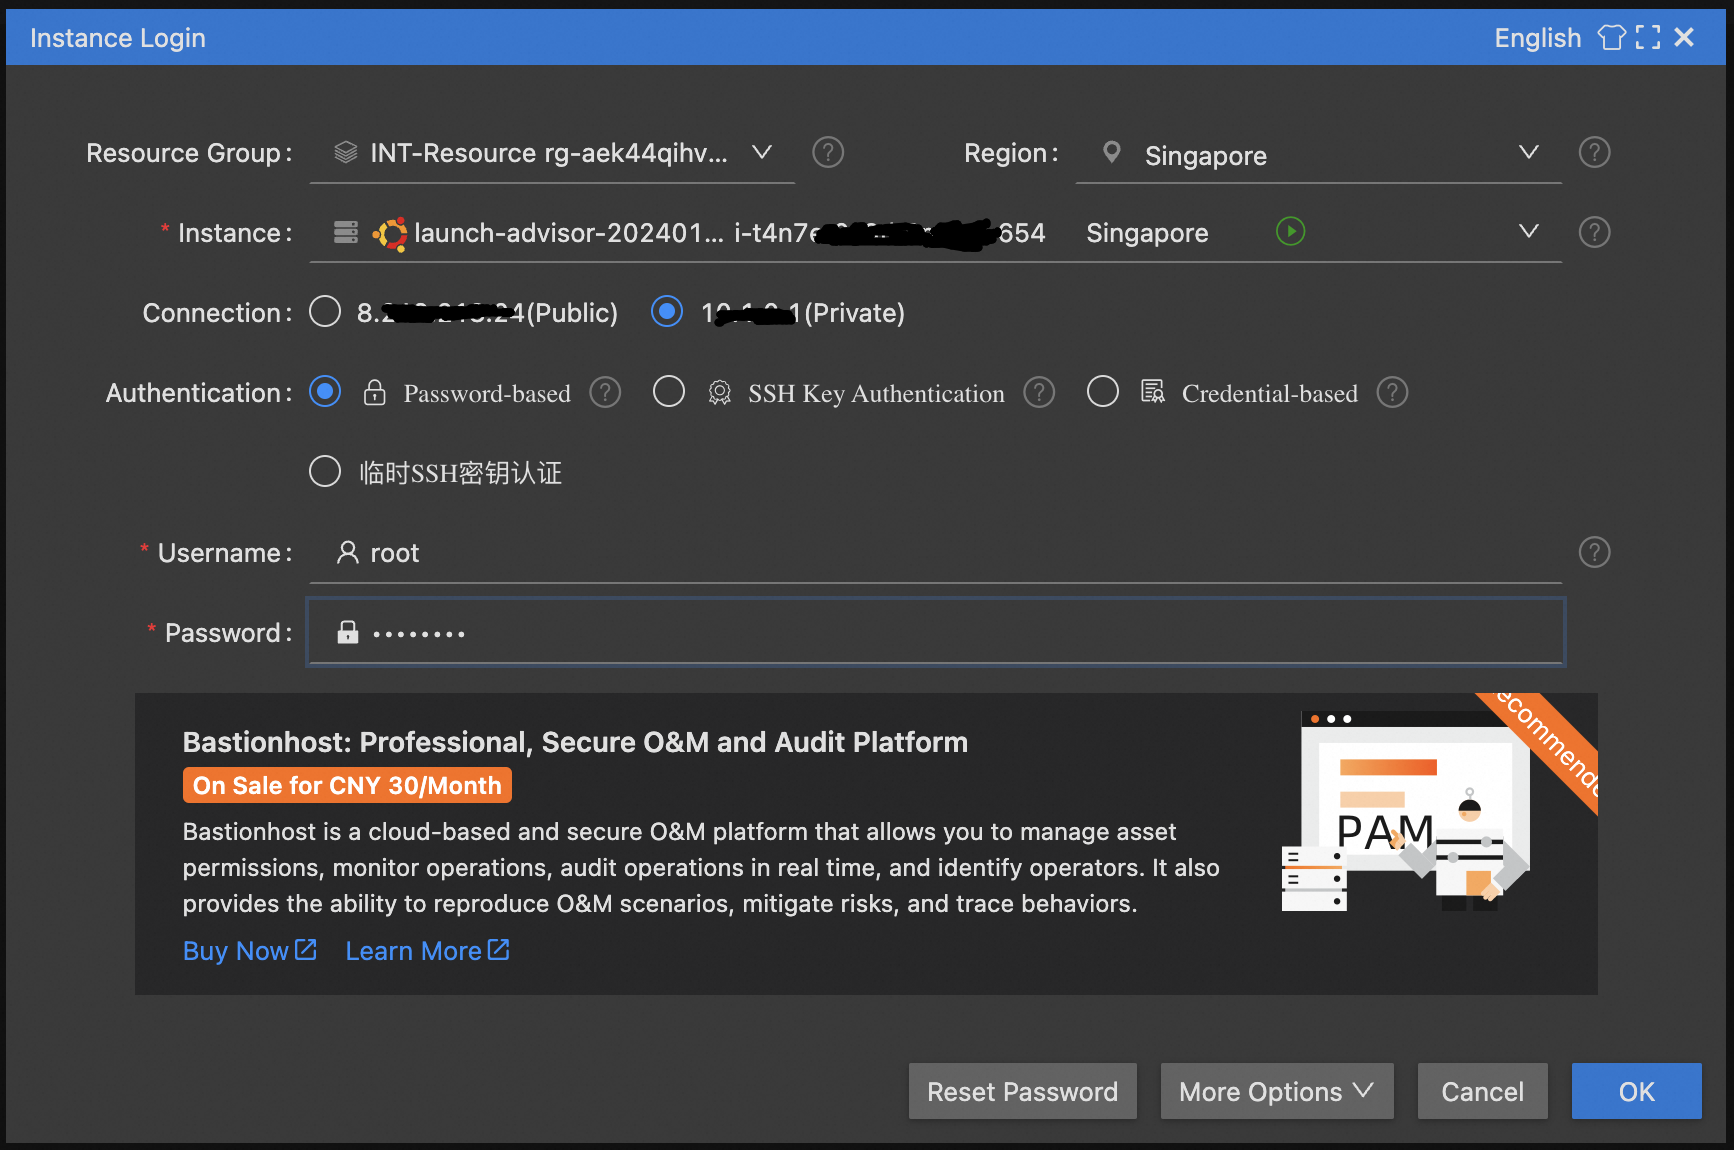
Successful login shows as below.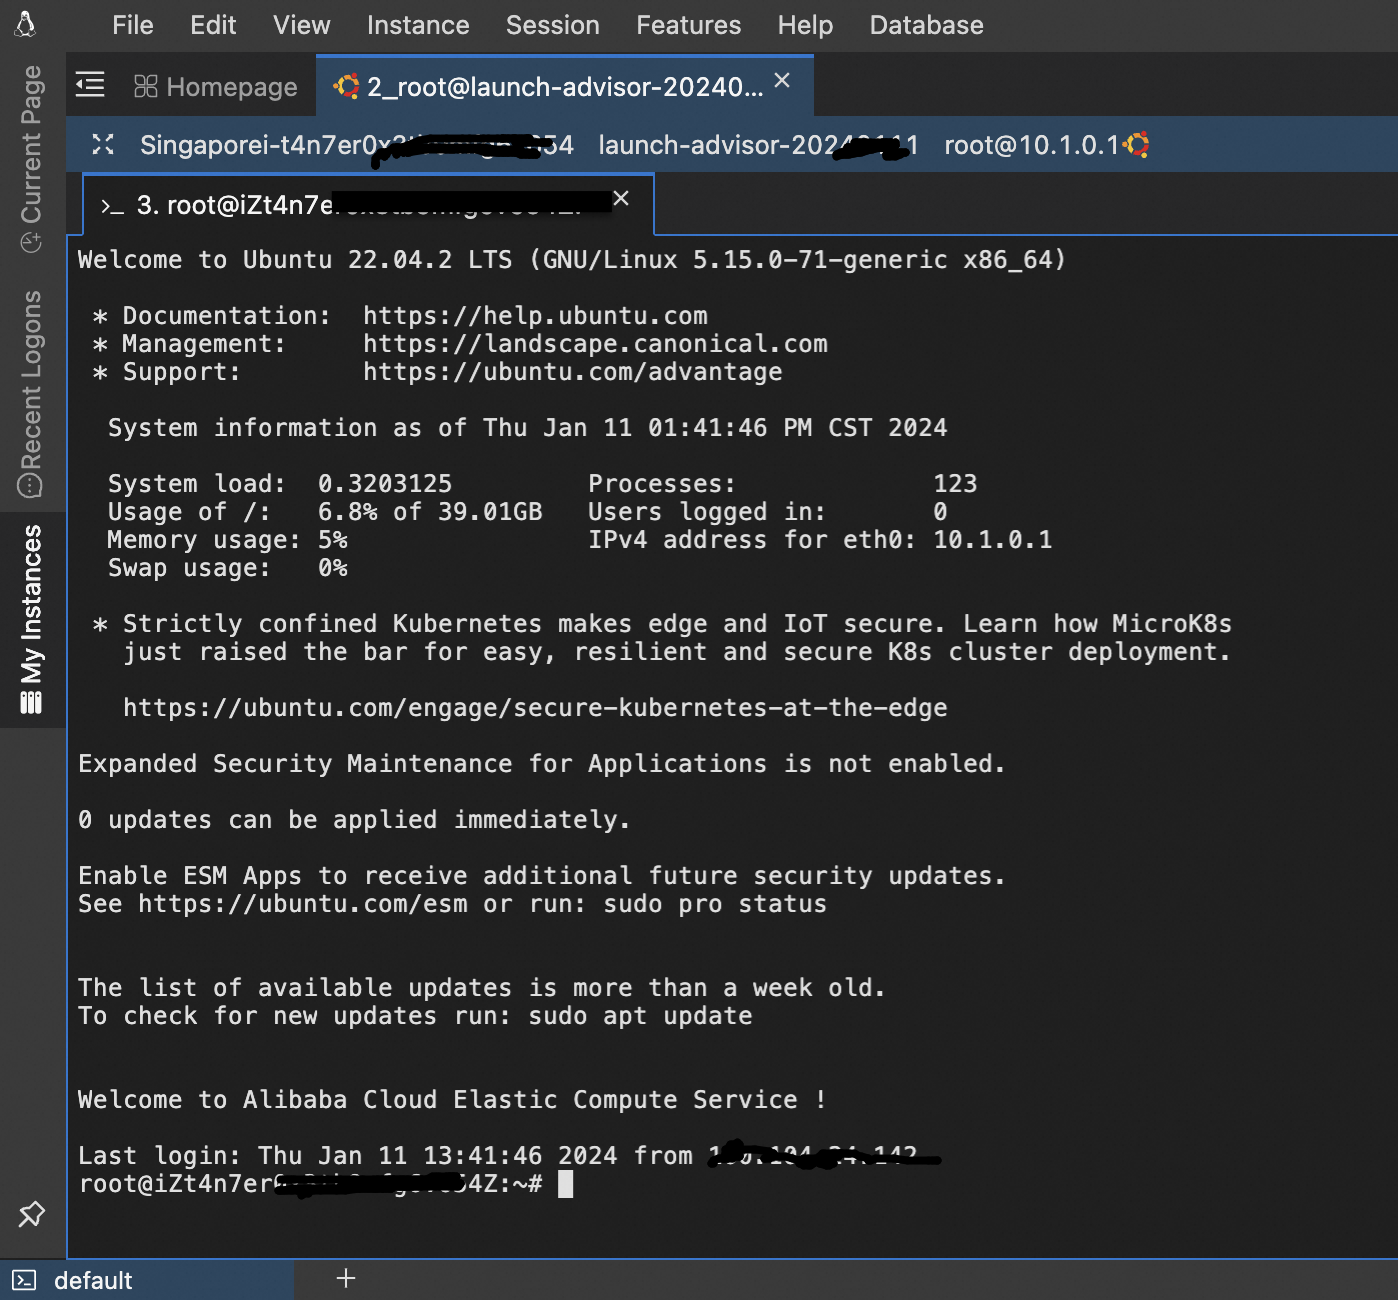
Update the ubuntu operating system using the command as shown.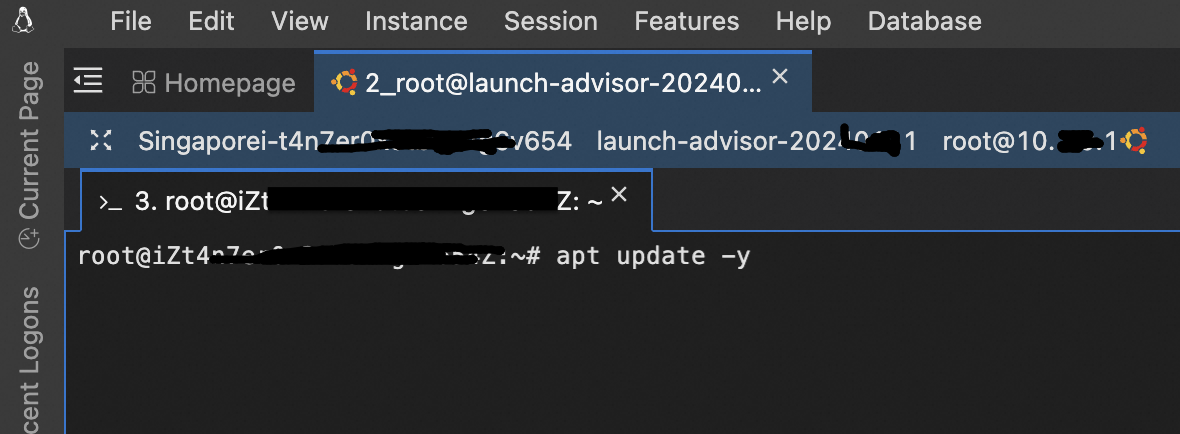
Upgrade the components of the operating system.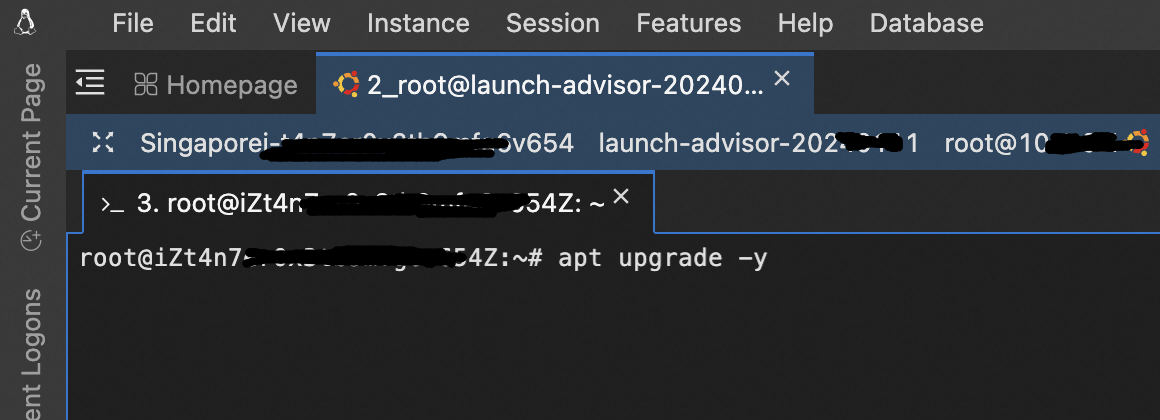
Install the nginx server.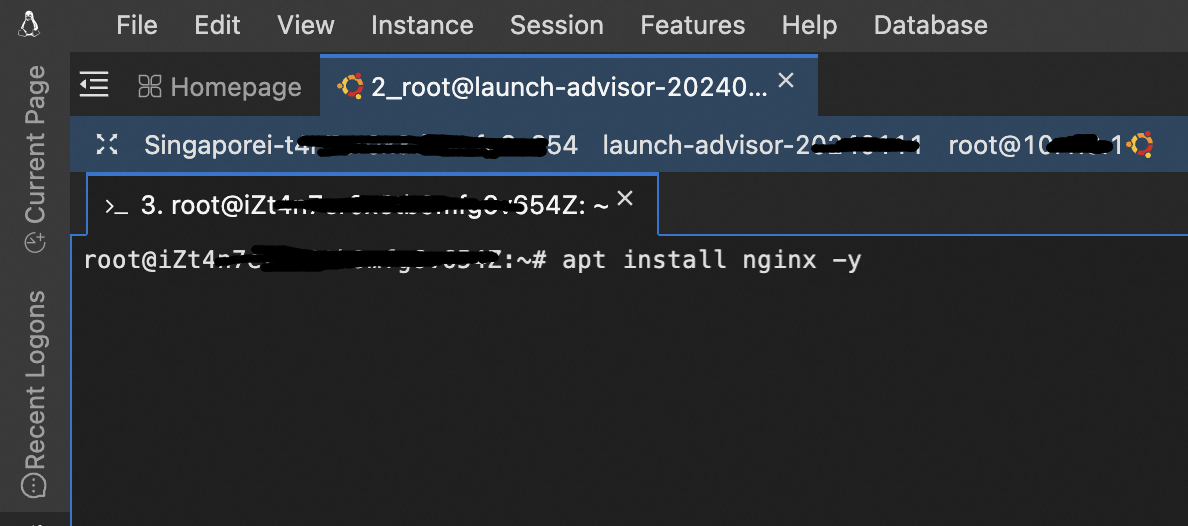
Activate and check the status of nginx server.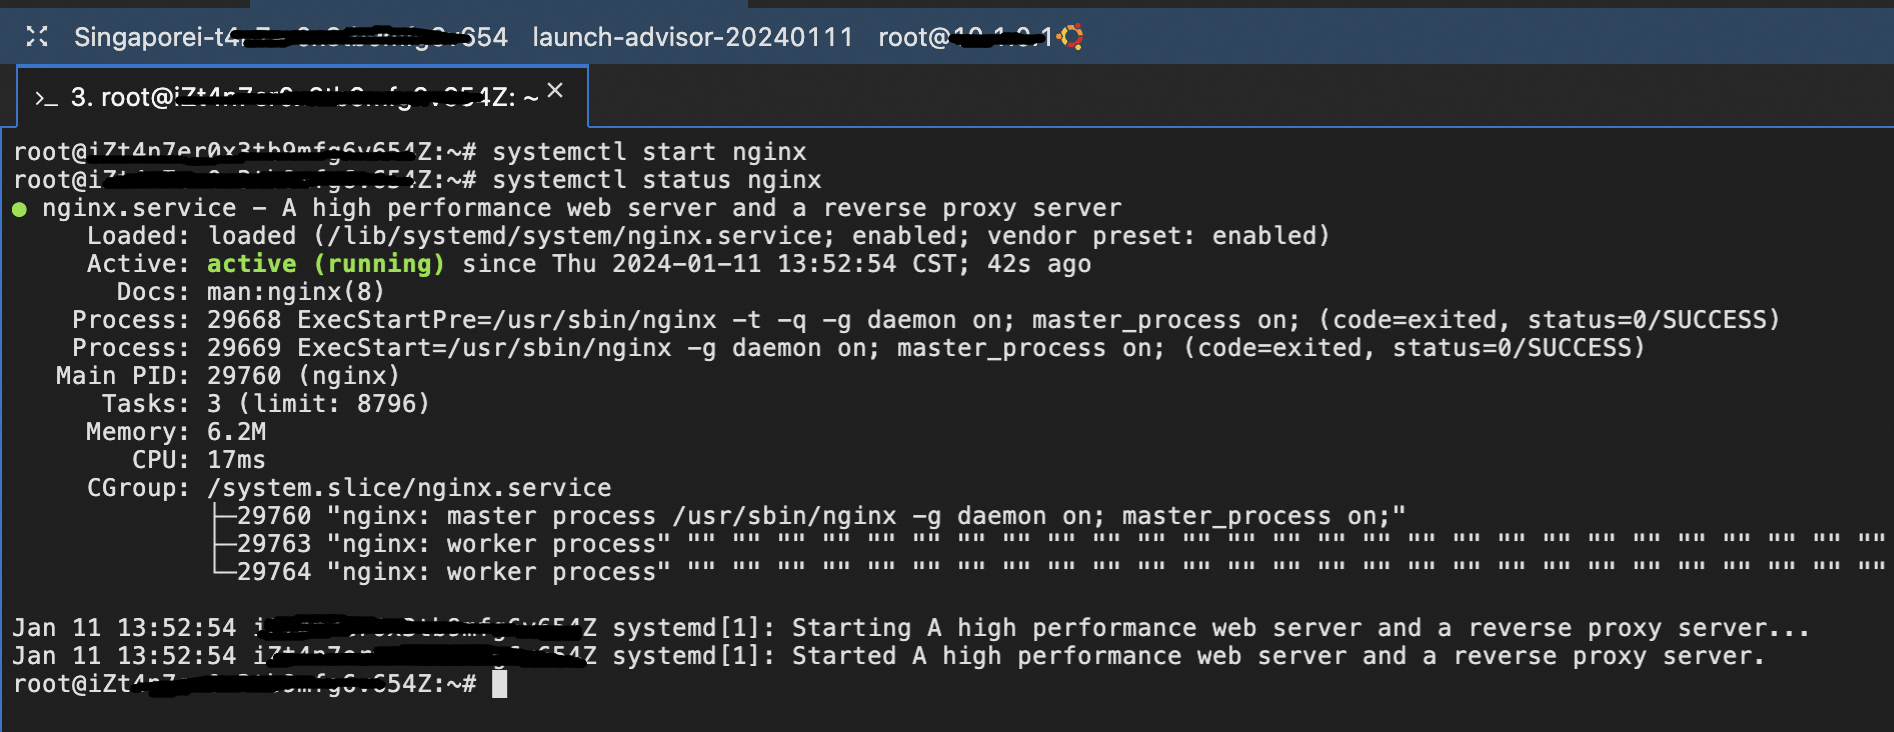
Enter the public IP address of the ECS in a browser to check the functionality of the nginx server. In case public IP is not opted, Elastic IP can be mounted and used to check.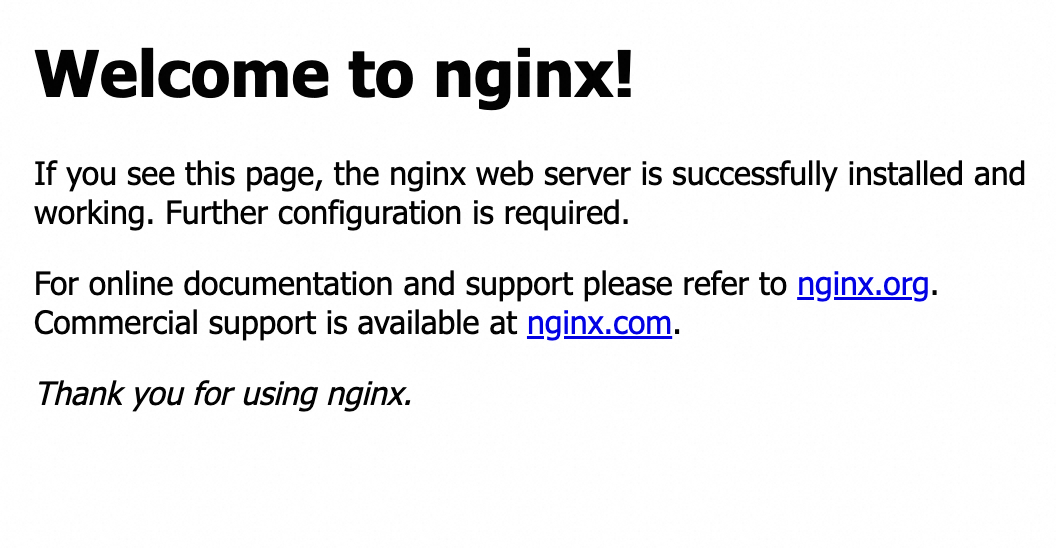
This page uses the folder /var/www/html/ in the ECS instance. This is currently supporting static page of html format only. At this point, if you add php files, it will be downloaded than to execute the scripts. So we install php and the current version is 8.1. This value should be changed when a new version is released.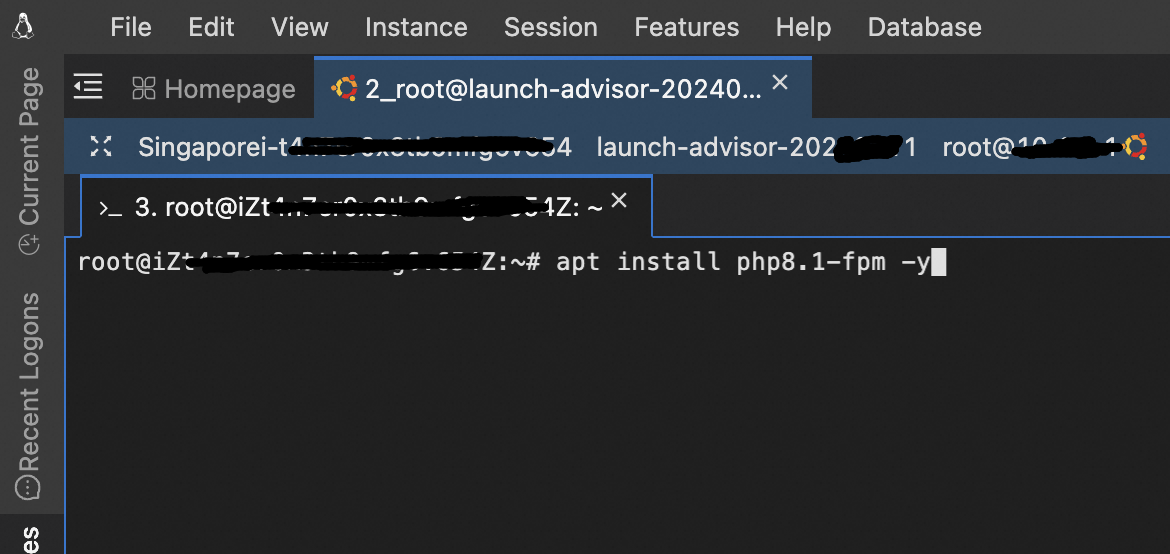
Check the status of php installed.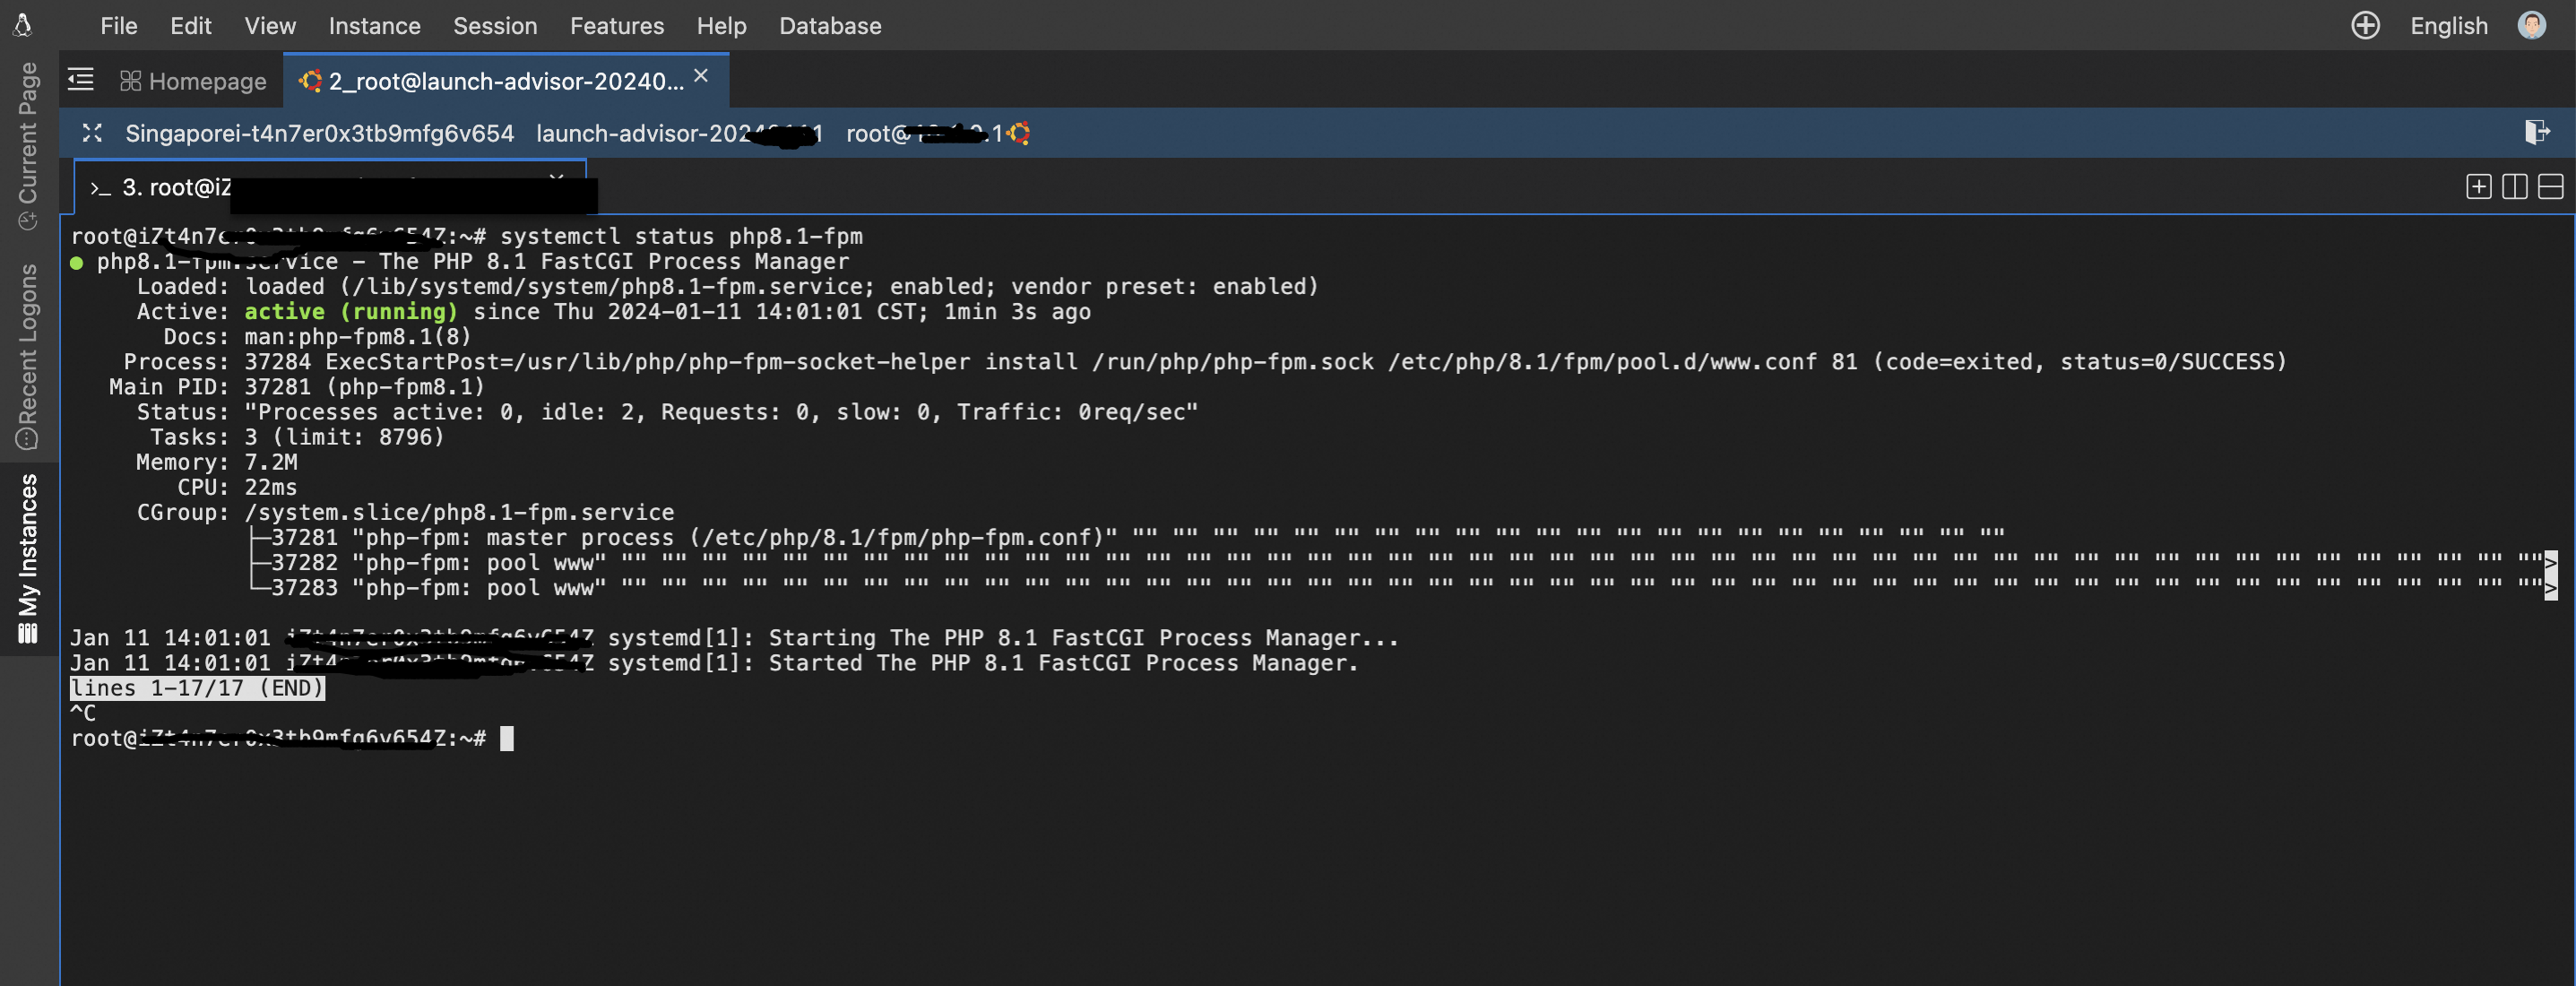
Get into the configuration of the web server.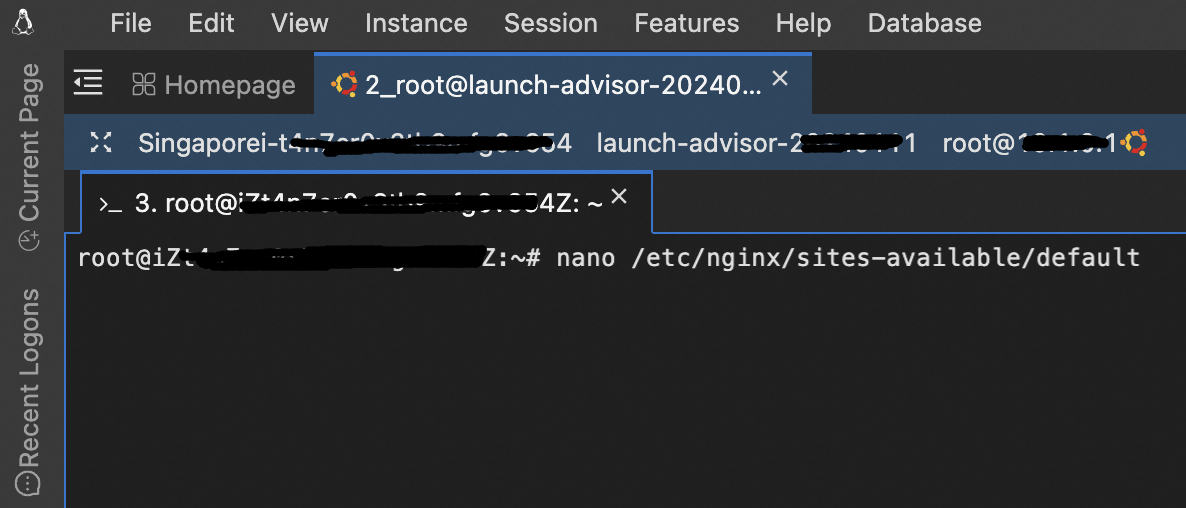
Edit the server function as follows: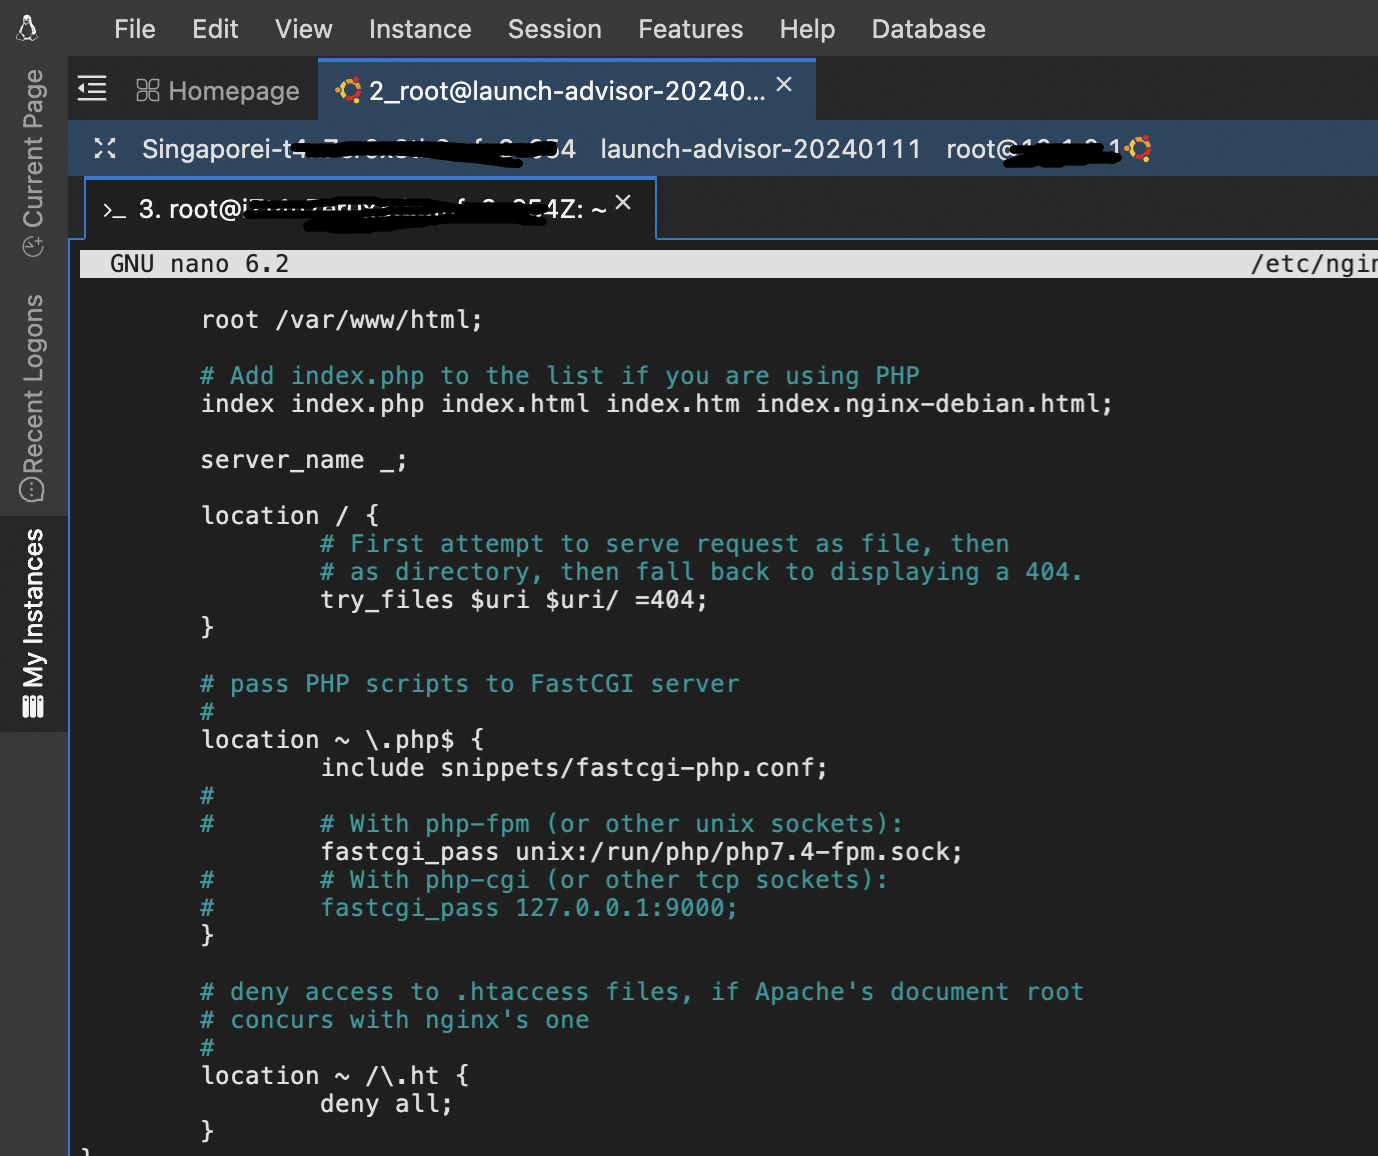
Check the correctness of the php related configuration as below.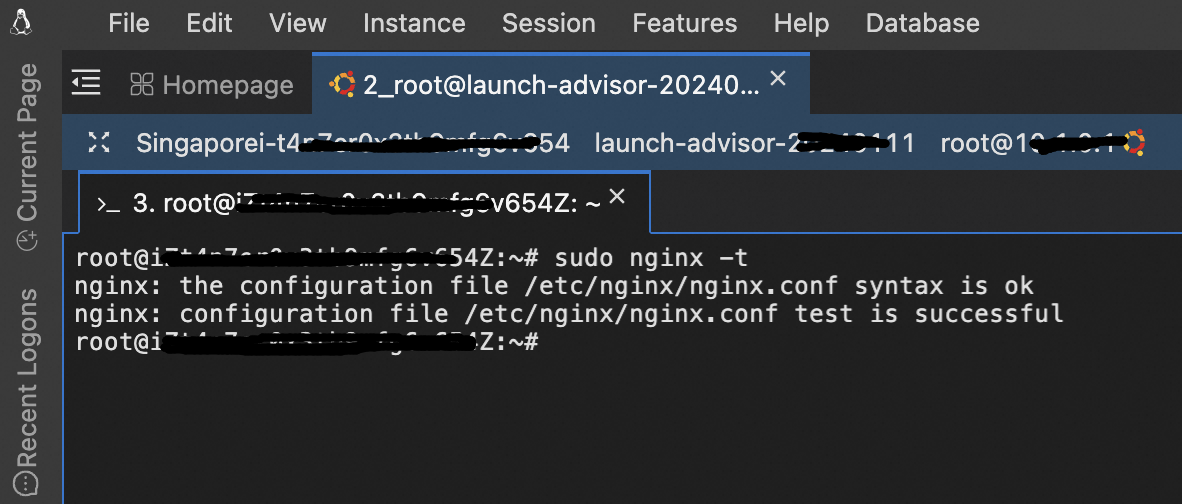
Restart the nginx now.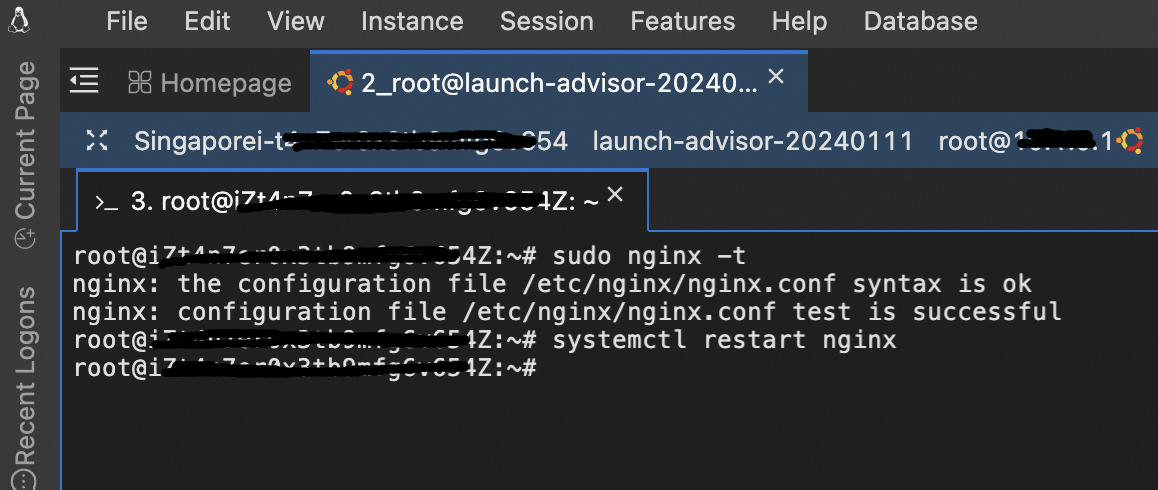
Provide read access to the root folder of your web application.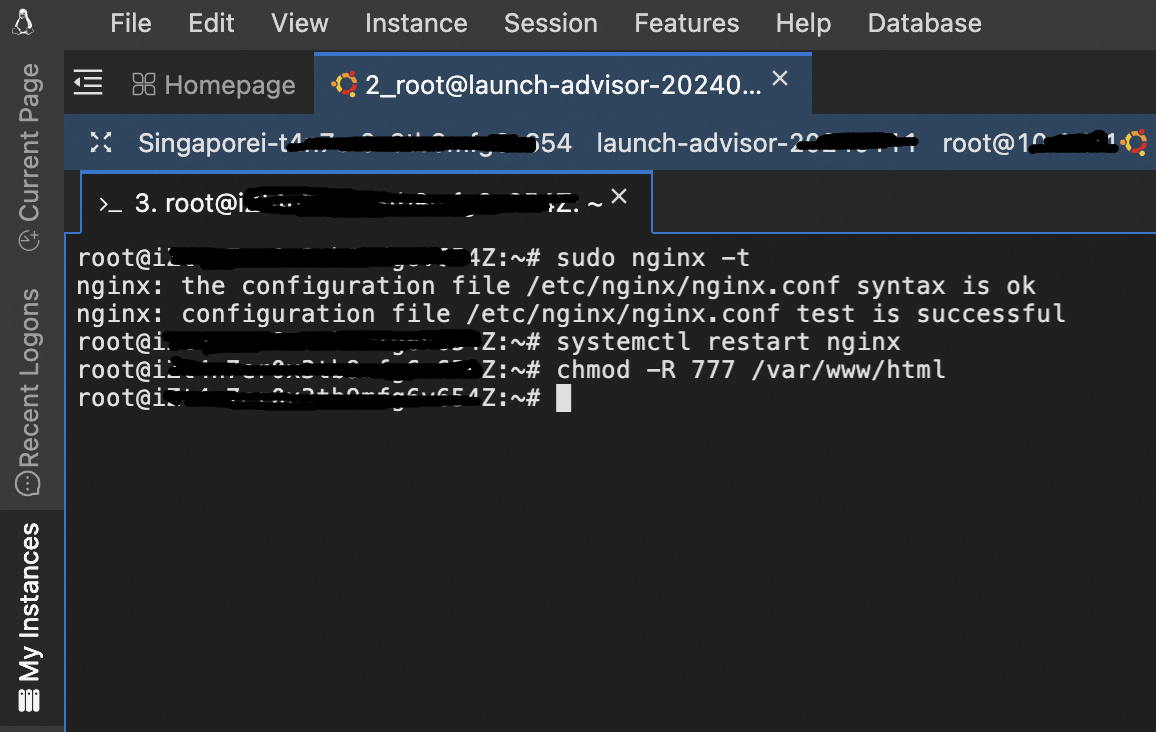
Create a php file to display information about php installed.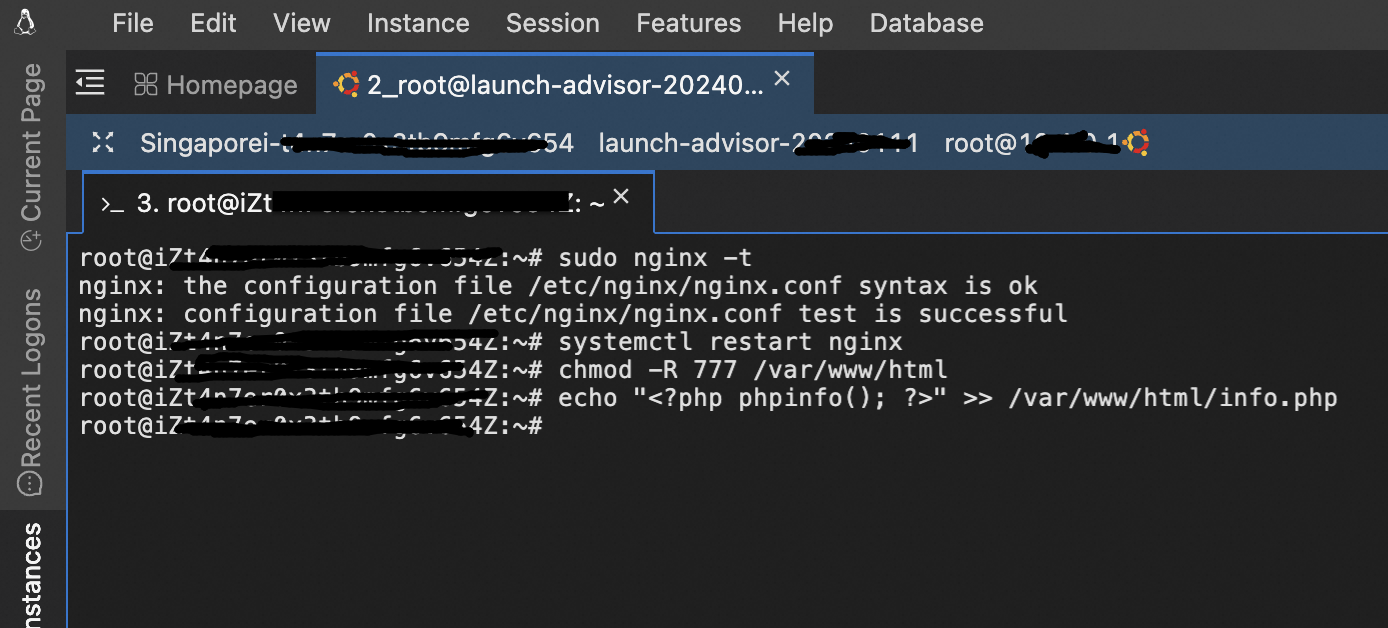
When the file is accessed through the browser, the following output is obtained.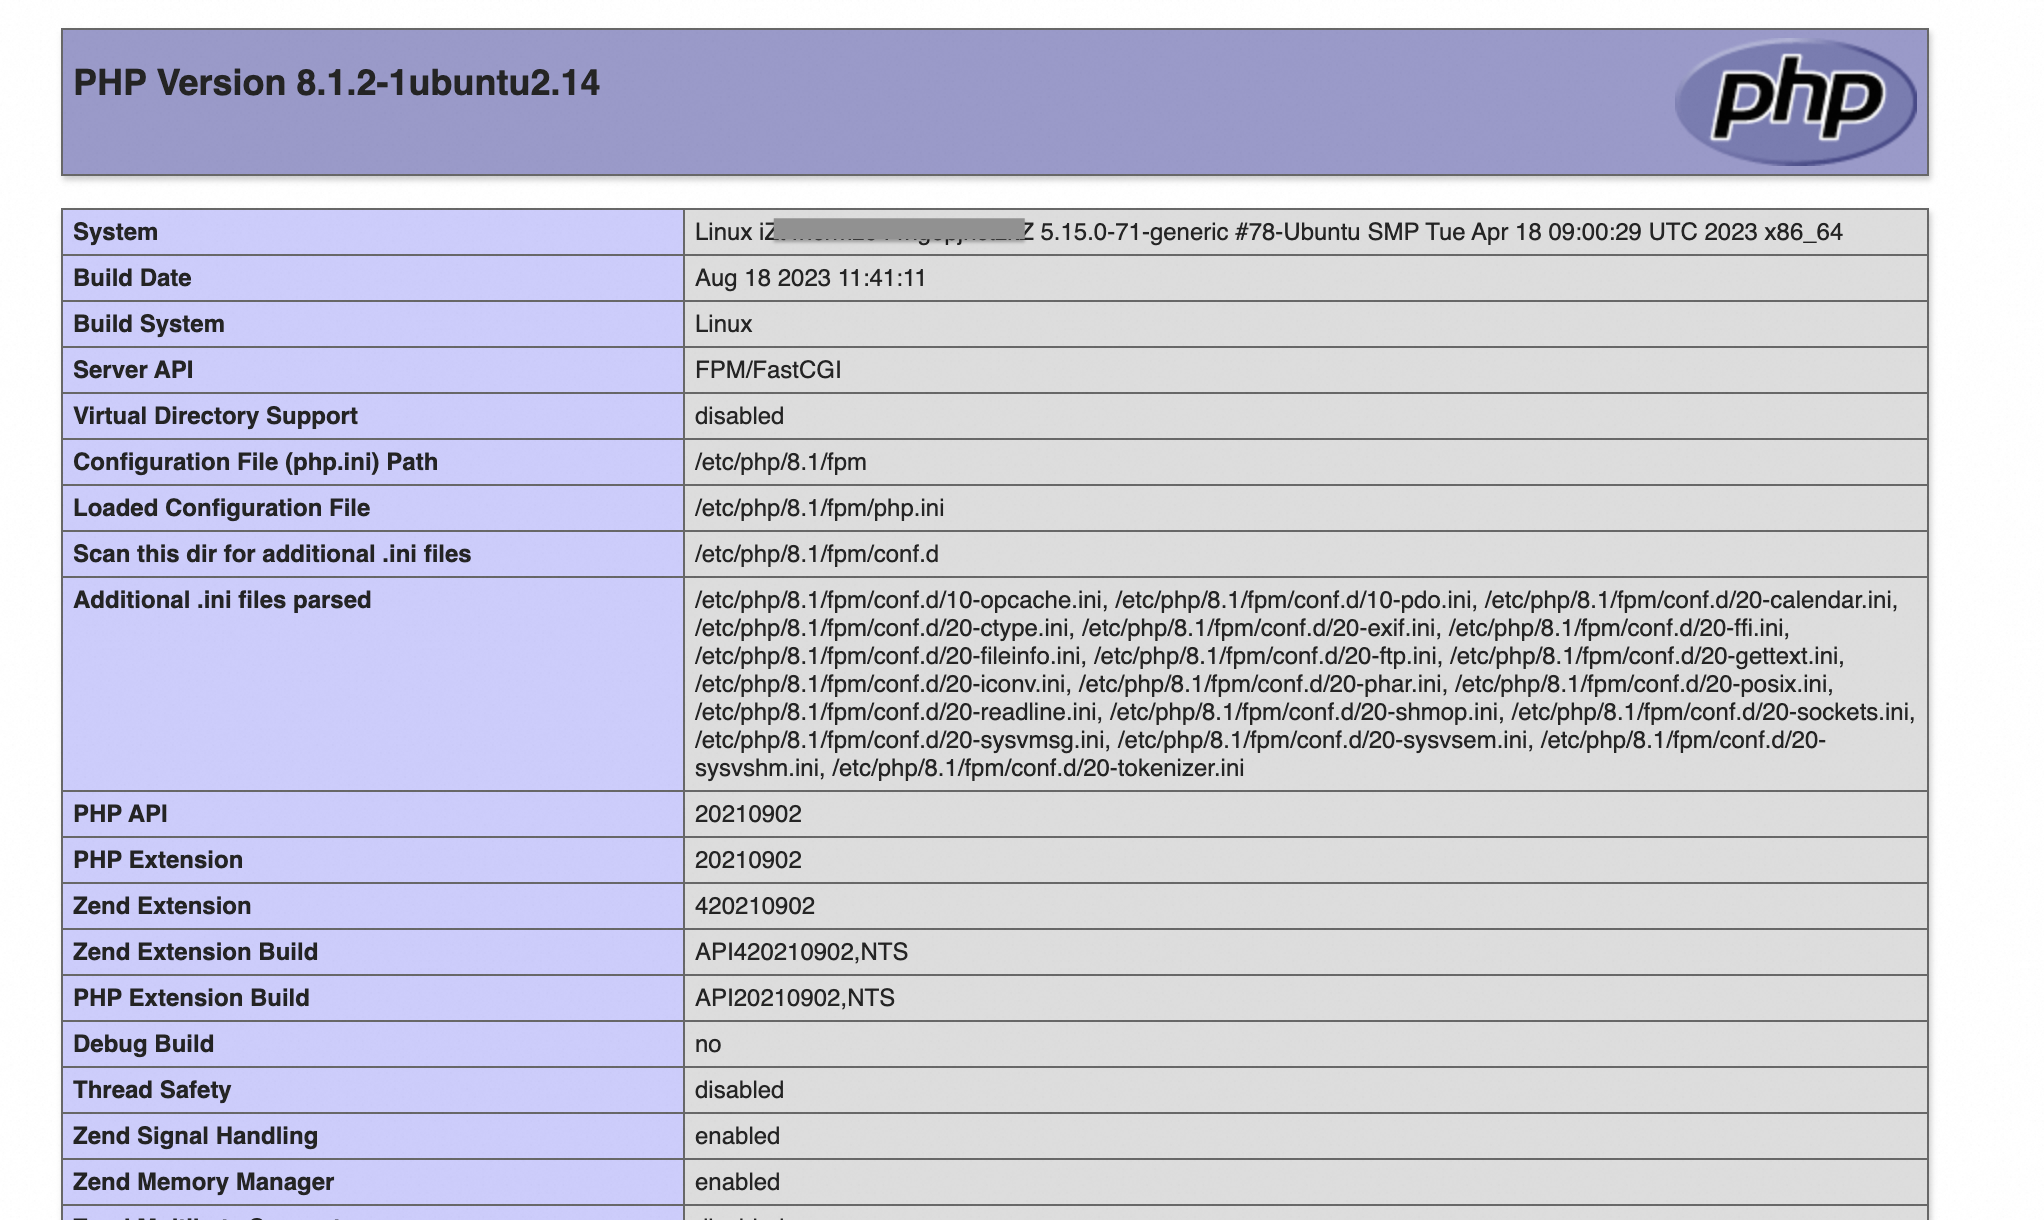
This confirms the validity of php with nginx server.
Development to Deployment of 3-Tier Architecture of a Simple Web Application Using Alibaba Cloud
Implementation of Stable Diffusion Web UI Using Heterogeneous ECS Instances
Alibaba Clouder - January 25, 2018
Alibaba Clouder - June 29, 2018
Alibaba Cloud Community - March 8, 2024
Alibaba Clouder - August 9, 2018
Alibaba Clouder - June 4, 2018
Alibaba Clouder - January 27, 2020
 ECS(Elastic Compute Service)
Elastic and secure virtual cloud servers to cater all your cloud hosting needs.
Learn More Elastic Desktop Service
A convenient and secure cloud-based Desktop-as-a-Service (DaaS) solution
Learn More Elastic High Performance Computing Solution
High Performance Computing (HPC) and AI technology helps scientific research institutions to perform viral gene sequencing, conduct new drug research and development, and shorten the research and development cycle.
Learn More GPU(Elastic GPU Service)
Powerful parallel computing capabilities based on GPU technology.
Learn MoreMore Posts by ferdinjoe