By Arslan Ud Din Shafiq, Alibaba Cloud Community Blog author and Alibaba Cloud MVP.
Dolibarr is an open-source ERP CRM, suited for companies, foundations as well as freelancers. It is written in PHP and provides many features for enterprise resource planning and customer relationship management systems.
In this tutorial, you will be installing and setting up Dolibarr on an Alibaba Cloud Elastic Compute Service (ECS) instance with Ubuntu 16.04.
Before proceeding with the installation of any kind of package, use the following command to update your Ubuntu system. To run this command, remember to login from non-root user with sudo privileges.
# sudo apt update && sudo apt upgradeDolibarr requires PHP 5.4.0 or later. In this tutorial, you will install PHP 7.2. To install PHP 7.2, complete the following steps.
You will need to install python software properties and software properties common. To do so, run the command below.
# sudo apt-get install software-properties-common python-software-properties Next, add a repository for newer versions of PHP.
# sudo add-apt-repository ppa:ondrej/phpUpdate the system to refresh the available repositories.
# sudo apt updateTo install PHP 7.2, run the following command.
# sudo apt install -y php7.2Dolibarr requires the following PHP extensions:
To install the above extensions of PHP, run the following command.
# sudo apt-get -y install php7.2-cli php7.2-mbstring php7.2-common php7.2-mysql php7.2-fpm php7.2-xml php7.2-curl php7.2-soap php7.2-zip php7.2-pgsql php7.2-sqlite3 php7.2-gd When you installed the above extensions, Apache2 will be installed automatically as well. So you won't need to separately install Apache as a result. Last, you can run the following command to check installed PHP version.
# php --versionDolibarr supports MySQL, PostgreSQL and SQLite. In this tutorial, you will use a MariaDB server for MySQL. By default, Ubuntu repository has older version of MariaDB server. To use new version of MariaDB, you will need to add MariaDB repository to your Ubuntu system. To do so, follow the steps below.
Verify the keys by running the command below.
# sudo apt-key adv --recv-keys --keyserver hkp://keyserver.ubuntu.com:80 0xF1656F24C74CD1D8Add the repository.
# sudo add-apt-repository 'deb [arch=amd64,i386,ppc64el] http://mirror.nodesdirect.com/mariadb/repo/10.2/ubuntu xenial main'Now update the system.
# sudo apt updateInstall MariaDB using the following command.
# sudo apt install -y mariadb-serverStart and enable the MariaDB server so that after reboot, the server can start automatically.
# sudo systemctl start mariadb
# sudo systemctl enable mariadb
Now run the following command to enhance security of MariaDB server and set password for the root user.
# sudo mysql_secure_installationNow connect to the MySQL shell as root user using the command below and enter your password.
# sudo mysql -u root -pRun the following MySQL queries in your MariaDB server.
CREATE DATABASE doli CHARACTER SET utf8 COLLATE utf8_general_ci;
CREATE USER 'aareez'@'localhost' IDENTIFIED BY '654321Ab';
GRANT ALL PRIVILEGES ON doli.* TO 'aareez'@'localhost';
FLUSH PRIVILEGES;
EXIT; To install and set up Composer, run the following commands.
# php -r "copy('https://getcomposer.org/installer', 'composer-setup.php');"
# php -r "if (hash_file('SHA384', 'composer-setup.php') === '544e09ee996cdf60ece3804abc52599c22b1f40f4323403c44d44fdfdd586475ca9813a858088ffbc1f233e9b180f061') { echo 'Installer verified'; } else { echo 'Installer corrupt'; unlink('composer-setup.php'); } echo PHP_EOL;"
# php composer-setup.php
# php -r "unlink('composer-setup.php');"
# sudo mv composer.phar /usr/local/bin/composer
You can check if composer has installed successfully by running the command below.
# composer -vTo install Dolibarr, you will need to follow these steps:
Navigate to /var/www/html using the command.
# cd /var/www/htmlNow change ownership of /var/www/html directory to aareez.
# sudo chown -R aareez:aareez /var/www/htmlRemove index.html file using the command below.
# sudo rm index.htmlNow download the latest stable release of Dolibarr using the command below.
# composer create-project dolibarr/dolibarrProvide proof of ownership of /var/www/html to www-data so that apache server can access the required files.
# sudo chown -R www-data:www-data /var/www/htmlNow you'll want to create virtual host configuration file for Dolibarr. To do that, run the following command. By doing so, a file will be opened in nano text editor.
# sudo nano /etc/apache2/sites-available/dolibarr.confCopy and Dolibarr the following code and save the file.
<VirtualHost *:80>
    ServerAdmin admin@xyz.com
    ServerName softpedia.xyz
    DocumentRoot /var/www/html/dolibarr/htdocs
    DirectoryIndex index.php index.htm index.html
   <Directory /var/www/html>
        Options +FollowSymLinks
        AllowOverride All
        Require all granted
    </Directory>
 ErrorLog ${APACHE_LOG_DIR}/Dolibarr_error.log
    LogLevel warn
    CustomLog ${APACHE_LOG_DIR}/Dolibarr_access.log combined
</VirtualHost>
Run the command below to disable default site.
# sudo a2dissite 000-default.confNow you will need to enable the newly created virtual host. To do so, run the command below.
# sudo a2ensite dolibarrNow you will need to enable rewrite mod. You can do so by editing configuration file in apache2 directory or you can simply run the command below.
# sudo a2enmod rewriteNow you will need to enable SSL engine. You can do so by editing configuration file in apache2 directory or you can run the command below.
# sudo a2enmod sslNow you will have to restart apache server to apply the changes and load the settings by executing command below.
# sudo service apache2 restartNow you can access Dolibarr through your domain name or ECS IP address. For this scenario, I have accessed from the domain name http://softpedia.xyz. After you follow these steps, you'll see the following screen.
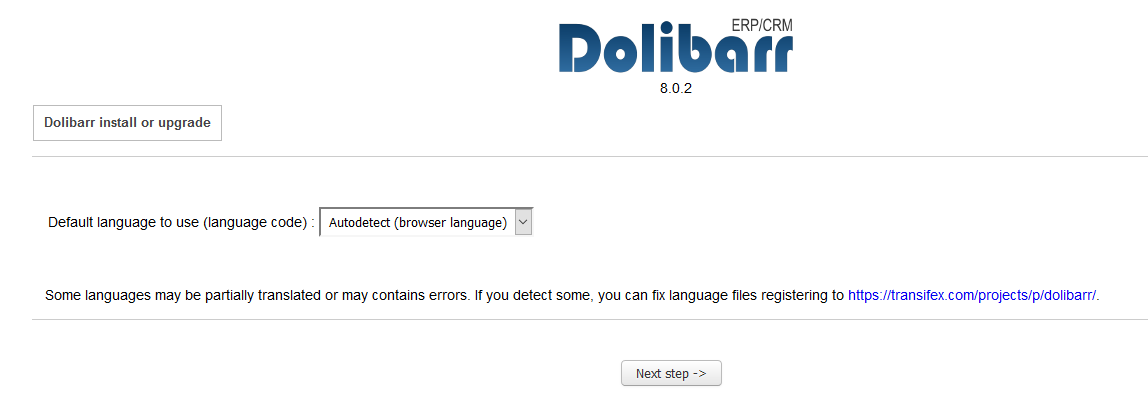
It will automatically detect your browser's language. However, you can select your desired language and click Next step. Then, you'll be redirected to following screen.
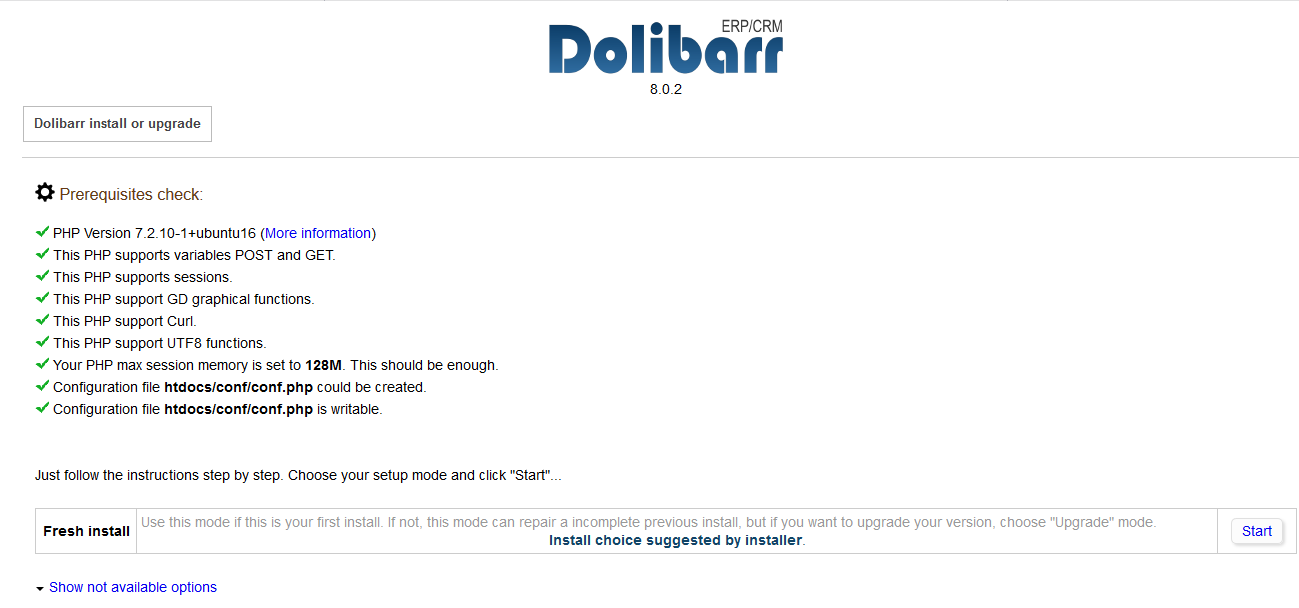
Click Start button to continue. You will be redirected to database configuration page.
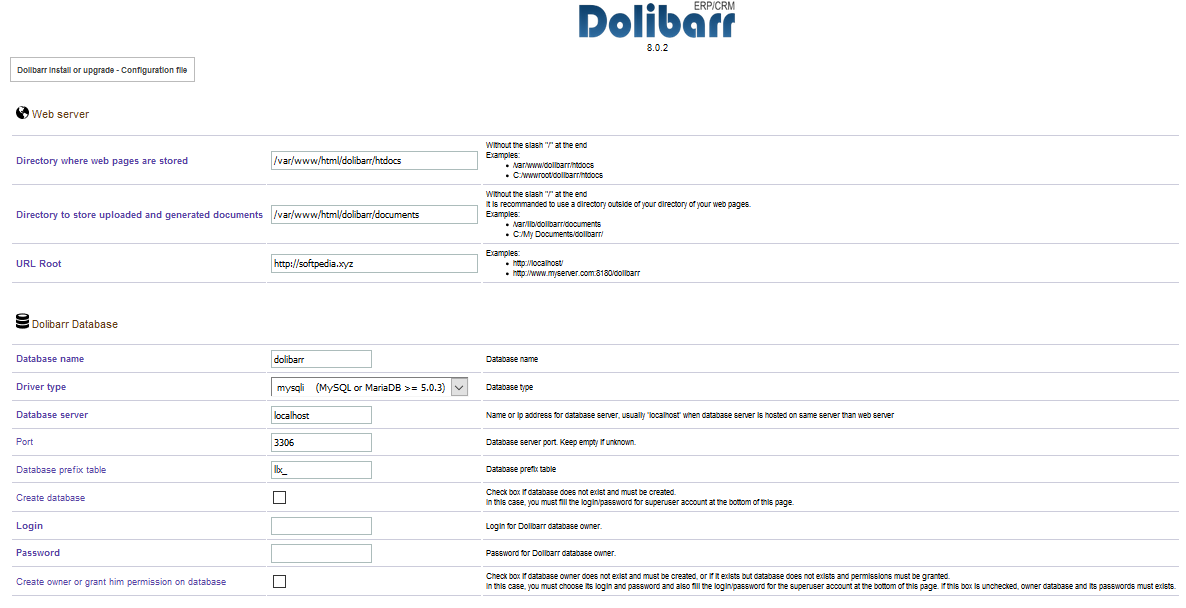
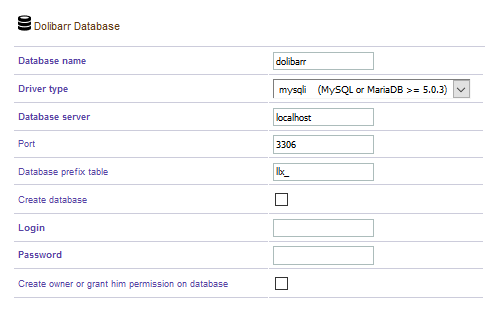
Now enter the following form and click Next Step.
You will be redirected to the following page. Now click Next step.

Now you will see the following screen. Click Next step to continue.

Now you will be redirected to the following page to setup administrator's credentials. Enter the form and click Next step.
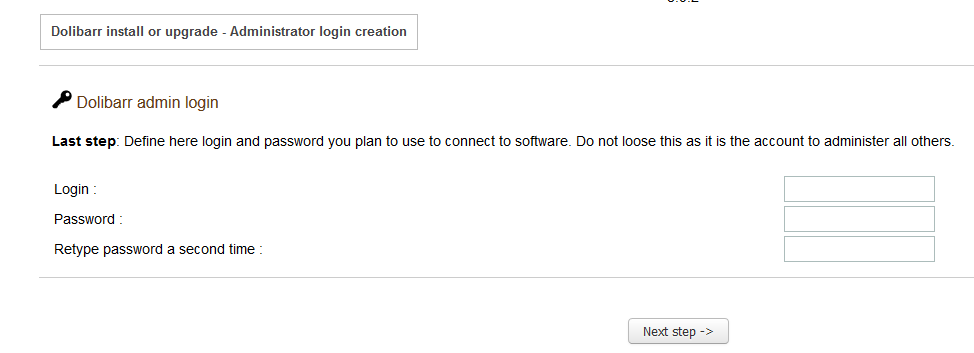
Now you will be redirected to the following page. Click Go to Dolibarr to continue.

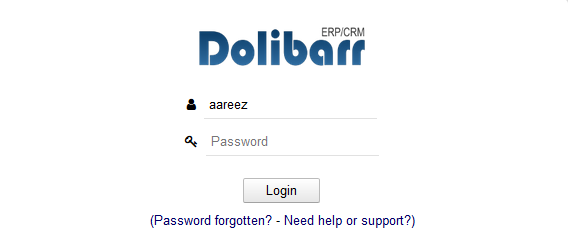
You will be redirected to login form. Use admin credentials to login.
We will install SSL certificate using Let's Encrypt with Certbot. To do so, run the following steps.
Update the package.
# sudo apt-get updateInstall software-properties-common.
# sudo apt-get install software-properties-commonAdd the certbot repository by running the command below.
# sudo add-apt-repository ppa:certbot/certbotUpdate the package to load the added certbot repository.
# sudo apt-get updateStop apache before issuance of SSL certificate.
# sudo systemctl stop apache2Install python-certbot-apache by running the command below.
# sudo apt-get install python-certbot-apacheRun the following command to get Let's Encrypt SSL issued.
# sudo certbot --apache -d softpedia.xyzSelect the option 2 to redirect the link to https and update virtual host settings for SSL. Then, restart apache server.
# sudo systemctl start apache2You can access your website at https<span>://your_domain_name</span>.tld
Now that you have set up Dolibarr, if you have activated firewalls, you will have to define a rule in Alibaba Cloud security group for your cloud server to add exception for port 80/tcp and 443/tcp. You can enable these ports while creating ECS instance. Bu in that case that you forgot to unblock these ports, you can follow the procedure in this guide: Add security group rules.

2,593 posts | 791 followers
FollowAlibaba Clouder - November 27, 2018
Alibaba Clouder - November 21, 2019
Alex - December 26, 2018
Alibaba Clouder - July 5, 2019
Alibaba Clouder - November 21, 2019
Alibaba Clouder - July 5, 2019

2,593 posts | 791 followers
Follow ECS(Elastic Compute Service)
Elastic and secure virtual cloud servers to cater all your cloud hosting needs.
Learn MoreLearn More
 OSS(Object Storage Service)
An encrypted and secure cloud storage service which stores, processes and accesses massive amounts of data from anywhere in the world
Learn MoreMore Posts by Alibaba Clouder