By Evan Wong, Solutions Architect
Before going through the step-by-step guides, the user should have the following prerequisites:
This tutorial uses a number of third party resources including the sample application source codes. Special thanks to Satya Depareddy for the application source codes on GitHub -
https://github.com/depareddy/java-webapp-docker
This is the second part of the DevOps series. In the previous article, we looked at configuring CI/CD pipelines using Container Service and Container Registry automation features. This part focuses on the deployment of Docker image to Alibaba Cloud Container Service and the steps to automate the flow of continuous deployment on the cloud.
Before creating a container cluster, there are some services that need to be activated for the first-time users. If the Cloud resources are not activated, it need to be activated before you can proceed to create the Kubernetes cluster.
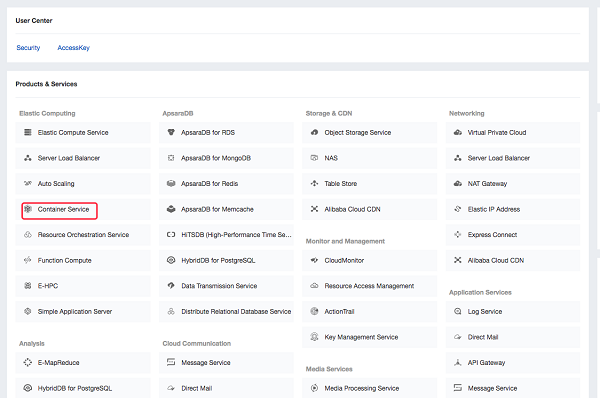
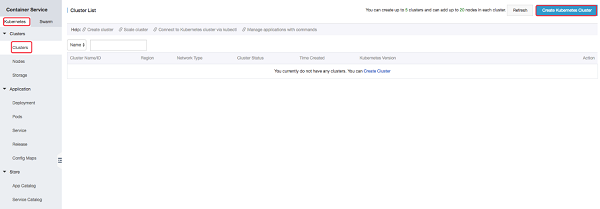
Navigate to the Container Service console, select Kubernetes, and click the Create Kubernetes Cluster button.
There are four different editions of Kubernetes cluster that you can create on Alibaba Cloud.
In this lab, we would choose the standard Kubernetes cluster.
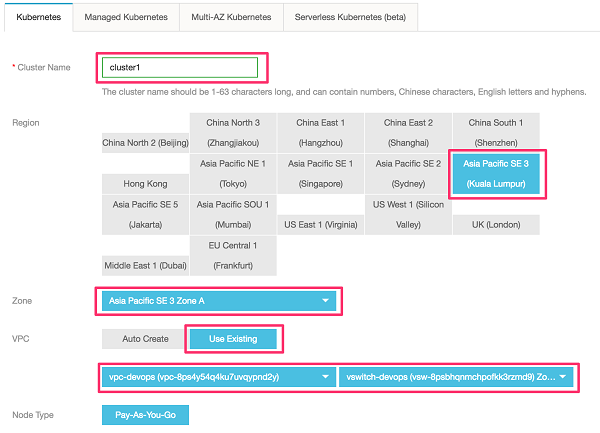
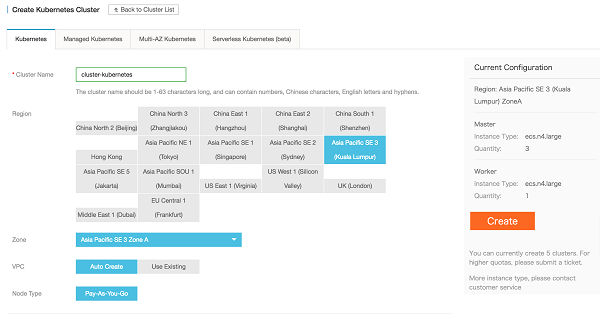
Go to the Kubernetes Cluster configuration page, specify a name in Cluster Name and then select the Region and Zone of your choice and select "Use Existing" for VPC. Choose vpc-devops for VPC and vswitch-devops for VSwitch.
If the VPC and the VSwitch is not created, you can choose the Auto Create for VPC option.
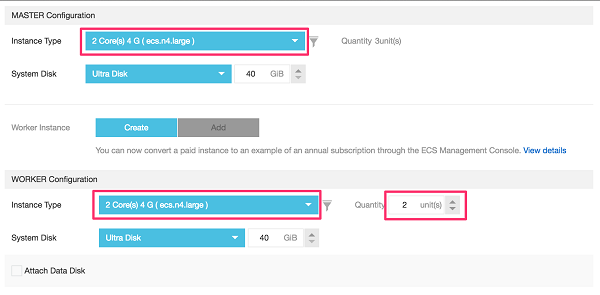
Select configuration, instance type (recommended 2 core, 4G RAM, 40GB ultra disks) for master and worker nodes.
For master nodes, by default it is fixed to 3 master nodes and the number of worker nodes should be set to 2.
Set the logon password for the master cluster to "Kubernetes@2019" or a password of your own choice, and select a logon method that allows logging on to the cluster through SSH. CloudMonitor options can be cleared to reduce the time needed to create the cluster. Leave everything default.
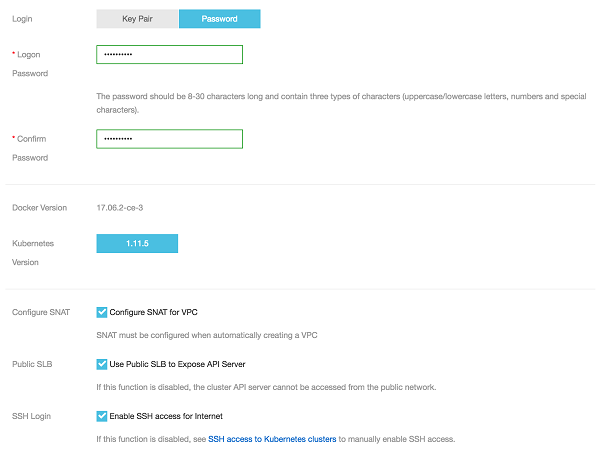
Click the Create button to create the Kubernetes cluster.
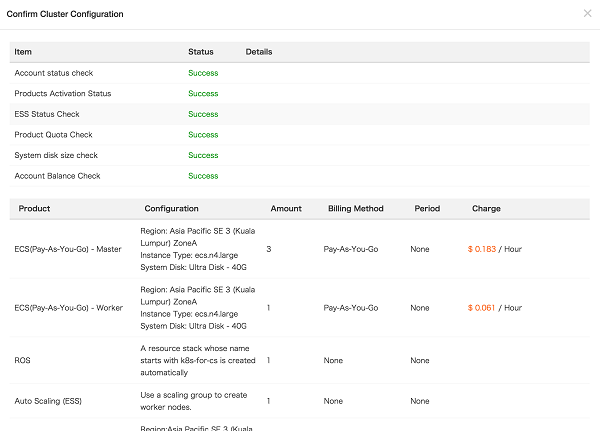
The screen will show that the cluster is being created. Since a large number of services will be created during the cluster creation process, please wait patiently for 15 - 20 minutes. You can view the creation status in the Container Service console. Shown below are successfully created services.
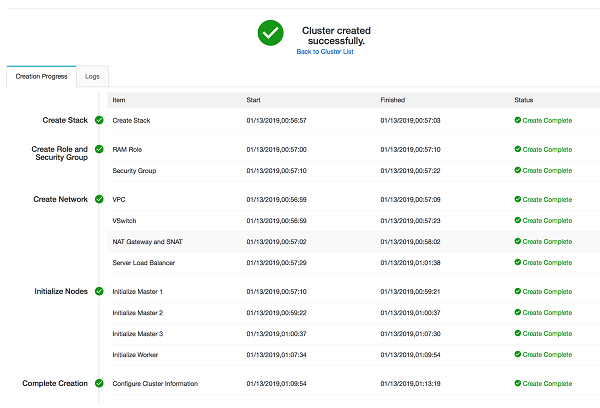
Cluster created successfully if the screen shown as above. Click back to cluster list. Examine the cluster status if it is running.

Click on the cluster name to view detailed information.
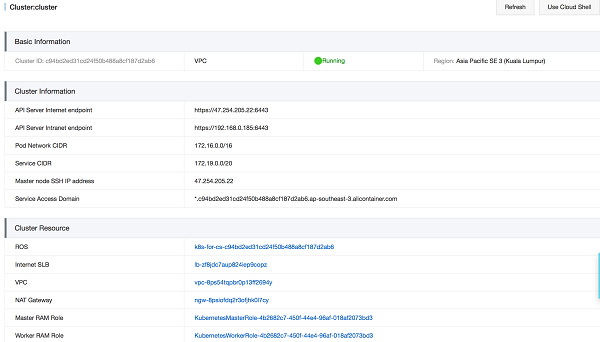
API Server Internet endpoint: The service address and port used by the Kubernetes API server to provide services for Internet. You can use kubectl or other tools on the user terminal through this service to manage the cluster.
API Server Intranet endpoint: The service address and port used by the Kubernetes API server to provide services for Intranet. This IP address is the address of the Server Load Balancer with three backend master nodes providing services.
Master node SSH IP address: You can directly log on to the master node through SSH to facilitate daily maintenance on the cluster.
Service Access Domain: The domain name used for testing services in the cluster.
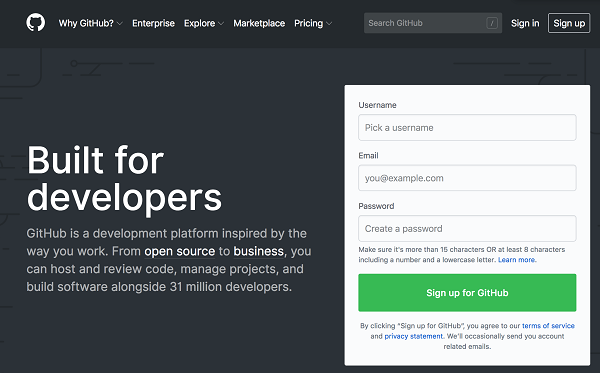
If you do not have a GitHub account, go to www.github.com and sign up for a new account. Fill in the username, email and password. Then, after verification, choose the Free account.
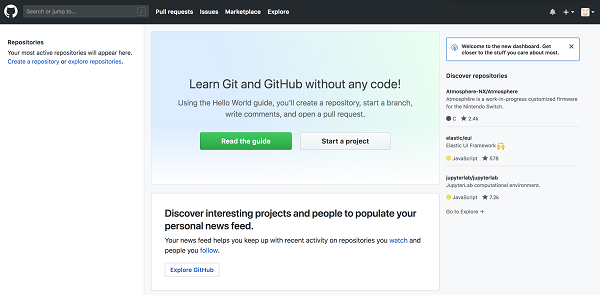
After registration is completed, it shall bring you the main landing page.
In this lab, we are using GitHub as the source code repository. First, you would need to fork the source codes from existing Git repository: https://github.com/echoesian/java-webapp-docker To do this, login into your own GitHub and navigate to this repository https://github.com/echoesian/java-webapp-docker Click on the Fork on the top right hand corner on the screen.
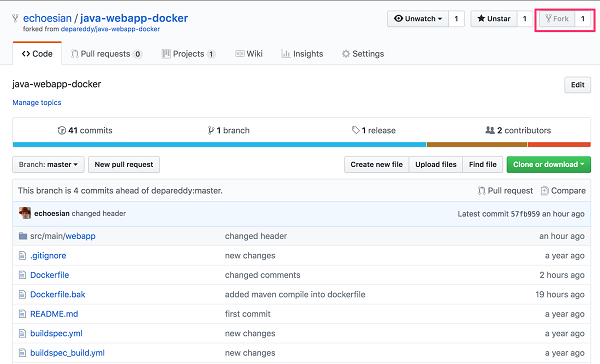
After forking successful, you should have the source codes in your own repository.
Go to the Alibaba Cloud console, click Home in the upper left corner of the page, and select Container Registry.
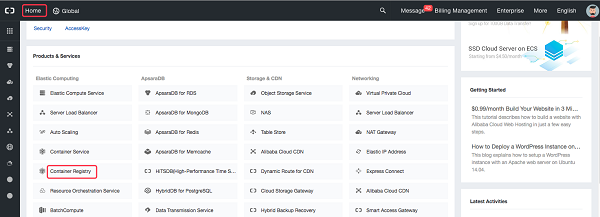
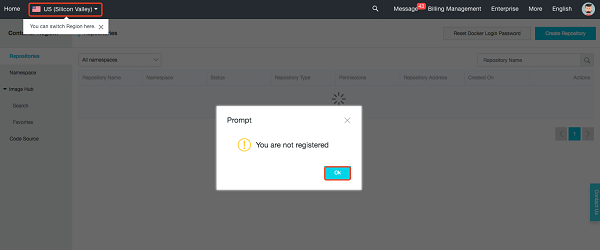
The prompt shown in the following figure appears upon your first logon. Select Malaysia (Kuala Lumpur) or any other region of your choice in the upper left corner and click OK.
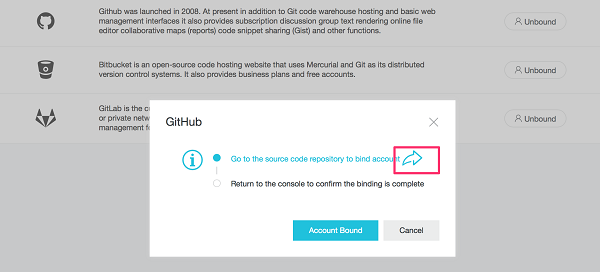
Go to Code Source and click Bind Account

On the pop-up dialog, click on the right arrow. It will open a new link to sign in to the GitHub account.
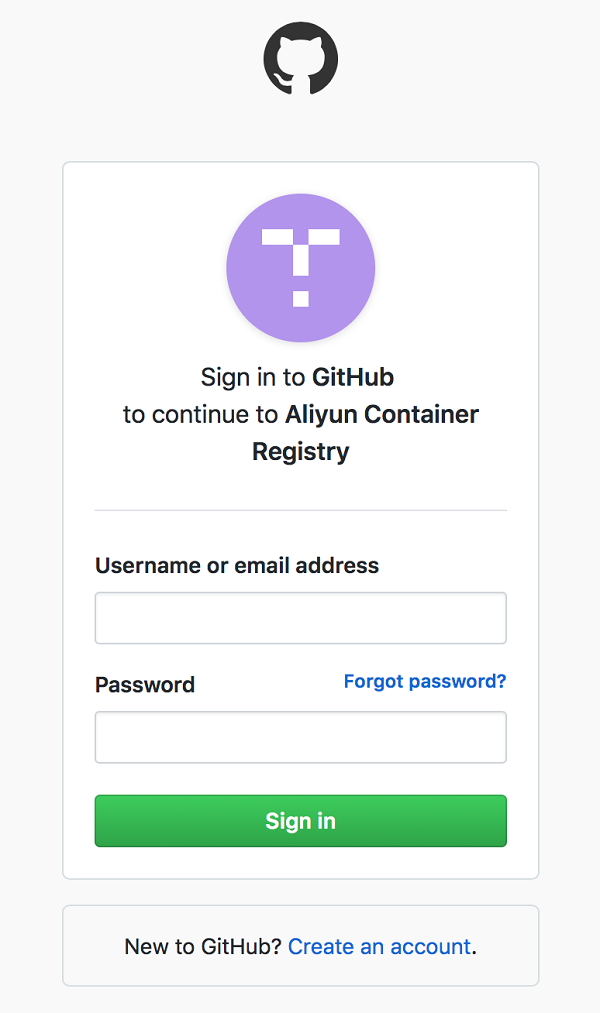
On the GitHub sign-in page, input the login details and click Sign In.
On the Authrization page, click on "Authroize Aliyun Developer"
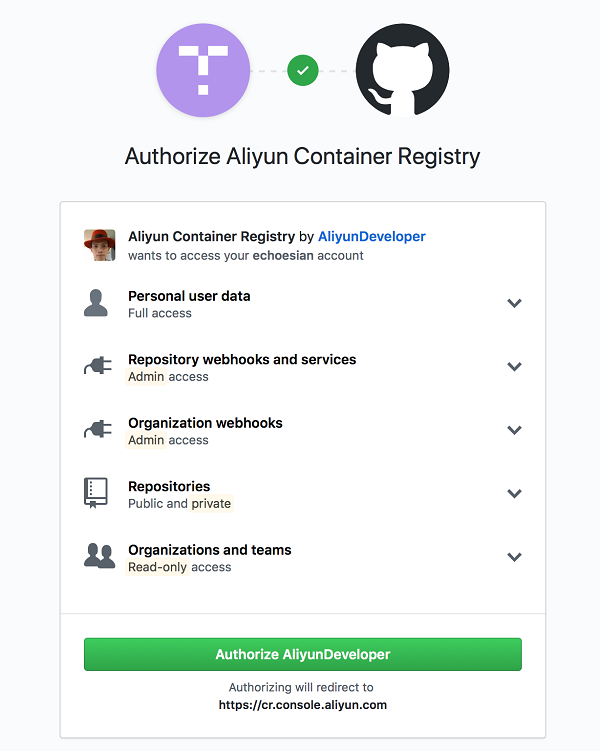
Once it is authorized, you should receive a notification email. Go back to the Container Registry page. Click on the Account Bound button.
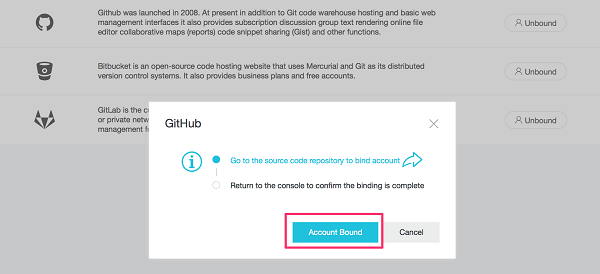
By now, it should show "Bound" on the GitHub code source section.

Go back to the Namespace page. On the defaut prompt, click OK.
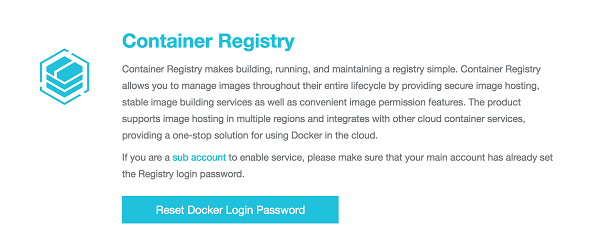
If it is the first time, click on the Reset Docker Login Password.
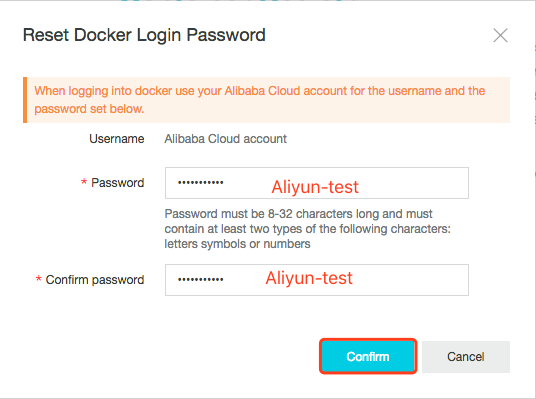
Set the Docker logon password to [Aliyun-test] or [your choice of password].
A namespace is a collection of repositories. We recommend that you group the repositories of a company or organization in one namespace.
The following figure shows the list of namespaces. In this lab, we would be using the existing namespace devops-workshop.

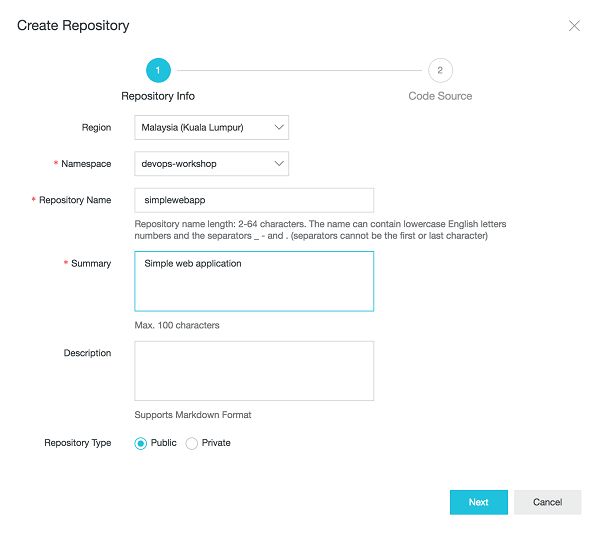
Create a repository according to the following figure. Set the region to Malaysia (Kuala Lumpur) or any other region of your choice.

Set parameters according to the following figure and click Next. Select the namespace you created earlier.
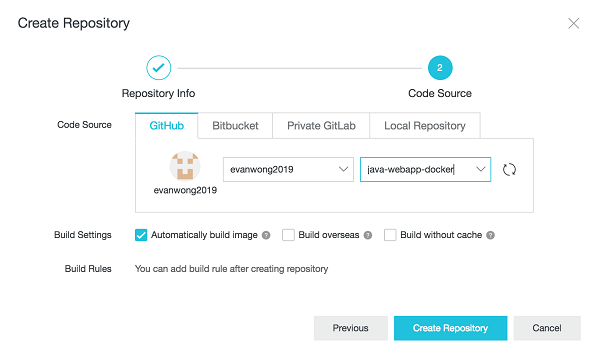
Select GitHub, input your account user name and project. Click Create Repository.
The following figure shows that the repository has been created.

Click Manage to open the repository.
Detailed commands for pushing images to this repository are displayed.
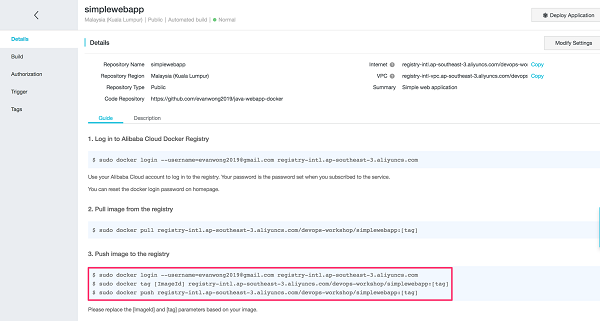
Copy the first command shown in the following figure to the ECS terminal and enter the repository logon password.

On the terminal, on the root level, navigate to the application source code directory.
$ cd java-webapp-dockerList the available docker images:
$ docker images
Copy the second command shown in the following figure to the ECS terminal (replace [ImageId] with the actual one and set [tag] to v1).


Copy the third command shown in the following figure to the ECS terminal (set [tag] to v1).

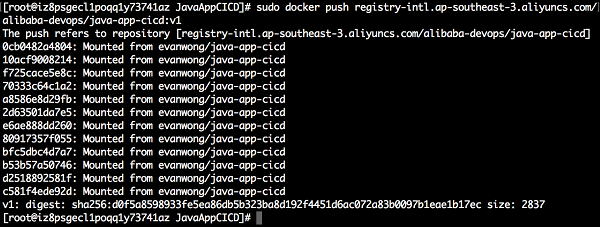
The following figure shows that the image is being uploaded.

The following figure shows that the image has been uploaded.
Go to the Alibaba Cloud console and select Tags. The uploaded image is displayed.

Go to the build section, enable the Automatically build image option.

For details about how to download the image in other environments, see the repository guide.
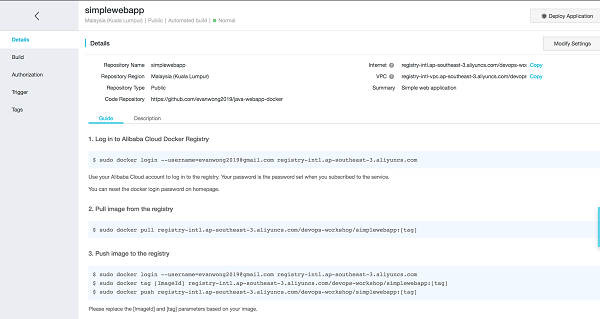
Go to the Container Registry page, click on the manage link on the repository that was created earlier.

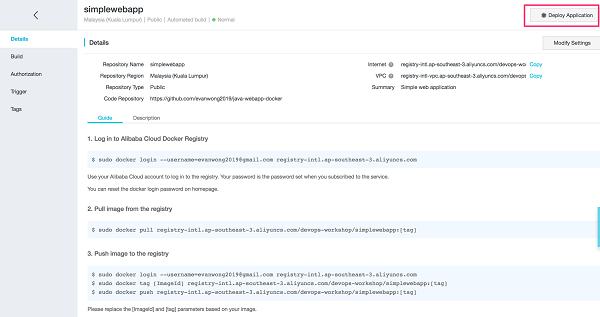
Click on the "Deploy Application".
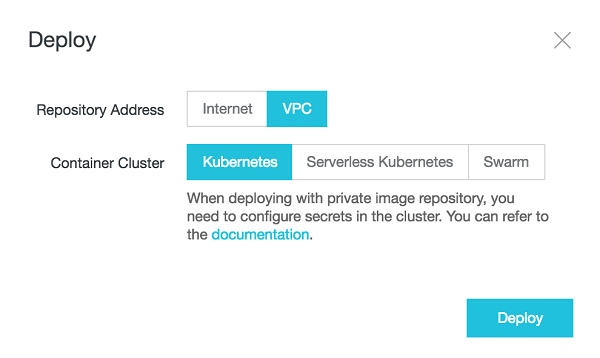
On the prompt up page, click on the Deploy button.
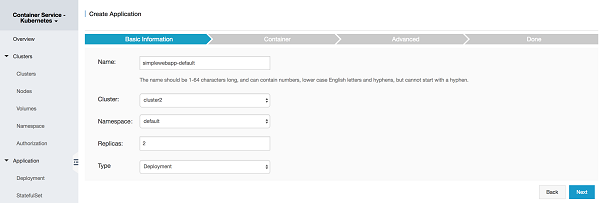
On the container service page, leave all defaults and click Next.
Select latest image version (1.0), enable Always pull image and click Next.
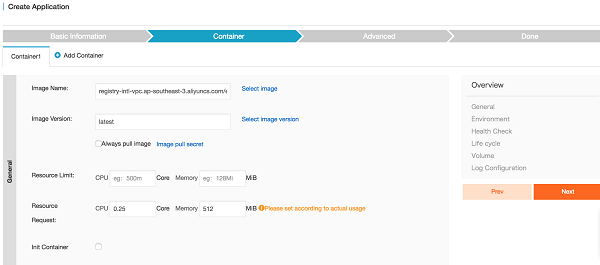
Click Create.
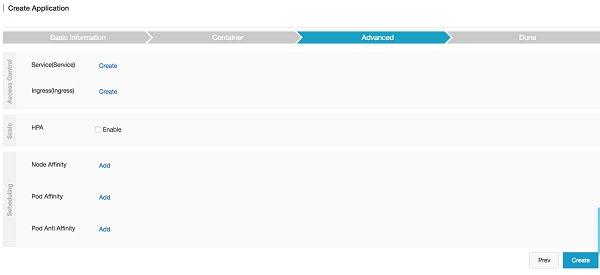
The next page should show Create Success. Verify if the deployment is successful.

Go to the Discovery->Load Balancing page->Service. Click create to create a new Server Load Balancer to expose the port of the application.

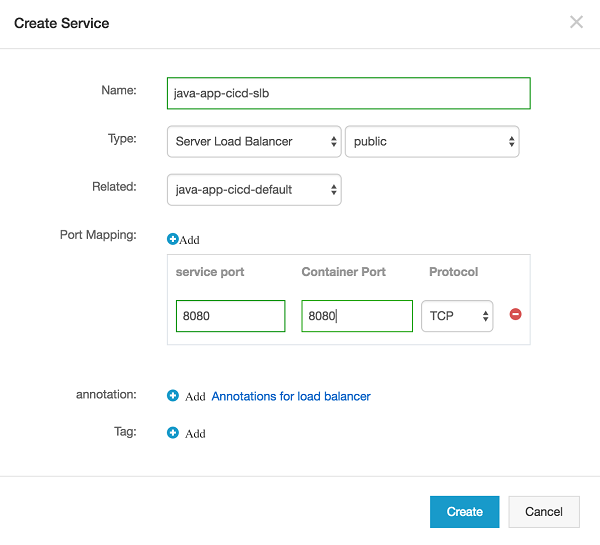
Input the name of the service, choose Service Load balancer and public for type and choose the related container application. On port mapping input 8080 for service port and container port respectively. Leave protocol to TCP as default.
Go to Container service -> Deployment
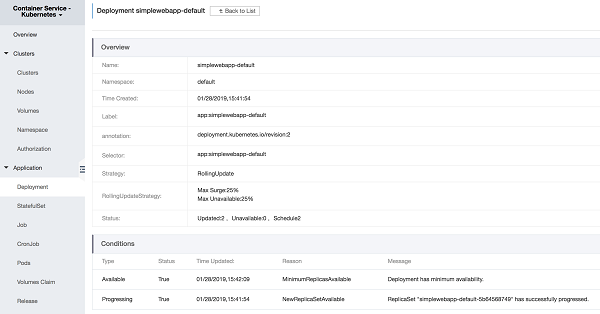
To create a new trigger, navigate to the trigger section and click on the "Create Trigger" button

On the pop-up dialog, choose "Redeploy" as the Action. Click confirm.
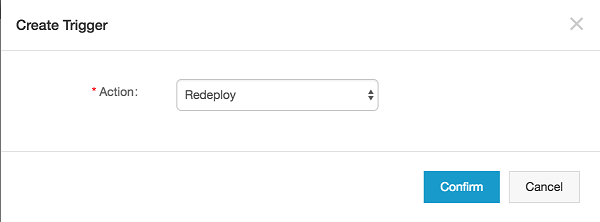
Once the trigger is created, you should see a URL link appear as below. Copy this link to the clipboard so that it can be used in the later section.

Go back to the container registry page and navigate to the trigger section. Click on the "Create" button on the top right.

On the pop-up dialog, key in the following details and paste the URL link from the Container Service trigger page that was copied previously.
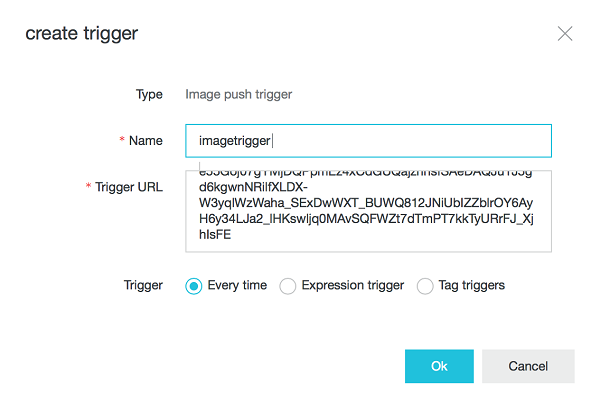
In this lab, we are using GitHub as the source code repository. In this section, you would be committing a code change on the existing tag and push the changes to the remote git.
Generally, the workflow of the code commit is listed below.
1) Create a branch with the tag
    git branch {tagname}-branch {tagname}
    git checkout {tagname}-branch
2) Include the fix manually if it's just a change ....
    git add .
    git ci -m "Fix included"
3) Delete and recreate the tag locally
    git tag -d {tagname}
    git tag {tagname}
4) Delete and recreate the tag remotely
    git push origin :{tagname} // deletes original remote tag
git push origin {tagname} // creates new remote tag$yum install -y git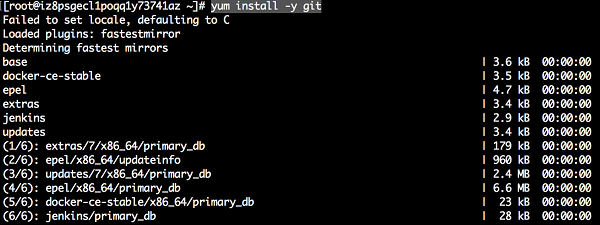
Next, you would need to clone the codes to the local computer. To do that open a terminal or command prompt. Type
$git clone https://github.com/echoesian/java-webapp-docker
After the codes are successfully cloned.
To create a new tag, type
$git tag release-v1.0
To create a new branch from the tag,
$git branch release-v1.0-branch release-v1.0
Checkout the source codes from the new branch
$git checkout release-v1.0-branch
Go to the home directory of the project source code – java-webapp-docker. Change the directory to src/main/webapp. Open the index.jsp with an editor such as vi or vim. Change the header
<html>
<body>
<h1>Welcome to Alibaba Cloud DevOps v1.0</h1>
</body>
</html>Add the file to the Git for commit by typing:
$git add .
Then, to commit the code to the repository:
$git commit -m "changed header text"
Delete and recreate the tag remotely
$git push origin :release-v1.0
To create the new tag
$git push origin release-v1.0
To enable credential caching for the remote GitHub functions:
$ git config credential.helper store
$ git remote -v

Username for 'https://github.com': <USERNAME>
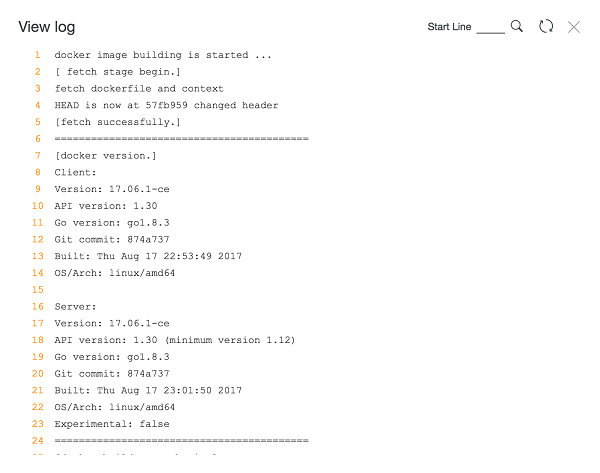
Password for 'https://USERNAME@github.com': <PASSWORD>Once the changes being push to the GitHub remote repository, Alibaba Cloud Container Registry should have been triggered and build the new image automatically. Go to the container registry page -> build and check out the status of the build. The status should show "Successful".
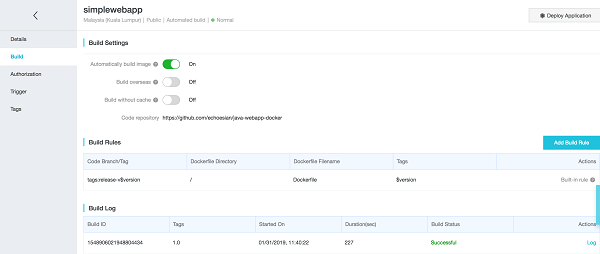
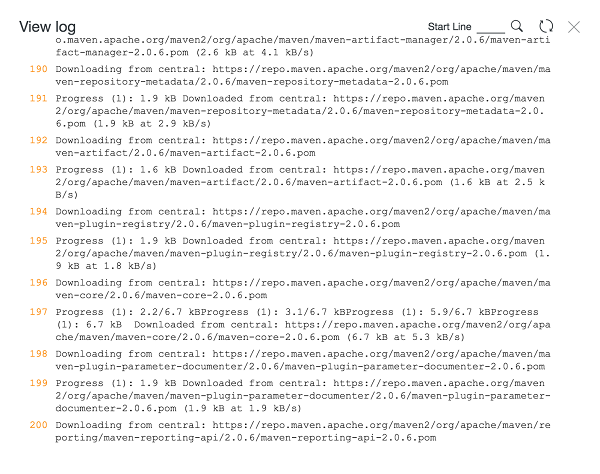
You can view the log of the build task.
Click refresh on the top right corner of the pop-up page to view the latest log.
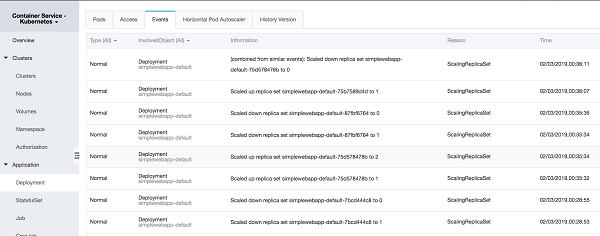
Go back to the Container Service and navigate to the Deployment section. Click on the simplewebapp-default and navigate to the Events section. You would notice that the deployment job has scaled down the previous pod, pull the latest image and deploy the new image to the pod.
Go to the History version section, the latest version is placed on top of the list. If there is a need to roll back to the previous versions, you can click on the Rollback link on the version.

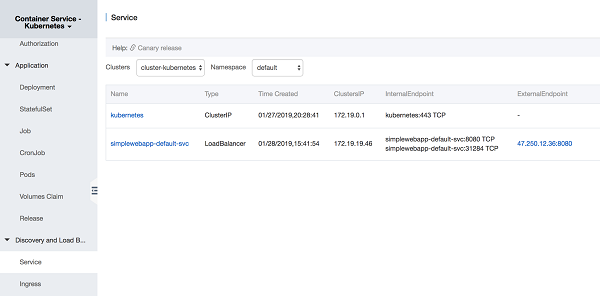
Open the browser and key in the service address with the context path /simplewebapp. The new site should show "Welcome to Alibaba Cloud DevOps v1.0".

The URL address can be found on the Container Service -> Service page. There would be an external IP address appear on the ExternalEndpoint label.
In the next part of the series, this tutorial extends to execute the Kubernetes deployment strategies namely rolling update, blue-green release and canary release. Stay tuned.
Dockerize App and Push to Container Registry: CI/CD Automation on Container Service (1)
Deploy Docker Image to Alibaba Cloud Container Service: CI/CD Automation on Container Service (3)

2,593 posts | 791 followers
FollowAlibaba Clouder - March 5, 2019
Alibaba Clouder - March 5, 2019
Neel_Shah - October 27, 2025
Alibaba Cloud New Products - March 10, 2021
Alibaba Cloud Community - September 20, 2021
Alibaba Clouder - March 2, 2021

2,593 posts | 791 followers
Follow Container Registry
A secure image hosting platform providing containerized image lifecycle management
Learn More Container Service for Kubernetes
Alibaba Cloud Container Service for Kubernetes is a fully managed cloud container management service that supports native Kubernetes and integrates with other Alibaba Cloud products.
Learn MoreMore Posts by Alibaba Clouder
5625446600632107 November 20, 2019 at 9:07 am
The GitHub's link of https://github.com/echoesian/java-webapp-docker is no longer valid.