If your web service uses Alibaba Cloud Microservices Engine (MSE), you can enable Web Application Firewall (WAF) protection for an MSE cloud-native gateway instance. This forwards service traffic to WAF 3.0 for security protection. This topic describes how to enable WAF protection for an MSE cloud-native gateway instance.
Background information
MSE is a comprehensive microservice platform that supports mainstream open-source microservice ecosystems. It provides a registration and configuration center that natively supports Nacos, ZooKeeper, and Eureka. It also offers a cloud-native gateway that natively supports Ingress and Envoy, and microservice administration that natively supports Spring Cloud, Dubbo, and Sentinel and complies with OpenSergo service administration specifications. WAF 3.0 can be integrated with MSE through a cloud-native gateway to provide higher O&M efficiency and a smoother interactive experience.
Limits
You can add Alibaba Cloud services such as Application Load Balancer (ALB), Microservices Engine (MSE), Function Compute (FC), Classic Load Balancer (CLB), Elastic Compute Service (ECS), Network Load Balancer (NLB) to Web Application Firewall (WAF) in cloud native mode. To protect web applications that are not deployed on Alibaba Cloud, add their domain names to WAF in CNAME record mode. For more information, see Add a domain name to WAF.
You can enable WAF protection only for MSE instances that are deployed in the following regions: China (Hangzhou), China (Shanghai), China (Beijing), China (Ulanqab), China (Hong Kong), Singapore, Malaysia (Kuala Lumpur), China (Zhangjiakou), China (Shenzhen), Japan (Tokyo), Germany (Frankfurt), US (Silicon Valley), and US (Virginia).
MSE instances that are added to WAF do not support the following features:
Web tamper-proofing
Data leakage prevention
Bot management, specifically the automatic integration of the Web SDK and legitimate bot management for scenario-specific website crawler protection
Bot threat intelligence
Prerequisites
You have created a cloud-native gateway instance. For more information, see Create an MSE cloud-native gateway.
If you use a subscription instance, ensure that your instance has sufficient quota to add protected objects. Otherwise, you cannot add cloud services.
You can go to the Protected Objects page to view the remaining quota for protected objects.

Enable WAF protection
Log on to the WAF 3.0 console. In the top navigation bar, select the resource group and region of the WAF instance. You can select Chinese Mainland or Outside Chinese Mainland.
In the left-side navigation pane, click Onboarding.
Click the Cloud Native tab. From the list of cloud services on the left, select Microservices Engine (MSE) - Cloud-native Gateway.
On the authorization page, click Authorize Now to authorize your WAF instance to access the required cloud service.
Alibaba Cloud automatically creates the AliyunServiceRoleForWAF service-linked role. To view the service-linked role, log on to the Resource Access Management (RAM) console and choose in the left-side navigation pane.
NoteIf the authorization is complete, the authorization page is not displayed. You can proceed to the next step.
Click Add to open the Microservices Engine (MSE) console.
In the top menu bar, select a region: China (Hangzhou), China (Shanghai), China (Beijing), China (Ulanqab), China (Hong Kong), Singapore, Malaysia (Kuala Lumpur), China (Zhangjiakou), China (Shenzhen), Japan (Tokyo), Germany (Frankfurt), US (Silicon Valley), or US (Virginia).
Enable WAF protection.
ImportantIf this is the first time you enable WAF protection for an MSE cloud-native gateway instance, the gateway service may automatically restart and break persistent connections. This may cause service interruptions or performance degradation. We recommend that you perform this operation during off-peak hours.
Enable instance-level protection
In the WAF Protection column of the destination gateway, click the
 icon and then click Enable Gateway Protection. Alternatively, in the Actions column, choose and then click OK.
Enable route-level protection
Click the name of the destination instance. On the navigation pane on the left, choose Routes. Alternatively, in the Actions column for the destination gateway, click Route Settings.
Click the WAF column of the destination route, select Enable Route-level WAF Protection (Recommended) and then click OK.
Manage WAF protection in the MSE console
You can log on to the MSE Gateway Management console. In the navigation pane on the left, choose .
In the top menu bar, select a region: China (Hangzhou), China (Shanghai), China (Beijing), China (Ulanqab), China (Hong Kong), Singapore, Malaysia (Kuala Lumpur), China (Zhangjiakou), China (Shenzhen), Japan (Tokyo), Germany (Frankfurt), US (Silicon Valley), or US (Virginia).
Manage WAF protection.
View added instances
On the instance list, you can view the instances for which WAF protection is enabled. If the
 icon appears next to an instance name, WAF protection is enabled for that instance.
You can shut down connected instances.
After you disable WAF protection, the service traffic of the MSE instance is no longer protected by WAF, and the security reports no longer include protection data about the service traffic.
ImportantAfter the service traffic of the MSE instance is no longer protected by WAF, you are not charged for requests. However, you are still charged for the features that are enabled in the protection rules that you configured. We recommend that you delete the configured protection rules before you disable WAF protection to prevent unexpected fees. For more information, see Billing and Overview of protection modules.
Disable instance-level protection
In the WAF Protection column of the destination gateway, click the
 icon and then click Disable Gateway Protection. Alternatively, in the Actions column, choose . Then, click OK.
Disable route-level protection
Click the name of the destination instance. On the navigation pane on the left, choose Routes. Alternatively, in the Actions column for the destination gateway, click Route Settings.
Click Policies in the Actions column of the destination route, select Disable Route-level WAF Protection (Not Recommended) and then click OK.
Manage WAF protection in the WAF console
Log on to the WAF 3.0 console. In the top navigation bar, select the resource group and region of the WAF instance. You can select Chinese Mainland or Outside Chinese Mainland.
In the left-side navigation pane, click Onboarding.
Manage WAF protection.
View added MSE instances
On the Cloud Native tab, select Microservices Engine (MSE) - Cloud-native Gateway from the list of cloud services on the left.
Configure protected objects and protection rules
After you enable WAF protection, WAF automatically creates a protected object whose name ends with
-mse. The web intrusion prevention rule is enabled for this protected object by default. In the list of added instances, you can click an instance ID to go to the Protected Objects page. On this page, you can view the automatically added protected object and configure protection rules for it. For more information, see Overview of Mitigation Settings.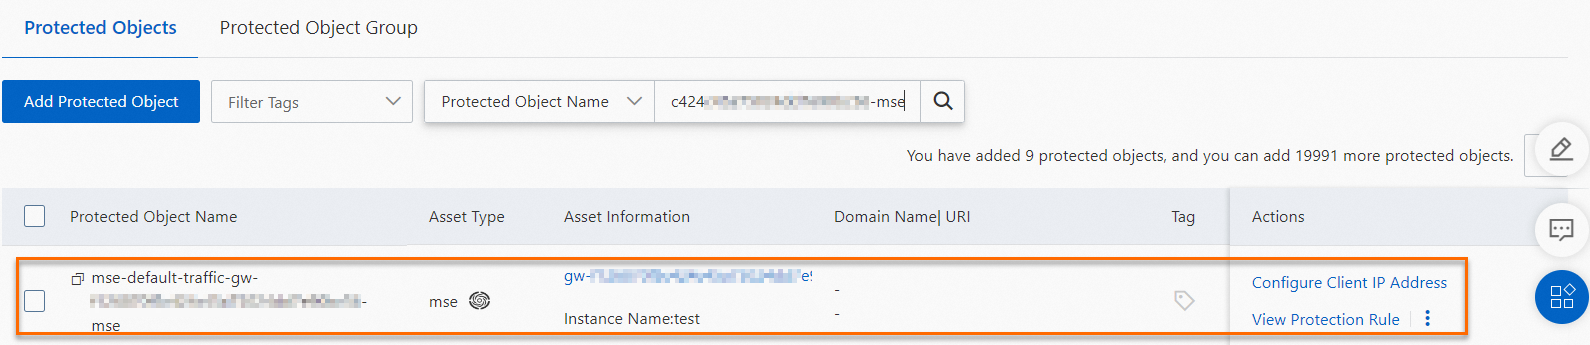
Remove an instance
After you remove an instance, the service traffic of the MSE instance is no longer protected by WAF, and the security reports no longer include protection data about the service traffic.
ImportantAfter the service traffic of the MSE instance is no longer protected by WAF, you are not charged for requests. However, you are still charged for the features that are enabled in the protection rules that you configured. We recommend that you delete the configured protection rules before you remove an instance to prevent unexpected fees. For more information, see Billing and Overview of protection modules.
In the Actions column for the destination instance, click Remove.
You are redirected to the gateway list page in the Microservices Engine (MSE) console.
Disable WAF protection in the MSE console. For more information, see Disable WAF protection for an added instance.