You can use resource groups to group and manage your resources. By combining resource groups with RAM, you can isolate resources and manage permissions with fine-grained control within a single Alibaba Cloud account. This topic describes how Server Migration Center (SMC) supports resource groups and provides the steps to grant permissions at the resource group level.
-
Authorization at the resource group level applies only to resource types that support resource groups and operations that support resource group-level authorization.
-
For resource types that do not support resource groups, permissions granted at the resource group level have no effect. When you select a resource scope, select account level to grant permissions at the account level. For more information, see Operations that do not support resource group-level authorization.
How resource group-based authorization works
You can use resource groups to group and manage resources in your Alibaba Cloud account. For example, you can create separate resource groups for different projects and move resources into the corresponding groups for centralized management. For more information, see What is a resource group?.
After you group your resources, you can grant permissions for a specific resource group to different RAM principals, such as RAM users, RAM user groups, or RAM roles. This ensures that the principal can manage only the resources within that resource group. For more information, see Resource grouping and authorization.
This authorization method provides the following benefits:
-
Fine-grained permissions: Ensures that each identity has precise access to specific resources, preventing uncontrolled access to resources across different projects.
-
Scalability: When you add new resources, you only need to add them to the resource group. The principal automatically gains permissions for these new resources without requiring additional authorization.
Grant resource group permissions to RAM users
The following procedure uses a RAM user as an example to demonstrate how to grant permissions for Server Migration Center (SMC) resources within a specific resource group.
1. Prerequisites
-
Create a RAM user. For more information, see Create a RAM user.
-
Create a resource group and move existing resources to the target resource group. For more information, see Create a resource group, Automatically transfer resources to a resource group, and Manually transfer resources to a resource group.
2. Grant permissions at the resource group level
You can grant permissions at the resource group level in either of the following ways.
Method 1: Authorize in the Resource Management console
Use the Manage Permissions feature of a resource group to grant permissions to a specific RAM user. For detailed instructions, see Grant permissions on a resource group to a principal.
-
Log on to the Resource Group console.
-
On the Resource Groups page, click Manage Permissions in the Actions column for the target resource group.
-
On the Manage Permissions tab, click Grant Permission.
-
In the Grant Permission panel, configure the principal and policy.
-
Principal: Select an existing RAM user.
-
Policy: Select a system policy or a custom policy that you have created. For more information, see Create a custom policy.
-
-
Click OK.
Method 2: Authorize in the RAM console
Use the RAM console to grant resource group-level permissions to a RAM user. For detailed instructions, see Grant permissions to a RAM user.
-
Log on to the RAM console as an Alibaba Cloud account or a RAM administrator.
-
In the left-side navigation pane, choose . On the Users page, click Add Permissions in the Actions column for the target RAM user.
-
In the Add Permissions panel, grant permissions to the RAM user.
-
Resource Scope: Select resource group level.
-
Principal: Select an existing RAM user or the one you created in the prerequisites.
-
Policy: Select a system policy or a custom policy that you have created. For more information, see Create a custom policy.
-
-
Click OK.
Supported resource types
The following table lists the resource types in Server Migration Center that support resource groups.
|
Cloud service |
Product code |
Resource type |
|
Server Migration Center (SMC) |
smc |
replicationjob: migration job |
|
Server Migration Center (SMC) |
smc |
sourceserver: source server |
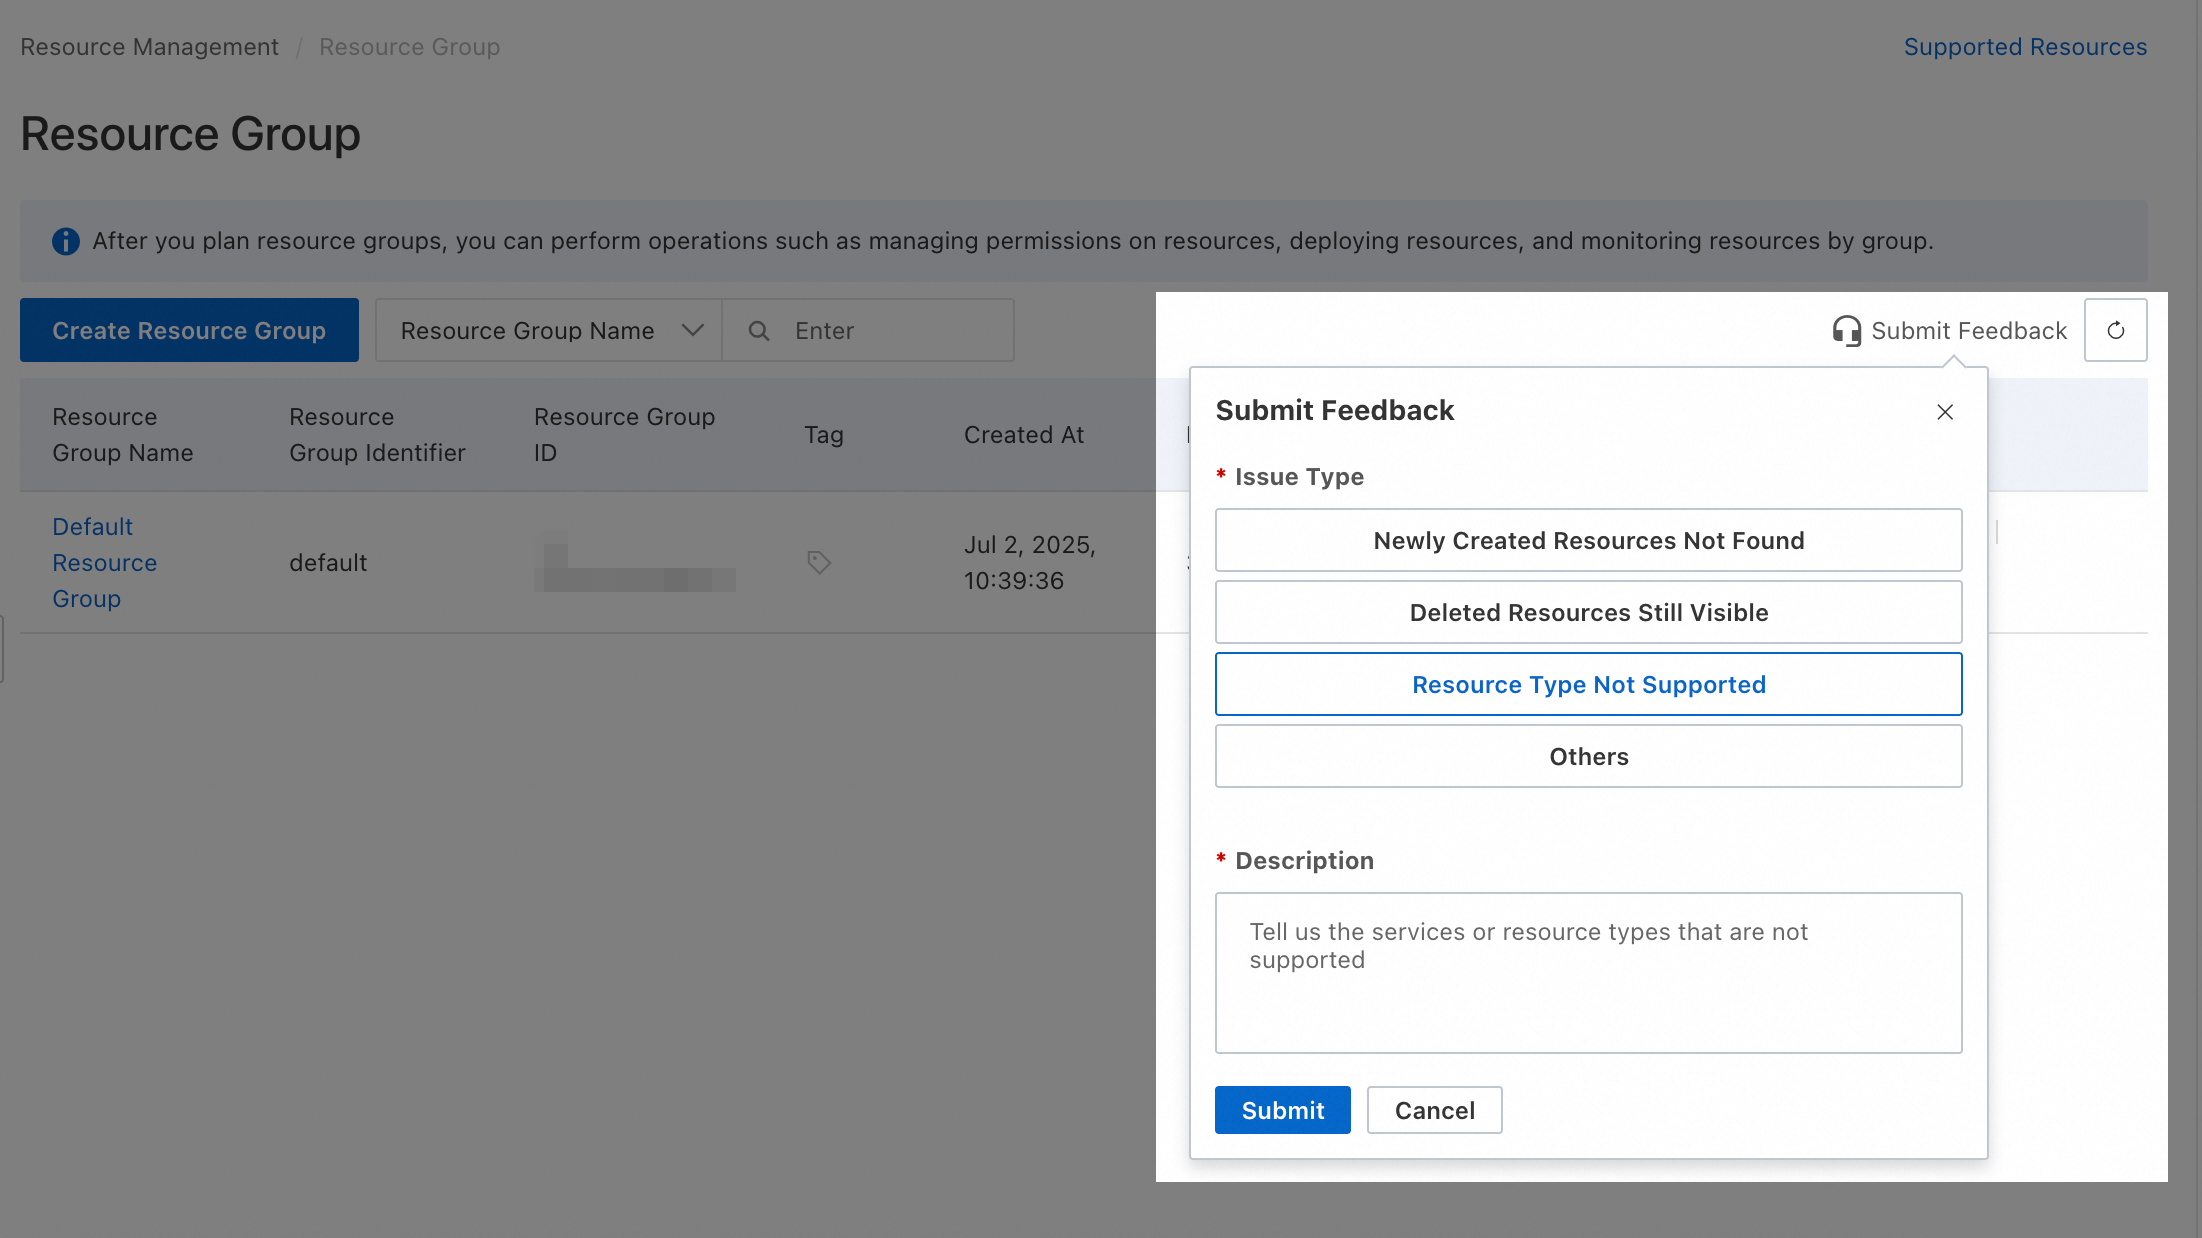
If you need support for other resource types, you can submit feedback in the Resource Group console.
Operations without resource group support
The following Server Migration Center (SMC) actions do not support resource group-level authorization.
|
Action |
Description |
|
smc:AssociateSourceServers |
If you want to migrate servers in batches by using a workgroup, you must first associate the source servers with the workgroup. |
|
smc:CancelOsMigrationJob |
- |
|
smc:CreateAccessToken |
Call CreateAccessToken to create an activation code. |
|
smc:CreateServiceRole |
- |
|
smc:CreateTemplate |
- |
|
smc:CreateWorkgroup |
A workgroup can manage the lifecycle of multiple migration jobs and is suitable for batch server migrations. |
|
smc:CutoverWorkgroup |
- |
|
smc:DeleteAccessToken |
Call DeleteAccessToken to delete an activation code. |
|
smc:DeleteWorkgroup |
You can delete a workgroup if you no longer need it. |
|
smc:DescribeAgentVersion |
- |
|
smc:DescribeLimitation |
- |
|
smc:DescribeTemplates |
- |
|
smc:DescribeTestRunReports |
- |
|
smc:DescribeWorkgroups |
After you create a workgroup, you can view its information, such as its name, description, and alert details. |
|
smc:DisableAccessToken |
Call DisableAccessToken to disable an activation code. |
|
smc:DisassociateSourceServers |
You can disassociate a source server from a workgroup if you no longer need to migrate it in a batch or if you want to delete the workgroup. |
|
smc:ListAccessTokens |
Call ListAccessTokens to query the activation codes that you created and their usage status. |
|
smc:ModifyWorkgroupAttribute |
After you create a workgroup, you can modify its name and description. |
|
smc:ReportMetrics |
- |
|
smc:ReportTestRunStatus |
- |
|
smc:StartWorkgroup |
- |
|
smc:StopWorkgroup |
- |
|
smc:UpdateTemplate |
- |
For operations that do not support resource group-level authorization, selecting resource group level as the resource scope has no effect. If a RAM user still requires permissions for these operations, you must create a custom policy and select account level as the resource scope when you grant permissions.
 The following two examples show custom policies. You can modify their content to meet your business requirements.
-
Allow all read-only operations that do not support resource group-level authorization: The
Actionelement lists all applicable read-only operations.{ "Version": "1", "Statement": [ { "Effect": "Allow", "Action": [ "smc:DescribeAgentVersion", "smc:DescribeLimitation", "smc:DescribeTemplates", "smc:DescribeTestRunReports", "smc:DescribeWorkgroups" ], "Resource": "*" } ] } -
Allow all operations that do not support resource group-level authorization: The
Actionelement lists all applicable operations.{ "Version": "1", "Statement": [ { "Effect": "Allow", "Action": [ "smc:AssociateSourceServers", "smc:CancelOsMigrationJob", "smc:CreateAccessToken", "smc:CreateServiceRole", "smc:CreateTemplate", "smc:CreateWorkgroup", "smc:CutoverWorkgroup", "smc:DeleteAccessToken", "smc:DeleteWorkgroup", "smc:DescribeAgentVersion", "smc:DescribeLimitation", "smc:DescribeTemplates", "smc:DescribeTestRunReports", "smc:DescribeWorkgroups", "smc:DisableAccessToken", "smc:DisassociateSourceServers", "smc:ListAccessTokens", "smc:ModifyWorkgroupAttribute", "smc:ReportMetrics", "smc:ReportTestRunStatus", "smc:StartWorkgroup", "smc:StopWorkgroup", "smc:UpdateTemplate" ], "Resource": "*" } ] }
A RAM user or RAM role with account-level permissions can manage all relevant resources in the account. Always verify that the granted permissions are intended and follow the principle of least privilege when you assign permissions.
FAQ
How to view a resource's group?
-
Method 1: Click the resource name to go to its details page, where the resource group is displayed.
-
Method 2: Log on to the Resource Management console and choose . In the left-side pane, select the account to which the resource belongs (the Current Account is selected by default). Use the filter conditions to find the target resource and view its resource group.
How to view product resources in a group?
-
Method 1: Log on to the Resource Management console and choose . In the left-side pane, under the account to which the resources belong (the Current Account is selected by default), click the name of the target resource group. Then, in the Select Resource Type drop-down list on the right, select the product to view all its resources in the resource group.
-
Method 2: Log on to the Resource Management console and choose . Find the target resource group and click Manage Resources in the Actions column. On the Manage Resources page, select the product from the Product drop-down list at the top to view all its resources in the resource group.
How to batch-move resources to another group?
Log on to the Resource Management console and choose . In the row of the target resource group, click Manage Resources in the Actions column. On the Manage Resources page, use the filter conditions to find the target resources. Select the checkboxes in the first column for the resources that you want to move, click Transfer Resource Group below the list, and then follow the on-screen instructions.