This topic describes how to use Smart Access Gateway (SAG) along with Cloud Enterprise Network (CEN) to connect on-premises clients to Alibaba Cloud. This way, the clients can access the internal endpoints of Object Storage Service (OSS) buckets.
Prerequisites
A virtual private cloud (VPC) is created in the China (Shanghai) region. For more information, see Create and manage a VPC.
A CEN instance is created and the VPC is attached to the CEN instance. For more information, see Create a CEN instance, Create a transit router, and Create a VPC connection.
Background information
Cloud services are Alibaba Cloud services, such as OSS, Simple Log Service, and Data Transfer Service (DTS), that use the 100.64.0.0/10 CIDR block to provide services. You can use SAG to connect on-premises clients to Alibaba Cloud to allow the clients to access cloud services by using CEN.
OSS is a secure, cost-effective, and highly reliable cloud storage service provided by Alibaba Cloud. You can store large amounts of data in OSS buckets. OSS buckets are accessible through their internal endpoints. Internal endpoints refer to internal network connections between Alibaba Cloud services that are deployed in different regions. If you access OSS resources by using an internal endpoint of OSS, you are not charged data transfer fees. The following figure shows how on-premises clients of a company are connected to Alibaba Cloud and access OSS buckets through their internal endpoints. The company created a VPC in the China (Shanghai) region and plans to activate OSS in this region. The company wants to store sensitive data in OSS buckets and allow employees to download the data through the internal endpoints of the OSS buckets. To meet the requirements without increasing the cost, the company plans to use the SAG app to connect clients to Alibaba Cloud.

Procedure

Step 1: Activate and configure OSS
You can deploy OSS through multiple methods. This procedure demonstrates how to deploy OSS in the OSS console. For more information about OSS, see What is OSS?
Activate OSS. For more information, see Activate OSS.
Create an OSS bucket.
Log on to the OSS console.
In the left-side navigation pane, click Buckets. On the Buckets page, click Create Bucket.
In the Create Bucket panel, configure the parameters and click OK.
The following table describes only the parameters that are relevant to this example. For more information, see Create buckets. The following example is for reference only. Configure the parameters based on your business requirements.
Parameter
Description
Bucket Name
Specify a name for the bucket that you want to create. The name cannot be changed after the bucket is created. In this example, shosstest is used.
Region
Select the region in which you want to create the bucket. The region cannot be changed after the bucket is created. In this example, China (Shanghai) is selected.
Storage Class
Select a storage class for the bucket. In this example, Standard is selected.
The standard storage class provides highly reliable, highly available, and high-performance object storage services that can withstand frequent data access. Standard is ideal for various scenarios, such as social networking applications, image, audio, and video sharing applications, large-scale websites, and big data analytics. For more information about storage classes, see Storage class overview.
Redundancy Type
Select a redundancy type for the bucket.
LRS
Locally redundant storage (LRS) stores multiple copies of your data on multiple devices of different facilities in the same zone. LRS provides data durability and availability even if hardware failures occur.
ZRS
Zone-redundant storage (ZRS) stores multiple copies of your data across multiple zones in the same region. If a zone becomes unavailable, you can access copies of the data that are stored in other zones.
ImportantZRS is supported in the following regions: China (Shenzhen), China (Beijing), China (Hangzhou), China (Shanghai), China (Hong Kong), Singapore, and Indonesia (Jakarta). ZRS increases your storage costs and cannot be disabled after it is enabled. Exercise caution when you select this redundancy type.
In this example, LRS is selected.
ACL
Select the read and write permissions on the bucket. In this example, Private is selected.
Only the bucket owner can perform read and write operations on the objects in the bucket. Other users have no access to the objects in the bucket.
Versioning
Specify whether to enable versioning. In this example, Enable is selected.
If you enable versioning for the bucket, data that is overwritten or deleted is saved as a historical version. Versioning allows you to recover objects in the bucket to a previous version and protects data from accidental overwriting and deletion. For more information, see Versioning overview.
Encryption Method
Specify whether to enable server-side encryption. In this example, None is selected.
Real-time Log Query
Specify whether to enable real-time log query for OSS. In this example, Disable is selected.
Scheduled Backup
If you want to back up your OSS data on a regular basis, select Enable. OSS automatically creates a backup schedule and allows Cloud Backup to back up OSS data on a daily basis and retains the data for a week. In this example, Disable is selected.
Upload an object to the OSS bucket.
In the left-side navigation pane, click Buckets. On the Buckets page, click the name of the bucket that you want to manage in the Bucket Name column.
In the left-side navigation tree, choose .
Click Upload Object.
On the page that appears, configure the parameters.
Upload To: Specify the directory to which you want to upload the object. In this example, the default directory is selected.
Object ACL: Select the read and write permissions on the object. The default value is Inherited from Bucket. In this example, the default value is used.
Files to Upload: Select the file or folder that you want to upload. You can click Select Files or Select Folders to upload a file or folder, or drag the file or folder that you want to upload. If the folder contains a file that you do not want to upload, find the file in the file list and click Remove in the Actions column.
Click Upload Object, wait until the files are uploaded, and then close the Task List panel.
Configure permissions on the object.
In this example, the bucket is set to private to ensure data security. Therefore, permissions on a specific object must be manually granted to users that need to access the object. The following example demonstrates how to grant read-only permissions on an image file to all users. The following example is for reference only. Manage permissions based on your business requirements. For more information, see Configure bucket policies to authorize other users to access OSS resources.
In the left-side navigation pane, click Buckets. On the Buckets page, click the name of the bucket that you want to manage in the Bucket Name column.
In the left-side navigation tree, choose .
Click Authorize.
On the Bucket Policy tab, click Authorize.
In the Authorize panel, configure the following parameters and click OK:
Applied To: In this example, Specified Resource is selected.
Resource Paths: In this example, SHOSS.jpg is specified.
Authorized User: In this example, All Accounts (*) is selected.
Authorized Operation: In this example, Read-Only (excluding ListObject) is selected.
Step 2: Connect on-premises clients to Alibaba Cloud
To connect on-premises clients to Alibaba Cloud, you must purchase an SAG app instance, configure networks, and then create client accounts in the SAG console. After the configurations are completed, on-premises clients can connect to Alibaba Cloud by using the SAG app.
Purchase an SAG app instance.
Log on to the SAG console.
In the left-side navigation pane, choose .
On the SAG App Instances page, click Create SAG App.
Region: Select the region in which the SAG app is used. In this example, China (Shanghai) is selected.
Number of Client Accounts: Specify the number of client accounts that you want to purchase. In most cases, you need to create an account for each client. In this example, the default value 10 is used.
NoteSAG allows you to purchase 5 to 1,000 client accounts. You are charged for client accounts on a tiered pricing model. For more information, see Billing rules for SAG app instances.
Data Plan Per Account: Specify the amount of free data transfer allocated to each client account per month. The data transfer plan cannot be shared among different accounts and remains effective only within the month. By default, 5 GB of free data transfer is allocated to each client account per month.
Billing Method When Data Plan is Exhausted: If the free data transfer plan of an account is exhausted, data overages are billed based on the pay-as-you-go billing method.
Duration: Select the subscription duration of the data transfer plan for each account. Monthly subscriptions and auto renewal are supported. In this example, the default subscription duration one month is used.
Click Buy Now to confirm the order and complete the payment.
Configure networks.
After you purchase an SAG app instance, connect the private CIDR blocks of clients to a Cloud Connect Network (CCN) instance.
CCN is an important component of SAG. After you associate an SAG app instance with a CCN instance, all on-premises clients that are connected to the SAG app instance can connect to Alibaba Cloud by using the CCN instance. For more information, see Introduction to CCN.
On the SAG App Instances page, find the instance that you created and click Quick Configuration in the Actions column.
On the Quick Configuration page, configure the parameters.
CCN Instance ID/Name: You can select one of the following options to associate the SAG app instance with a CCN instance. In this example, Create CCN is selected.
Existing CCN: If you have already created CCN instances, you can select an existing CCN instance from the drop-down list.
Create CCN: If you have not created a CCN instance, enter an instance name. The system automatically creates a CCN instance in the current area and associates the CCN instance with the SAG app instance.
Optional. Standby and Active DNS: This parameter is optional. The active and standby DNS servers that the SAG app uses to connect to the private network. After you configure the DNS servers, the system automatically synchronizes the DNS settings with the SAG app. In this example, this parameter is ignored.
Private CIDR Block: Specify the private CIDR blocks that the clients use to connect to Alibaba Cloud. When a client connects to Alibaba Cloud, an IP address within the specified CIDR block is assigned to the client. Make sure that the private CIDR blocks do not overlap with each other. In this example, 192.168.10.0/24 is specified.
Configure a CEN instance.
This step shows how to associate the CCN instance with a CEN instance. This way, on-premises clients associated with the SAG app instance can access OSS by using the CEN instance.
Click Next: Associate with a CEN (optional) to associate the CCN instance with a CEN instance.
You can select one of the following options to associate the CCN instance with a CEN instance. In this example, Existing CEN is selected.
Existing CEN: If you have already created CEN instances, you can select an existing CEN instance from the drop-down list.
Create CEN: If you have not created a CEN instance, enter an instance name. The system then automatically creates a CEN instance and associates the CEN instance with the CCN instance.
Create client accounts.
After you create network connections, you must create client accounts to allow on-premises clients to log on to the SAG app and connect to Alibaba Cloud.
Click Next: Create a client account to create client accounts.
Username: optional.
NoteThe usernames of client accounts added to the same SAG app instance must be unique.
When you create a client account, if you specify only the email address, the system automatically generates a username and password. The specified email address is used as the username.
Email Address: required. The email address of the user. The username and password are sent to the specified email address.
Static IP:
If you enable this feature, you must specify the IP address of the client. The client account uses the specified IP address to connect to Alibaba Cloud.
NoteThe specified IP address must fall into the CIDR block of the private CIDR block.
If you disable this feature, an IP address within the private CIDR block is assigned to the client each time the client connects to Alibaba Cloud.
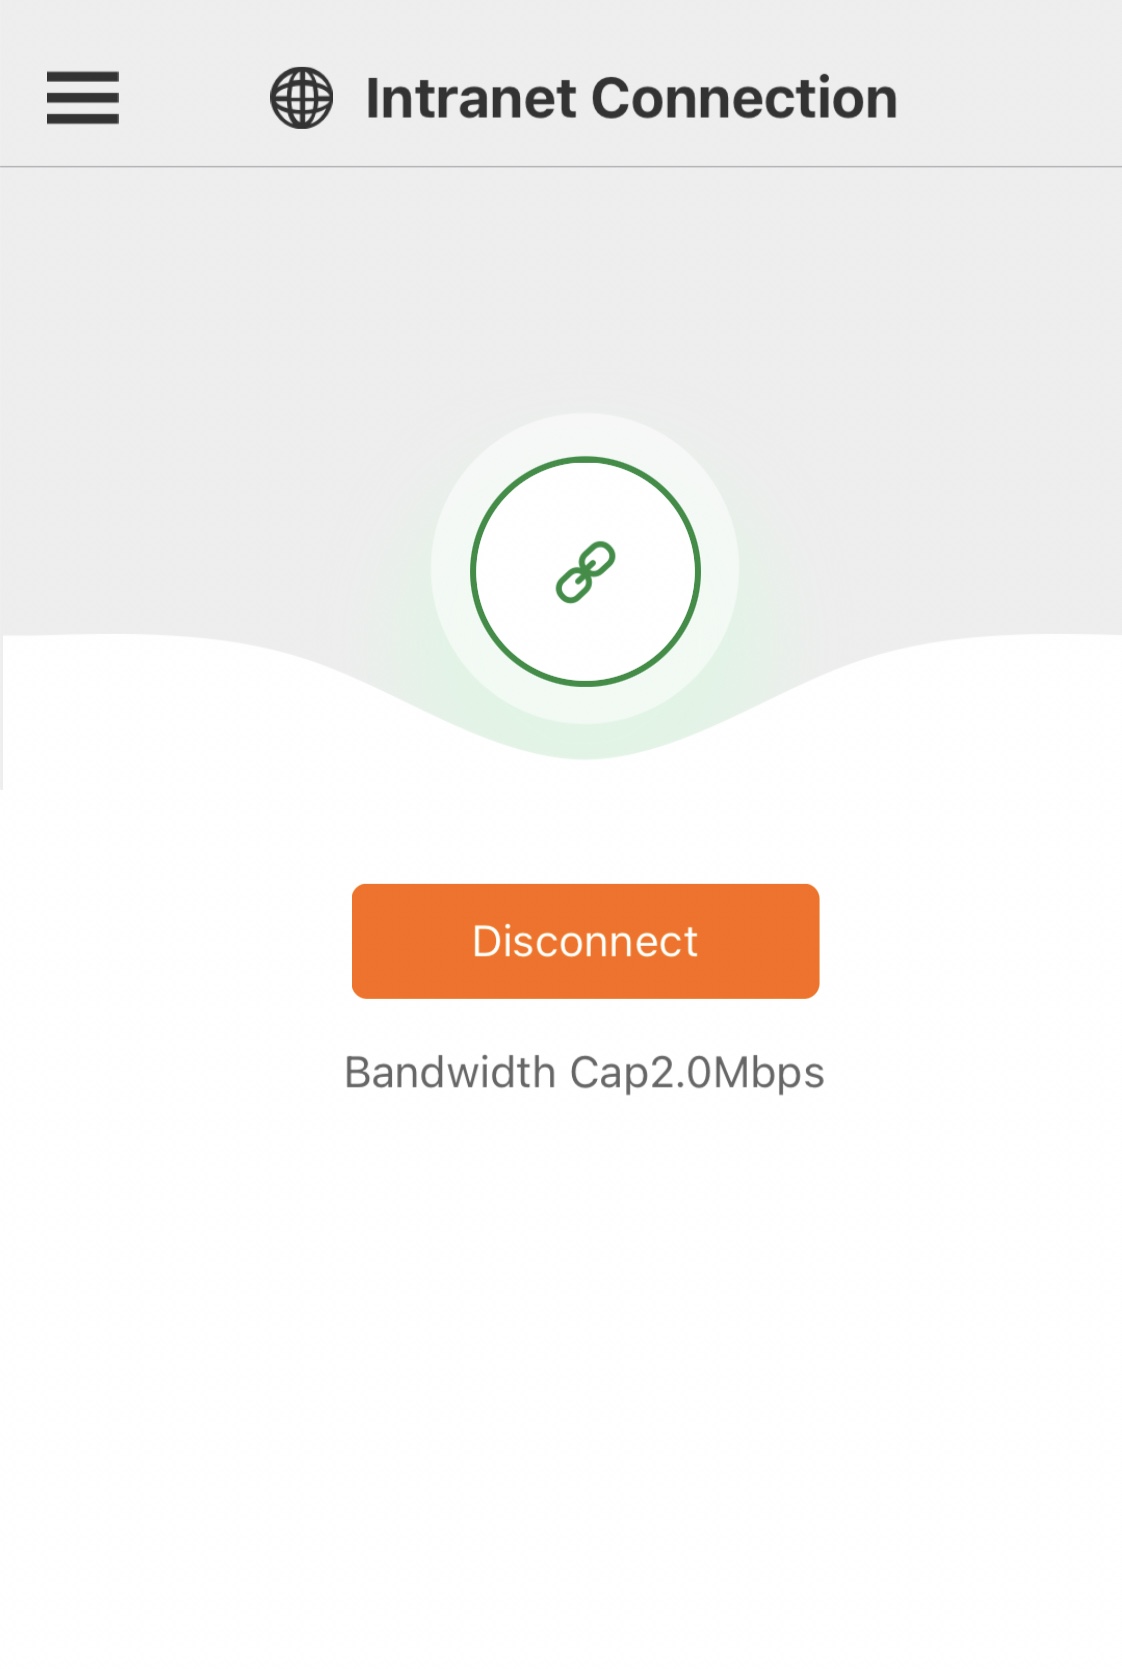
Set Maximum Bandwidth: Specify a maximum bandwidth value for the client account. In this example, the default value is used.
You can set the maximum bandwidth to 1 to 2,000 Kbit/s. The maximum bandwidth is set to 2,000 Kbit/s by default.
Set Password: optional. Specify a password that the client uses to log on to the SAG app.
Click OK.
ImportantCreate an inter-region connection between the region of the VPC and the region of the CCN instance. For more information, see Manage inter-region connections.
If the inter-region connection is already created, proceed to the next step.
Connect the clients to Alibaba Cloud.
After you create the client accounts, click Download Now to go to the page that provides instructions on how to download and install the SAG app. For more information, see Install the SAG app.
After the SAG app is installed on a client, the client can log on to the SAG app with the client account and connect to Alibaba Cloud. For more information, see Connect to Alibaba Cloud.
Step 3: Configure routes that point to OSS
In this step, you must configure routes that point to OSS in the CEN console. After routes are configured, CEN establishes network communication between the network associated with the CCN and the OSS service to allow on-premises clients to access OSS.
Log on to the CEN console.
On the Instances page, click the ID of the CEN instance that you want to manage.
On the tab, click the ID of the transit router that resides in the region where the cloud service is deployed.
On the details page of the transit router, click the Route Table tab.
On the Route Table tab, click the ID of the route table that you want to manage in the left-side list. In the Route Table Details section, click the Route Entry tab, and then click Add Route Entry.
In the Add Route Entry dialog box, configure the parameters and click OK. The following table describes the parameters.
Parameter
Description
Route Table
By default, the current route table is selected.
Transit Router
By default, the current transit router is selected.
Name
Enter a name for the route entry.
Destination CIDR
Enter the IP address or CIDR block that the cloud service uses to provide services.
For example, enter a CIDR block that OSS uses to provide services in the China (Shanghai) region.
100.98.35.0/24
100.98.110.0/24
100.98.169.0/24
100.118.102.0/24
NoteWe recommend that you add all CIDR blocks of OSS in the China (Shanghai) region.
Blackhole Route
Specify whether to specify the route as a blackhole route. Valid value:
Yes: specifies the route as a blackhole route. Traffic that matches the route is dropped.
No: specifies that the route is not a blackhole route. In this case, you must specify a next hop for the route.
In this example, No is selected.
Next Hop
Select a next hop.
Select the ID of the VPC connection on the transit router.
Description
Enter a description for the route entry.
Step 4: Test network connectivity
After the preceding steps are completed, on-premises clients can connect to Alibaba Cloud by using the SAG app and access OSS.
To test network connectivity, use a browser to download the uploaded image SHOSS.jpg from https://shosstest.oss-cn-shanghai-internal.aliyuncs.com/SHOSS.jpg.
Specify the path of the file that you want to access in the following format:
https://Bucket name.VPC endpoint/Filename.For more information about VPC endpoints, see Access OSS using bucket domain names.