When using a Layer 4 load balancer, configuring SSL certificates on each backend server for encryption is inefficient. To improve performance, you can use the SSL offloading feature of Network Load Balancer (NLB). By deploying an NLB instance at your traffic ingress and configuring an SSL certificate on it, the NLB instance handles all decryption. The instance receives encrypted traffic through a TCPSSL listener, decrypts it, and then forwards the plaintext traffic to your backend servers. This offloads the processing-intensive task of decryption from your backend servers. It also simplifies certificate management and maintains secure communication.
Prerequisites
An NLB instance is created. For more information, see Create and manage an NLB instance.
A server group is created for the NLB instance. For more information, see NLB server groups.
ImportantThe server group must use the TCP protocol. Since the NLB instance decrypts the traffic, the backend servers do not need to process SSL-encrypted traffic.
A TCPSSL listener cannot be associated with a server group for which client IP preservation is enabled. Make sure that this feature is disabled for the server group that you create.
ECS instances ECS01 and ECS02 have been added to the server group, and application services have been deployed on both.
Step 1: Prepare a server certificate
You can purchase a server certificate from Alibaba Cloud or purchase one from a third-party provider and upload it.
This example uses a server certificate purchased from Alibaba Cloud.
To learn how to purchase a server certificate, see Purchase an SSL certificate.
To learn how to upload a certificate, see Upload an SSL certificate.
When you purchase an SSL certificate, you must bind it to a domain name. You must have already registered a domain name and completed its ICP filing. For more information, see Register a domain name on Alibaba Cloud and ICP filing application overview.
Step 2: Configure a TCPSSL listener
Log on to the Network Load Balancer console.
In the left-side navigation pane, choose NLB > Instances.
In the top navigation bar, select the instance's region.
On the Instances page, find the target instance and click Create Listener in the Actions column.
On the Configure Listener page, set the following parameters, leave the others at their default values, and then click Next.
Parameter
Description
Listener Protocol
Select TCPSSL.
Listener Port
This example uses port 443.
On the Configure SSL Certificate page, set the following parameters, leave the others at their default values, and then click Next.
Parameter
Description
Server Certificate
Select the server certificate that you prepared in Step 1.
TLS Security Policies
Select a policy that meets your security requirements. If you select a higher TLS version, ensure that it is compatible with your clients.
On the Select Server Group page, set the following parameters, leave the others at their default values, and then click Next.
Parameter
Description
Select Server Group
Select the server group that you created.
On the Configuration Review page, verify the parameters and click Submit. Wait for the listener to be created.
Step 3: Configure a DNS record
In actual business scenarios, we recommend that you use CNAME records to map custom domain names to the domain name of your NLB instance.
Log on to the NLB.
On the Instances page, copy the domain name of the NLB instance that you want to manage.
Perform the following steps to create a CNAME record:
NoteIf your domain name is not registered by using Alibaba Cloud Domains, you must add your domain name to Alibaba Cloud DNS before you can configure a DNS record. If your domain name is registered by using Alibaba Cloud Domains, skip this step.
Log on to the Alibaba Cloud DNS console.
On the Public Zone page, find your domain name and click Settings in the Actions column.
On the Settings tab of the domain name details page, click Add Record.
In the Add Record panel, configure the parameters and click OK. The following table describes the parameters.
Parameter
Description
Record Type
Select CNAME from the drop-down list.
Hostname
The prefix of the domain name. In this example, @ is entered.
NoteIf the domain name is a root domain name, enter @.
Query Source
Select Default.
Record Value
Enter the CNAME, which is the domain name of the NLB instance.
TTL Period
Specify a time-to-live (TTL) value for the CNAME record to be cached on the DNS server. In this example, the default value is used.
Step 4: Test the connection
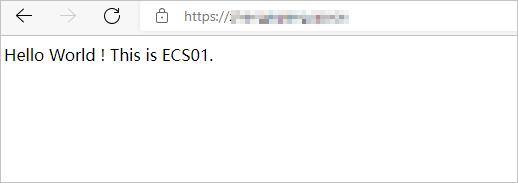
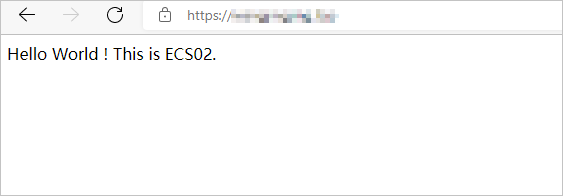
Enter the domain name mapped to the NLB instance in a web browser. Refresh the page several times. Requests are sent to the backend service over HTTPS and are distributed between the two ECS instances.
Due to browser caching, always use a private or incognito window to access the domain name when you test a Layer 4 load balancer.
Related documents
If you use a server certificate from a provider other than Alibaba Cloud, see Upload, sync, and share SSL certificates for certificate requirements and upload instructions.
For more information about how to add a TCPSSL listener, see Add a listener that uses SSL over TCP.
For higher security, you can implement mutual authentication. For more information, see Use NLB to enable SSL offloading over TCP (mutual authentication).