This document shows how to integrate the OpenClaw service with Telegram. This integration lets you interact with OpenClaw using natural language directly in Telegram.
Prerequisites
Before you configure the messaging channel, you must purchase and configure a Simple Application Server instance with the OpenClaw application image. You can follow the steps in this section or refer to Deploy OpenClaw image. If you have already completed this setup, you can skip this section.
Step 1: Purchase an OpenClaw plan
If you already have a Simple Application Server instance, you can skip this step and deploy OpenClaw using the reset system feature. When you reset the system, select the OpenClaw image from the list of application images. Resetting the system erases all data on the system disk. Back up your data if necessary. For more information, see Reset system.
Purchase a Simple Application Server instance pre-installed with the OpenClaw application.
On the Simple Application Server page, resource configurations are preset. If you want to change any settings, refer to the following descriptions.
Instance: Memory must be 2 GiB or higher. You can switch plans based on your needs.
Region: The default is US (Virginia).
ImportantServers in Chinese mainland regions cannot be configured to work with overseas IM applications such as WhatsApp, Telegram, Discord, and Slack.
Purchase Configuration: The default subscription period is 12 months. You can change the duration based on your needs.
Step 2: Configure OpenClaw
In the Simple Application Server console, click the instance ID on the server card. On the Server Overview page, click the Application Details tab.
In the Steps to Use OpenClaw section, click Execute Command under Open Port to open firewall access to the port that the OpenClaw service uses.
ImportantTo prevent malicious scanning and targeted attacks, OpenClaw no longer uses a fixed default port during initialization. Instead, it automatically generates a random port. You can view the port number of OpenClaw in the console.
Opening the port exposes the service to public access. You can disable public access to the Web UI with a single click. For more information, see How to enable or disable public access to the OpenClaw Web UI?
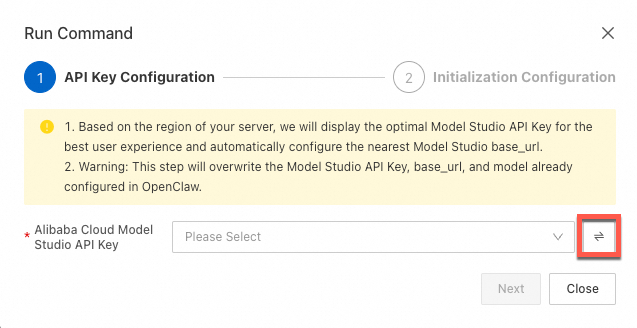
Click Execute Command under Configure OpenClaw to configure the Model Studio API Key.
You can configure two types of Model Studio API Keys:
Coding Plan plan-specific API Key (recommended): This plan uses a fixed monthly fee and provides a monthly request quota. Calls that exceed the quota fail and do not incur charges. This prevents unexpected costs.
The Coding Plan currently supports models such as
qwen3.5-plus,kimi-k2.5,MiniMax-M2.5, andglm-5. For a detailed list of models, see Coding Plan overview.A Model Studio API Key billed by token usage.
You can configure the API Key using System Recommendation or Manual Input. For cost control, the system recommends the Model Studio Coding Plan API Key. For lower latency, it recommends the API Key for the Model Studio service that is geographically closest to your server. If you need to use an API Key from a different region or account, select Manual Input.
System Recommendation (drop-down list)
After you make a selection, click Next.
Server region
Recommended API region
Coding plan API region
US and European regions
US (Virginia)
Singapore
China (Hong Kong) and other Asian regions
Singapore
Manual Input
Click the button to switch to manual input. Enter the Model Studio API Key, select its corresponding region, and then click Next.
 Important
If you manually configure the API Key, make sure you select the correct region for the API Key. If you select an incorrect region, model calls fail.
Under Access Web UI Panel, click Get Address to obtain the address of the OpenClaw Web UI. You can use this web page to chat with the OpenClaw agent.
If required, you can refer to Disable public access to the OpenClaw Web UI to disable public access to the Web UI with one click.
(Optional) View the token.
In , click View to view and save the token.
WarningDo not share the full URL that contains the token. This link includes authentication credentials. Anyone who has this link can bypass login verification and gain administrator access to the OpenClaw console.
Prepare your Telegram bot
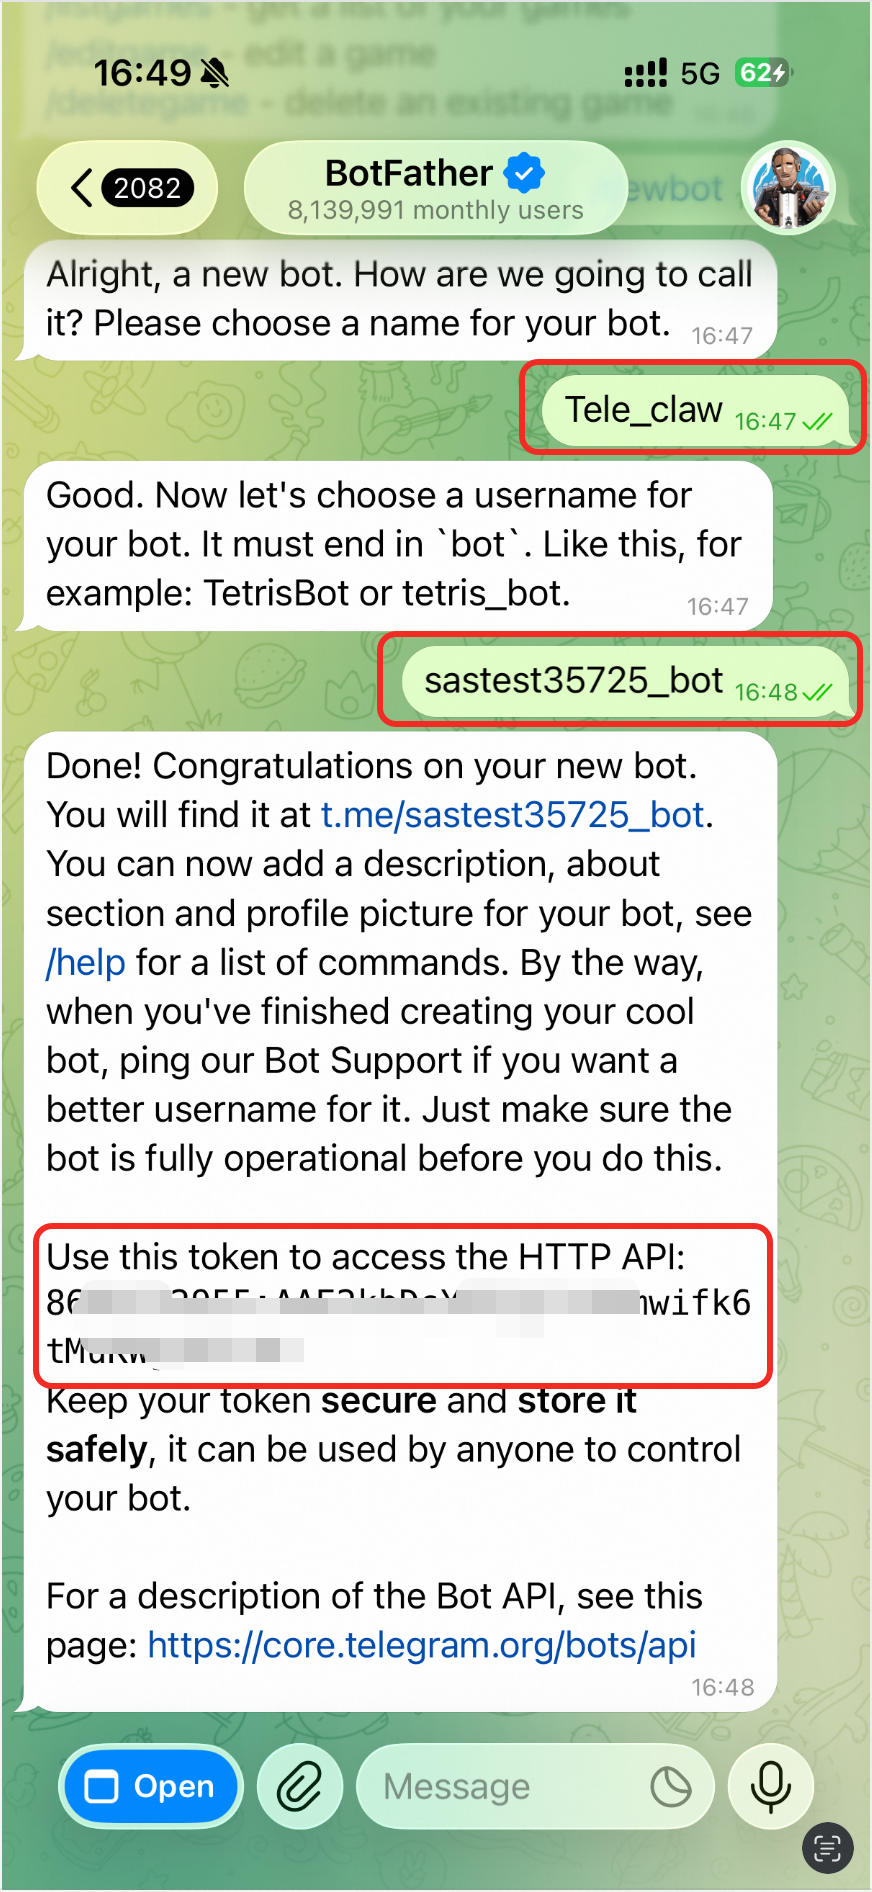
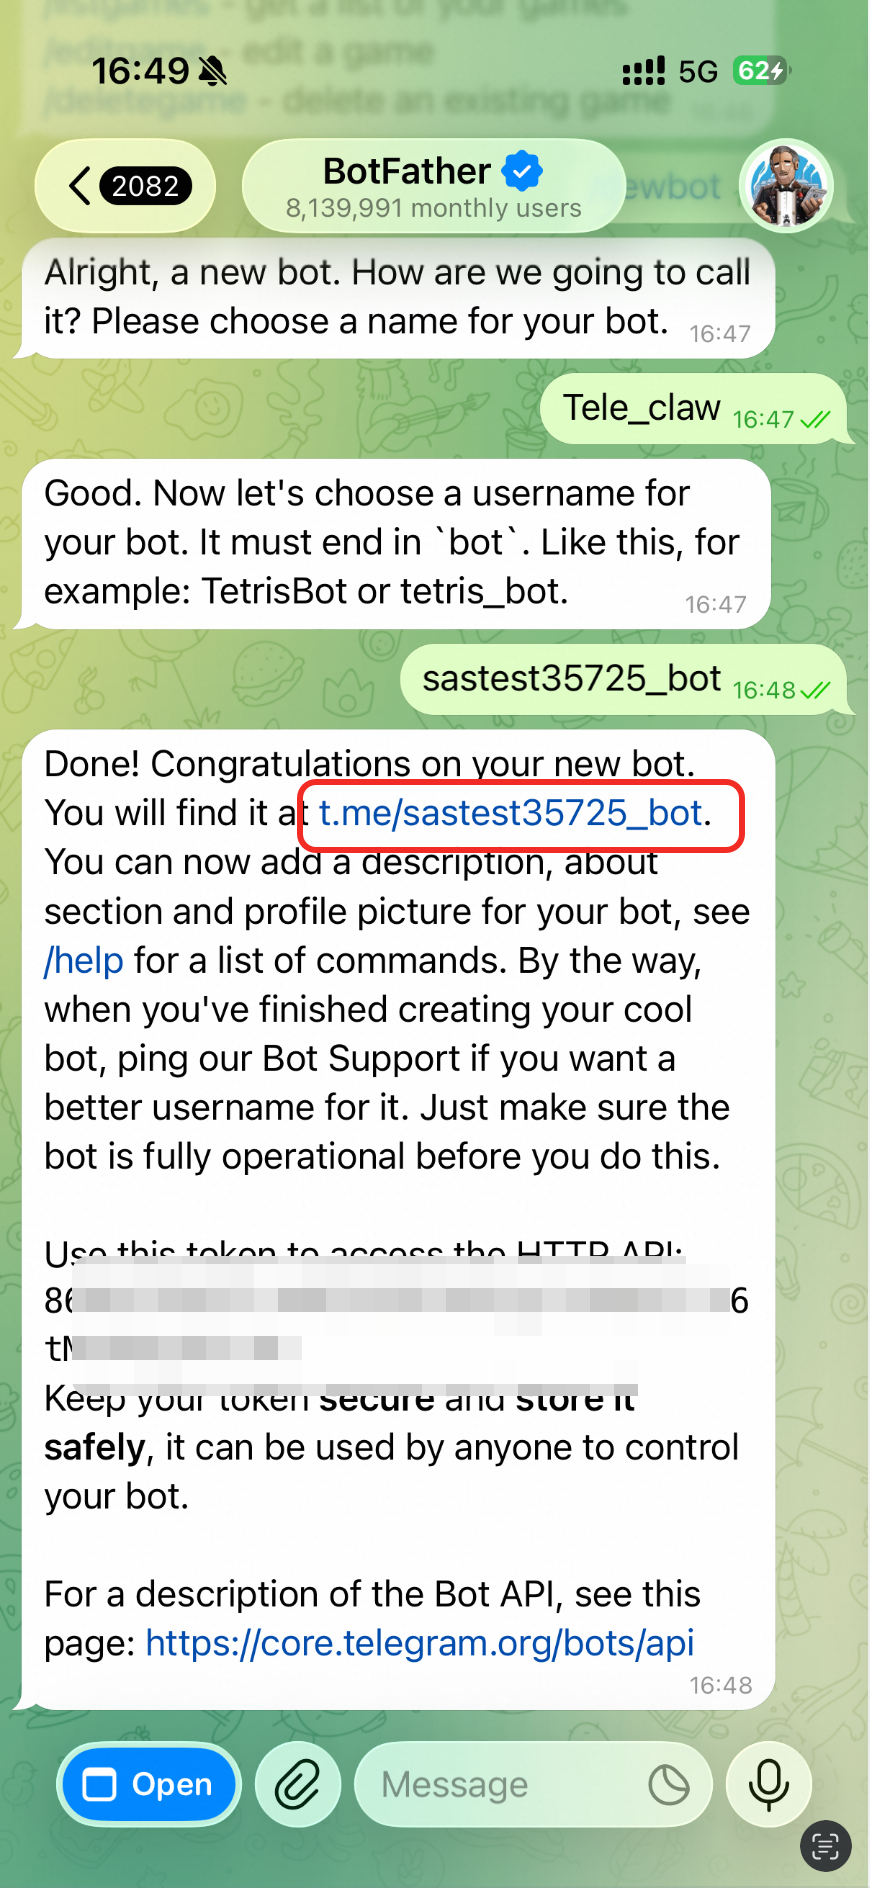
Log on to your Telegram account, search for
@BotFather, and click the contact to open a chat.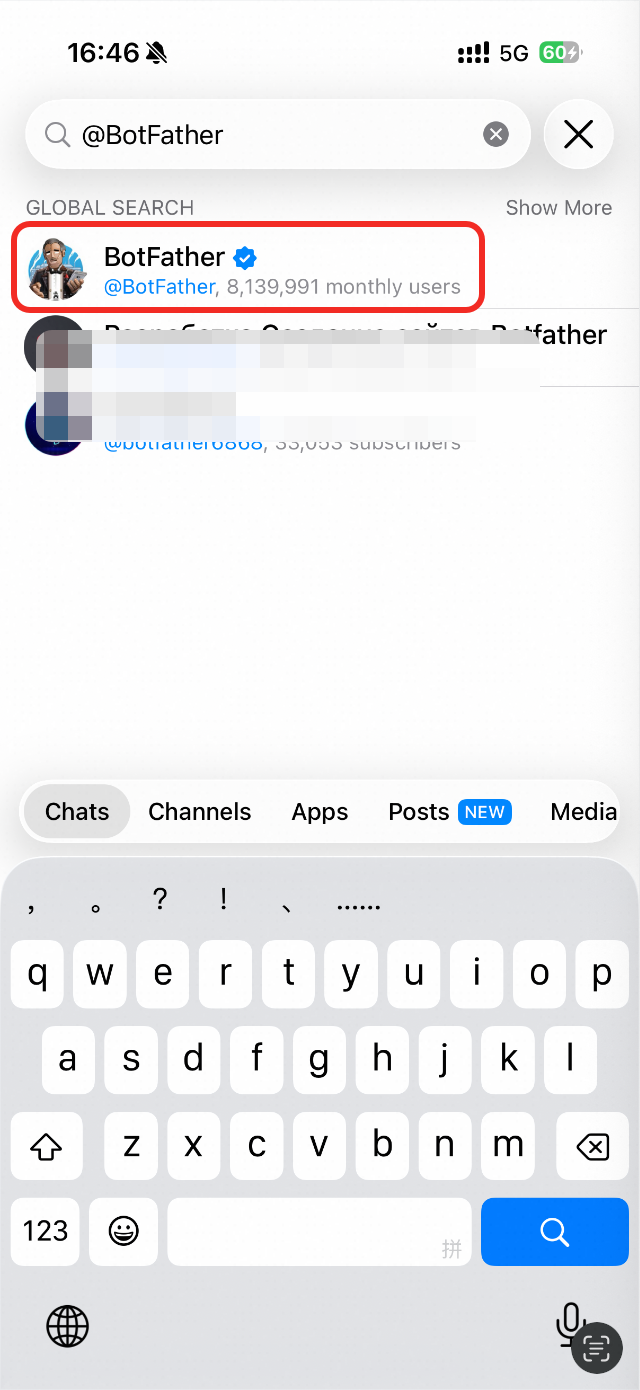
In the dialog box, enter and send
/newbot.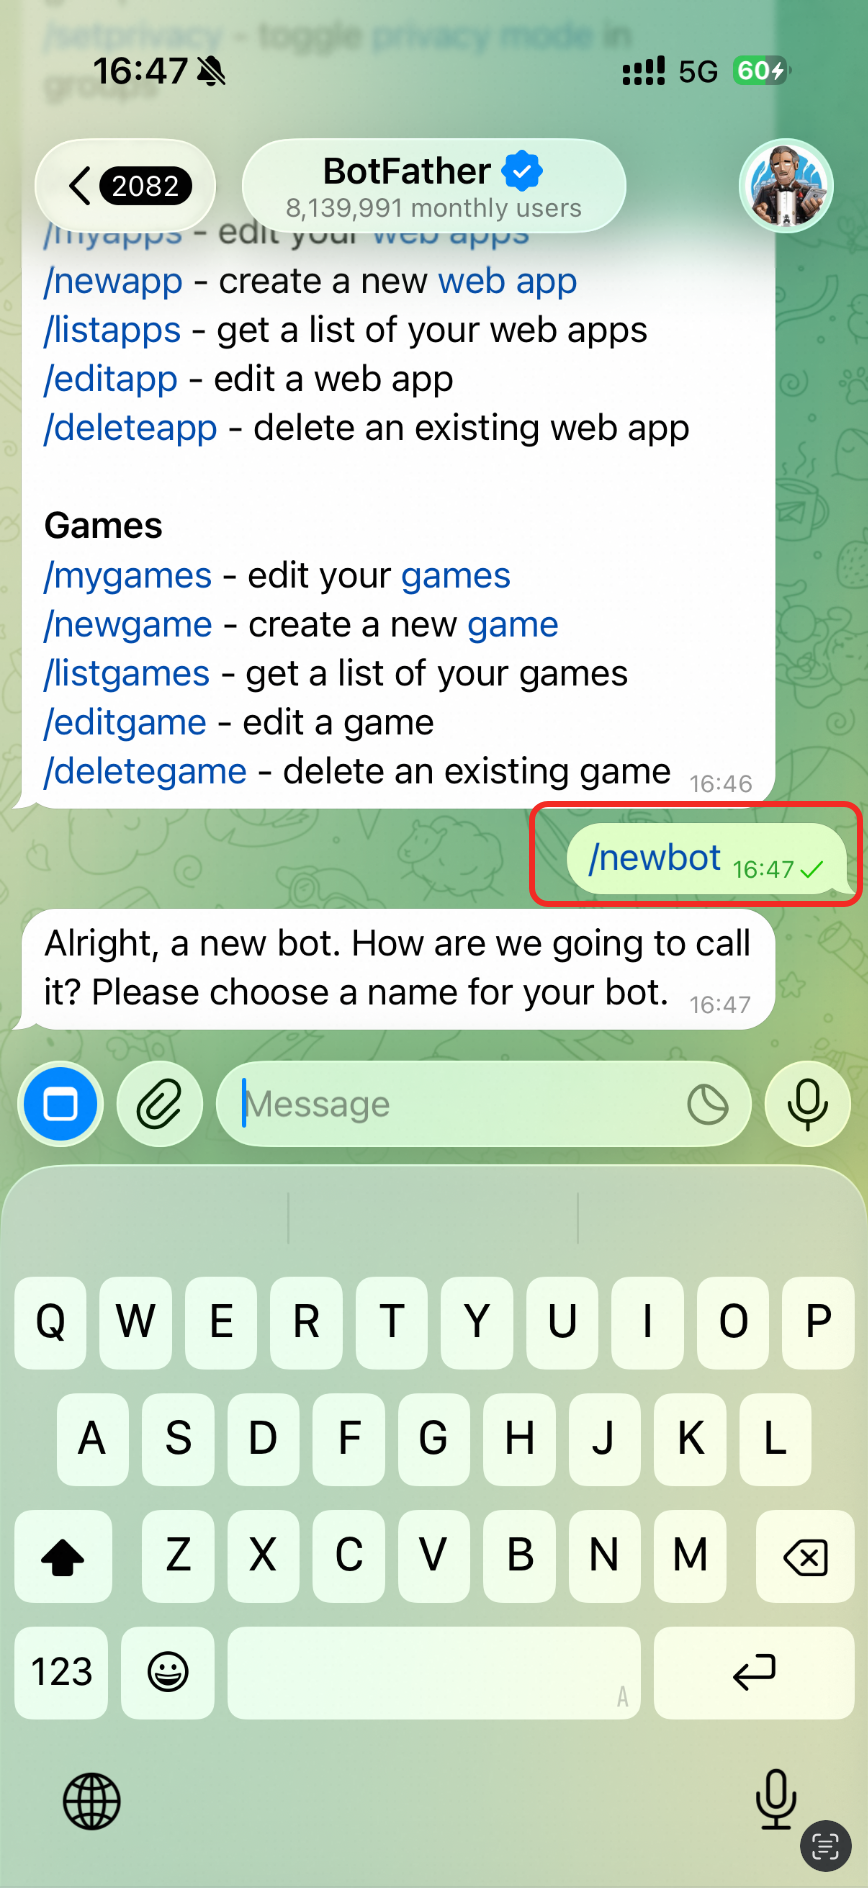
Follow the prompts to enter and send a Bot Name and a Username. Note that the username must end with
_bot.ImportantAfter you complete this step, you will receive a token. Securely store this token and do not share it, as you will need it to configure OpenClaw later.
Integrate with Telegram
1. Configure Telegram in the OpenClaw wizard
-
Go to the Servers page in the Simple Application Server console.
On the server card, click Remote Connection.
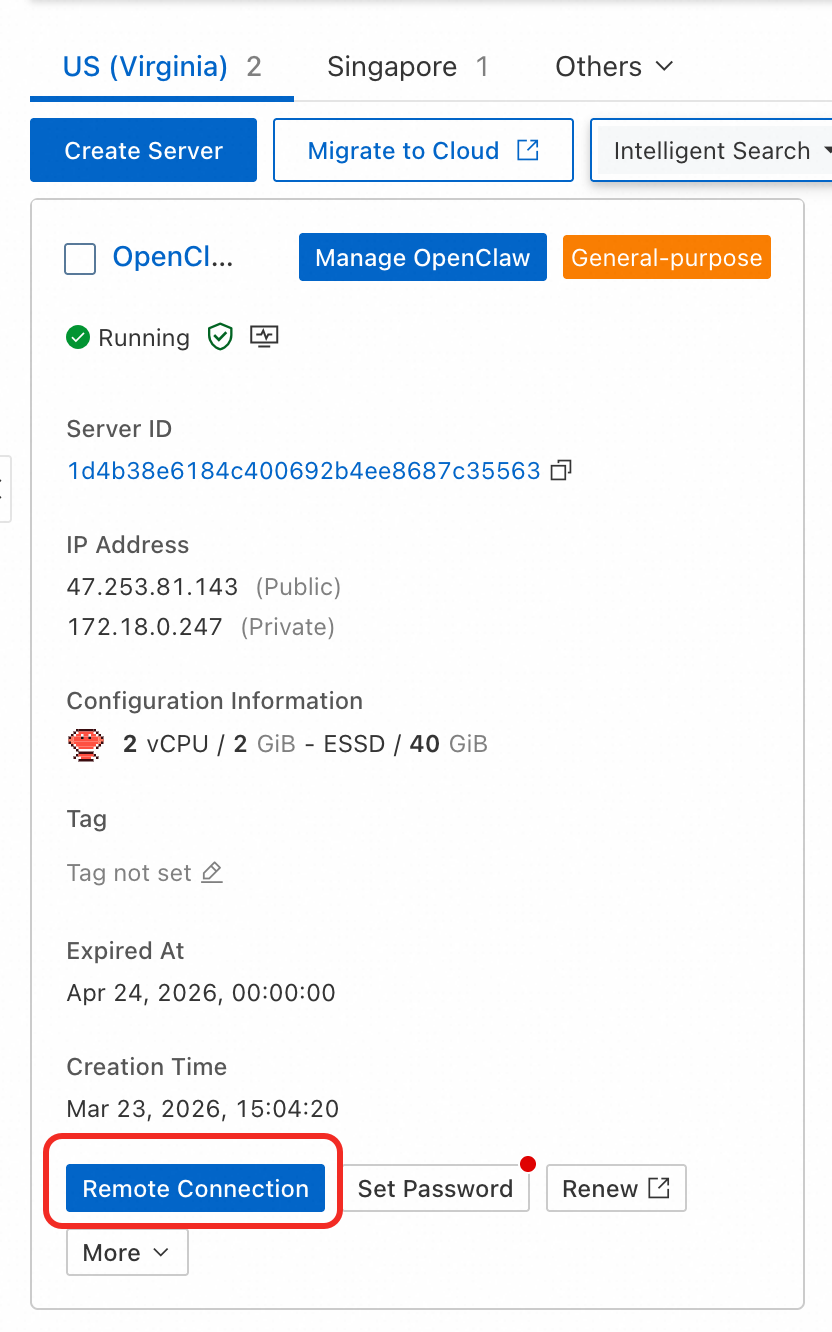
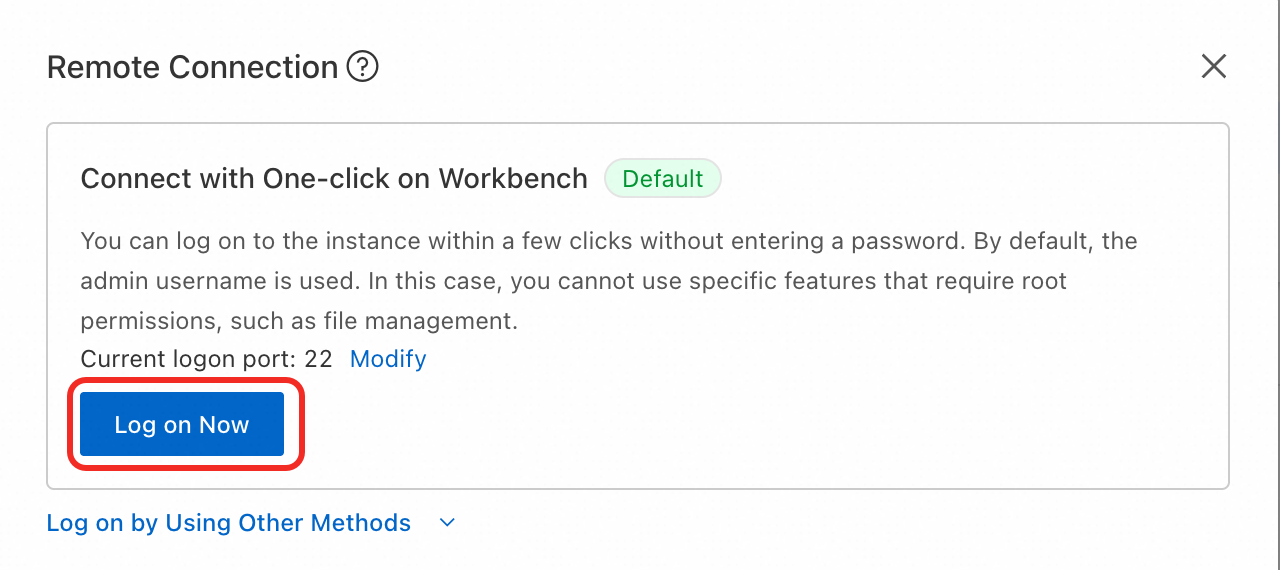
In the Remote Connection dialog box, select Connect with One-click on Workbench and click Log On Now.
After you log on to the server, run the following command.
NoteUse your keyboard for the following steps. Use the arrow keys to navigate and press Enter to confirm your selections.
openclaw onboardA prompt will ask if you understand the risks. Select
Yesto continue.
For the
Onboardingmode, selectQuickStart.
For
Config handling, selectUse existing values.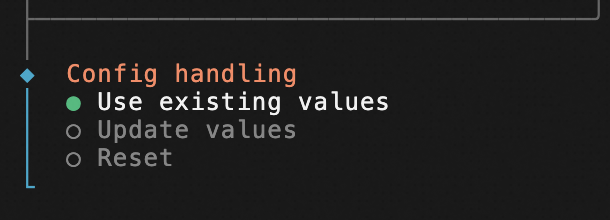
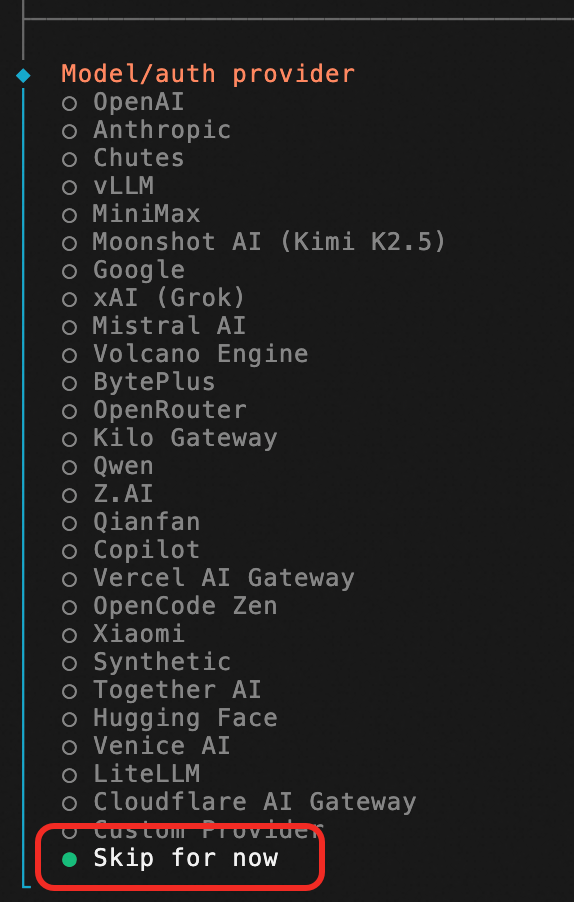
For
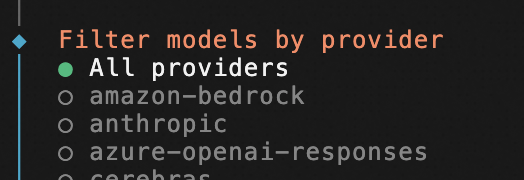
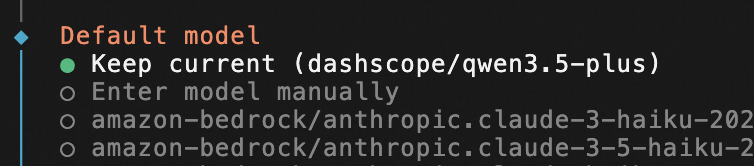
Model/auth provider, selectSkip for now>All providers>Keep current.NoteIf you have already configured the Model Studio API Key in the previous steps, you can skip this step. If you have not yet configured a model, you must configure the model API Key at this step from the command line.
In the
Select channelstep, selectTelegram (Bot API).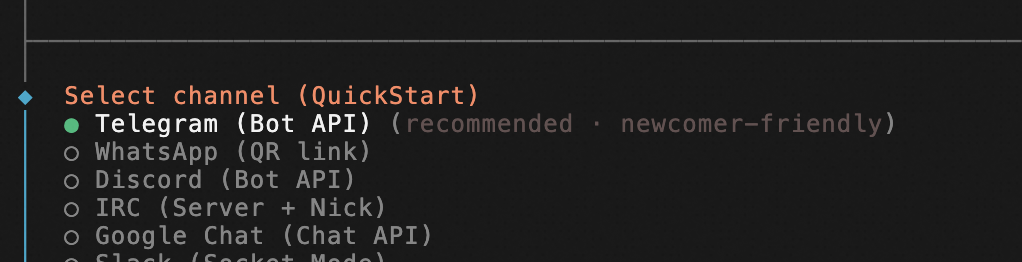
Select
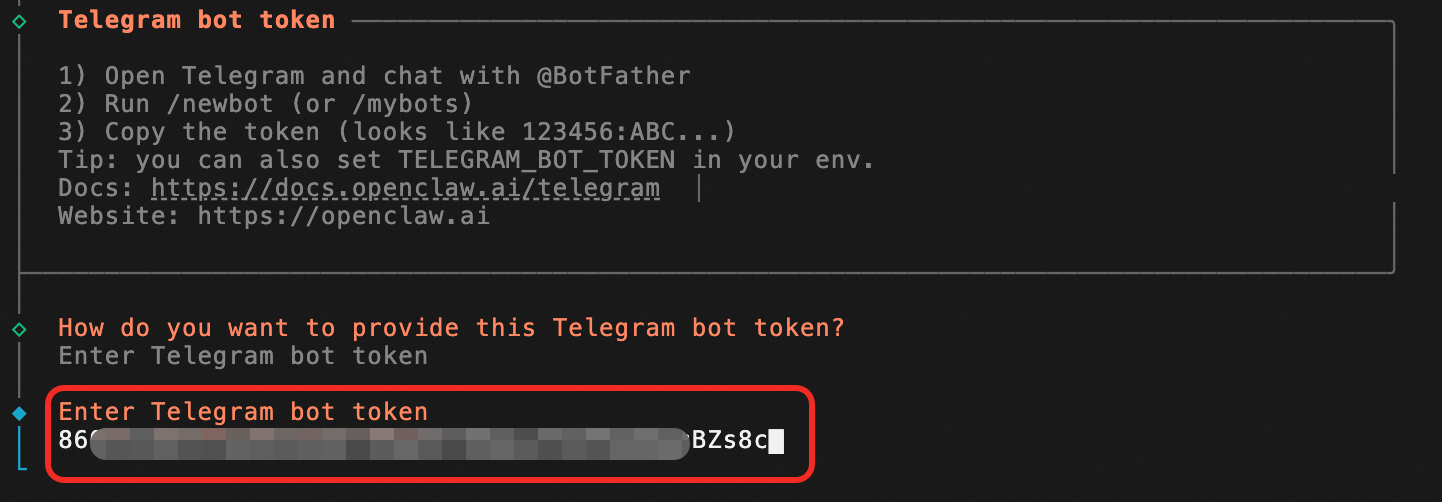
Enter Telegram bot token, and then enter theTelegram bot tokenthat you saved from Telegram.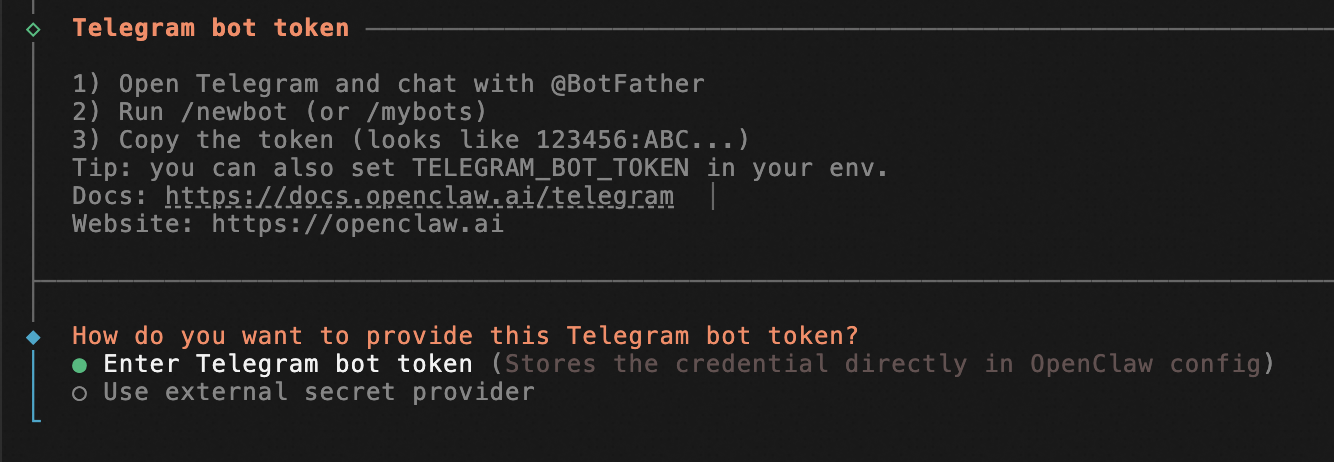
Configure Skills. Select
No. For an initial deployment, limiting permissions improves stability and security.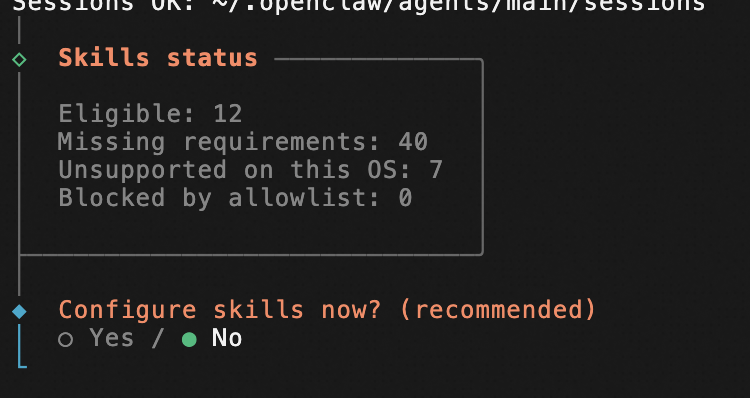
Enable Hooks (if prompted). Select
session-memory.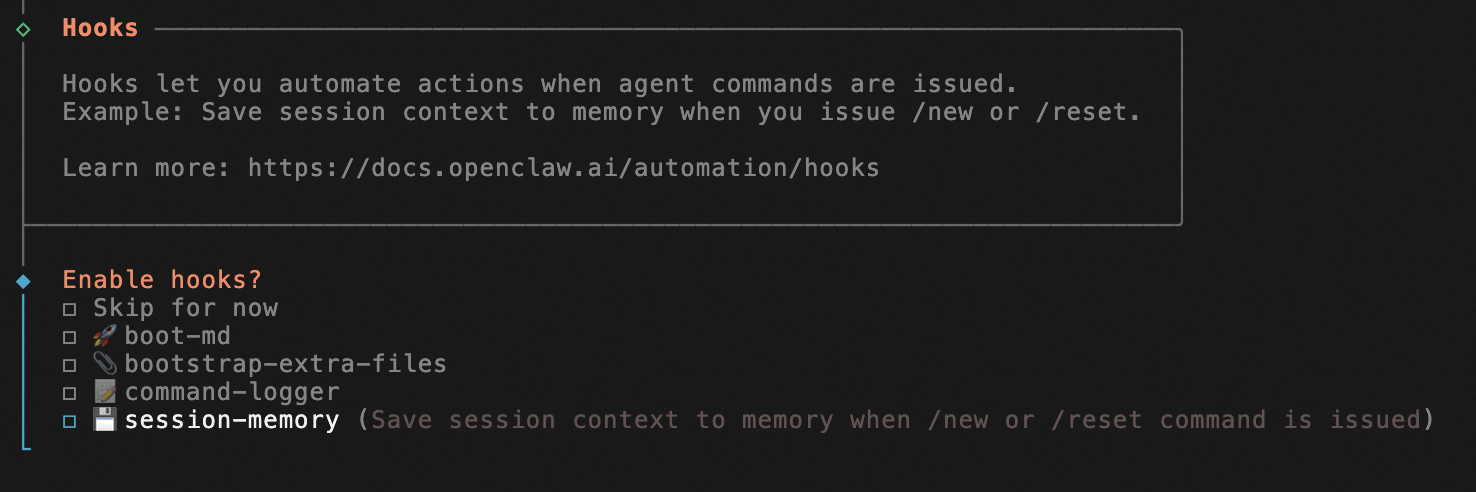
Select
Restartto apply the configuration.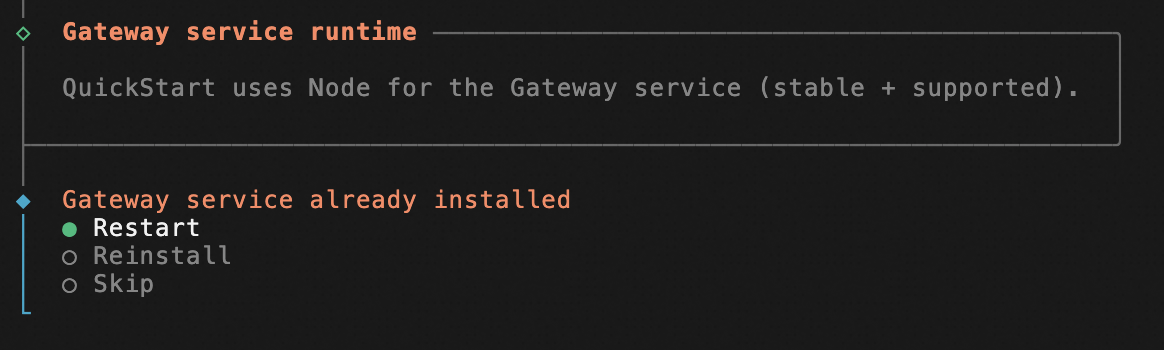
Install command completion (if prompted). Select
No.ImportantSelecting
Yescan cause high CPU load on the server, which may lead to performance issues with OpenClaw.After you complete these steps, the system automatically finishes the deployment. The deployment is complete when the configuration wizard closes and the command-line interface appears.
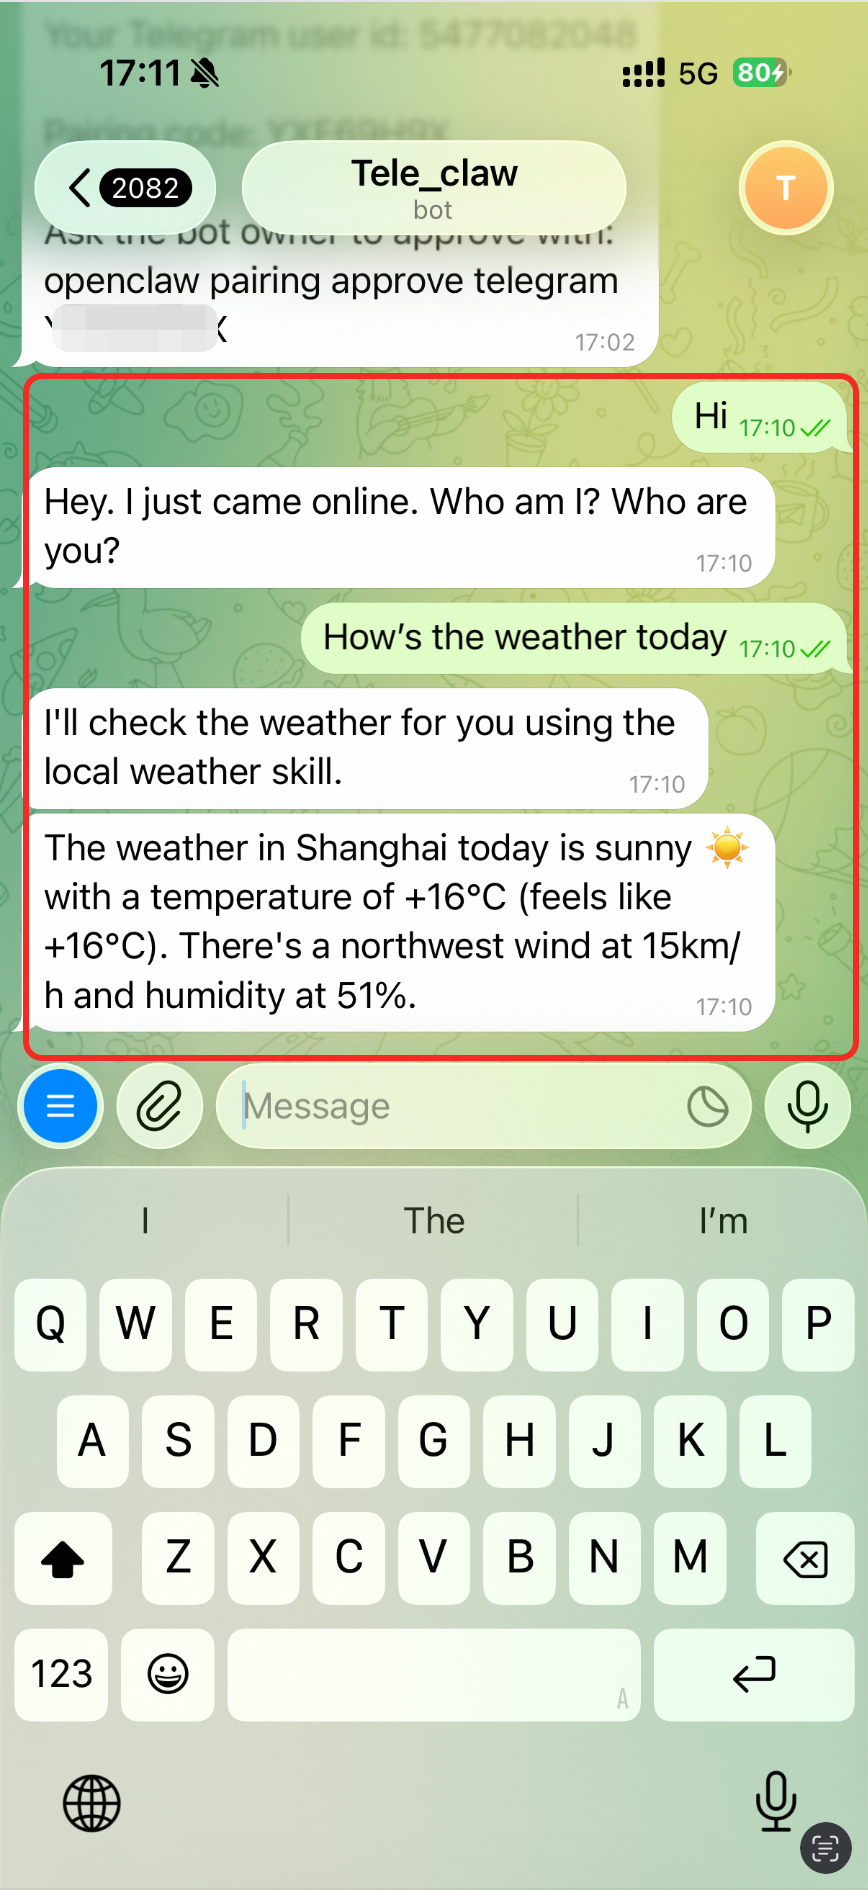
2. Test the bot
In your chat with BotFather, click the link to your new bot to open a chat window.
In your first conversation, the Telegram bot will send a pairing code. You must then run the following command on your server to complete the pairing.
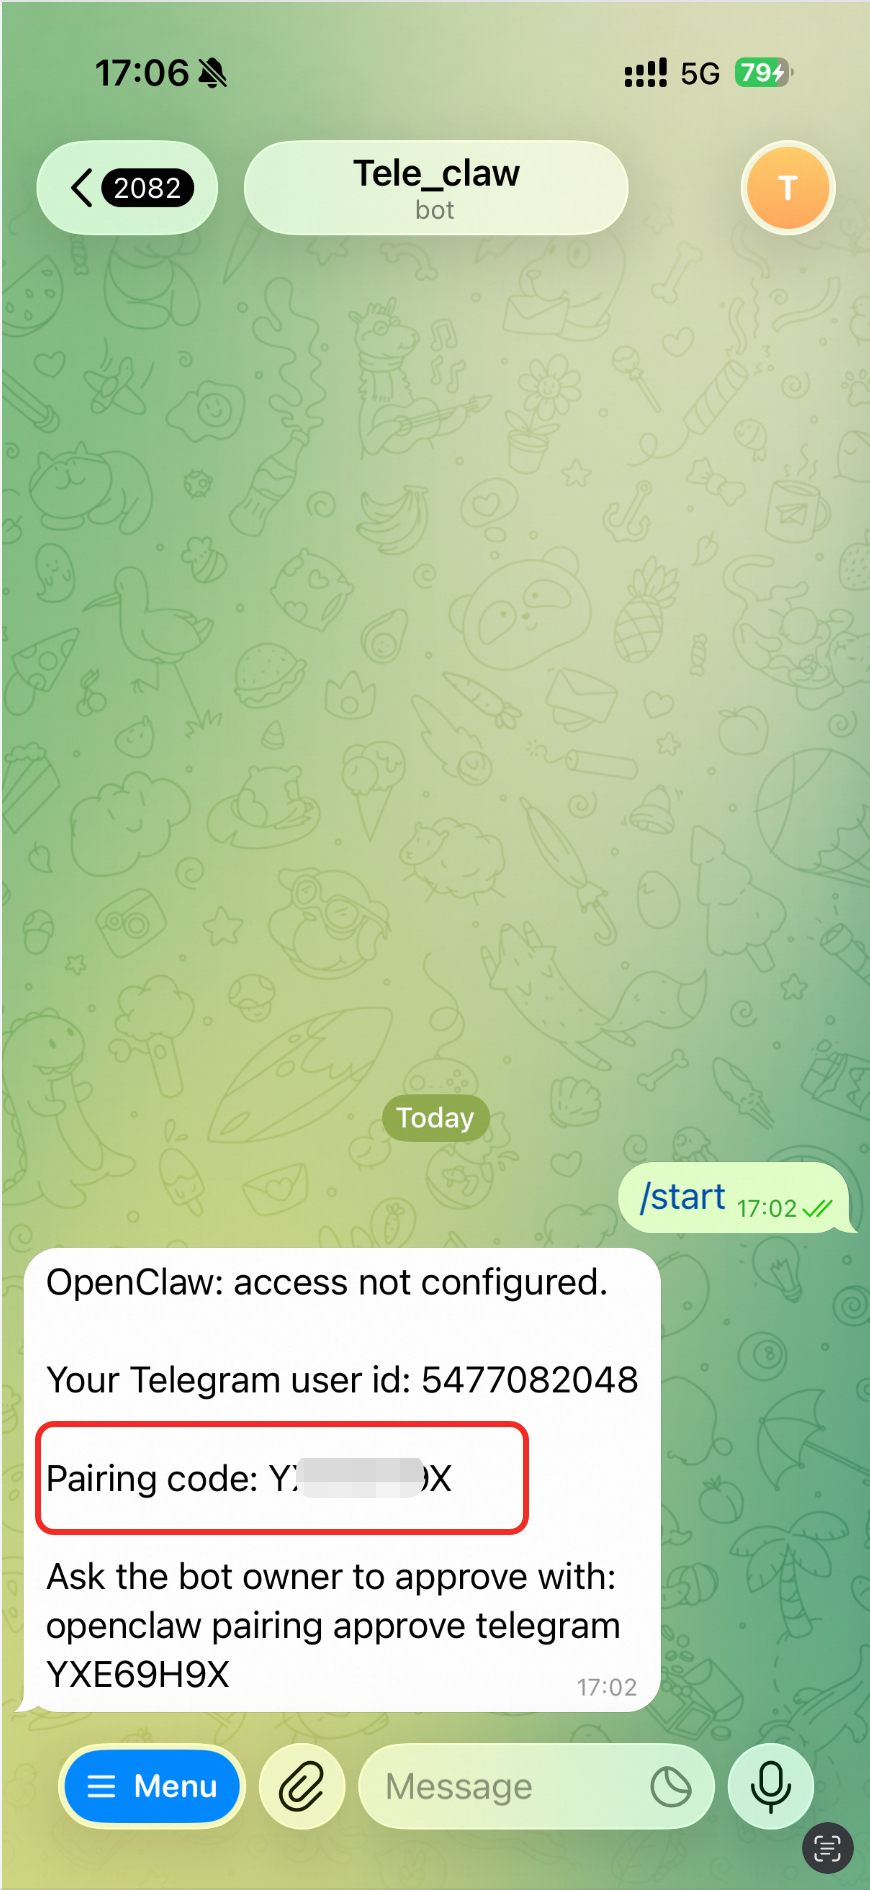
After you establish a remote connection to the Simple Application Server, enter and run the following command.
ImportantYou need to replace
<code>in the command with thePairing codesent by theTelegram Bot. When you enter the code, do not include the <> symbols.openclaw pairing approve telegram <code>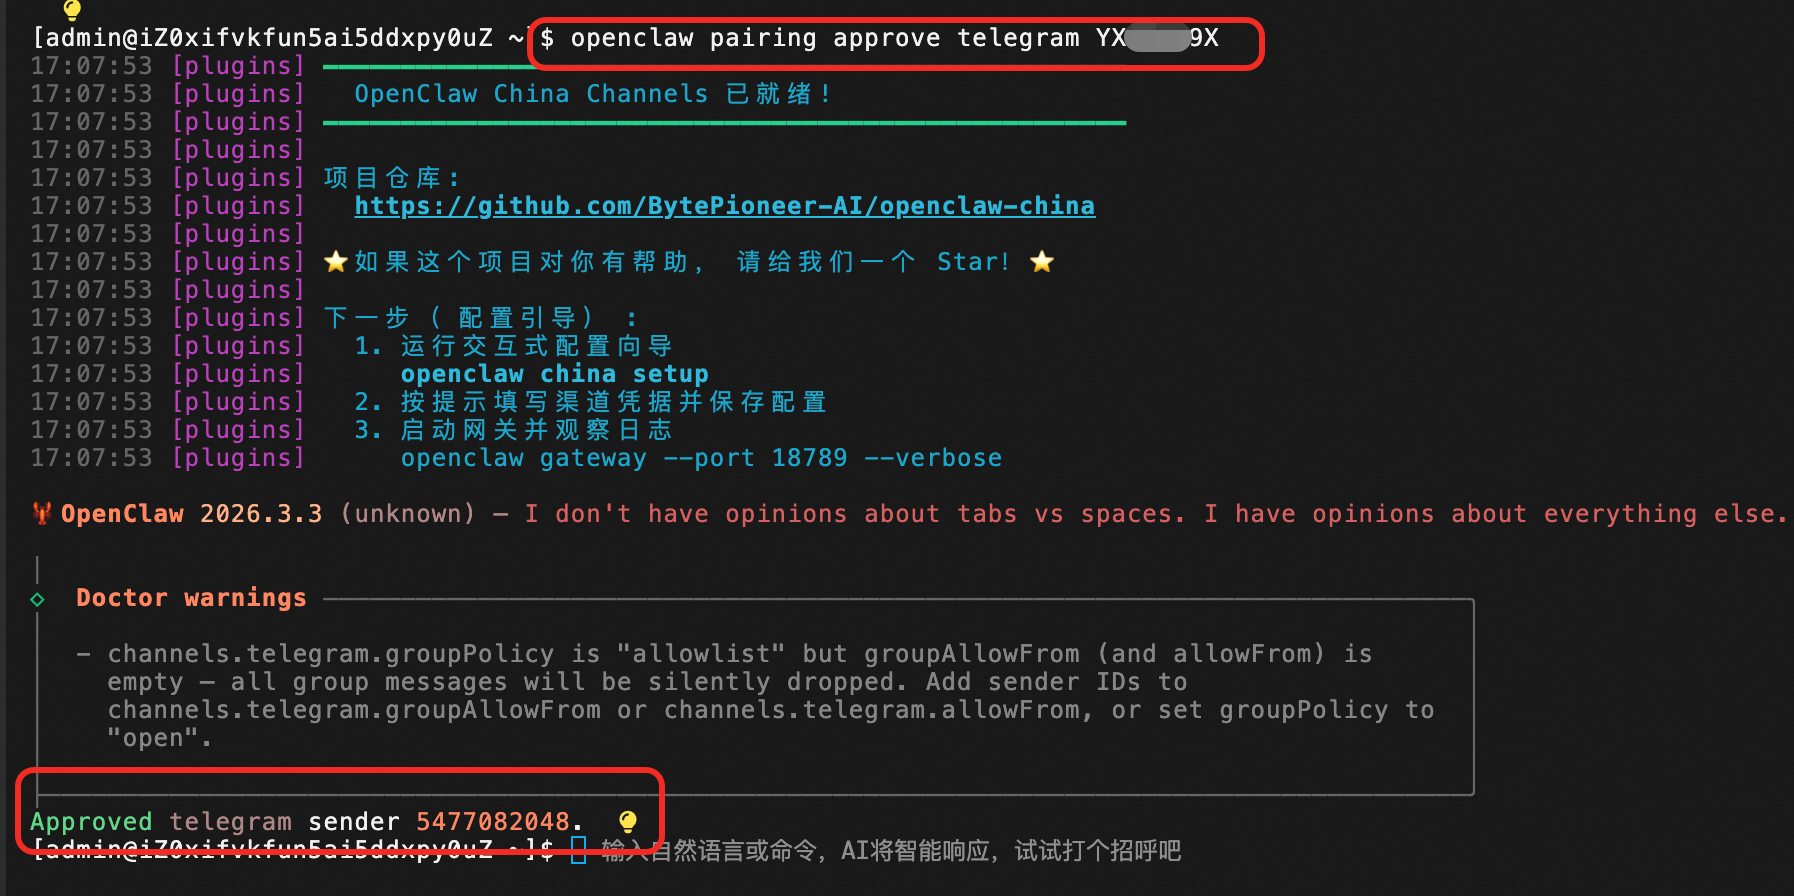
You have now successfully integrated OpenClaw with Telegram.