Restore a full backup of a self-managed MySQL database from Object Storage Service (OSS) to a new ApsaraDB RDS for MySQL instance by using the RDS console.
Prerequisites
-
Your self-managed MySQL database must meet cloud migration requirements. For details, see Appendix: limits.
-
You must have an OSS bucket in the destination region. If you do not have one, see Create a bucket in the console.
NoteThe destination region must be the region where you will create the RDS instance.
Migration process
The migration involves the following steps:
Step 1: Install Percona Xtrabackup
Step 2: Install MySQL Backup Helper
Step 3: Back up the self-managed database and migrate it to the cloud
Tutorial environment
This tutorial uses an Alibaba Cloud ECS instance running CentOS Linux release 8.3.2011. If you use a different version, adjust the commands accordingly. To create an ECS instance, see Create an ECS instance.
Step 1: Install Percona XtraBackup
Percona XtraBackup is a tool for creating physical hot backups of MySQL databases. It supports multiple database engines. For Ubuntu, see Appendix 1: Install Percona XtraBackup on Ubuntu.
Select the Percona XtraBackup version matching your MySQL version.
MySQL 5.7
wget https://downloads.percona.com/downloads/Percona-XtraBackup-2.4/Percona-XtraBackup-2.4.29/binary/redhat/8/x86_64/percona-xtrabackup-24-2.4.29-1.el8.x86_64.rpm
yum localinstall percona-xtrabackup-24-2.4.29-1.el8.x86_64.rpm
MySQL 8.0
wget https://downloads.percona.com/downloads/Percona-XtraBackup-8.0/Percona-XtraBackup-8.0.35-31/binary/redhat/8/x86_64/percona-xtrabackup-80-8.0.35-31.1.el8.x86_64.rpm
yum localinstall percona-xtrabackup-80-8.0.35-31.1.el8.x86_64.rpm
Step 2: Install MySQL Backup Helper
Prerequisites
-
If Golang is not installed, run the following command.
sudo yum install -y go -
If unzip is not installed, run the following command.
sudo yum install -y unzip
The preceding commands are for CentOS. If you are using Ubuntu, see Appendix 2: Install Golang and Unzip on Ubuntu.
Procedure
-
Download the MySQL Backup Helper source code package.
wget https://github.com/aliyun/mysql-backup-helper/archive/refs/heads/master.zipNoteThe latest source code package is available at mysql-backup-helper.
-
Unzip the MySQL Backup Helper source code package.
unzip master.zip -
Change to the mysql-backup-helper-master directory and compile the main.go file to generate the backup_helper executable.
cd mysql-backup-helper-master go build -a -o backup_helper main.go -
Change to the oss_stream directory and compile the oss_stream.go file to generate the oss_stream executable.
cd oss_stream
go build -a -o oss_stream oss_stream.go
Step 3: Back up and upload your database
-
Use MySQL Backup Helper to verify that your self-managed MySQL database supports backups.
cd ~/mysql-backup-helper-master && ./backup_helper -host <host_address> -port <port> -user <root_username> --password <root_password>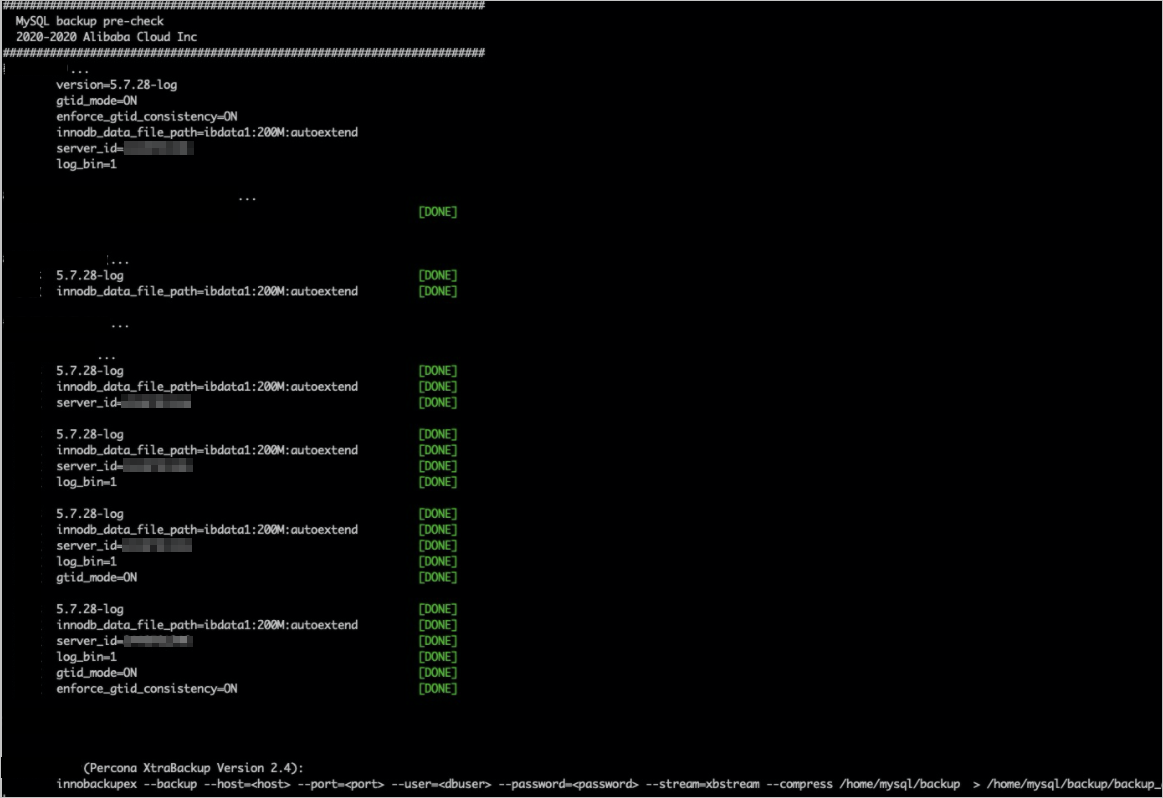
-
After verification, perform a full backup of the self-managed database and upload the backup file to OSS. If you have not created an OSS bucket, see Prerequisites.
Select the command that corresponds to your MySQL version.
MySQL 5.7
innobackupex --backup --host=<host_address> --port=<port> --user=<root_username> --password=<root_password> --stream=xbstream --compress <temp_backup_directory> | ./mysql-backup-helper-master/oss_stream/oss_stream -accessKeyId <access_key_id> -accessKeySecret <access_key_secret> -bucketName <bucket_name> -endpoint <bucket_endpoint> -objectName <custom_backup_filename>Example:
innobackupex --backup --host=127.0.0.1 --port=3306 --user=root --password=Aa123456@ --stream=xbstream --compress /root/mysql/data | ./mysql-backup-helper-master/oss_stream/oss_stream -accessKeyId LTAI**************** -accessKeySecret ****** -bucketName test -endpoint oss-********.aliyuncs.com -objectName backup_qp.xbBackups take longer for larger databases. If your database is large, run the backup in the background by using the
nohupcommand to prevent interruptions from an unexpected logout. The following command is an example:nohup sh -c 'innobackupex --backup --host=127.0.0.1 --port=3306 --user=root --password=Aa123456@ --stream=xbstream --compress /root/mysql/data | ./mysql-backup-helper-master/oss_stream/oss_stream -accessKeyId LTAI**************** -accessKeySecret ****** -bucketName test -endpoint oss-ap-southeast-1.aliyuncs.com -objectName backup_qp.xb' &MySQL 8.0
xtrabackup --backup --host=<host_address> --port=<port> --user=<root_username> --password=<root_password> --stream=xbstream --compress <temp_backup_directory> | ./mysql-backup-helper-master/oss_stream/oss_stream -accessKeyId <access_key_id> -accessKeySecret <access_key_secret> -bucketName <bucket_name> -endpoint <bucket_endpoint> -objectName <custom_backup_filename>Example:
xtrabackup --backup --host=127.0.0.1 --port=3306 --user=root --password=Aa123456@ --stream=xbstream --compress /root/mysql/data | ./mysql-backup-helper-master/oss_stream/oss_stream -accessKeyId LTAI**************** -accessKeySecret ******** -bucketName test -endpoint oss-****.aliyuncs.com -objectName backup_qp.xbBackups take longer for larger databases. If your database is large, run the backup in the background by using the
nohupcommand to prevent interruptions from an unexpected logout. The following command is an example:nohup sh -c 'xtrabackup --backup --host=127.0.0.1 --port=3306 --user=root --password=Aa123456@ --stream=xbstream /root/mysql/data | ./mysql-backup-helper-master/oss_stream/oss_stream -accessKeyId LTAI**************** -accessKeySecret ****** -bucketName test -endpoint oss-ap-southeast-1.aliyuncs.com -objectName backup_qp.xb' &Note-
Backup duration depends on the instance workload. For example, heavy write operations that generate many redo logs, or large transactions running on the instance, increase backup time. When the backup is complete,
completed OK !is displayed. -
If you cannot currently access OSS, you can back up the database to a local disk and upload the file later. For details, see Appendix 3: Perform a full backup and upload to OSS in separate steps.
-
After completing this step, you can log in to the OSS console to confirm the upload. If the upload failed, repeat Step 2.
-
-
Log in to the RDS instance list, select a region in the upper-left corner of the page, and then click Backups in the left-side navigation pane.
-
On the User Backups tab, click Import Backup.
-
In the Import Backup dialog box, read the instructions and click Next until you reach the 3. Import Data tab.
NoteThe wizard guides you through the backup import process. For more information, see Perform a full backup and upload to OSS in separate steps.
-
Step 1. Back Up Source Database: Perform a full backup of your self-managed database.
-
2. Upload Backup Files to OSS: Upload the full backup file to OSS.
-
-
On the Step 3: Import the data tab, configure the following parameters and click OK.
Parameter
Description
MySQL Version
The system automatically displays 5.7/8.0.
NoteYou can import backups only from self-managed databases that run MySQL 5.7 or 8.0.
Region
The region selected in Step 1. This region must match the region of the OSS bucket that contains the backup file.
OSS Bucket
Select the OSS bucket that contains the backup file. For more information about OSS buckets, see Upload files.
OSS File Name
Select the backup file from the OSS bucket. You can search for the file by entering its name in the text box next to OSS File Name. Both fuzzy and exact matching are supported.
NoteThe backup file in OSS must be in the
_QP.XBformat. You can also compress a file in the_QP.XBformat into aTAR.GZfile for storage. For more information about the limitations, see Appendix: Usage limits.Description
Enter custom remarks for the backup file.
Zone
Select the availability zone for the user backup. After you select one, the system creates a snapshot in that zone, which significantly reduces the backup import time.
NoteWhen you restore data from this user backup to a new instance, the new instance will be in this availability zone.
Note-
If you have not authorized RDS to access OSS, click Authorize at the bottom of the 3. Import Data page. On the authorization page, click Authorize.
-
For more information about importing backups, read the instructions on this page.
-
-
The system creates a verification task for the backup file on the User Backups page. Wait for the Status of the task to change from Verifying to Completed.
ImportantVerification time depends on the source instance state during the backup. For example, heavy write operations that generate many redo logs, or large transactions running on the source instance, increase verification time.
-
Find the target backup and click Restore in the Actions column for the Backup ID/Name.
-
Configure the following parameters and click Next: Instance Configurations.
Category
Description
Zone of Primary Node
Select the availability zone for the primary instance.
NoteThis parameter appears only if you did not select an availability zone when importing the user backup.
Storage Type
-
ESSD PL1: An Enhanced SSD (ESSD) cloud disk that provides PL1 performance.
-
Standard SSD: An elastic block storage device based on a distributed storage architecture. Selecting an SSD cloud disk separates compute from storage.
NoteFor more information, see Storage types.
Instance Type
General-purpose (Entry-level): Provides dedicated memory and I/O resources while sharing CPU and storage resources with other general-purpose instances on the same server.
NoteEach instance type has a specific number of CPU cores, memory size, maximum number of connections, and maximum IOPS. For more information, see Primary instance types.
Storage Capacity
The total space for data, system files, log files, and transaction files. You can adjust the storage space in 5 GB increments.
-
-
Configure the following parameters and click Next: Confirm Order.
Category
Description
Network Type
VPC: An isolated network environment that provides higher security and performance than the classic network. You must specify a VPC and a vSwitch of Primary Node.
NoteEnsure the VPC is the same one used by the target ECS instance. Otherwise, the RDS and ECS instances cannot communicate over the internal network.
Parameter Template
Specify a parameter template for the instance. You can use system templates or custom templates to preset instance parameters. For more information, see Use a parameter template.
Time Zone
Set the time zone for the instance.
Table Name Case Sensitivity
Specify whether table names in the instance are case-sensitive. If table names in your source database are case-sensitive, select Case-sensitive to facilitate data migration.
-
Review the Parameter Configuration, select the Quantity, read and accept the terms of service, and then click Pay Now.
NoteInstance creation takes 1 to 5 minutes.
Operations
Set retention period
Imported user backups are retained for 3 days by default. You can change this retention period based on your business needs.
If you no longer need a user backup, you can delete it.
-
Log on to the RDS Instance List. In the upper-left corner of the page, select a region. In the left-side navigation pane, click Backups.
-
Click Set Retention Period in the Expiration Time column of the target Backup ID/Name.
-
In the dialog box, select a preset retention period from the drop-down list, or select the Custom Retention Period checkbox and enter a value.
NoteExpiration Time shows the backup's expiration time. If the expiration time is after 2099, it is displayed as Permanent.
-
Click OK.
Add tags
You can add tags to your imported backups for easier management.
-
Log on to the RDS Instance List. In the upper-left corner of the page, select a region. In the left-side navigation pane, click Backups.
-
Click +Add in the Tags column for the target Backup ID/Name.
-
Click Create a label, enter a Key and a Value, and click OK to the right of the text box. Then, click OK in the lower-right corner of the dialog box.
NoteIf you have already created tags, you can click Select the label to add an existing tag.
-
To change an existing tag, hover over it, click edit in the pop-up, and then repeat Step 3.
View log details
If the source database is modified during a self-managed database backup, the backup file contains log information that can be used to restore incremental data.
-
Log on to the RDS Instance List. In the upper-left corner of the page, select a region. In the left-side navigation pane, click Backups.
-
Click View Details in the Actions column of the target Backup ID.
-
In the dialog box, you can view the log details.
NoteThe log information includes the following fields:
-
Master_Log_File:: The name of the log file where the incremental data begins.
-
Master_Log_Position:: The starting position of the incremental data within the log file.
-
Delete user backup
Delete user backups that you no longer need to save costs.
-
Log on to the RDS Instance List. In the upper-left corner of the page, select a region. In the left-side navigation pane, click Backups.
-
Click Delete in the Actions column of the target Backup ID/Name.
-
In the dialog box, click OK.
Other operations
-
Filter Columns: Customize which columns appear in the backup list.
-
Log on to the RDS Instance List. In the upper-left corner of the page, select a region. In the left-side navigation pane, click Backups.
-
On the right side of the page, click the
 icon. In the pop-up window, select a column and click the
  or
or  icon to show or hide the column.Note
Columns in the left pane are hidden. Columns in the right pane are displayed.
-
Click OK.
-
-
Export Instance List: Export a list of all current user backups to a CSV file.
-
Log on to the RDS Instance List. In the upper-left corner of the page, select a region. In the left-side navigation pane, click Backups.
-
On the right side of the page, click the
 icon to export the resource list.
-
-
Refresh: Refreshes the user backup list.
-
Log on to the RDS Instance List. In the upper-left corner of the page, select a region. In the left-side navigation pane, click Backups.
-
On the right side of the page, click the
 icon to refresh the user backup list.
-