Configure an order details table structure to import your order data for audience filtering and RFM analysis.
With order details imported, you can filter audiences and generate custom tags such as RFM models, and Preference Tags. RFM models can be used for RFM Analysis and Audience Filtering.
Prerequisites
Your order details table is stored in the Computing Source you configured. For data format requirements, see .
All user ID types in your order details table exist in the ID Type List.
If the user ID field is AES-encrypted, enter the decryption key in the Organization System Configuration before pushing or using the data.
Configure the order details table
Choose Workspace> Configuration Management > Data Import > Data Import > Table Structure Configuration.

In the upper-right corner, choose Create Table Configuration > Order Details. The Create Order Details page appears.
-
Select the computing source and data table to import.
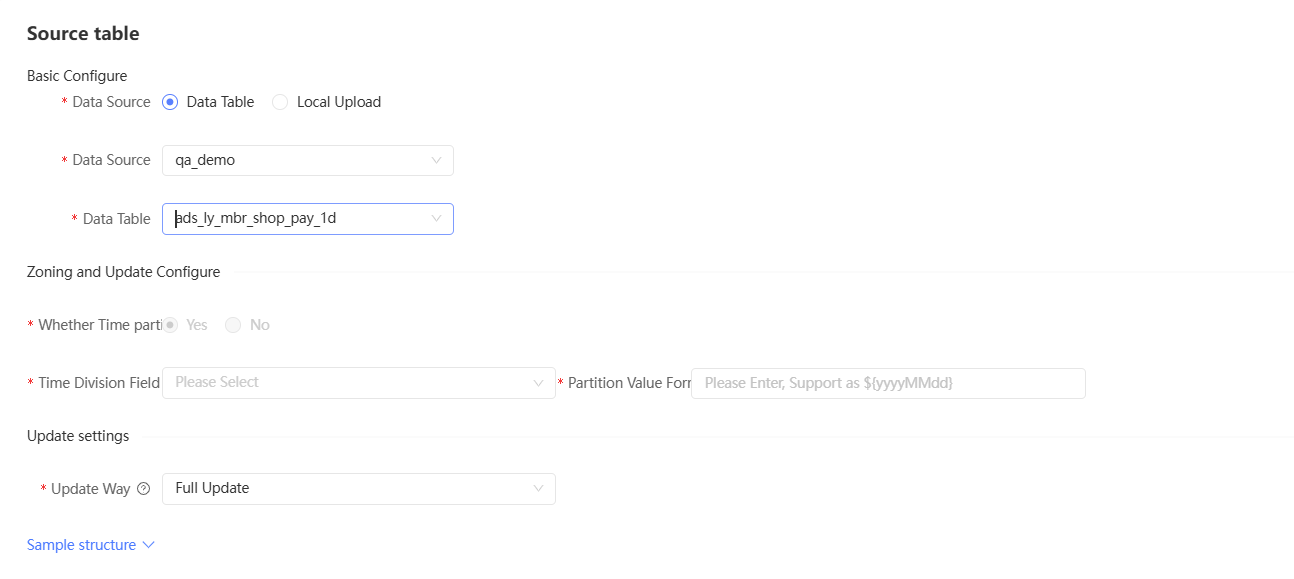
The data table can be a table or a view.
-
If you select a table, the system automatically detects whether it contains time partitions.
-
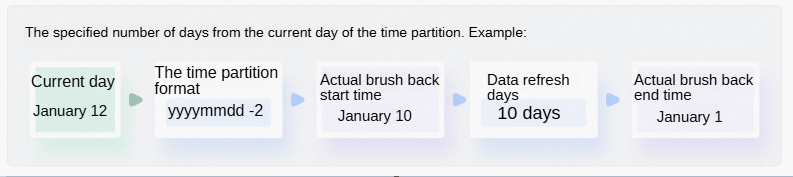
If the table contains time partitions, select the Time Partition field and enter the partition value format. The following figure shows the supported formats.

Select an update mode:
Incremental update: Preserves historical data before each update and writes new data to a new partition. Set whether to pull historical data on the first run, and specify the number of days for data refresh.
Full update: Clears all historical data before each update. No partitions are created.
If the table does not contain time partitions, no partition selection is needed. Full update is applied automatically.
-
If you select a view, manually specify whether to include time partitions. The remaining configuration is the same as for tables — see the preceding steps.
If the current account lacks read permission on the selected table, an error appears as shown below. Grant the Quick Audience account read permission on the data table in your MaxCompute project. Click Authorize SQL to get the authorization statement. After authorization, click Update to continue.
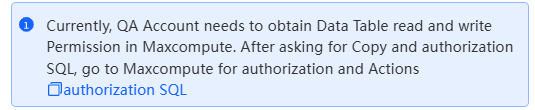
-
-
Enter a data table alias.
NoteThe alias is used when selecting order details in the RFM model and on other pages.
-
In the quick field selection area, map the required fields. You can also map fields in the field list below.
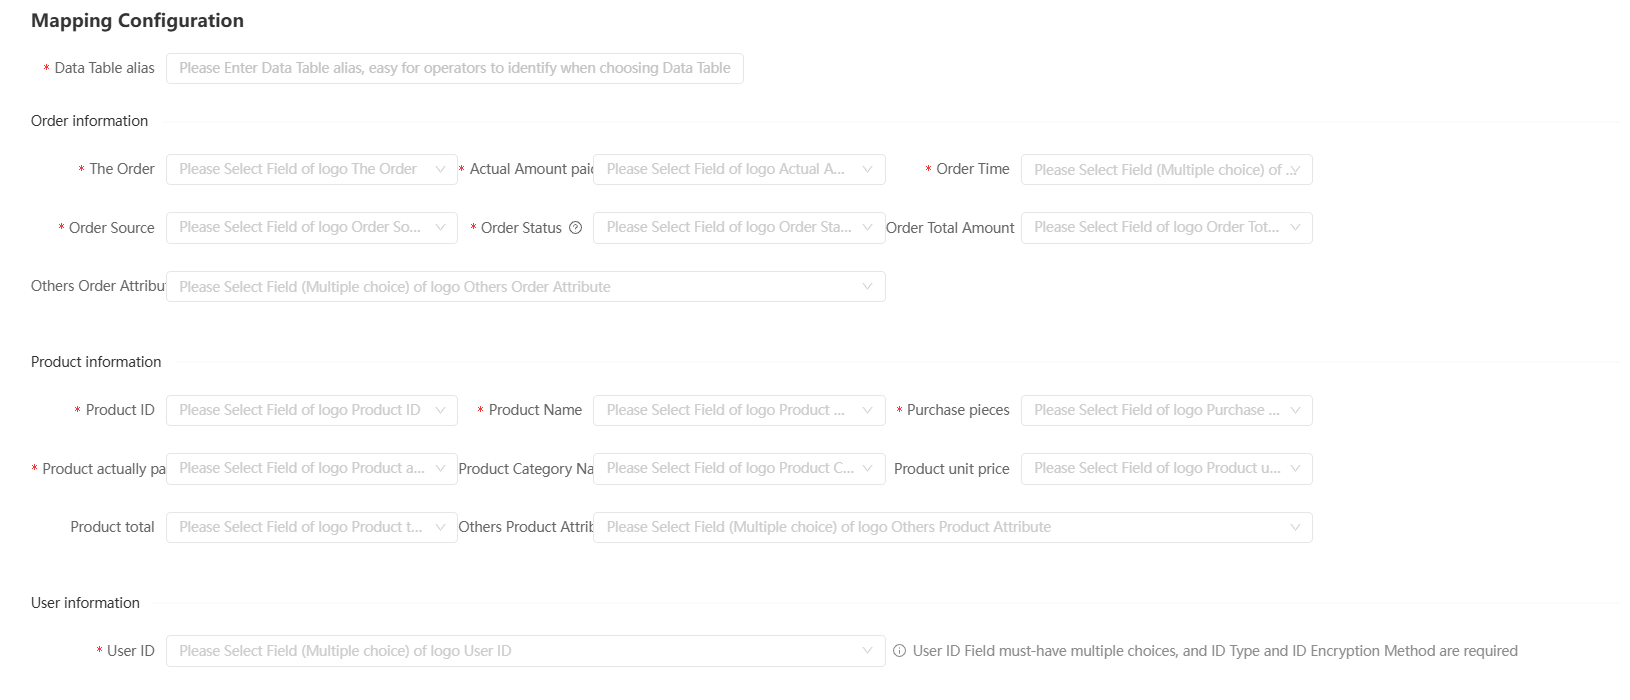
Select the order-level fields: order number, actual payment amount, order time, order source, and order status.
Select the order-item-level fields: order ID, product name, number of purchases, and actual payment amount.
Select the User ID field. Multiple user IDs can be selected. For each, set the ID type and ID encryption method to enable push data banks and send marketing messages.
-
In the field list, review and adjust field settings:

Turn off the Import switch for fields that do not need to be imported. Disabled fields are excluded from all applications but can be re-enabled during editing.
Set the field alias, field type, and field classification for each field to import. For user ID fields, also set the ID type and ID encryption method.
Click Complete to save the table structure configuration.
After configuring the table structure, set up a scheduling task to import data. For more information, see Scheduling Task. To manage table structures, see Table structure configuration management.