Register container images from ACR or build new images in PAI for training jobs.
Prerequisites
-
Alibaba Cloud account: Activate PAI and create a workspace.
-
ACR setup: For Enterprise Edition images, create an ACR Enterprise Edition instance with a namespace and repository.
-
Permissions:
-
Alibaba Cloud accounts have all permissions.
-
RAM users must be workspace members with assigned roles. See Manage workspace members and roles.
-
Methods
PAI provides two methods for adding custom images:
|
Method |
Use case |
Complexity |
|
Import existing image |
Reuse existing images |
Medium—manual ACR setup required |
|
Build new image |
Create images from scratch in PAI |
Low—one-stop workflow |
-
Import existing image: Build an image locally or on ECS, push to ACR, and register in PAI.
-
Build new image: Configure ACR destination, runtime, and build settings in PAI console. PAI builds, pushes, and registers the image automatically.
Import an existing image
Register an image pushed to ACR.
Procedure
-
Open the PAI console and select your workspace.
-
Navigate to AI Asset Management > Images.
-
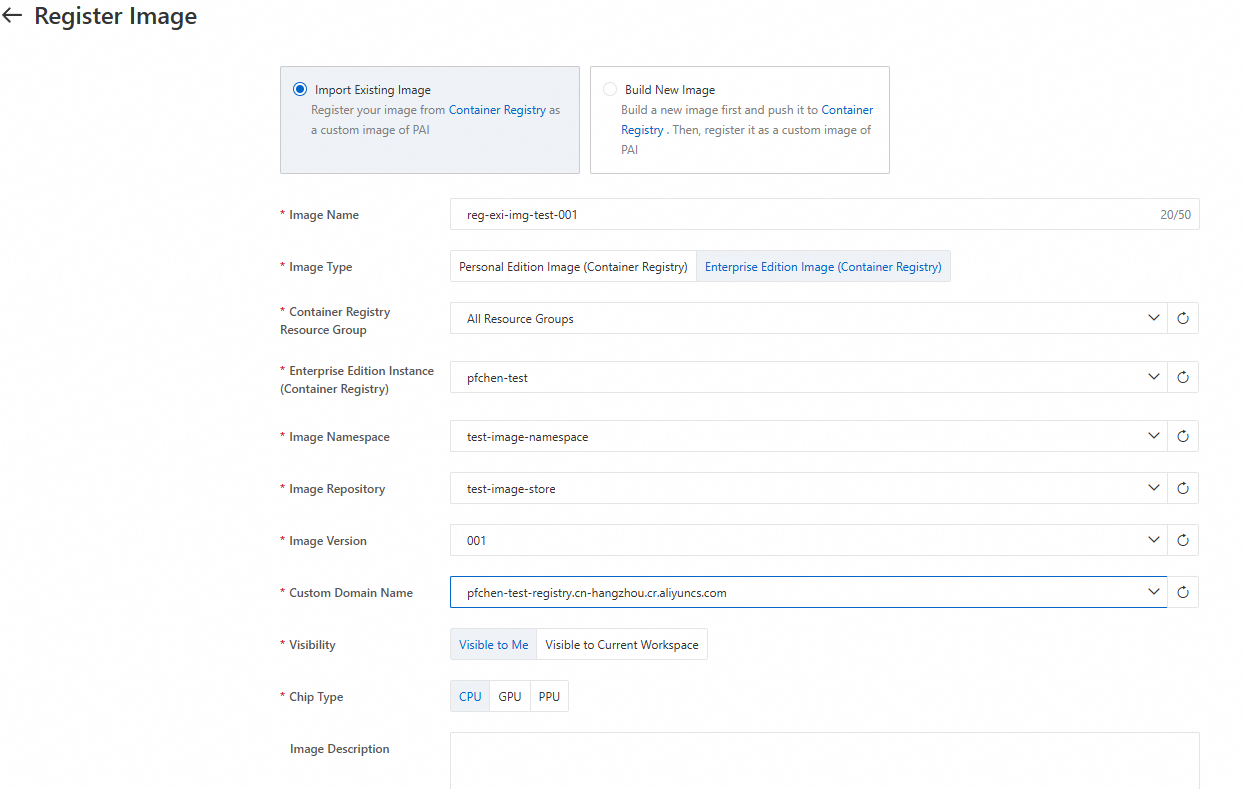
On the Custom Image tab, click Register Image, and select Import Existing Image.
-
Configure parameters:
|
Parameter |
Description |
|
Image Type |
|
|
Enterprise Edition Instance / Namespace / Repository / Version / Custom Domain Name |
Select an instance, namespace, repository, version, and custom domain name. To create these resources, go to the Container Registry console. Note
|
|
Visibility |
|
|
Chip Type |
Select CPU or GPU to match your target hardware. |
-
Click Confirm to register the image.
Build a new image
Build a custom image in PAI. Only Enterprise Edition images can be built.
Procedure
-
Open the PAI console and select your workspace.
-
Navigate to AI Asset Management > Images.
-
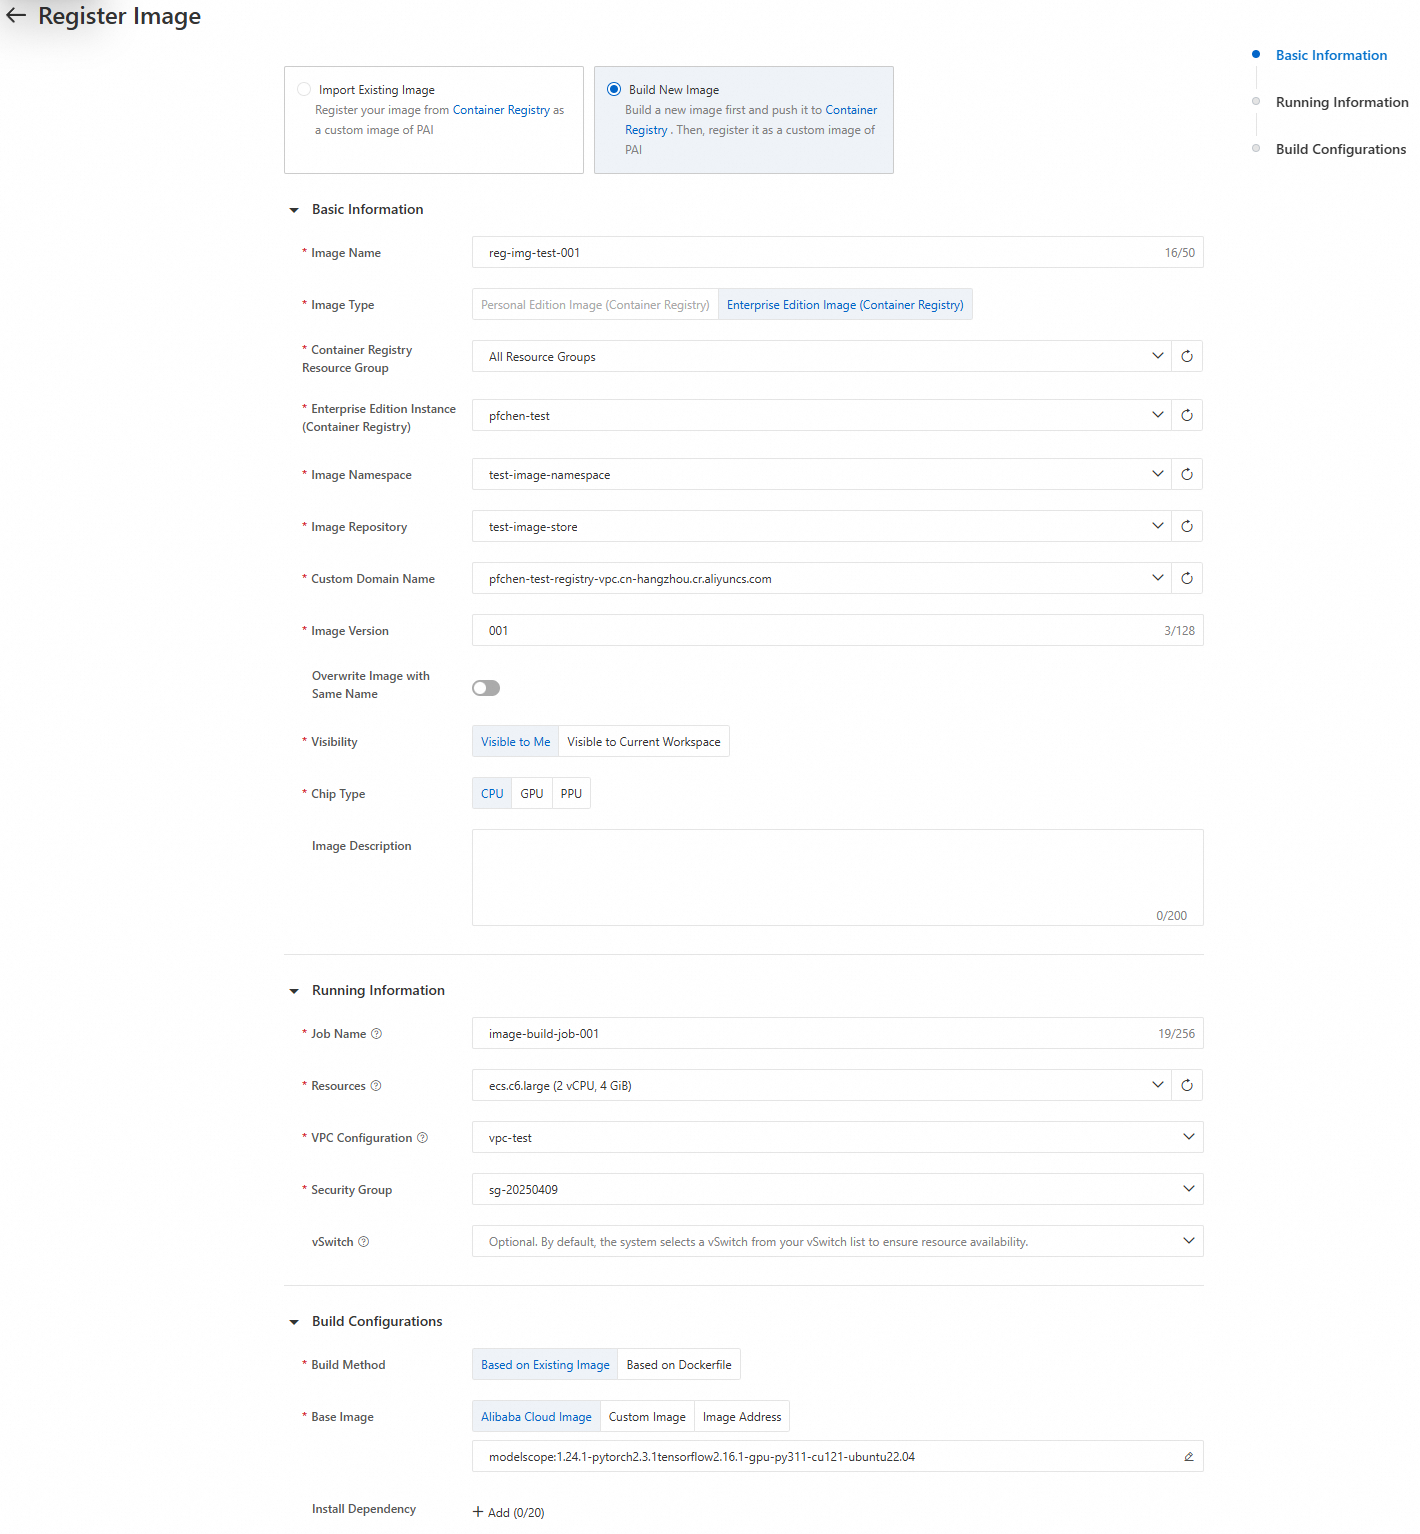
On the Custom Image tab, click Register Image, and select Build New Image.
-
Configure parameters in Basic Information:
|
Parameter |
Description |
|
Basic Information |
|
|
Image Type |
Only Enterprise Edition images can be built. See What is Container Registry (ACR)?. |
|
Enterprise Edition Instance / Namespace / Repository / Custom Domain Name |
Select an instance, namespace, repository, and custom domain name. To create these resources, go to the Container Registry console. Note
If permission errors occur, grant |
|
Visibility |
|
|
Chip Type |
Select CPU or GPU to match your target hardware. |
|
Runtime Information |
|
|
Resources |
Compute resources for the build. Use higher specifications for Dockerfiles with compilation steps. |
|
VPC Configuration / Security Group |
VPC bound to your Enterprise Edition instance and security group. Note
For public internet access to download dependencies, create an Internet NAT gateway, attach an EIP, and configure SNAT rules. See Use a dedicated gateway to improve public network access speed. |
|
Build Configuration |
|
|
Build Method |
|
-
Configure Runtime Information.
-
Configure Build Configuration and select build method.
-
Click Confirm to start the build.
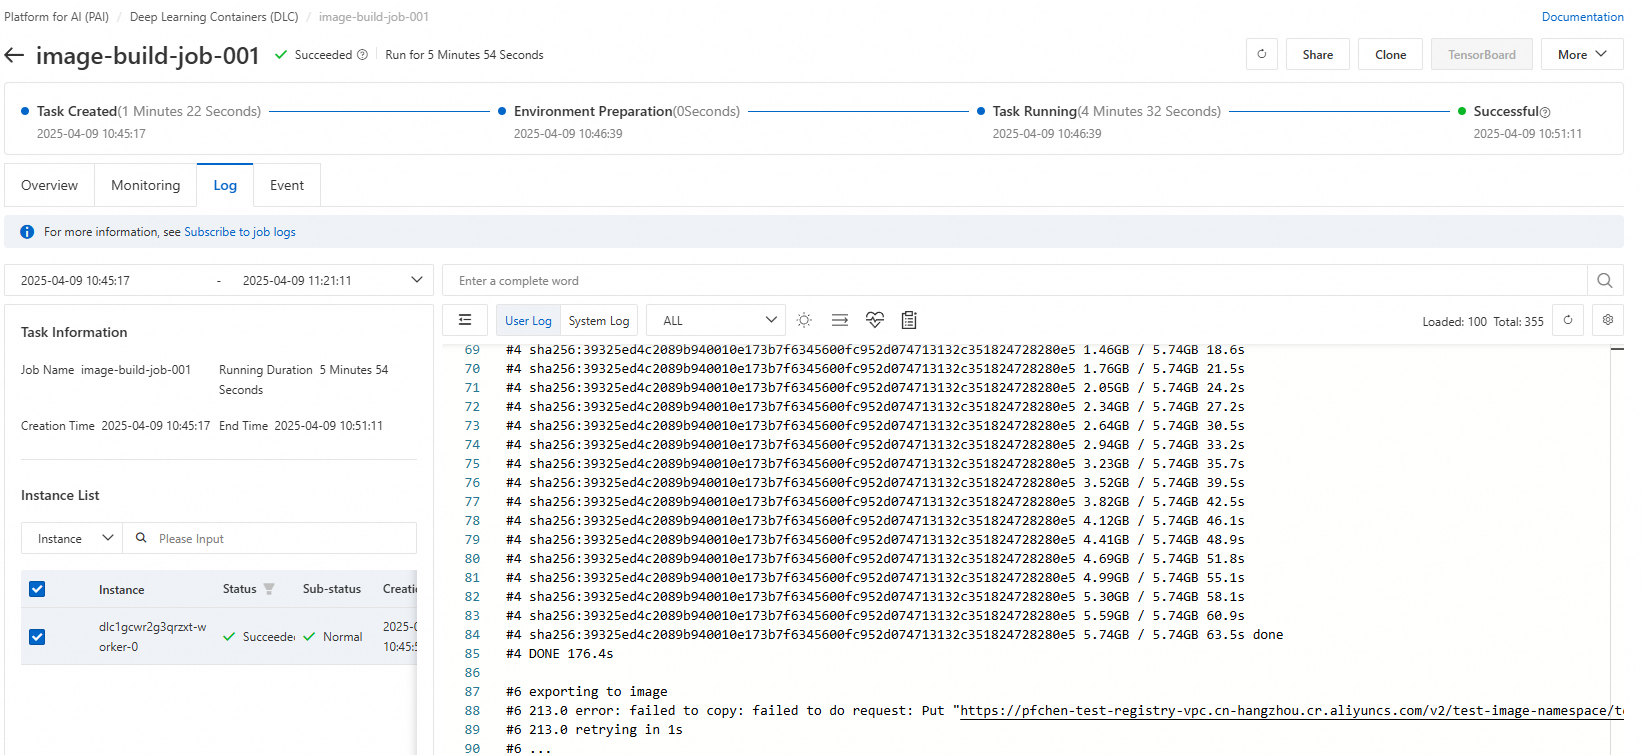
Monitor build jobs
Track progress and troubleshoot build issues.
-
On the Custom Image tab, click View Jobs.
-
Locate your build and check the status.

-
Click View Log to see the build output and debug issues.
-
Click View Monitoring to see the resource utilization for the build job.
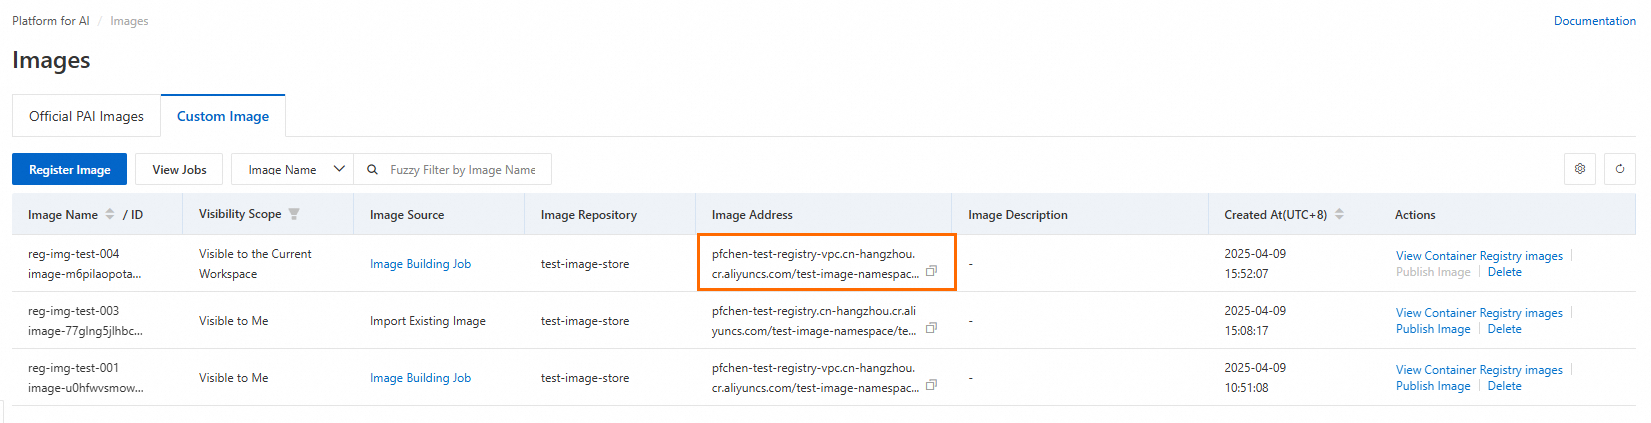
Use custom images
Use registered custom images for training jobs.
-
On the Custom Image tab, locate your image and copy the registry address.
-
Use this address when creating training jobs. See Create a training job.