Machine Learning Designer lets you build visual ML pipelines by dragging components onto a canvas. If your training code is stored in an Object Storage Service (OSS) bucket, you can wrap it as a custom algorithm component and reuse it across pipelines — without rewriting the execution logic each time. This topic walks through creating a PyTorch-based custom component and using it in a pipeline.
Limits
Custom components run only on the public resource group of general computing resources in Machine Learning Designer.
Prerequisites
Before you begin, ensure that you have:
Execution code uploaded to an OSS bucket. See Upload objects for instructions.
The sample files used in this topic: main.py and requirements.txt.
Create and use a custom PyTorch component
Step 1: Create the component
On the Create Component page, configure a PyTorch-based component. For the full creation flow, see Create a custom component.
Execution configuration
Configure the execution environment on the Execution Configuration tab. 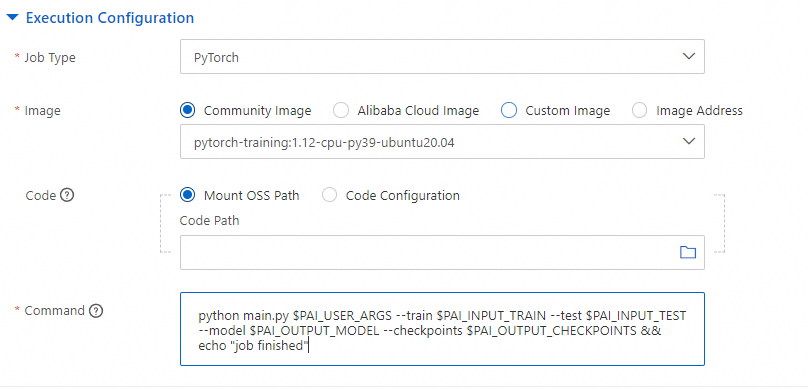
| Parameter | Description |
|---|---|
| Job Type | Select PyTorch. |
| Image | Select Community Image, then select pytorch-training:1.12-cpu-py39-ubuntu20.04 from the drop-down list. |
| Code | Select Mount OSS Path and enter the path to the OSS bucket that contains main.py and requirements.txt. |
| Command | Set the command to python main.py $PAI_USER_ARGS --train $PAI_INPUT_TRAIN --test $PAI_INPUT_TEST --model $PAI_OUTPUT_MODEL --checkpoints $PAI_OUTPUT_CHECKPOINTS && echo "job finished". |
Pipeline and parameter configuration
Define the input/output interfaces and parameters on the Pipeline and Parameter tab. These settings determine the component's ports and configuration pane in the Designer. 
Click the ![]() icon to add each item.
icon to add each item.
Input pipelines
| Name | Source | Required | Description |
|---|---|---|---|
train | OSS | Yes | Training data |
test | OSS | No | Test data |
Output pipelines
| Name | Storage | Required | Description |
|---|---|---|---|
model | OSS | Yes | Model data |
checkpoints | OSS | Yes | Algorithm checkpoints |
Parameters
| Parameter name | Type | Default value | Required |
|---|---|---|---|
param1 | Int | 6 | Yes |
param2 | Float | 0.3 | Yes |
param3 | String | test1 | Yes |
param4 | Bool | true | No |
param5 | Int | 2 | No |
To set constraints on a parameter, click Constraint to the right of its Default Value field and follow the on-screen instructions.
Constraints
Configure instance type restrictions on the Constraints tab. 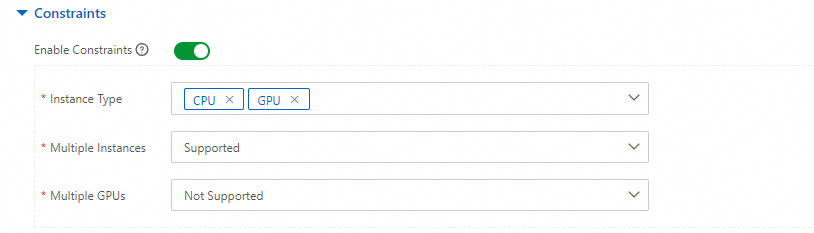
| Parameter | Setting |
|---|---|
| Enable Constraints | Turn on Enable Constraints. |
| Instance Type | Select CPU and GPU. |
| Multiple Instances | Select Supported. |
| Multiple GPUs | Select Not Supported. |
Step 2: Create a blank pipeline
Create a blank pipeline to use as your canvas. See Create a blank pipeline for instructions.
Step 3: Add the component to the pipeline
After the component is created, it appears in the algorithm tree in Machine Learning Designer for the current workspace.
Drag the component from the left-side component list onto the canvas and connect it the same way as built-in components. 
The input and output pipelines you configured become the component's input and output ports. 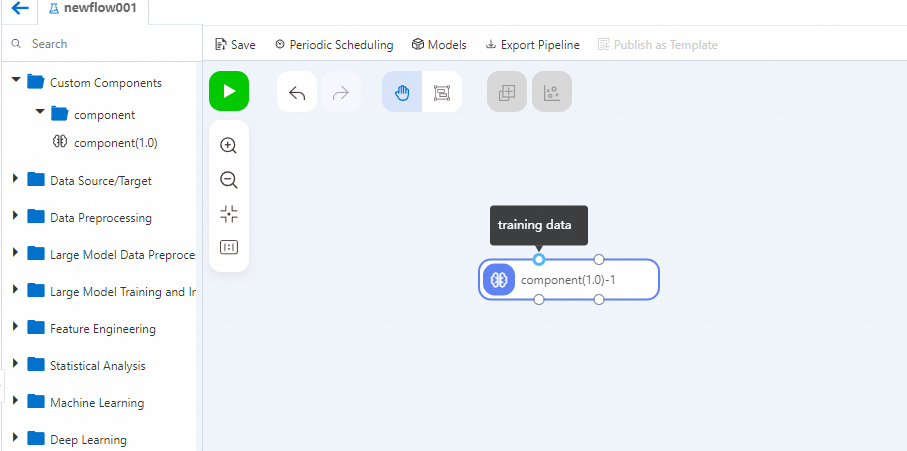
The parameters appear in the right-side configuration pane. 
For each output port, select an OSS path as the output destination. 
The constraints appear as parameters on the Tuning tab of the configuration pane. 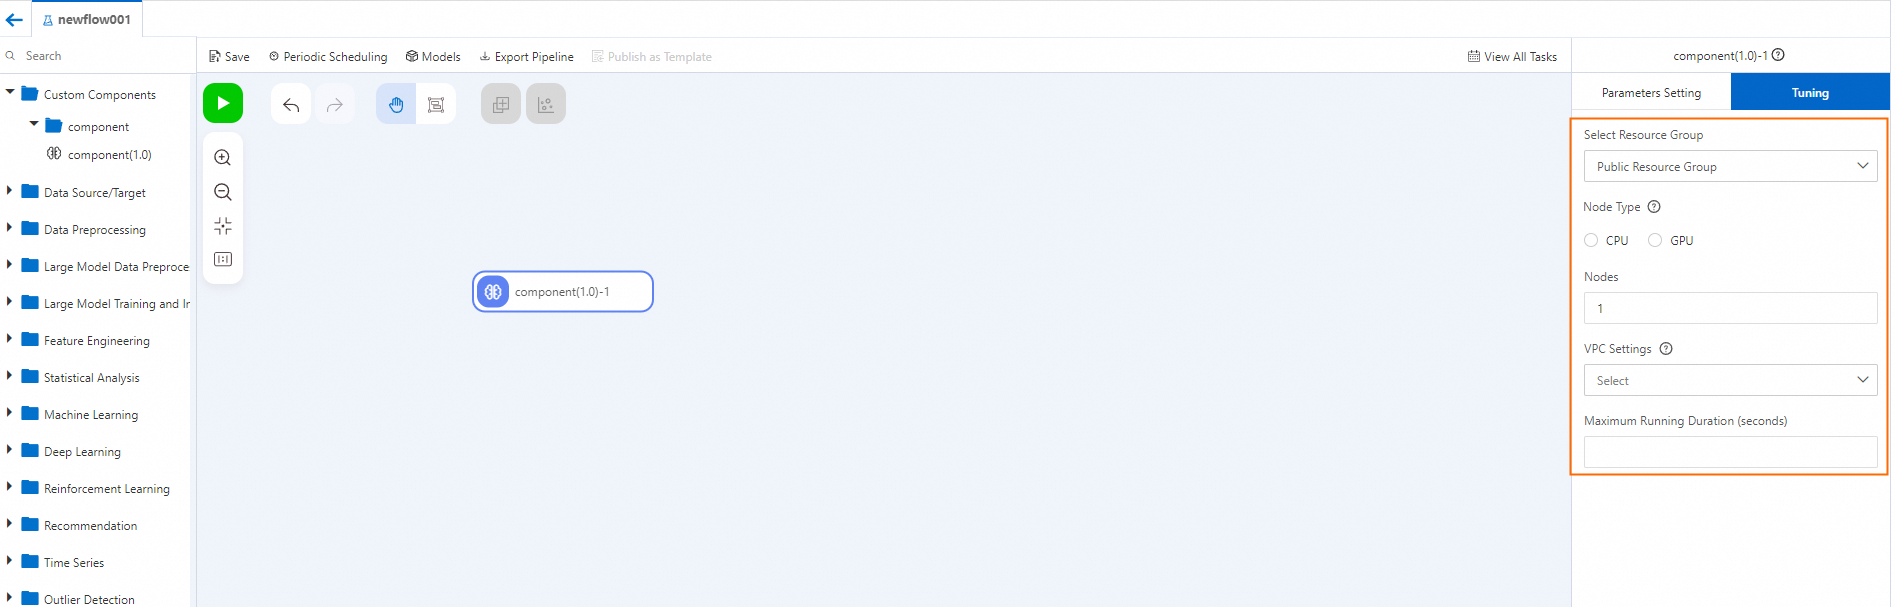
Next steps
If the component no longer meets your requirements, update its configuration or add a new component version on the Custom Components page. See Manage custom components.