Data Science Workshop (DSW) provides a cloud-based IDE for AI development that comes with multiple built-in environments. If you are familiar with Notebook or VS Code, you can quickly start developing models. This topic demonstrates how to develop a model in DSW using the MNIST handwritten digit recognition task.
The MNIST handwritten digit recognition task is one of the most classic introductory tasks in deep learning. The goal is to build a machine learning model to recognize 10 handwritten digits (0 to 9).

Prerequisites
Activate PAI with your Alibaba Cloud account and create a workspace. Log on to the PAI console, select a region in the upper-left corner, and follow the prompts to grant permissions and activate the service.
Billing
This example creates a DSW instance and an Elastic Algorithm Service (EAS) model service using pay-as-you-go public resources. For detailed billing rules, see DSW billing and EAS billing.
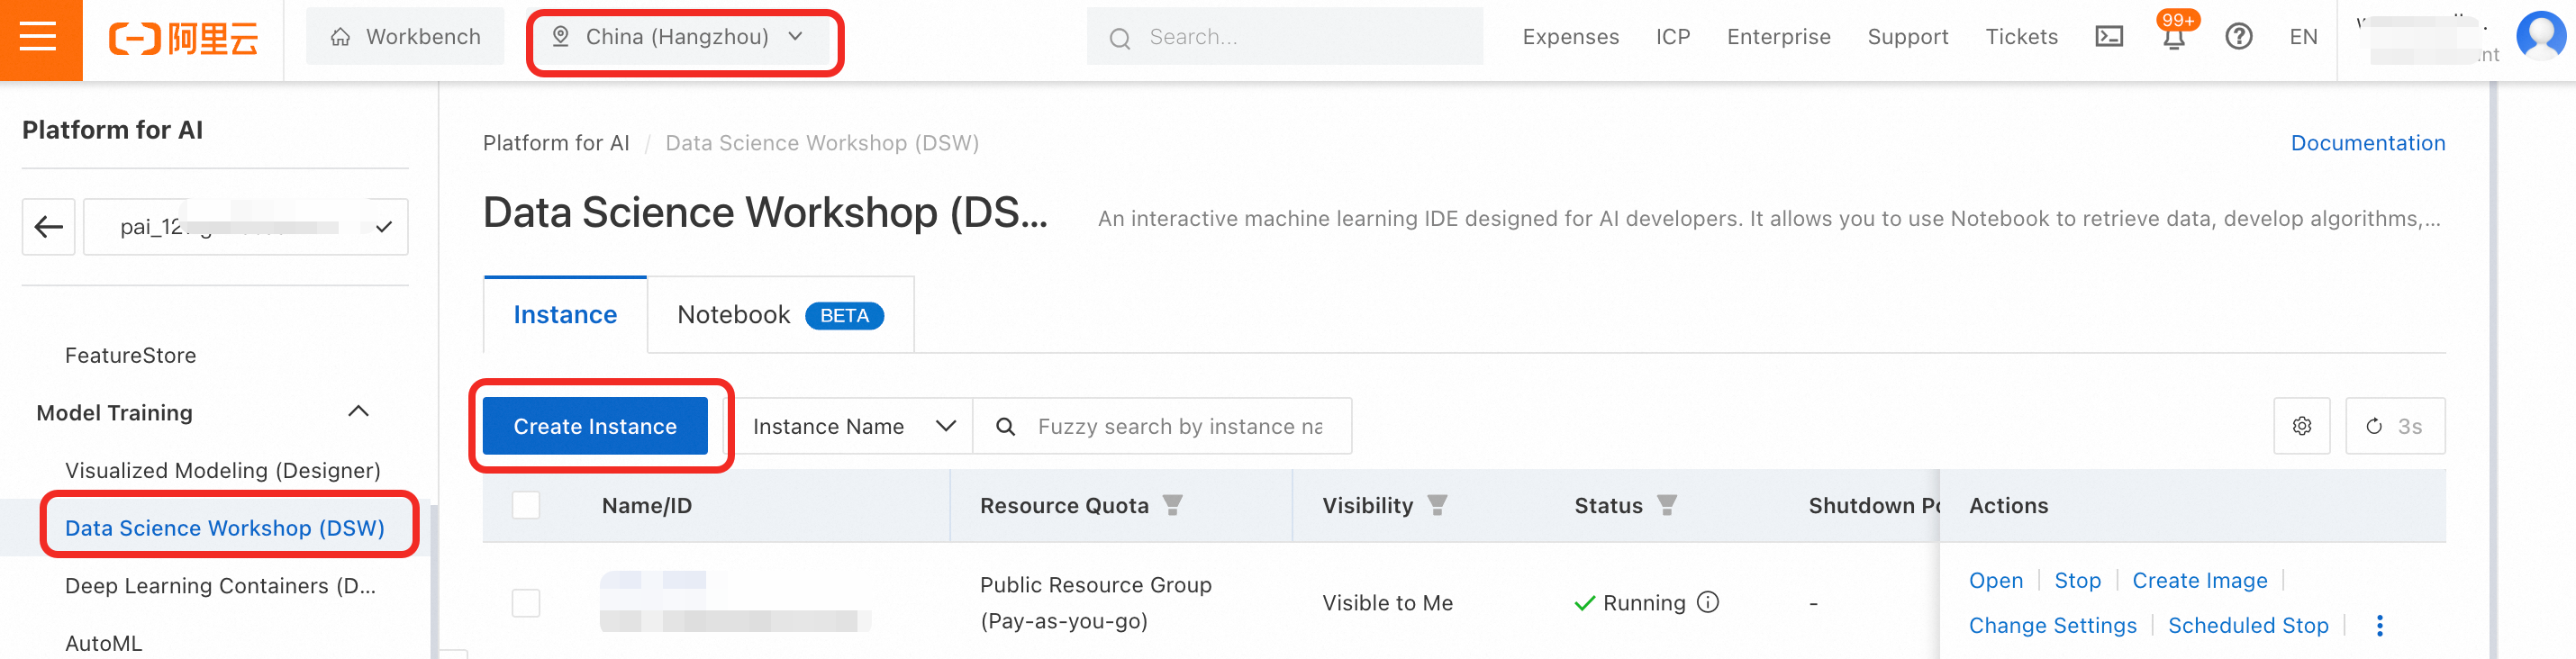
Create a DSW instance
Go to the DSW page.
Log on to the PAI console.
In the upper-left corner of the page, select the target region.
In the left navigation pane, click Workspaces, and then click the name of the workspace that you want to use.
In the left navigation pane, choose , and then click Create an instance..
On the Configure Instance page, configure the following parameters and accept the default values for the rest.
Resource Type: Select Public Resources, which is a pay-as-you-go option.
Instance Type: Select
ecs.gn7i-c8g1.2xlarge.If this instance type is out of stock, you can select another GPU-accelerated instance type.
Image config: Select Alibaba Cloud Image, and then search for and select the following image:
modelscope:1.26.0-pytorch2.6.0-gpu-py311-cu124-ubuntu22.04.To avoid environment issues, use the same image as specified in this topic.
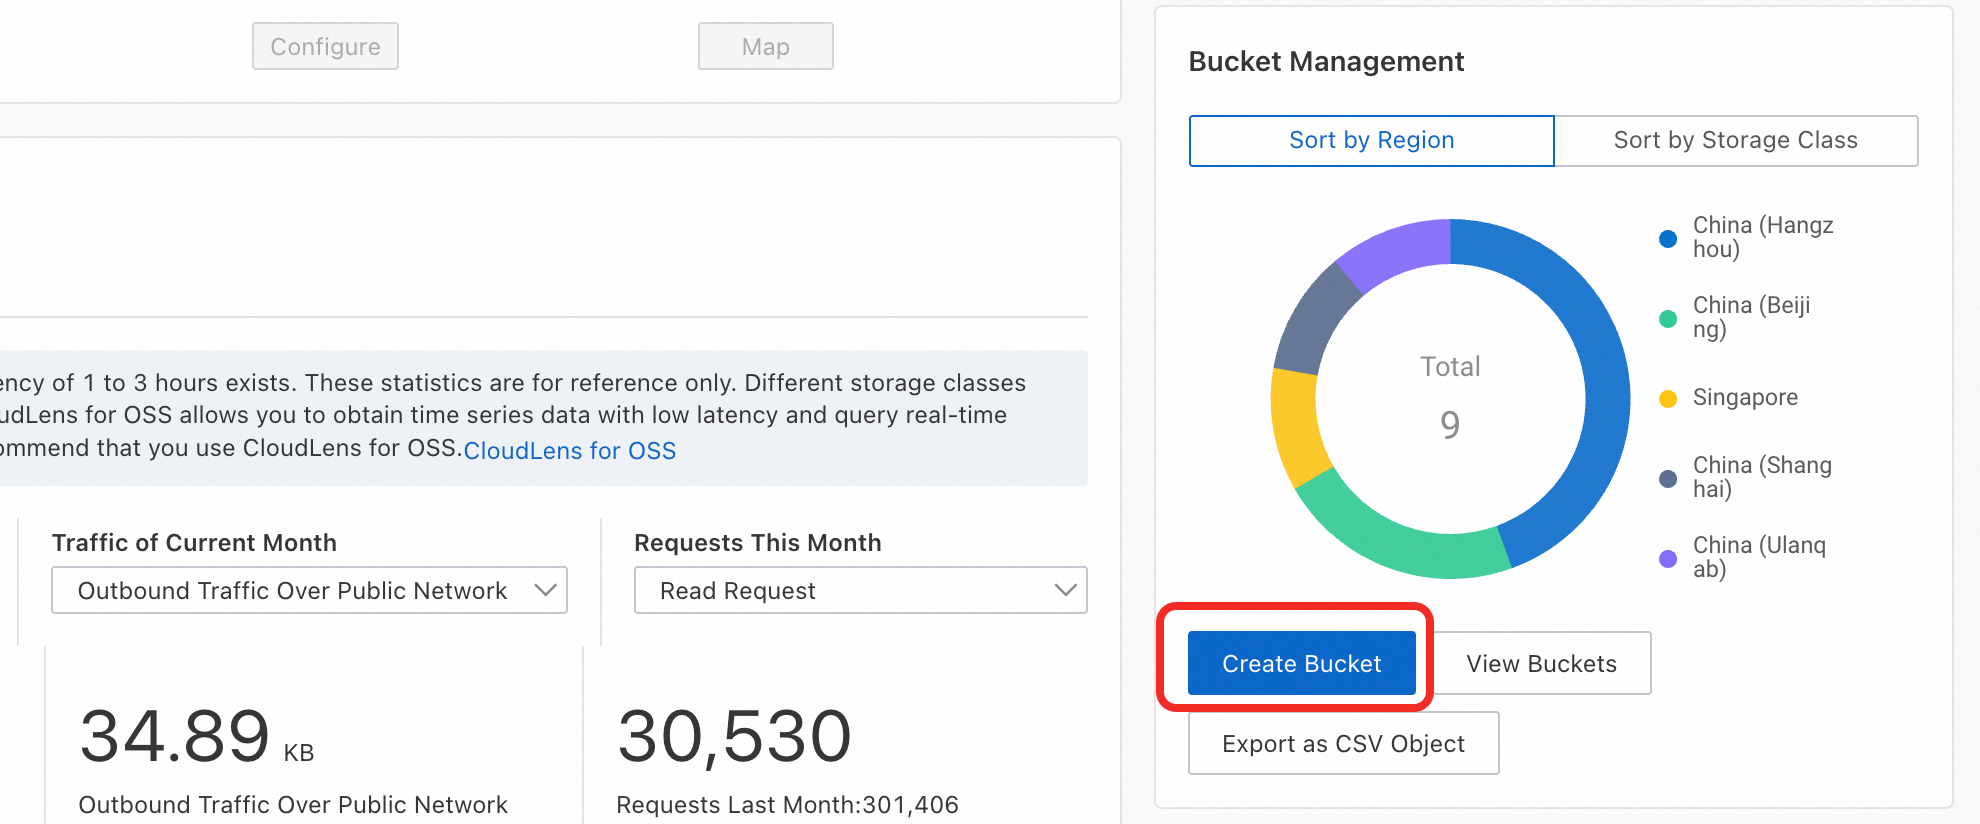
Mount storage: To persistently store model development files, this tutorial uses Object Storage Service (OSS). Click OSS, click the
 icon, select a Bucket, and create a directory such as
 pai_test.If you have not activated OSS or do not have a bucket in the current region, follow these steps to create one:
Log on to the OSS console, click Create Bucket, enter a Bucket Name, select the same Region as your PAI workspace, accept the default values for the other parameters, and then click Create.
URI:
oss://**********oss-cn-hangzhou-internal.aliyuncs.com/pai_test/Mount Path:
/mnt/data/
Click OK to create the DSW instance.
If the instance fails to start, see Create a DSW instance.
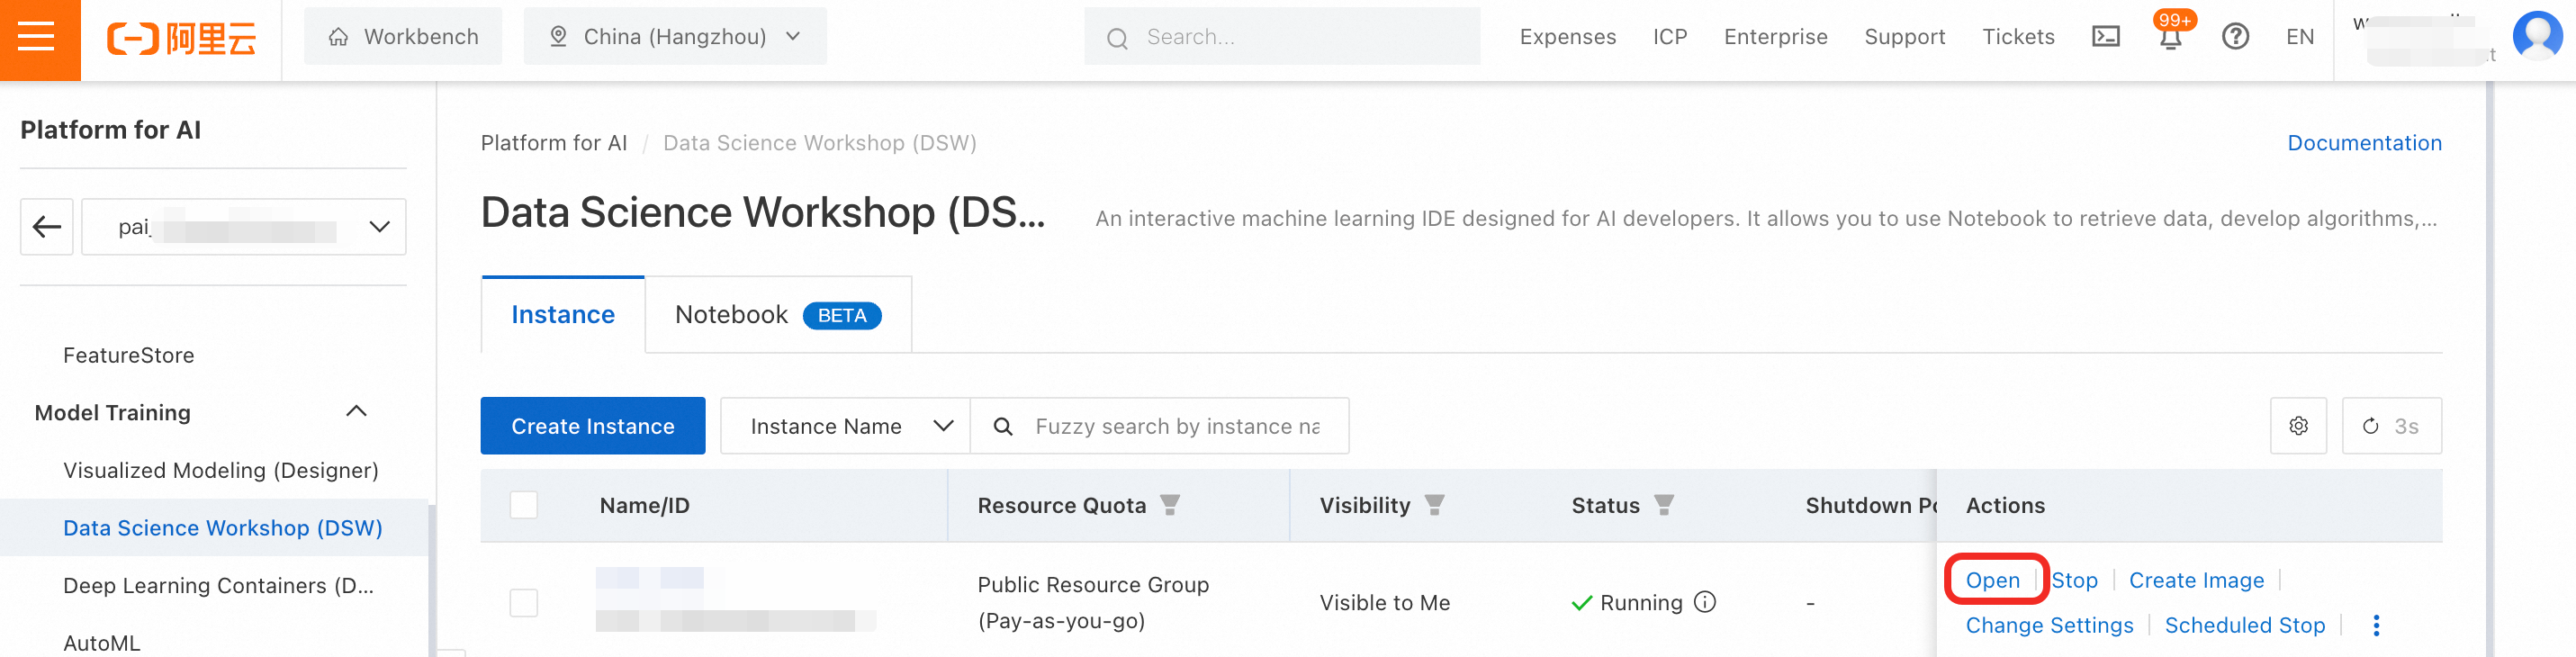
Develop a model in DSW
On the instance list page, click Open to enter the new instance's development environment. Then, on the Launcher page, click Create Notebook.
This topic provides the MNIST training code. You can click mnist.ipynb to download the code, and then click the
 icon in the upper-left corner of the DSW interface to upload the code file.
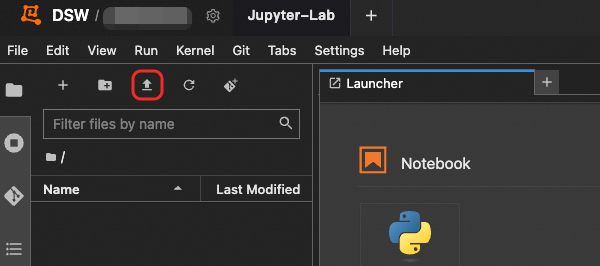
Run the model training code. Open the
mnist.ipynbfile, find the cell that contains the training code, and click the button to run the code. This code automatically downloads the MNIST dataset to the
 dataSetdirectory and saves the best checkpoint after training to theoutputdirectory. The training process takes about 10 minutes.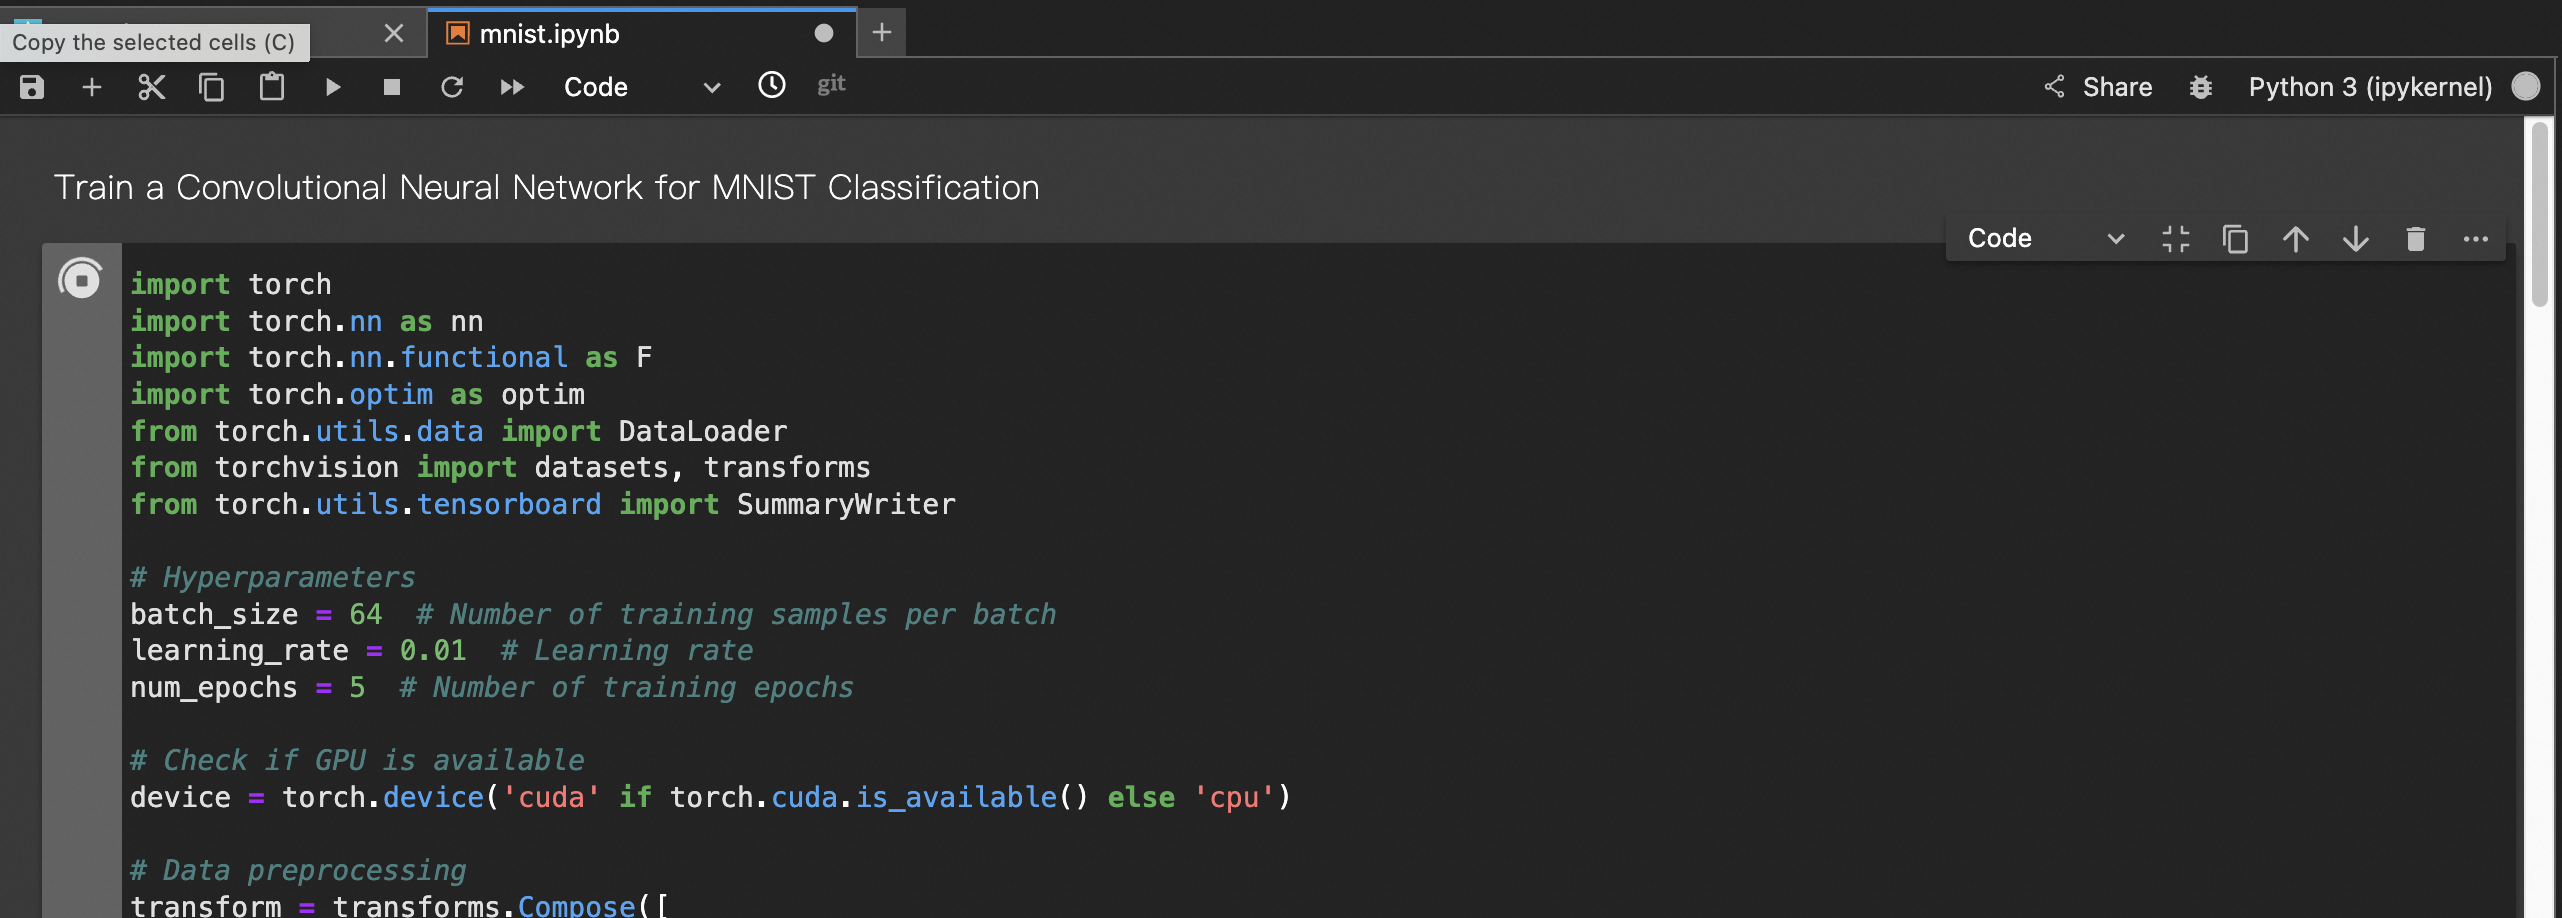
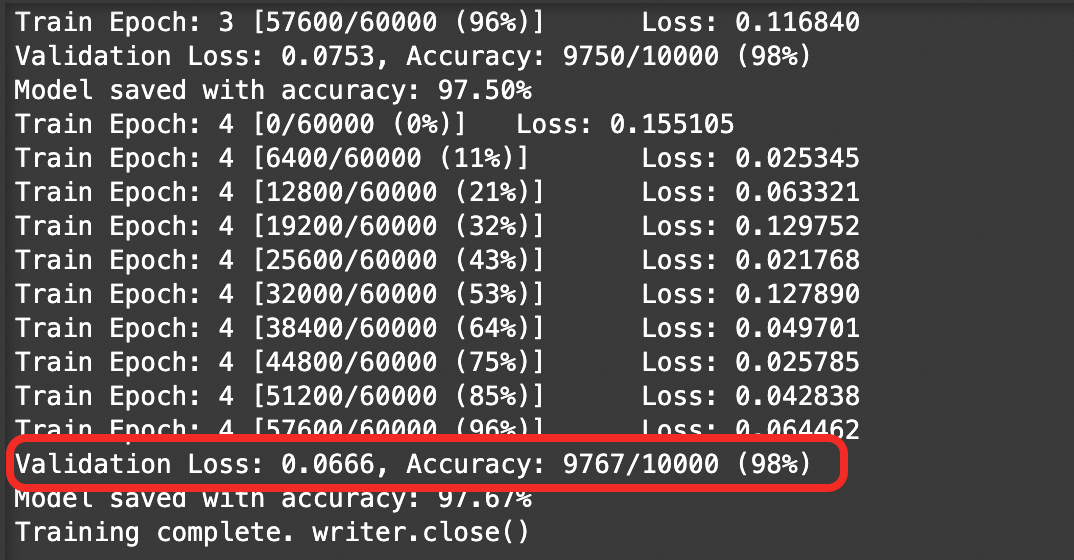
An accuracy of 98% on the validation set indicates that the model is performing well, so you can proceed.
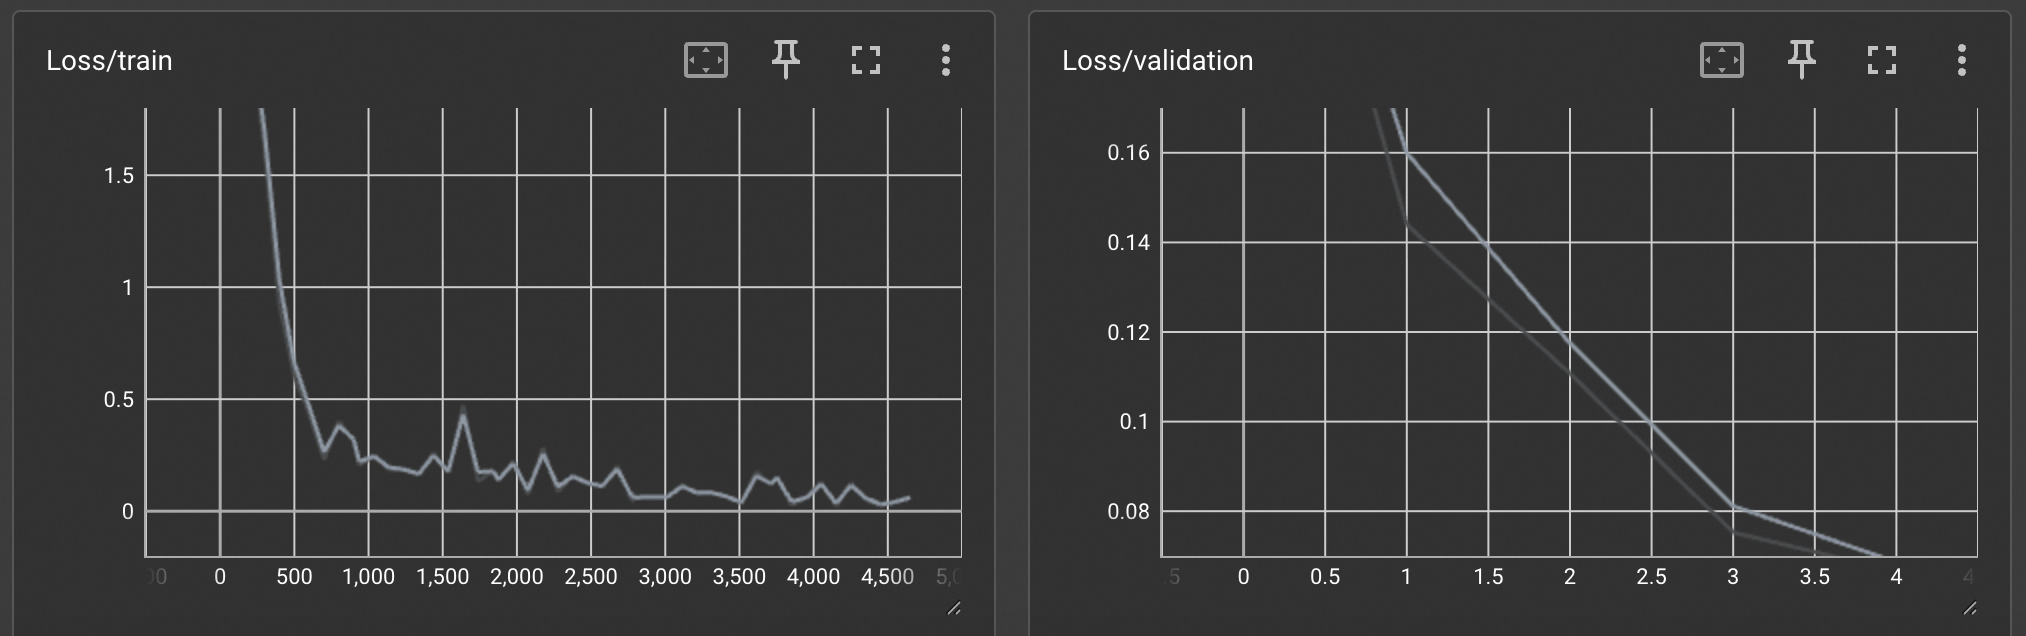
View the loss curve in TensorBoard to monitor the training progress. Run the following cell and click the TensorBoard URL
http://localhost:6006/.
In TensorBoard, you can view the train_loss curve, which reflects the loss on the training set, and the validation_loss curve, which reflects the loss on the validation set.
After you view the charts, click the
 icon in the cell to stop TensorBoard before running the subsequent cells.
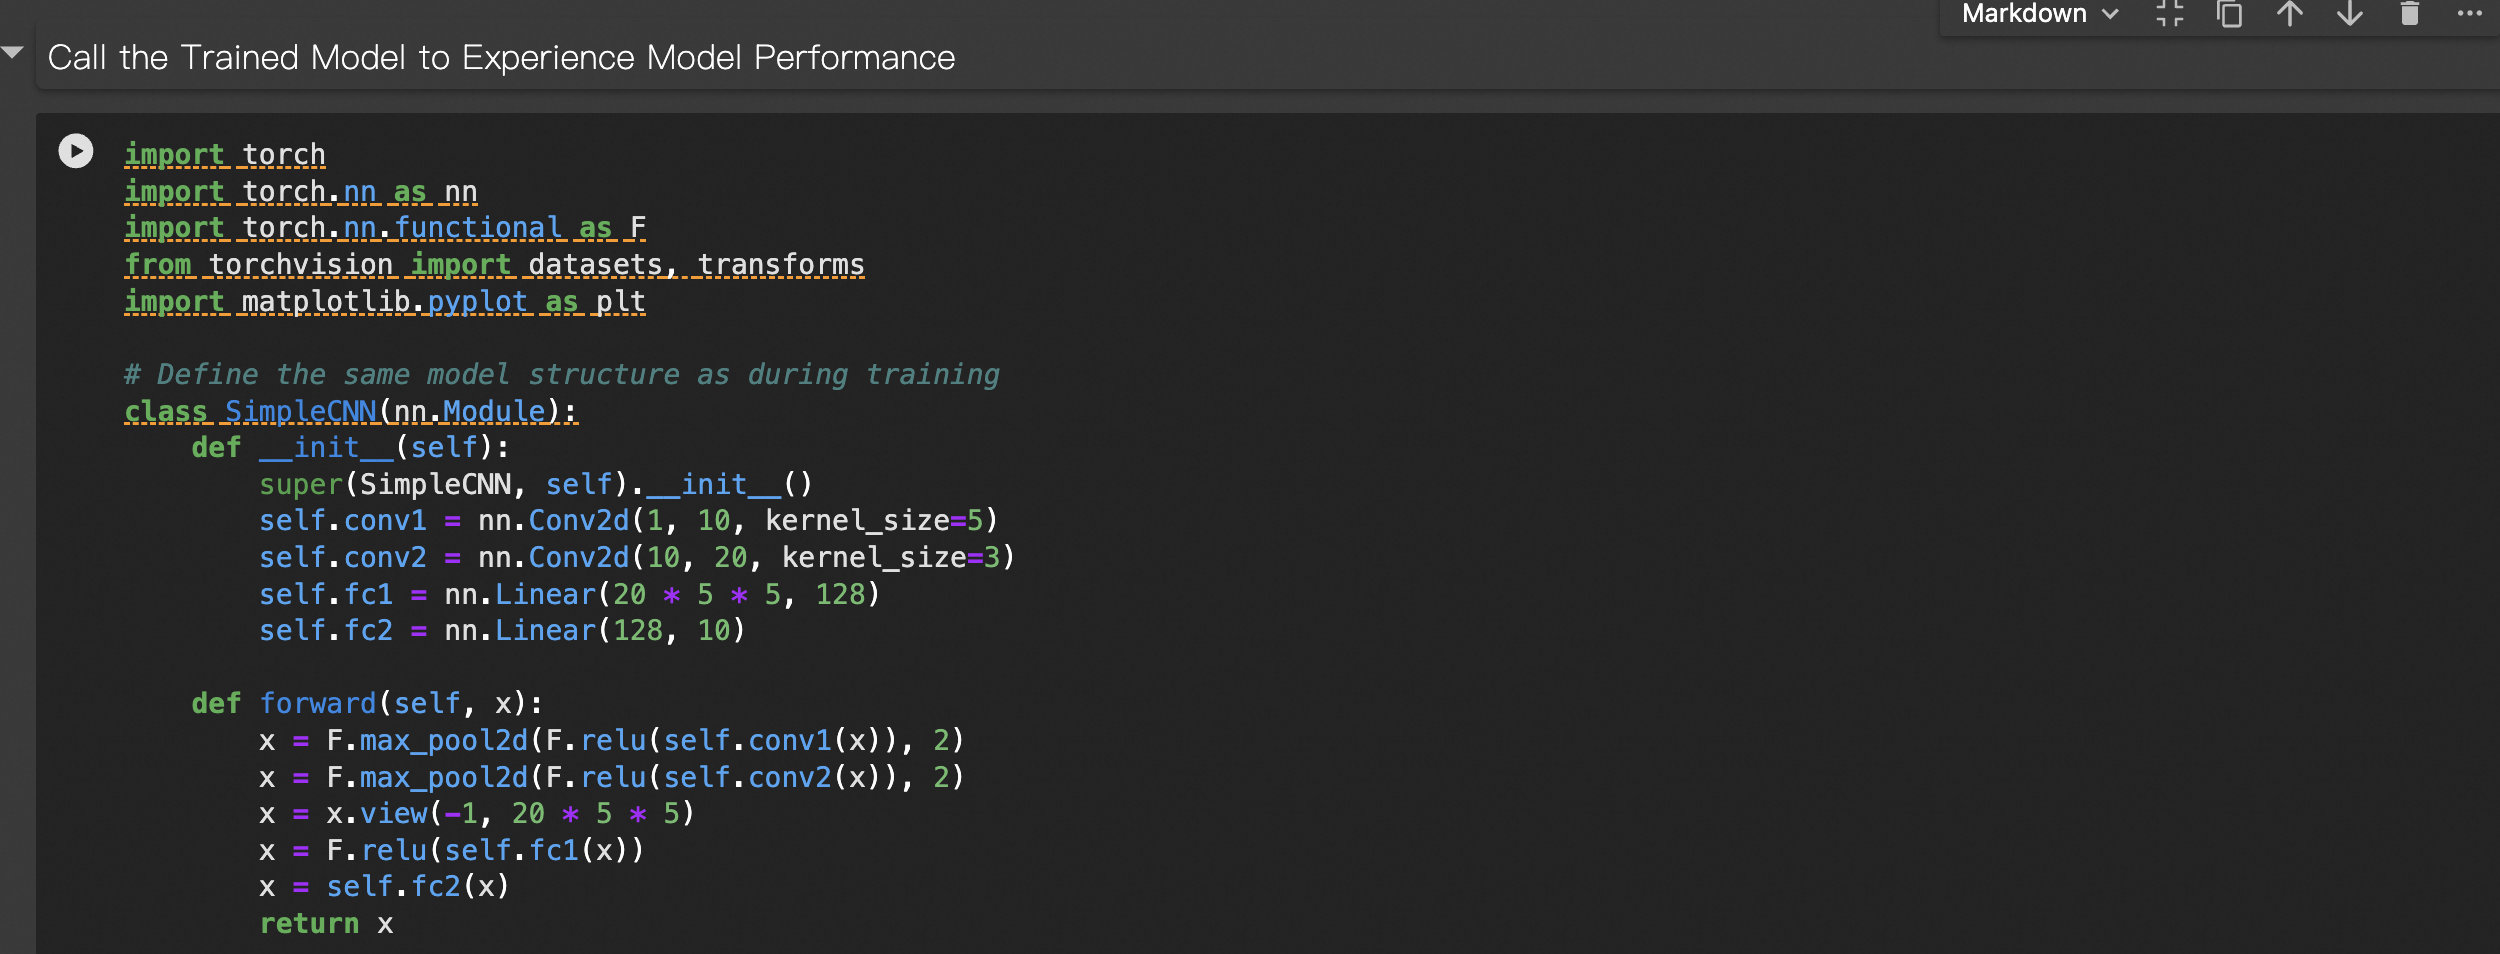
Call the trained model to test its performance. Run the cell shown in the following figure. This displays 20 test images and outputs their true labels and the model's predictions.
Sample output:

Copy the model files to Object Storage Service (OSS) for persistent storage. The DSW instance in this tutorial is created by using a public resource, and its files are stored on a temporary Cloud Disk. Content on the Cloud Disk is deleted if the instance remains stopped for more than 15 days. Therefore, you should copy your model files to OSS for persistent storage. This also makes it easier to deploy the model by using Elastic Algorithm Service (EAS).

Log on to the OSS console to view the copied files:

You have now completed model development. To call this model from other applications in a production environment, see Deploy the model as an online service by using EAS.
The DSW instance in this tutorial is created by using a public resource and is billed on a pay-as-you-go basis. To avoid incurring further charges, stop or delete the instance when you no longer need it.
Deploy the model with EAS
Elastic Algorithm Service (EAS) allows you to quickly deploy trained models as online inference services or AI web applications. EAS supports heterogeneous resources and integrates automatic scaling, one-click stress testing, canary releases, and real-time monitoring to ensure service stability in high-concurrency scenarios at a lower cost.
This tutorial provides the web API code for the model service and the command to copy it to OSS. You only need to run the following cell.

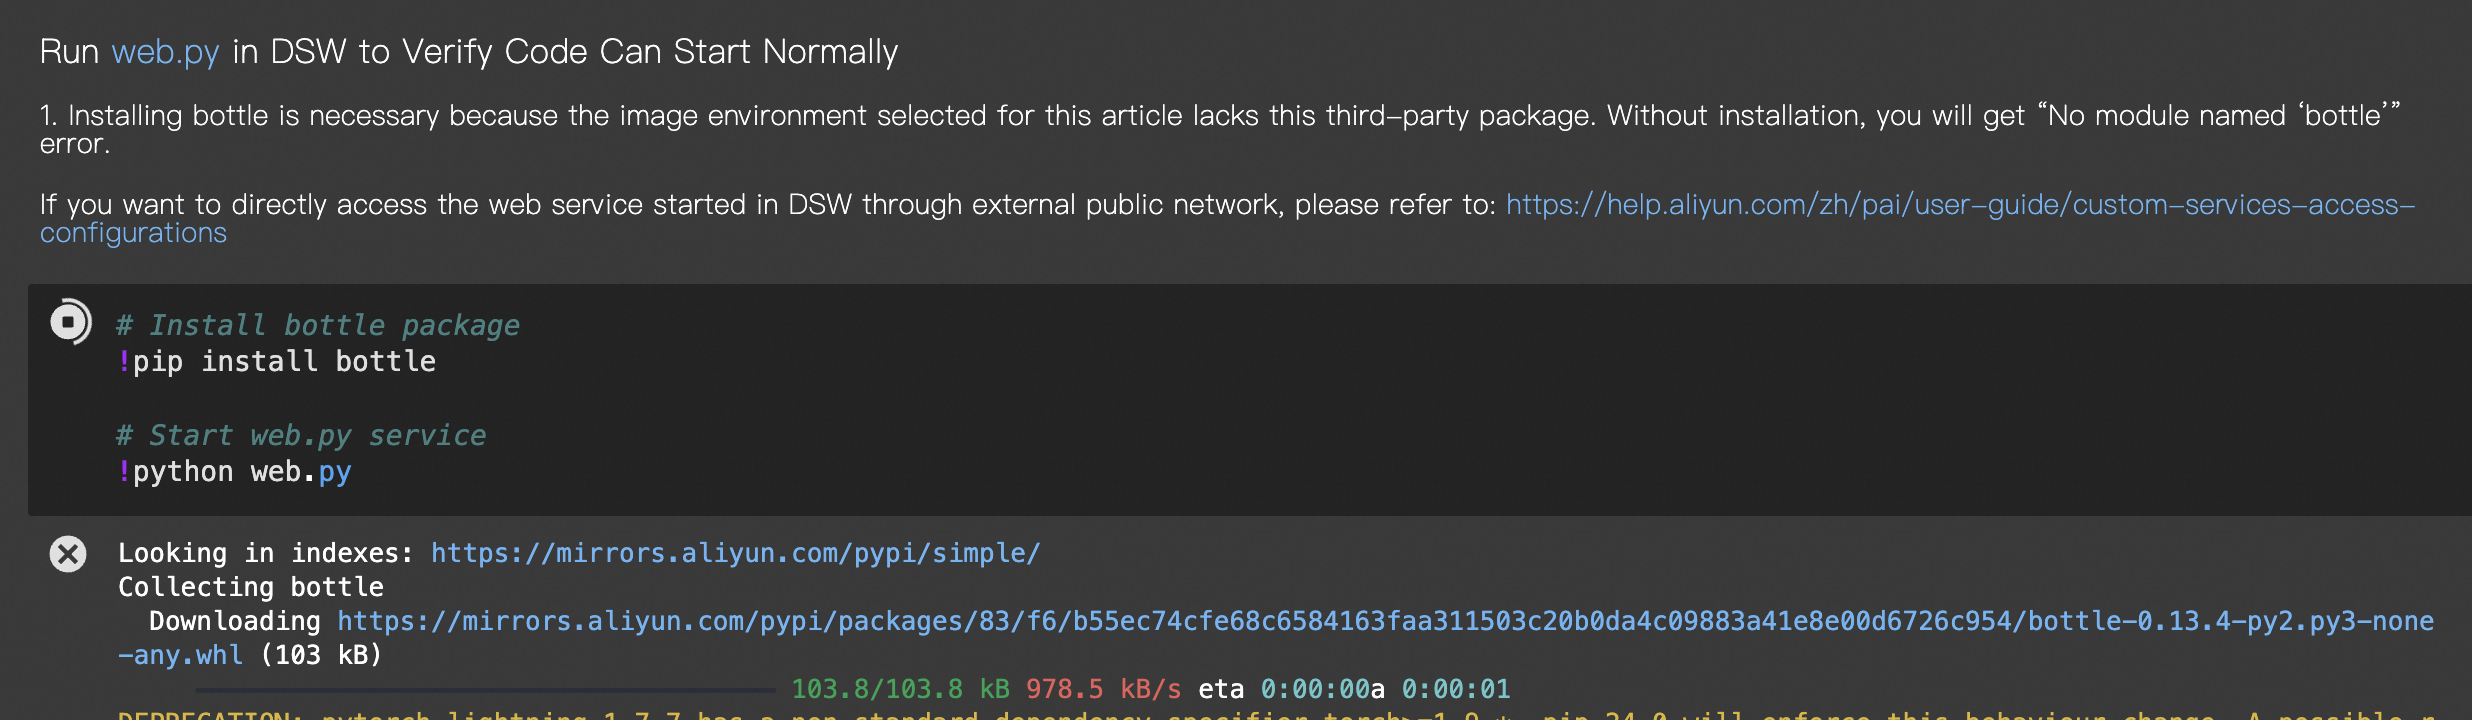
(Optional) In DSW, verify that the web API can be started. Run the following cell to install the missing third-party packages and start the service.
Run the test code for the service API. At the top of the page, click WebIDE. In the left pane, click the
request_web.pycode file, and then click the button to run the code and send a request to the service API.
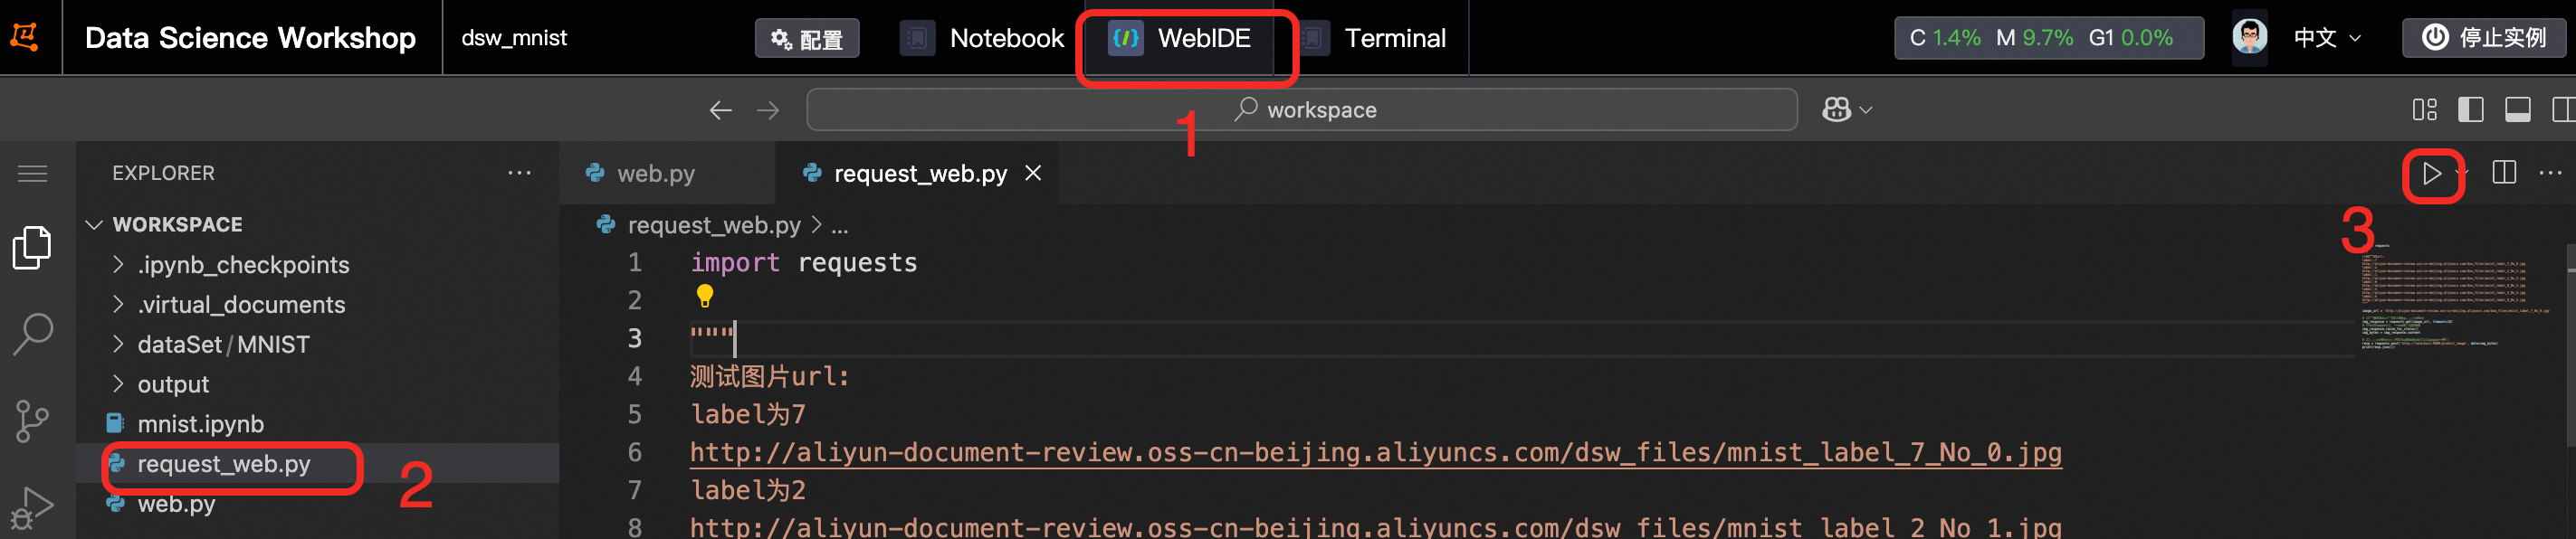
The following result is returned:
{"prediction": 7}NoteTo access the web service running in DSW directly from the public internet, you must also configure a Virtual Private Cloud (VPC), a NAT Gateway, and an Elastic IP Address (EIP) for the DSW instance. For more information, see Access a service in an instance over the internet.
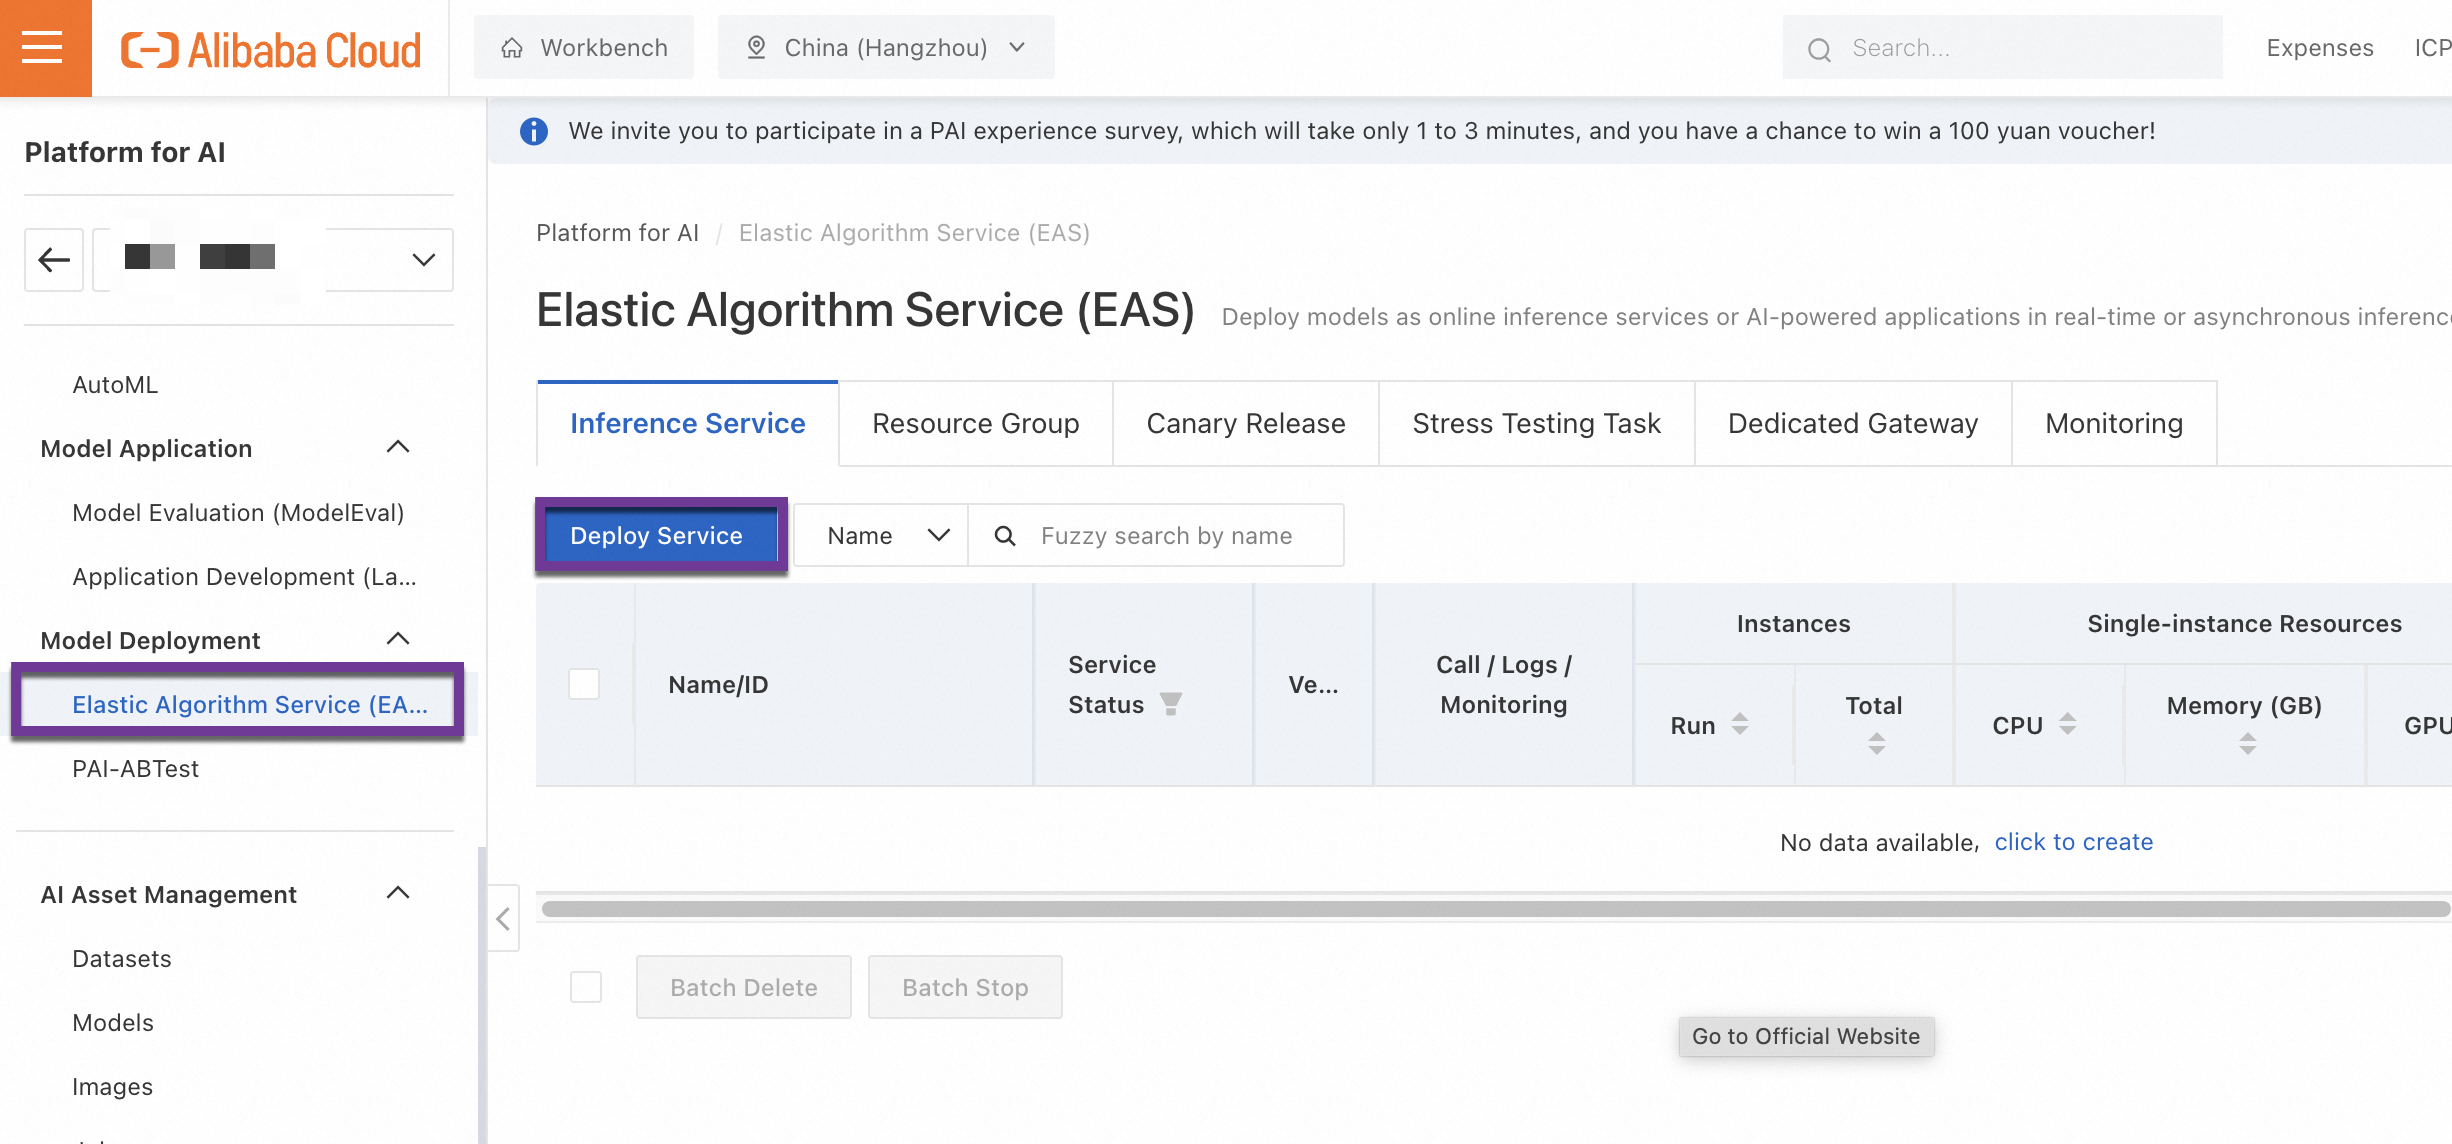
Configure EAS. In the left navigation pane of the PAI console, click Elastic Algorithm Service (EAS) > Deploy Service > Custom Deployment.
Configure the following key parameters and leave the others at their default settings:
Deployment Method: Image-based Deployment
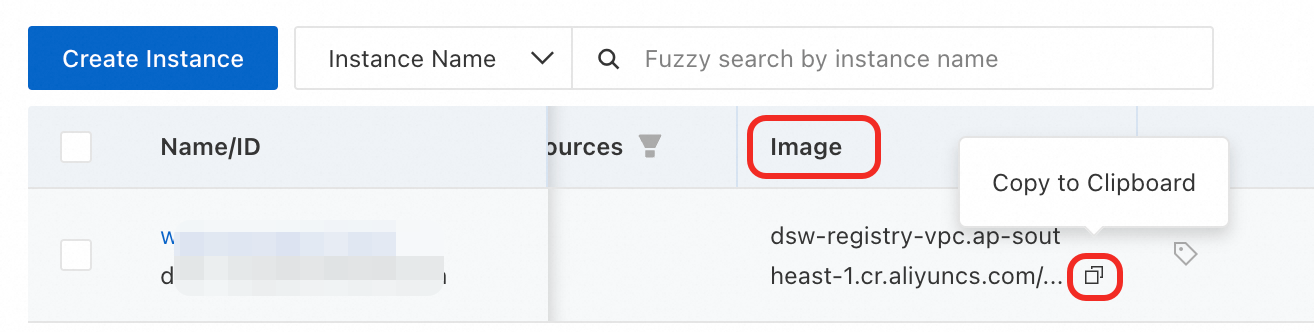
Image Configuration: Select Image Address, and then copy and paste the address of the image that you used for the DSW instance.
You have verified in DSW that this image environment can run the model service code in this topic. Therefore, we recommend that you use the same image for deployment to avoid unknown runtime issues.
Mount storage: The model files and service API code have been copied to OSS. Therefore, click OSS and select the corresponding OSS path.

Command to Run: The run command is the same as the service startup command in DSW. However, because
web.pyis now mounted to/mnt/data/, you need to modify the path ofweb.pyaccordingly. The final run command ispython /mnt/data/web.py.Port Number: Set the port that is used in
web.pyto9000.Third-party Library Settings: Testing in DSW revealed that the selected image is missing the
bottlelibrary. Therefore, you need to add this library in the third-party library configuration.
Resource Type: Select Public Resources. For Instance Type, select
ecs.gn7i-c8g1.2xlarge.Configure a system disk: Set the size to 20 GB.
A larger system disk is required to prevent startup failures caused by the large image size.
Click Deploy to create the service. The creation process takes about 5 minutes. When the status changes to Running, the deployment is successful.
View invocation information. On the service details page, click View Endpoint Information to obtain the Internet Endpoint and Token.
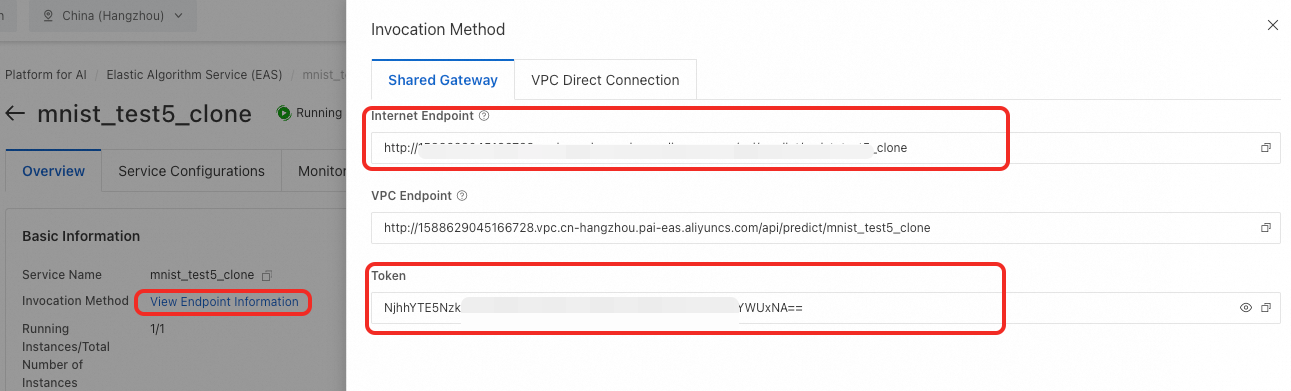
Call the service. Run the following service request code. Replace the placeholder Internet Endpoint and Token in the code with the values from the preceding step.
import requests

"""
Test image URLs:
Label is 7
http://aliyun-document-review.oss-cn-beijing.aliyuncs.com/dsw_files/mnist_label_7_No_0.jpg
Label is 2
http://aliyun-document-review.oss-cn-beijing.aliyuncs.com/dsw_files/mnist_label_2_No_1.jpg
Label is 1
http://aliyun-document-review.oss-cn-beijing.aliyuncs.com/dsw_files/mnist_label_1_No_2.jpg
Label is 0
http://aliyun-document-review.oss-cn-beijing.aliyuncs.com/dsw_files/mnist_label_0_No_3.jpg
Label is 4
http://aliyun-document-review.oss-cn-beijing.aliyuncs.com/dsw_files/mnist_label_4_No_4.jpg
Label is 9
http://aliyun-document-review.oss-cn-beijing.aliyuncs.com/dsw_files/mnist_label_9_No_5.jpg
"""

image_url = 'http://aliyun-document-review.oss-cn-beijing.aliyuncs.com/dsw_files/mnist_label_7_No_0.jpg'

# The client downloads the image and obtains the binary data.
img_response = requests.get(image_url, timeout=10)
# Automatically check if the request was successful based on the status code.
img_response.raise_for_status()
img_bytes = img_response.content

# Header information. Replace <your_token> with your actual token.
# In production environments, we recommend that you set the token as an environment variable to prevent sensitive information leaks.
# For more information about how to configure environment variables, see https://www.alibabacloud.com/help/en/sdk/developer-reference/configure-the-alibaba-cloud-accesskey-environment-variable-on-linux-macos-and-windows-systems.
headers = {"Authorization": "<your_token>"}
# Send the binary data as the body of a POST request to the model service.
resp = requests.post('<your_public_endpoint>/predict_image', data=img_bytes, headers=headers)
print(resp.json())
The following result is returned:
{"prediction": 7}
The EAS service in this tutorial is created by using a public resource and is billed on a pay-as-you-go basis. To avoid incurring further charges, stop or delete the service when you no longer need it.

Related documents
For information about how to troubleshoot DSW startup failures, see Create a DSW instance.
For information about DSW billable items and billing methods, see Data Science Workshop (DSW) billing.
For more information about the core features of DSW, see DSW overview.
To access a web service running in DSW from the internet, see Access a service in an instance over the internet.
For more information about the core features of EAS, see EAS overview.