Malicious access to your bucket can cause sudden spikes in bandwidth or traffic, resulting in unnecessary outbound traffic costs. In severe cases, your bucket may be moved to a sandbox, which makes your service unavailable. This topic describes how to prevent malicious traffic spikes to your OSS resources.
You can use the following two methods to prevent malicious traffic spikes to OSS.
Private bucket ACL
If your bucket is set to public-read and its URL is exposed on the internet, anyone can access your OSS resources. A private bucket is more secure than a public-read one. Set your Bucket ACL to private. For more information, see Bucket ACL.
WAF protection
To configure protection policies based on custom rules, ensure that your Web Application Firewall (WAF) edition supports the required protection type. The Rate Limiting protection type is available only in the Subscription Enterprise and Ultimate editions and the Pay-As-You-Go edition.
-
Purchase a WAF 3.0 instance. For more information, see Purchase a WAF 3.0 instance.
-
Add your domain name to WAF 3.0 by using a CNAME record.
-
In the OSS console, bind a custom domain name to the target bucket.
During this process, do not create a CNAME record that resolves the custom domain name to the bucket's domain name. For more information, see Access OSS by using a custom domain name.
-
In the Web Application Firewall (WAF) console, perform the following steps:
-
Add a domain name.
Use the custom domain name as the domain to be protected and the bucket's domain name as the origin domain name. For more information, see Add a domain name.
-
Copy the CNAME address that WAF assigns to the domain name.
-
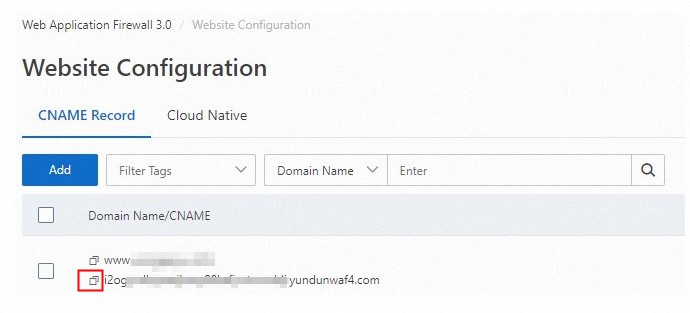
In the left-side navigation pane, choose Website Configuration > CNAME Record.
-
In the Domain Name /CNAME list, find the domain name that you added, and then copy its CNAME address.
-
-
-
In the Alibaba Cloud DNS console, add a CNAME record for the custom domain name that points to the CNAME address provided by WAF.
For more information, see Change a DNS record.

-
-
Configure protection policies.
When you add a domain name to WAF, it is automatically protected by the default basic protection rules. These rules use the Medium Rule Group and the Block action. For more information, see Configure protection policies.