Configure an Alibaba Cloud Microservices Engine (MSE) application in Identity as a Service (IDaaS) to enable gateway authentication. Once configured, unauthenticated users who access a protected route in MSE are automatically redirected to the IDaaS login page.
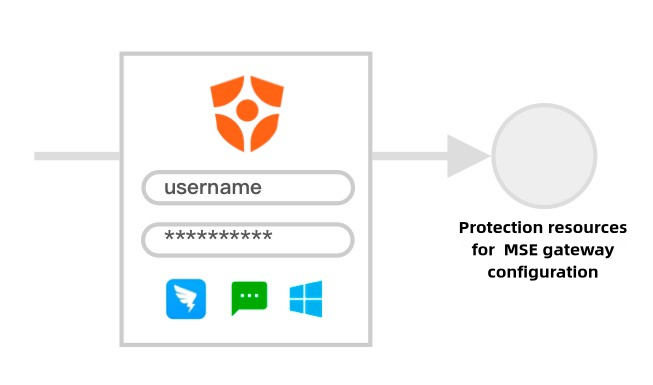
IDaaS includes a pre-integrated MSE application template to simplify setup. Create the MSE application in IDaaS, then complete the authentication configuration in MSE using the OpenID Connect (OIDC) protocol.
Overview
MSE is designed for mainstream open source microservice projects. It provides a registry and configuration center with native support for Nacos, ZooKeeper, and Eureka; a cloud-native gateway with native support for Ingress and Envoy; and microservice administration with native support for Spring Cloud, Dubbo, and Sentinel, compliant with OpenSergo service administration specifications.
This guide covers three stages:
Create an MSE application in IDaaS — register an OIDC client and collect the credentials that MSE requires.
Configure gateway authentication in MSE — enable the authentication mechanism and publish the oauth2-proxy route.
Verify the authentication flow — confirm that protected routes redirect unauthenticated users to IDaaS.
Prerequisites
Before you begin, ensure that you have:
An MSE cloud-native gateway instance. If you do not have one, create one in the MSE console.
Outbound internet access from the virtual private cloud (VPC) where your MSE instance resides. MSE must reach IDaaS to process authentication requests. Without outbound access, MSE may fall back to cached records and cause authentication failures. Use the VPC NAT gateway console to create an Internet NAT gateway if needed.
A domain name for the MSE gateway, or a local hosts file mapping. MSE does not accept an IP address as the callback address. If your gateway has no domain name, map its public IP to a local hostname in your hosts file — for example,
47.96.xxx.xxx a.example.com— and use that hostname throughout the setup.
Step 1. Create an MSE application
Log on to the IDaaS console.IDaaS console
Select an IDaaS instance and click Manage.
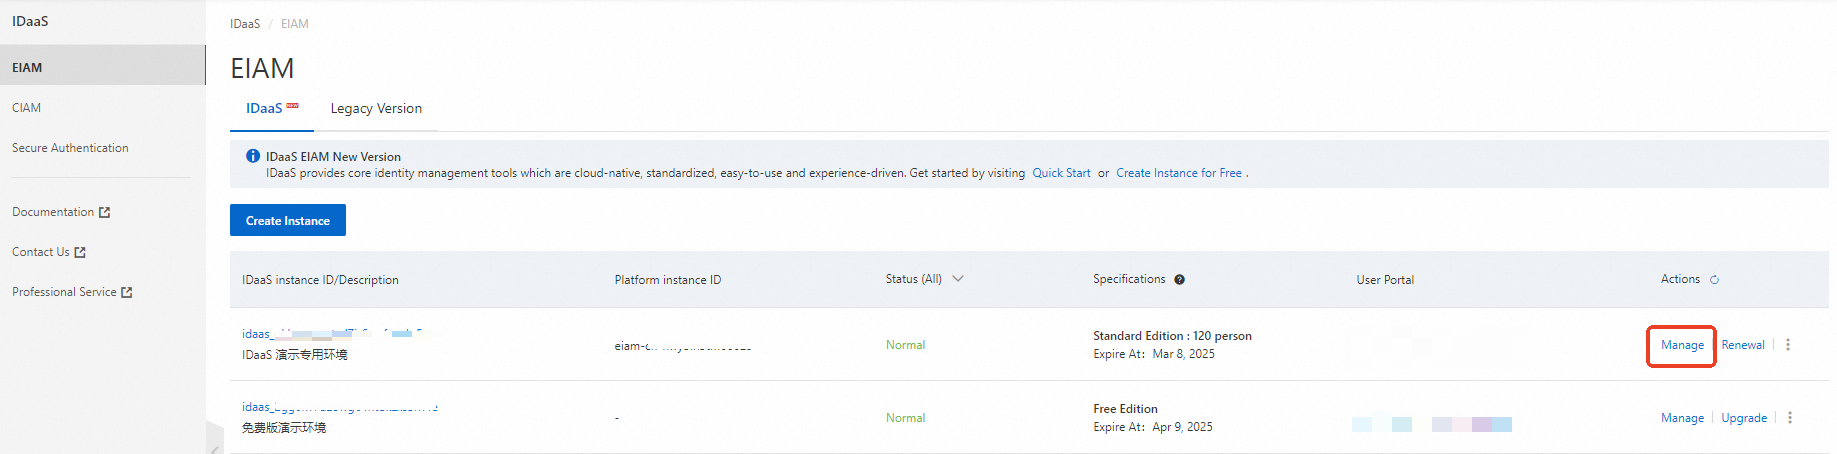
In the navigation pane on the left, choose Applications > Add Application > Marketplace. Search for Alibaba Cloud - MSE Cloud-native Gateway and click Add Application.
Confirm the application name. You are redirected to the Sign-In tab.
Fill out the form:
Grant Types: Select only the Authorization Code checkbox. Do not select PKCE.
Redirect URIs: Enter your MSE gateway endpoint followed by
/oauth2/callback. Format:<MSE gateway endpoint>/oauth2/callbackExample: if the MSE gateway endpoint ishttp://a.example.com, enterhttp://a.example.com/oauth2/callback. > Important: This value must exactly match the Redirect URL you enter later in the MSE authentication configuration. Only domain names are accepted — IP addresses are not allowed.Authorize: Select All Users for now. To grant access to specific accounts, see Application authorization.
Click Save.
Copy the following values — you need them in Step 2:
Value Where to find it Issuer Application configuration information at the bottom of the current page client_id General tab of the application management page client_secret General tab of the application management page
The IDaaS configuration is complete. Next, configure authentication in MSE.
Step 2. Configure gateway authentication in MSE
Configuration changes may take 3 to 5 minutes to take effect due to caching.
Open gateway management
Log on to the MSE console.
In the navigation pane on the left, choose Cloud-native Gateway > Gateways.
Click the name of the gateway you want to protect.
Create a test route (optional)
To test the full authentication flow end to end, add a mock route before enabling authentication. This gives you a known URL to verify against.
For setup instructions, see Manage services in MSE Nacos using a cloud-native gateway. After configuration, the /mock path is available for testing.
If you already have a route, skip this step and use that route's path in the next section instead.
Configure authentication
In the navigation pane on the left, choose Security > Authentication.
Click Create Authentication and fill out the form. The following table shows an example configuration:
Field Value Notes Authentication Name Any descriptive name — Authentication Type OIDC The IDaaS option corresponds to an older version of IDaaS. For the current version, select OIDC. Issuer The Issuer URL Copied from the application configuration information at the bottom of the IDaaS application page (Step 1) Redirect URL http://a.example.com/oauth2/callback(or your gateway domain)Must exactly match the Redirect URI set in IDaaS. Domain names only — IP addresses are not accepted. Client-ID The client_id value Copied from the General tab of the IDaaS application management page (Step 1) Client-Secret The client_secret value Copied from the General tab of the IDaaS application management page (Step 1) Cookie-Domain a.example.com(or your gateway domain, without the path)Same domain as the Redirect URL, omitting the /oauth2/callbackpathScope openid— Authorization Select Blacklist Mode for testing, then click Add Rule Condition and specify that /mockrequires authenticationBlacklist Mode means only explicitly listed paths require authentication. 
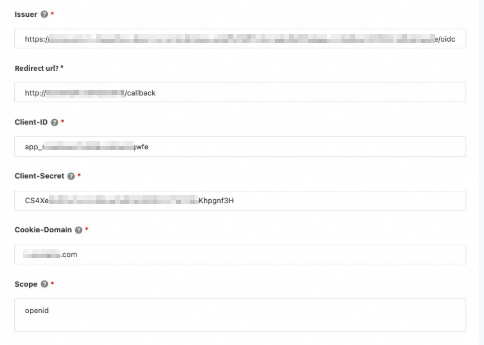
Click Enable after the rule is created.
Publish the oauth2-proxy route
When you enable gateway authentication, MSE automatically creates an OIDC callback route named oauth2-proxy. This route starts in the Unpublished state and must be published manually.
In the navigation pane on the left, click Route Configuration.
Find the oauth2-proxy route.
Click Edit, click Next, and then click Save and Publish.
All configurations are now complete.
Step 3. Verify the authentication flow
Access the protected route
Open http://a.example.com/mock (or the path you configured) in a browser.
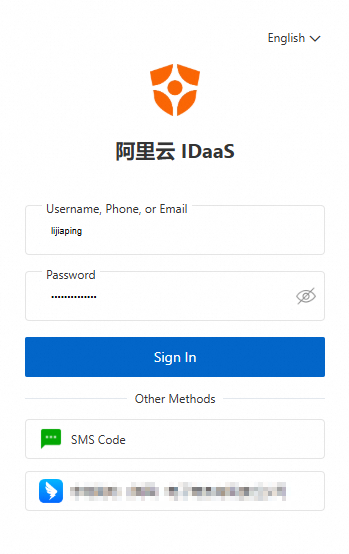
MSE detects that the route requires authentication. If you are not already logged in to IDaaS, you are redirected to the IDaaS login page.
Log in
Use any authentication method enabled in IDaaS — for example, SMS verification codes, DingTalk QR code scanning, or Active Directory (AD) login. Administrators can also enable multi-factor authentication (MFA) in IDaaS for additional security.
Confirm success
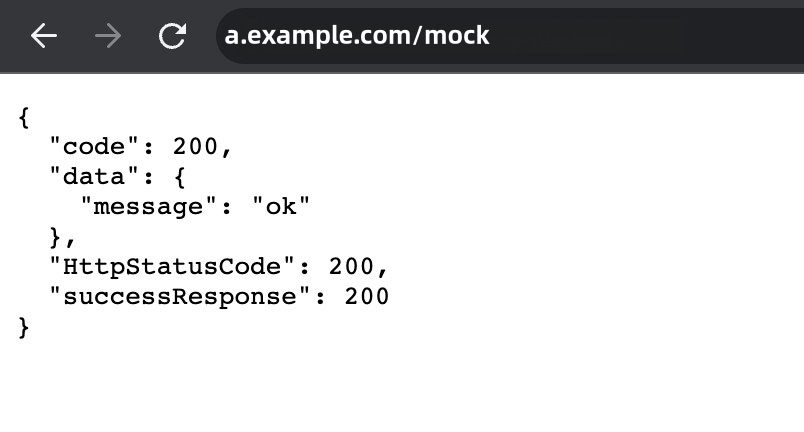
After logging in, the browser redirects back to the address you originally requested and displays the expected response. This confirms that the authentication flow is working correctly.
Tip: If the page does not load as expected after logging in, check the following: - The oauth2-proxy route status is Published (not Unpublished). - The Redirect URL in MSE exactly matches the Redirect URI in IDaaS. - The VPC where your MSE instance resides has outbound internet access.