This topic describes how to configure single sign-on (SSO) for Alibaba Cloud Secure Access Service Edge (SASE) in the Identity as a Service (IDaaS) console. To facilitate configuration, IDaaS provides the Alibaba Cloud SASE application template. You need to only add an Alibaba Cloud SASE application in IDaaS and upload the metadata file provided by IDaaS to SASE.
The configuration is simple and requires up to 30 seconds to complete.
Overview
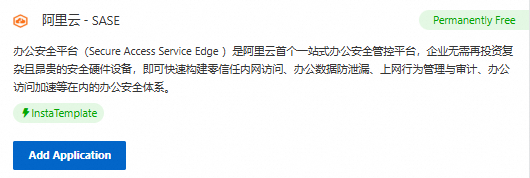
SASE is a secure access control platform provided by Alibaba Cloud. SASE allows enterprises to create zero trust access over an internal network. SASE can also help prevent data leaks, manage and audit operations, and accelerate secure access. This way, enterprises do not need to invest in complex and expensive security hardware.
Procedure
Step 1: Add an application in IDaaS
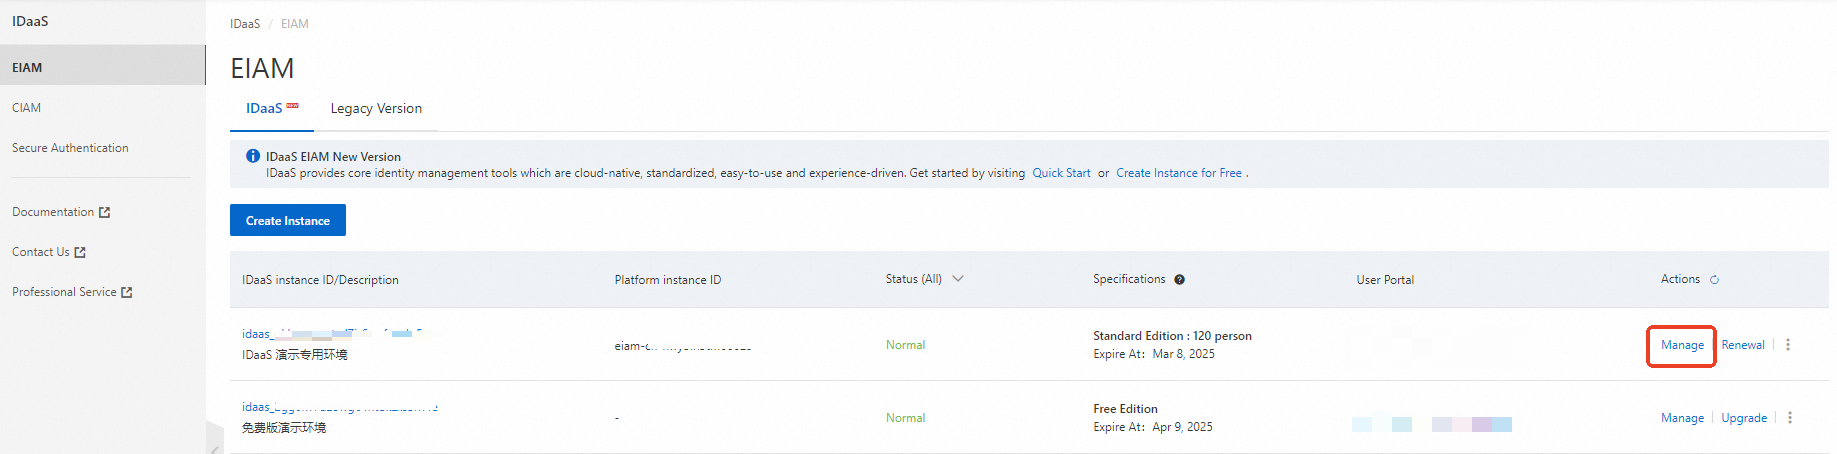
Log on to the IDaaS console.
On the EIAM page, find the required instance and click Manage in the Actions column.
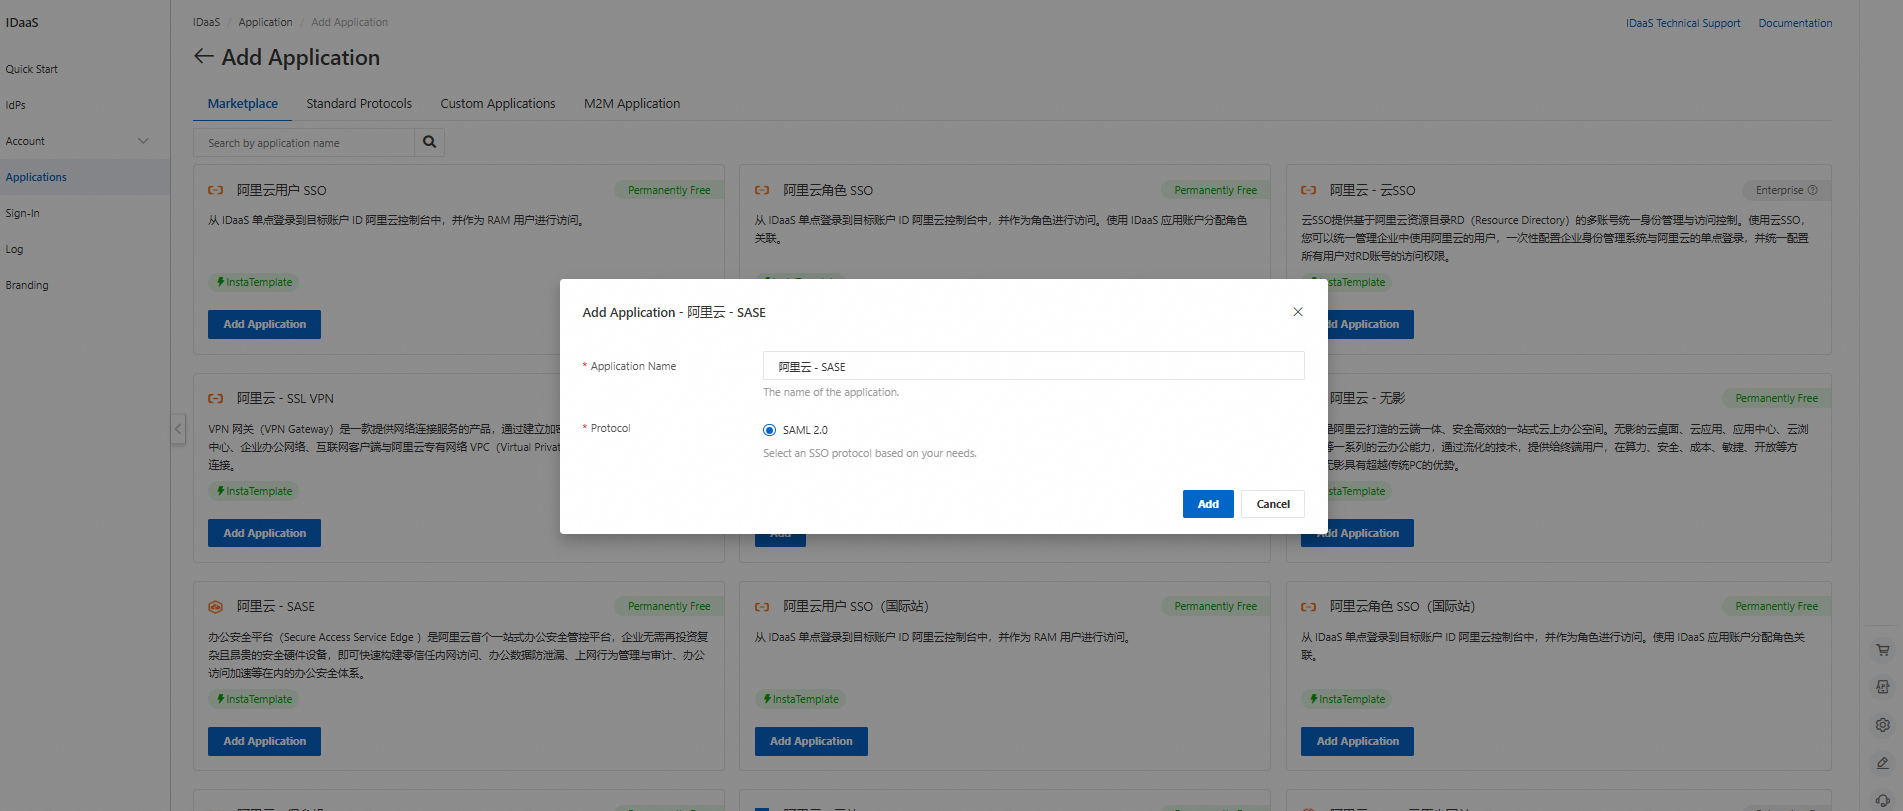
In the left-side navigation pane, click Applications. On the Applications page, click Add Application to go to the Marketplace tab. Then, search for Alibaba Cloud - SASE. Click Add Application.
Confirm the application name and click Add. The application is added.
Step 2: Configure SSO for the application
After you add the application, you are redirected to the SSO tab.
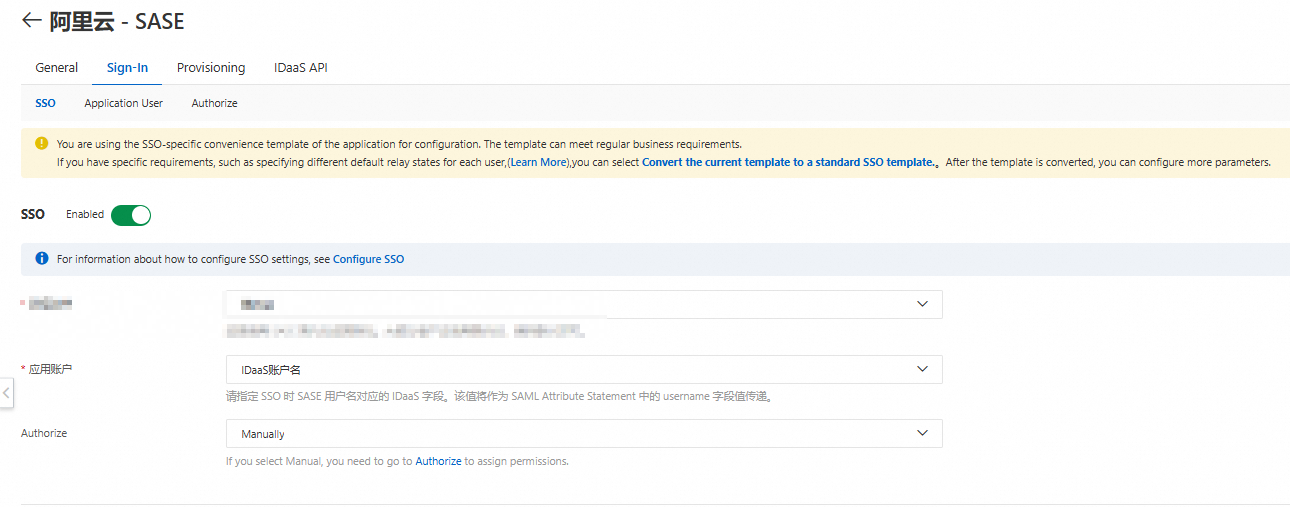
For testing purposes, we recommend that you set the Authorize parameter to All Users.
By default, the Application Username parameter is set to IDaaS Username. Make sure that the username of your IDaaS account is the same as the username in the application. Otherwise, SSO fails. For more information about how to configure application accounts, see Configure Application User for SAML.
For the Authorize parameter, you can specify an IDaaS account that is allowed to access the application. For more information, see Authorization.
Use the default values for other parameters and click Save. The SSO configuration is complete in IDaaS.
You must click Save even if no parameters are modified.
In the Application Settings section, download the SAML metadata file to your computer. In the next step, you need to upload this file to SASE to complete the SSO configuration.
Step 3: Configure user-based SSO in SASE
Log on to the SASE console.
In the left-side navigation pane, choose Identity Authentication and Management > Single Sign-on.
Click Add IdP.
In the Add IdP dialog box, set the Enterprise Identity Source parameter to IDaaS and enter a custom name.
Upload the file downloaded in the previous step for the SAML Metadata File parameter and select No for the Grant Read Permissions on Organizational Structure parameter.
Use the default values for other parameters and click OK.
Enable the new identity provider (IdP).
The SSO configuration is complete. You can proceed to try SSO.
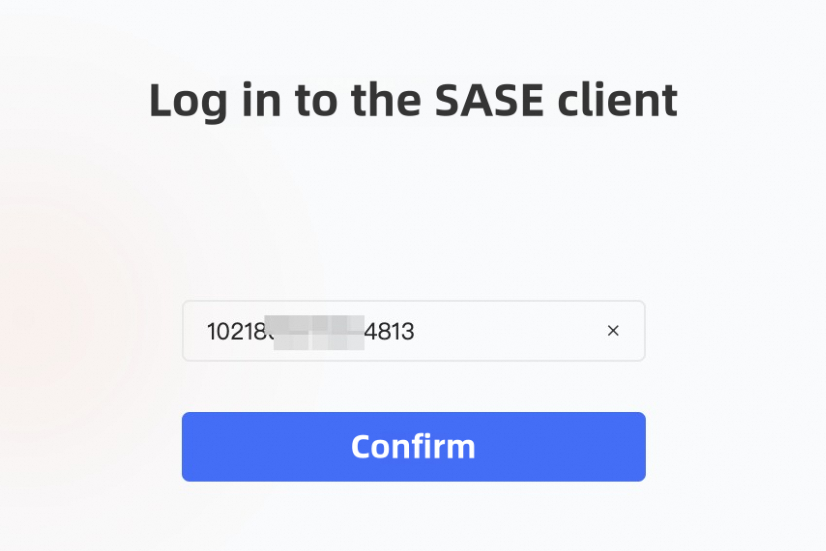
Step 4: Test SSO
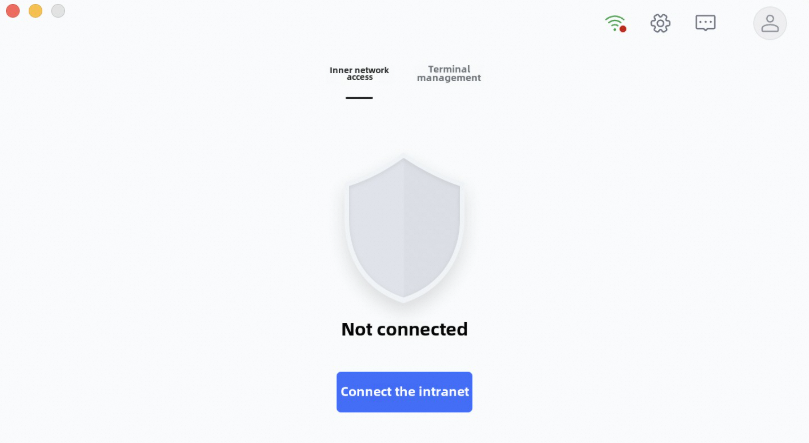
Open the SASE client and enter the enterprise ID of SASE. You can view the enterprise ID on the Settings page of the SASE console.
You are redirected to the IDaaS logon page because the IDaaS IdP is enabled. You can use multiple authentication methods and identity security capabilities provided by IDaaS for logon.
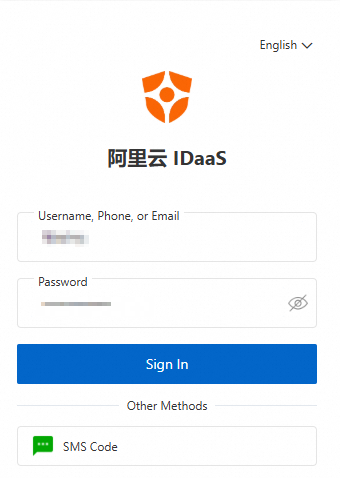
After successful logon, you can use the features of SASE.