This topic describes how to use the Hologres Shared Cluster (MaxCompute BI Acceleration Edition) feature.
Prerequisites
-
This document provides information on Alibaba Cloud account registration.
-
You have completed identity verification.
-
You have activated Quick BI. For more information, see Purchases, Upgrades, Downgrades, Renewals, and Overdue Payments.
Limits
The following limits apply to the Shared Cluster (MaxCompute BI Acceleration Edition):
-
Hologres internal tables are not supported. You can only create foreign tables to accelerate queries on MaxCompute data.
-
Instances share resources. Upgrades and downgrades are not supported.
-
When you query a partitioned table, a maximum of 1,024 partitions can be scanned per query.
-
The MAP, LIST, and STRUCT data types are not supported. For information about the mapping between MaxCompute and Hologres data types, see Data type summary.
-
Encrypted MaxCompute data cannot be read.
-
The maximum amount of data that can be scanned from a single table in one query is 200 GB.
-
A submitted query statement cannot exceed 100 KB.
-
The default query timeout is 30 minutes. You can change the timeout using the statement_timeout parameter.
-
A single query statement supports a maximum of 20 JOIN and GROUP BY operations combined.
-
The COPY command is not supported for importing or exporting data.
-
Only the hive_compatible extension can be created. Other extensions are not supported. For more information, see GET_JSON_OBJECT.
-
You can manually run ANALYZE on tables. Auto ANALYZE is not supported.
-
DML operations are not supported. Only the following DDL statements are supported.
-
DATABASE
-
CREATE DATABASE.
-
ALTER DATABASE.
-
DROP DATABASE.
-
-
SCHEMA
-
CREATE SCHEMA.
-
ALTER SCHEMA.
-
DROP SCHEMA.
-
-
FOREIGN TABLE
-
CREATE FOREIGN TABLE.
-
DROP FOREIGN TABLE.
-
IMPORT FOREIGN SCHEMA.
-
-
Workflow for using Shared Cluster (MaxCompute BI Acceleration)
-
Purchase an instance.
-
Log on to the Alibaba Cloud website with your Alibaba Cloud account.
-
Go to the Hologres product page.
-
Click Buy Now to go to the purchase page.
-
Set Product Type to Shared Cluster (Lakehouse Acceleration Edition), enter an Instance Name, select a Region, and then click Buy Now.
-
-
Create a database.
After you purchase the instance, you can go to the Hologres management console to view the instance status.
After you create an instance, the system creates a default database named postgres for monitoring and management. For business purposes, you can create a new database as follows:
-
On the Instances page, you can click the instance name.
Alternatively, click Actions in the row of the target instance, and then click Manage to go to the instance details page.
-
You can click Database Management in the navigation pane on the left of the instance details page.
-
On the DB Authorization page, click Create Database.
-
In the Create Database dialog box, you can select an Instance Name, enter a Database Name, and select a permission model based on your business needs.
Hologres provides two permission models: the expert model and the simple permission model.
The expert model is identical to the PostgreSQL permission model. For more information, see Standard PostgreSQL authorization model.
The simple permission model has two variants: the simple permission model (SPM) and the schema-level permission model (SLPM). For more information about SPM, see Simple permission model (SPM). For more information about SLPM, see Schema-level permission model (SLPM).
To simplify permission management, we recommend selecting the SPM (simple permission model) when you create a database.
-
Click OK.
You can view the database that you created on the DB Authorization page.
-
-
Connect a development tool.
Hologres is compatible with PostgreSQL and provides JDBC and ODBC drivers. After you create a database, you must connect a development tool to the instance for data development. You can choose a development tool based on your business needs. For more information, see Connect to Hologres.
This topic uses HoloWeb, the proprietary development tool of Hologres, as an example to show how to connect a development tool to the instance. To do so, perform the following steps:
-
In the Hologres management console, on the Overview page, click Go to HoloWeb to open the HoloWeb development interface.
-
Click .
-
You can configure parameters in the Instances dialog box.
Parameter
Description
Required
Network type
-
Public Network: Supported in China (Shanghai), China (Shenzhen), China (Beijing), China (Hangzhou), China (Zhangjiakou), Singapore, China (Hong Kong), Malaysia (Kuala Lumpur), Indonesia (Jakarta), and US (Silicon Valley).
An instance with the
 icon uses the public network type.
 -
VPC: Only supported in the region where HoloWeb is logged on.
An instance with the
 icon uses the VPC type. You cannot edit its details or delete it.
No
Instance name
Select an instance that has been created under your current account.
NoteAfter purchasing an instance, HoloWeb may take time to load the instance information. If the instance name does not appear immediately, manually configure connection details such as the Domain Name to connect to the target instance.
No
Name
If you select an Instance Name, the Name field defaults to the selected instance name. You can also customize the connection name.
Yes
Description
A description for the connection.
No
Domain name
The network domain name of the Hologres instance.
You can go to the instance details page in the Hologres Management Console and obtain the domain name from the Network Information section.
If you select an Instance Name, the system automatically fills in the corresponding Domain Name. You can also enter the domain name manually.
Yes
Port
The network port of the Hologres instance.
You can navigate to the Hologres Management Console instance details page and obtain the port from the Network Information.
If you select an Instance Name, the system automatically fills in the corresponding Port. You can also enter the port number manually.
Yes
Logon method
-
Password-free Logon: Log on directly using your current account without entering a username or password.
-
Password Logon: Enter the username and password of your account or another account to log on.
Yes
Username
This parameter is required only if you set logon method to logon with account and password.
The AccessKey ID for the current account.
You can obtain your AccessKey ID from AccessKey Management.
No
Password
This parameter is required only if you set logon method to logon with account and password.
Enter the AccessKey secret of your current account.
No
Test connectivity
Check whether the connection succeeds:
-
If The test is successful. appears, the connection succeeded.
-
If The test failed. appears, the connection failed.
No
Log on after connecting
Choose whether to log on to the instance after connecting.
-
Yes: The instance logs on and appears in the logged-on instances list on the left.
-
No: The instance appears in the not logged-on instances list on the left.
Yes
-
-
Click OK.
-
-
Accelerate MaxCompute queries.
After you connect the instance to HoloWeb, you can create foreign tables to accelerate queries on MaxCompute data.
This topic uses an example to show how to create a foreign table in HoloWeb to query data from the public_data project in a MaxCompute public dataset. To do so, perform the following steps:
-
Create a foreign table.
-
Click to create a foreign table visually.
-
In the Create Foreign Table editor, configure the parameters based on your chosen acceleration method.
Entire-database acceleration
Categorization
Parameter
Description
Acceleration Method
Select an acceleration method.
Hologres supports three acceleration methods:
-
Entire Project
-
Selected Tables
-
Single Table
Select Entire Project.
MaxCompute Data Source
Project Name
The name of the MaxCompute project.
Schema Name
The Schema name in MaxCompute.
For MaxCompute projects with Schema enabled, enter any Schema names you have permissions to access. For projects without Schema enabled, leave this blank. For more information about Schema, see Schema operations.
Destination Table Position
Holo Schema
The schema name.
You can select the default public schema or a newly created schema.
Advanced Settings
Processing Rule for Table Name Conflicts
Three conflict resolution options:
-
Ignore and continue creating other tables
-
Update and modify existing tables with the same name
-
Report error and skip duplicate creation
Processing Rule for Unsupported Data Types
Processing methods are not supported for the following two data types:
-
Report error and fail import
-
Ignore and Skip Table of Unsupported Fields
Partial acceleration
Categorization
Parameter
Description
Acceleration Method
Select an acceleration method.
Hologres supports three acceleration methods:
-
Entire Project
-
Selected Tables
-
Single Table
Select Selected Tables.
MaxCompute Data Source
Project Name
The name of the MaxCompute project.
Schema Name
The Schema name in MaxCompute.
For MaxCompute projects with Schema enabled, enter any Schema names you have permissions to access. For projects without Schema enabled, leave this blank. For more information about Schema, see Schema operations.
Destination Table Position
Holo Schema
The schema name.
You can select the default public schema or a newly created schema.
Advanced Settings
Processing Rule for Table Name Conflicts
Three conflict resolution options:
-
Ignore and continue creating other tables
-
Update and modify existing tables with the same name
-
Report error and skip duplicate creation
Processing Rule for Unsupported Data Types
Processing is not supported for two data types.
-
Report error and fail import
-
Ignore and Skip Table of Unsupported Fields
Search
Search tables by fuzzy matching. Up to 200 tables are supported. Additional tables will not appear.
Single-table acceleration
Categorization
Parameter
Description
Acceleration Method
Select an acceleration method.
Hologres supports three acceleration methods:
-
Entire Project
-
Selected Tables
-
Single Table
Select Single Table.
MaxCompute Data Source
Project Name
The name of the MaxCompute project.
Schema Name
The Schema name in MaxCompute.
For MaxCompute projects with Schema enabled, enter any Schema names you have permissions to access. For projects without Schema enabled, leave this blank. For more information about Schema, see Schema operations.
Table Name
The table name in the specified MaxCompute Schema. Supports fuzzy search by table prefix.
Destination Hologres Table
Schema
Pattern name.
You can select the default public schema or a newly created schema.
Table Name
The name of the single table in Hologres to accelerate.
Destination Table Description
A description of the single table in Hologres to accelerate.
-
-
Click Submit.
You can also create a Query window and use SQL statements to create foreign tables in batches. The following code provides an example. For information about how to create a Query window, see SQL window.
IMPORT FOREIGN SCHEMA public_data LIMIT to( customer, customer_address, customer_demographics, inventory,item, date_dim, warehouse) FROM server odps_server INTO PUBLIC options(if_table_exist 'update'); -
-
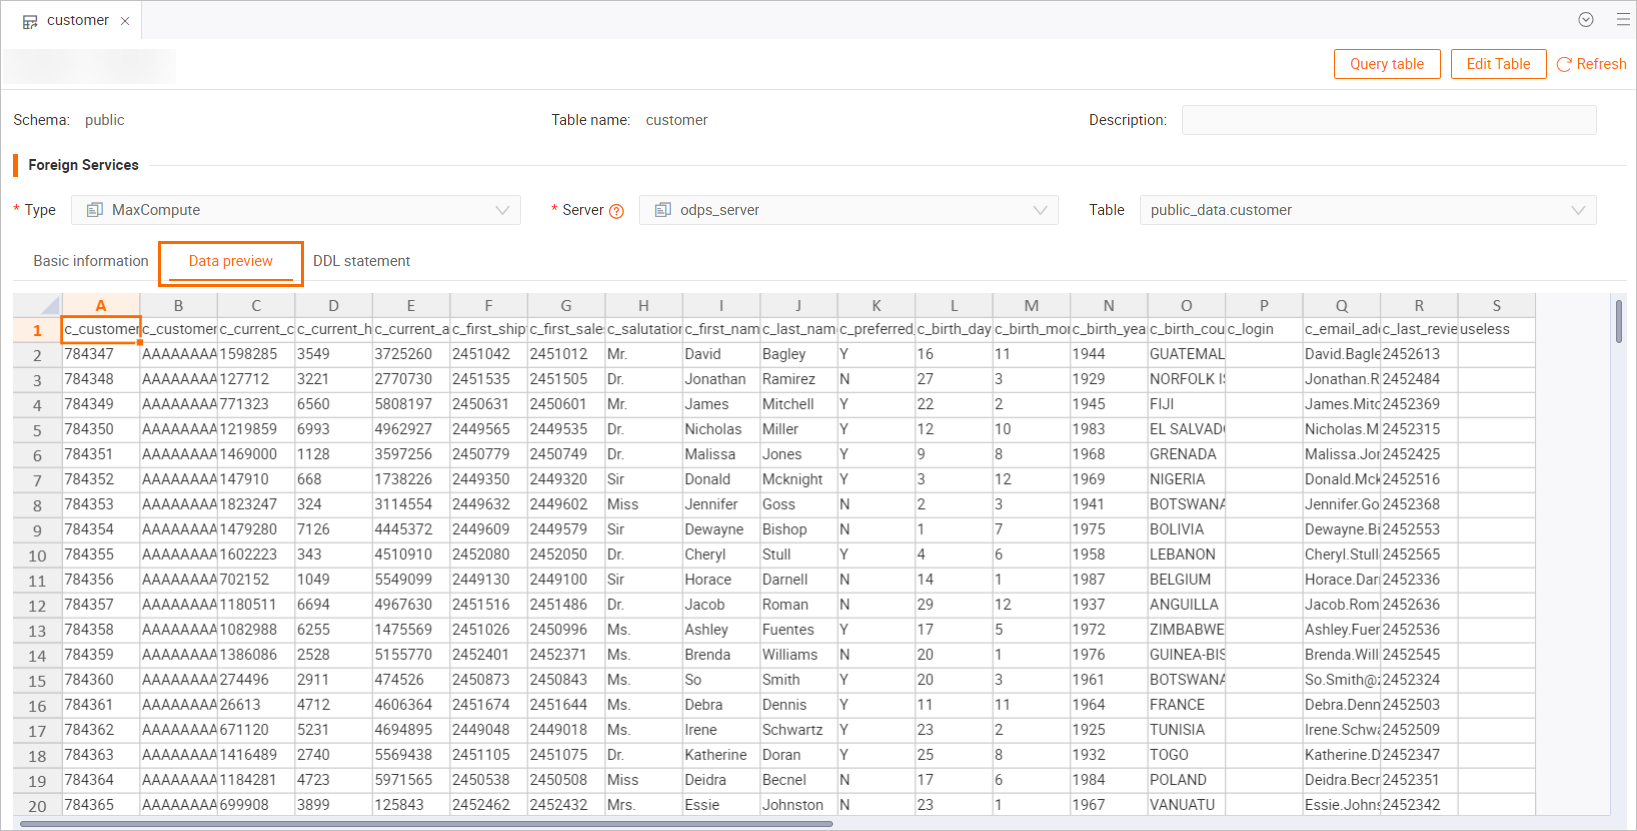
Preview foreign table data.
After creating a foreign table, go to the Metadata Management page. In the Instance Management section on the left, double-click the foreign table. On the table editor page, click Data Preview to view the data from the MaxCompute table.
You can also create an SQL window in the Query module. For instructions, see SQL window. The following example shows an SQL statement for batch creation.
IMPORT FOREIGN SCHEMA public_data LIMIT to( customer, customer_address, customer_demographics, inventory,item, date_dim, warehouse) FROM server odps_server INTO PUBLIC options(if_table_exist 'update'); -
Accelerate queries on foreign table data.
The following code provides example SQL statements for accelerating queries on foreign table data.
# SQL1: Query preferred customer distribution, sorted by count in descending order.
SELECT c_preferred_cust_flag,
       count(*) AS cnt
FROM customer
WHERE c_preferred_cust_flag IS NOT NULL
GROUP BY c_preferred_cust_flag
ORDER BY cnt DESC LIMIT 10;

# SQL2: Query customer birth year distribution where count exceeds 1000, sorted by count in descending order.
SELECT c_birth_year,
       count(*) AS cnt
FROM customer
WHERE c_birth_year IS NOT NULL
GROUP BY c_birth_year HAVING count(*) > 1000
ORDER BY cnt DESC LIMIT 10;

# SQL3: Query city distribution where count exceeds 10, sorted by count in descending order.
SELECT ca_city,
       count(*) AS cnt
FROM customer ,
     customer_address
WHERE c_current_addr_sk = ca_address_sk
  AND ca_city IS NOT NULL
GROUP BY ca_city HAVING count(*) > 10
ORDER BY cnt DESC LIMIT 10;

# SQL4: Query city distribution for preferred customers born between 1980 and 1990, where count exceeds 10, sorted by count in descending order.
SELECT ca_city,
       count(*) AS cnt
FROM customer ,
     customer_address
WHERE c_current_addr_sk = ca_address_sk
  AND c_birth_year >= 1980
  AND c_birth_year < 1990
  AND c_preferred_cust_flag = 'Y'
  AND ca_city IS NOT NULL
GROUP BY ca_city HAVING count(*) > 10
ORDER BY cnt DESC LIMIT 10;
-
-
Connect a BI tool for visual analytics.
Hologres is compatible with PostgreSQL and supports direct integration with BI tools. After you create foreign tables to accelerate MaxCompute queries, you can choose a BI tool based on your business needs and connect it for visual analytics. For a list of supported BI tools, see BI analysis and visualization.
This topic uses Quick BI as an example. To connect a BI tool, perform the following steps:
-
Log on to the Quick BI management console.
-
Add a data source.
For information about how to add a Hologres data source, see Hologres data source.
-
Visualize and analyze data.
After you connect the data source, you can use ad hoc analysis with SQL to visualize and analyze data.
-
Data type mapping
For information about the mapping between Hologres data types and MaxCompute data types, see Data type summary.