This topic describes how to use EventBridge to push data from ApsaraMQ for RocketMQ to Function Compute.
Before you start
Make sure that the following operations are performed:
EventBridge
Function Compute
ApsaraMQ for RocketMQ
Step 1: Add a custom event source
Log on to the EventBridge console.
In the left-side navigation pane, click Event Buses.
In the top navigation bar, select a region.
On the Event Buses page, click the name of the custom event bus that you created.
In the left-side navigation pane, click Event Sources.
On the Event Source page, click Add Event Source.
In the Add Custom Event Source panel, configure the Name and Description parameters and select ApsaraMQ for RocketMQ from the Event Provider drop-down list. Then, follow the on-screen instructions to select the resources in the ApsaraMQ for RocketMQ instance that you created and click OK.
Step 2: Create an event rule
The event targets that you want to configure for an event rule must reside in the same region as the event rule.
Log on to the EventBridge console. In the left-side navigation pane, click Event Buses.
In the top navigation bar, select a region. On the Event Buses page, click the name of the event bus that you want to manage.
In the left-side navigation pane, click Event Rules. On the page that appears, click Create Rule.
In the Create Rule wizard, perform the following steps:
In the Configure Basic Info step, enter a rule name in the Name field and a rule description in the Description field. Then, click Next Step.
In the Configure Event Pattern step, set the Event Source Type parameter to Custom Event Source and select the custom event source that you configured in Step 1 from the Event Source drop-down list. Then, in the Pattern Content code editor, specify an event pattern and click Next step.
For more information, see Event patterns.
In the Configure Targets step, configure event targets and click Create.
NoteYou can configure up to five event targets for an event rule.
Parameter
Description
Service Type
Select Function Compute from the drop-down list.
Function
Select the function that you created from the drop-down list.
Event
Select Complete Event, Partial Event, Fixed Value, or Template based on your business requirements. In this example, Template is selected. For more information, see Event Transformation.
The following sample code provides examples of variables and templates:
Sample variables:
{
  "source":"$.source",
  "type":"$.type"
}
Sample template:
The event comes from ${source},event type is ${type}.Version and Alias
Select Specified Version or Specified Alias.
If you select Specified Version, you must configure the Version parameter.
If you select Specified Alias, you must configure the Alias parameter.
Invocation Mode
Select Synchronous or Asynchronous. For more information, see Synchronous invocations and Overview.
Synchronous: During a synchronous invocation, the result is directly returned after an event is processed by a function.
Asynchronous: When Function Compute receives an asynchronous invocation request, Function Compute immediately returns a response after the request is persisted instead of waiting for the request to be executed before a response is returned.
Event Format
The format in which events are delivered to the download function. Valid values:
Object: Events are delivered to the downstream function in objects.
ObjectList: Events are delivered to the downstream function in arrays.
NoteThis parameter is optional. If you do not specify this parameter, events are delivered to downstream functions in the ObjectList format.
Retry Policy and Dead-letter Queue
For more information, see Retry policies and dead-letter queues.
Step 3: Publish an event
import com.aliyun.openservices.ons.api.Message;
import com.aliyun.openservices.ons.api.OnExceptionContext;
import com.aliyun.openservices.ons.api.Producer;
import com.aliyun.openservices.ons.api.SendCallback;
import com.aliyun.openservices.ons.api.SendResult;
import com.aliyun.openservices.ons.api.ONSFactory;
import com.aliyun.openservices.ons.api.PropertyKeyConst;

import java.util.Properties;

public class ProducerTest {
    public static void main(String[] args) {
        Properties properties = new Properties();
        // The AccessKey ID that you created in the Alibaba Cloud Management Console for authentication.
        System.getenv("ALIBABA_CLOUD_ACCESS_KEY_ID");
        // The AccessKey secret that you created in the Alibaba Cloud Management Console for authentication.
        System.getenv("ALIBABA_CLOUD_ACCESS_KEY_SECRET");
        // The timeout period for sending the message. Unit: milliseconds.
        properties.setProperty(PropertyKeyConst.SendMsgTimeoutMillis, "3000");
        // The TCP endpoint. You can obtain the TCP endpoint in the TCP Endpoint section of the Instance Details page in the ApsaraMQ for RocketMQ console.
        properties.put(PropertyKeyConst.NAMESRV_ADDR,
          "XXX");

        Producer producer = ONSFactory.createProducer(properties);
        // Before you send the message, call the start() method only once to start the producer.
        producer.start();

        Message msg = new Message(
                // The topic to which the message that you want to send belongs.
                "TopicTestMQ",
                // The message tag. A message tag is similar to a Gmail tag and can be used by consumers to filter messages on the ApsaraMQ for RocketMQ broker.
                "TagA",
                // The message body. A message body is in the binary format. ApsaraMQ for RocketMQ does not process message bodies. The producer and consumer must agree on the serialization and deserialization methods.
                "Hello MQ".getBytes());

        // The message key. The key is the business-specific attribute of a message and must be globally unique whenever possible. If a message fails to be sent, you can use the key to query and resend the message in the ApsaraMQ for RocketMQ console.
        // Note: A message can be sent and received even if you do not specify the message key.
        msg.setKey("ORDERID_100");

        // Send the message in asynchronous mode. The callback function returns the result to the client.
        producer.sendAsync(msg, new SendCallback() {
            @Override
            public void onSuccess(final SendResult sendResult) {
                // The message is sent.
                System.out.println("send message success. topic=" + sendResult.getTopic() + ", msgId=" + sendResult.getMessageId());
            }

            @Override
            public void onException(OnExceptionContext context) {
                // Specify the logic that you want to use to resend or persist the message if the message fails to be sent and needs to be sent again.
                System.out.println("send message failed. topic=" + context.getTopic() + ", msgId=" + context.getMessageId());
            }
        });

        // Obtain the value of the msgId parameter before the SendCallback method returns the result.
        System.out.println("send message async. topic=" + msg.getTopic() + ", msgId=" + msg.getMsgID());

        // Before you exit the application, shut down the producer.   Note: This step is optional.
        producer.shutdown();
    }
}
Verify the result
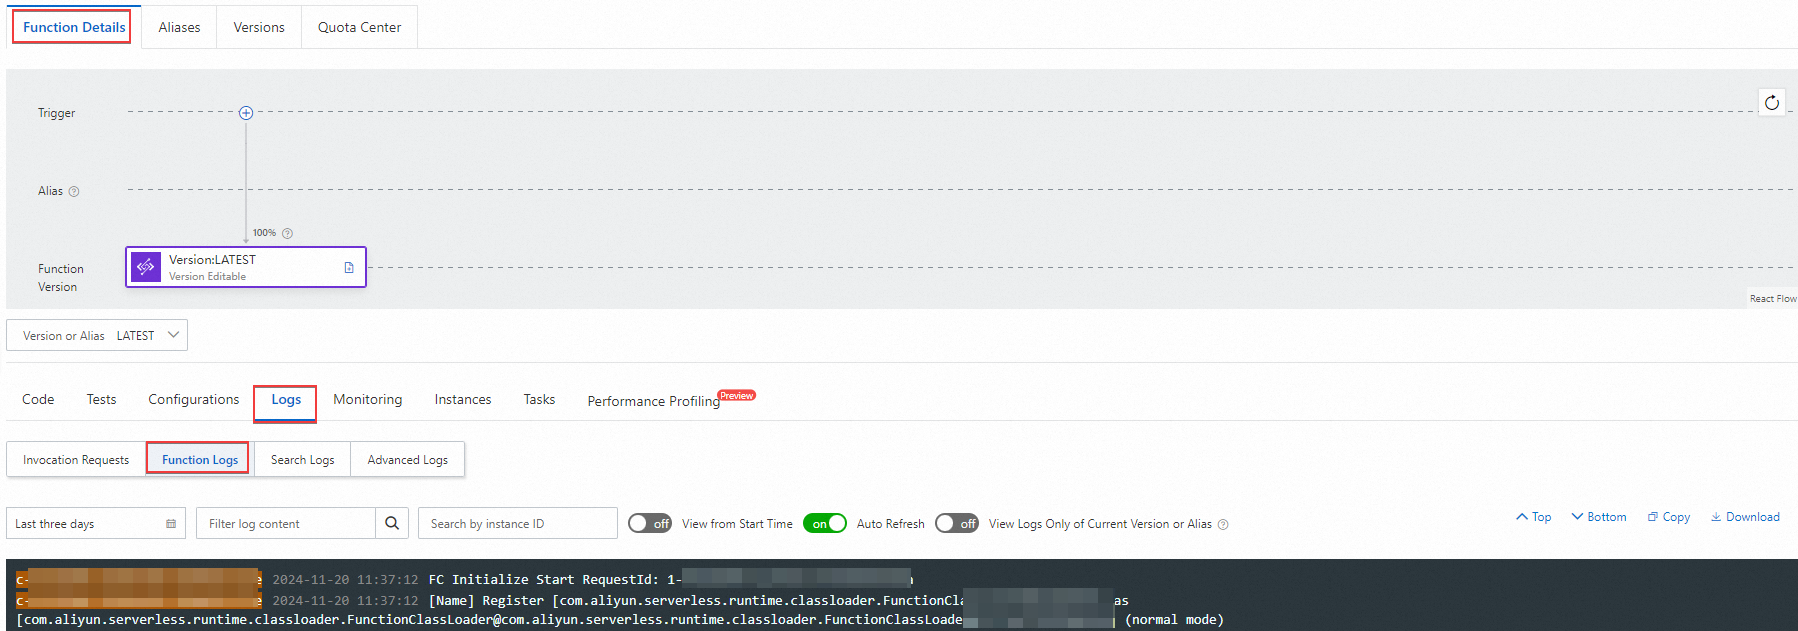
To verify the results, you can view logs in the Function Compute console.
Log on to the Function Compute console.
In the left-side navigation pane, click Functions. In the top-navigation bar of the page that appears, select the region where the function that you want to manage resides.
On the Functions page, click the name of the function that you want to manage.
On the Function Details page, click the Logs tab and then click Function Logs to view the logs of the function.
FAQ
How can I locate the issue if the event fails to be published?
If an event fails to be published, you can view the response to the publishing request for troubleshooting. You can go to the EventBridge console and view the related information in the Event Delivery section of the Event Trace message. Then, take appropriate measures based on the response returned.
What can I do if an event fails to be published to Function Compute and the "[500]ConnectErrorconnectiontimedout" error is returned in the response?
- Log on to the Function Compute console. Execute the function to which the event is routed and check the execution duration.
- If the execution duration is longer than 15s, check the network connection. If the execution duration is shorter than 15s, check whether you can access the endpoint for the region where the service to which the event is routed is deployed.
- If you cannot access the endpoints of the region where Function Compute is deployed, contact the Function Compute engineers.