ApsaraMQ for RocketMQ requires three resources before your application can send or receive messages through a TCP client SDK: an instance, a topic, and a group ID. This guide walks you through creating each resource in the console and obtaining the TCP endpoint your application needs to connect. When you use the SDK, configure the resource parameters based on the resource information you create in this guide.
Prerequisites
Protocols and network constraints
ApsaraMQ for RocketMQ provides client SDKs for multiple programming languages. SDKs communicate over either TCP or HTTP. Create separate group IDs for each protocol. For protocol-specific group limits, see Manage groups.
| Constraint | Details |
|---|---|
| Region and instance scoping | A topic is accessible only to producers and consumers whose group belongs to the same instance and region. For example, a topic on Instance A in China (Hangzhou) is accessible only to groups on Instance A in China (Hangzhou). |
| Endpoint protocol matching | TCP endpoints and HTTP endpoints are not interchangeable. If you use a TCP client SDK, specify a TCP endpoint. |
| Public vs. private endpoints | Both endpoint types are available in all regions. Use a Virtual Private Cloud (VPC) endpoint in production. Use a public endpoint only when VPC or Cloud Enterprise Network (CEN) is unavailable -- for example, for cross-region access, on-premises connections, or Internet access. Public endpoints incur outbound traffic charges. |
Step 1: Create an instance
An instance is a managed virtual machine that hosts topics and group IDs for the ApsaraMQ for RocketMQ service.
Log on to the ApsaraMQ for RocketMQ console.
In the left-side navigation pane, click Instances.
In the top navigation bar, select a region. Example: China (Hangzhou).
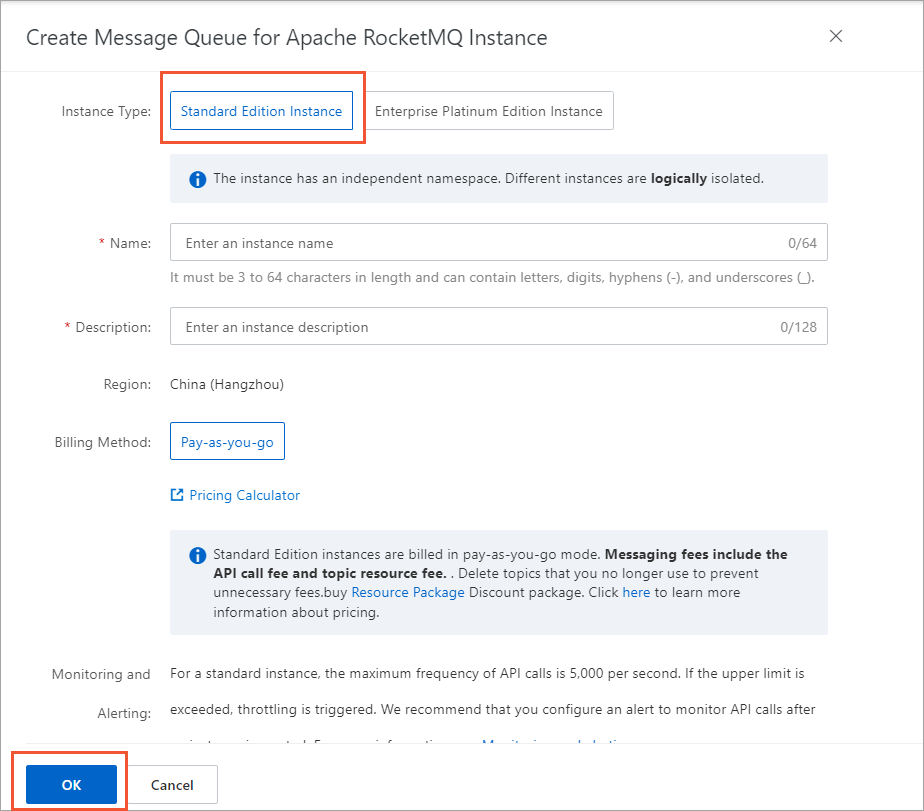
On the Instances page, click Create Instance.
In the Create Message Queue for Apache RocketMQ Instance panel, configure the Instance Type, Name, and Description parameters and click OK. For more information about the billing of Standard Edition and Enterprise Platinum Edition instances, see Billing overview.
Verify
After the instance is created, it appears on the Instances page. Confirm that the instance is listed before you proceed.
Step 2: Create a topic
A topic categorizes messages by business purpose. Producers send messages to a topic, and consumers subscribe to it. Each topic supports only one message type, so create separate topics for different types:
Topic_Order-- normal messages (order notifications)Topic_Payment-- transactional messages (payment processing)Topic_Reminder-- scheduled and delayed messages (reminders)
A topic belongs to a single instance. Topic A on Instance A is unavailable on Instance B. Each topic name must be unique within its instance.
On the instance details page, click Topics in the left-side navigation pane.
On the Topics page, click Create Topic.
In the Create Topic panel, configure the following parameters and click OK.
Parameter Description Name Enter a topic name. Example: Topic_Order.Description Optional. Enter a description for the topic. Message Type Select Normal Message.
This example uses normal messages. The topic you create here supports only normal messages. To send other message types (transactional, scheduled, or delayed), create a separate topic with the corresponding message type. For details, see Message types.
Verify
The new topic appears in the topic list. Confirm that the Status column shows Enabled.
If the status shows Creating, refresh the page. The topic is ready after the status changes to Enabled.
Step 3: Create a group ID
A group ID identifies a set of producers or consumers of the same type. Every consumer must specify a group ID. Producers do not require one.
| Rule | Details |
|---|---|
| Group limit | Each instance supports up to 1,000 groups. Reuse or delete unused groups to stay within the limit. To request a higher limit, contact ApsaraMQ for RocketMQ technical support. |
| Instance scoping | A group belongs to a single instance. A group on Instance A cannot be used on Instance B. |
| Protocol separation | Create a separate group for each protocol (TCP or HTTP). Mixing protocols within the same consumer group can cause message consumption failures, duplication, or loss. Switching the protocol used by consumers in a group takes approximately 1--2 hours. |
| Console display | If consumers use a protocol that differs from the one shown in the console, console metrics may be inaccurate, but message delivery is unaffected. Contact technical support to correct the displayed protocol. |
On the instance details page, click Groups in the left-side navigation pane.
On the Groups page, choose TCP > Create Group.
In the Create Group for TCP Protocol panel, configure the Group ID and Description parameters and click OK.
Verify
The new group ID appears in the group ID list.
Step 4: Get the TCP endpoint
With all resources created, copy the TCP endpoint. Your application needs this endpoint to connect producers and consumers to the instance.
On the instance details page, click Instance Details in the left-side navigation pane.
On the Instance Details page, click the Endpoints tab.
In the TCP Endpoint section, hover over the endpoint and click to copy it.
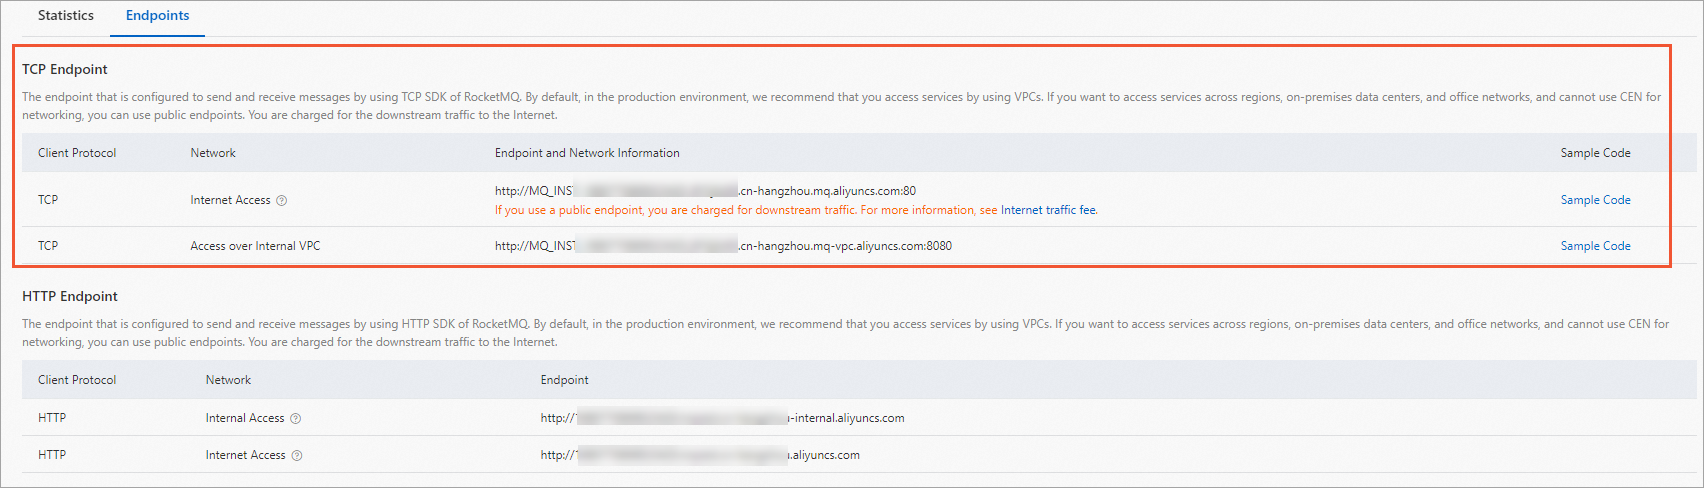
Use the correct endpoint type for your SDK. A TCP client SDK requires the TCP endpoint; an HTTP client SDK requires the HTTP endpoint. For production environments, use the private (VPC) endpoint. Use the public endpoint only when VPC or CEN is unavailable. Public endpoints incur outbound traffic charges.
What's next
Start sending and receiving messages: