X-Pack Watcher is a monitoring and alerting service that is developed for Elasticsearch. If you configure X-Pack Watcher for your Elasticsearch cluster, X-Pack Watcher can trigger actions when specific conditions are met. For example, if the logs index contains errors, X-Pack Watcher triggers the system to send alert notifications by using emails or WeCom messages. This topic describes how to configure a WeCom chatbot to receive alert notifications from X-Pack Watcher.
Overview
X-Pack Watcher consists of four main components: a trigger, an input, a condition, and actions. A trigger defines how often a watch is executed. An input retrieves data from the cluster. A condition determines whether the retrieved data meets a specified threshold. Actions define the notification method, such as a webhook, to use when the condition is met.
Prerequisites
-
You have created an Alibaba Cloud Elasticsearch instance. For more information, see Create an Alibaba Cloud Elasticsearch instance.
Note-
For the old network architecture, X-Pack Watcher supports only single-availability-zone Elasticsearch instances. Multi-availability-zone instances are not supported.
-
For the new network architecture, you must configure a PrivateLink connection for the instance to bypass network restrictions. For more information, see Configure a PrivateLink connection for an instance.
For more information about network architectures, see [Notice] Network architecture adjustment.
-
-
You have enabled X-Pack Watcher for your Elasticsearch instance. For more information, see Configure YML parameters.
-
You have created an ECS instance in your virtual private cloud (VPC). For more information, see Create an instance by using custom settings.
NoteX-Pack Watcher in Alibaba Cloud Elasticsearch cannot access the public internet directly. It communicates through the private endpoint of your instance within a VPC. Therefore, the ECS instance in your VPC must have public internet access, either by assigning an elastic IP address (EIP) or by configuring source network address translation (SNAT). For more information, see Associate an EIP or Configure SNAT.
A WeCom chatbot is configured, and the webhook URL of the chatbot is obtained.
Procedure
Step 1: Configure an NGINX proxy and configure a security group rule for the ECS instance
Configure an NGINX proxy on the ECS instance.
X-Pack Watcher sends alerts to an NGINX proxy on your ECS instance, which then forwards them to DingTalk or WeCom.
-
Install NGINX on the ECS instance.
Configure the nginx.conf file.
Replace the
serversection in the nginx.conf file with the following configuration.server { listen 8080; server_name _; root /usr/share/nginx/html; # Load configuration files for the default server block. include /etc/nginx/default.d/*.conf; location / { proxy_pass <Webhook URL of your WeCom chatbot>; } error_page 404 /404.html; location = /40x.html { } error_page 500 502 503 504 /50x.html; location = /50x.html { } }Replace <Webhook URL of the WeCom chatbot> with the webhook URL of the WeCom chatbot that you configured to receive alert notifications.
-
Reload the configuration file and restart NGINX.
/usr/local/webserver/nginx/sbin/nginx -s reload            # Reload the configuration file
/usr/local/webserver/nginx/sbin/nginx -s reopen            # Restart NGINX
-
-
Configure the ECS security group.
Allow inbound traffic from your Alibaba Cloud Elasticsearch instance to the NGINX proxy on the ECS instance.
-
Log on to the Alibaba Cloud ECS console.
-
In the left-side navigation pane, choose .
-
On the Cluster page, click the name of the target instance.
-
Click the Security Group tab.
-
On the Security Groups tab, click the name of the target security group.
-
On the Inbound tab, click Add Rule.
-
Configure the parameters.
Parameter
Description
Action
Select Permitted.
Priority
Keep the default value.
Protocol
Select Custom TCP.
Access Source
Enter the IP addresses of all nodes in your Alibaba Cloud Elasticsearch instance.
NoteTo get the IP addresses of the nodes, see View basic information about nodes.
Destination
Enter the port that NGINX is configured to listen on. This topic uses port 8080 as an example.
Description
Enter a description for the rule.
-
Click OK.
-
Step 2: Configure a watch for alerting
Log on to the Kibana console of your Elasticsearch cluster.
For instructions, see Log on to the Kibana console.
NoteExamples here use Elasticsearch V6.7.0. Operations may vary slightly for other versions.
In the left navigation menu, choose .
On the Console, run the following command to create a watch.
In this example, a watch named developer_count_watch is created to search the zl-testgaes index for the developer field every 10 seconds. If the value of the developer field is Nintendo and the number of occurrences of the developer field is more than 158,974, an alert is triggered.
PUT _xpack/watcher/watch/developer_count_watch
{
  "trigger": {
    "schedule": {
      "interval": "10s"
    }
  },
  "input": {
    "search": {
      "request": {
        "indices": ["zl-testgaes"],
        "body": {
          "query": {
    "bool": {
      "must": [
        {"match":
         {
           "developer" : "Nintendo"
        }
        },
        {
        "range": {
          "year_of_release": {
            "gte": "2011-09-20T16:00:00.000Z",
            "lte": "2011-12-31T16:00:00.000Z"
                  }
              }
        }
      ]
    }
  }
        }
      }
    }
  },
  "condition": {
    "compare": {
      "ctx.payload.hits.total": {
        "gt": 158974
      }
    }
  },
  "actions" : {
  "test_issue" : {
    "webhook" : {
      "method" : "POST",
      "url" : "http://<yourAddress>:8080",
      "body" : "{\"msgtype\": \"text\", \"text\": { \"content\": \"developer is Nintendo,More than 158974\"}}"
    }
  }
}
}
Table 1. Parameters
Parameter
Network architecture
Description
url
New network architecture
The domain name of the endpoint. Requests are forwarded based on the domain name. For more information about how to obtain the domain name of an endpoint, see Configure a private connection for an Elasticsearch cluster.
Original network architecture
Set this parameter to one of the following items:
IP address of the NGINX proxy. In this case, requests are forwarded over the Internet by using the NGINX proxy that resides in the same VPC as the Elasticsearch cluster.
The webhook URL of the WeCom chatbot.
NoteIf you see the error
No handler found for uri [/_xpack/watcher/watch/log_error_watch_2] and method [PUT]when you run the command, X-Pack Watcher is not enabled for your Alibaba Cloud Elasticsearch instance. You must enable it and then run the command again. For more information, see Configure YML parameters.
Step 3: View the alert notifications
In normal cases, if the conditions specified in Step 2: Configure a watch for alerting are met, the alert notifications are sent to your WeCom group, as shown in the following figure.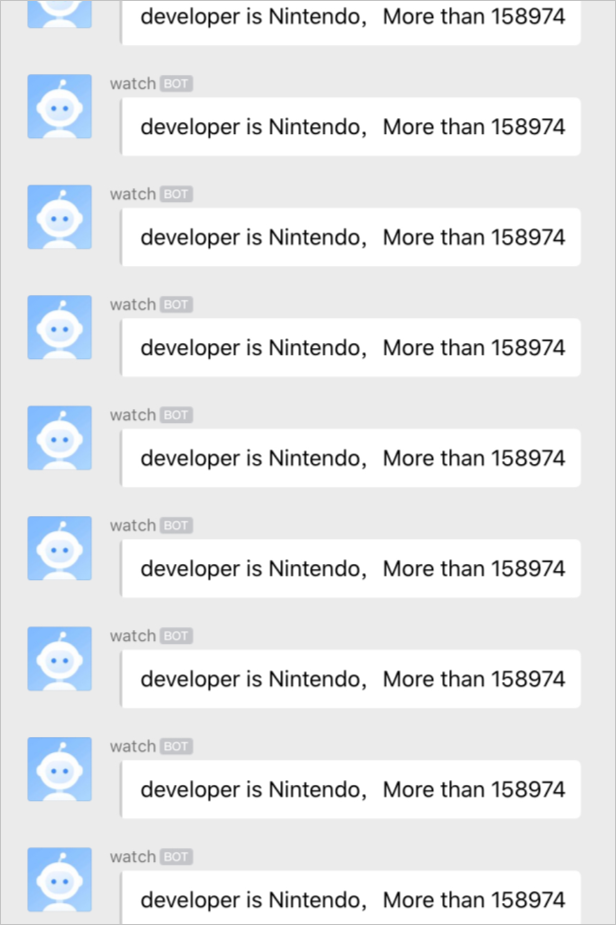
If you no longer require this watch, you can run the following command to delete the watch:
DELETE _xpack/watcher/watch/developer_count_watch