Security zones in Apache Ranger 2.1.0 and later let you partition resources across departments and assign dedicated administrators to each zone. Zone administrators control permissions only within their own zone, keeping resource access management isolated and scalable.
This topic describes how to create security zone administrators, configure security zones, and verify that zone isolation works correctly.
Prerequisites
Before you begin, ensure that you have:
An E-MapReduce (EMR) cluster created with Ranger selected from the optional services. See Create a cluster.
Apache Hive and Hadoop Distributed File System (HDFS) integrated into Ranger. See Enable Hive in Ranger and configure related permissions and Integrate HDFS with Ranger.
Limitations
Security zones are supported only in EMR V5.X.
How it works
When a Ranger plug-in evaluates an access request, it identifies the security zone that the requested resource belongs to:
Resource belongs to a security zone: Only the policies configured in that security zone apply. Policies from other security zones are ignored.
Resource does not belong to any security zone: Ranger falls back to the default (unnamed) zone and applies policies that are not scoped to a specific security zone.
Each security zone has two levels of administrators:
Zone administrators: Manage policies only within their assigned security zone. Attempting to configure policies for resources in another zone has no effect.
Super administrators: Created with the Admin role in Ranger. Can configure policies across all resources in all security zones.
Example scenario
A company has two departments. Department A uses Hive database a and HDFS path /a. Department B uses Hive database b and HDFS path /b. The two security zones are configured as follows:
Zone: a
  service: emr-hive; path=/a/*
  service: emr-hdfs; database=a

Zone: b
  service: emr-hive; path=/b/*
  service: emr-hdfs; database=b
Each department's administrator manages permissions only within their own zone.
Create security zone administrators
The following steps create admin_a and admin_b as zone administrators.
Access the Ranger web UI. See Access the web UI of Ranger.
In the top navigation bar, choose Settings > Users/Groups/Roles.
On the Users tab, click Add New User.

On the User Detail page, enter the user information, set Select Role to User, and click Save.
ImportantSet Select Role to User, not Admin. Setting this parameter to Admin creates a super administrator who can configure policies across all security zones.
Repeat these steps to create both admin_a and admin_b.
Configure security zones
The following steps configure Security Zone a and Security Zone b. Repeat the steps for each zone.
Access the Ranger web UI. See Access the web UI of Ranger.
In the top navigation bar, click Security Zone.
On the Security Zone page, click the
 icon in the Security Zones section.
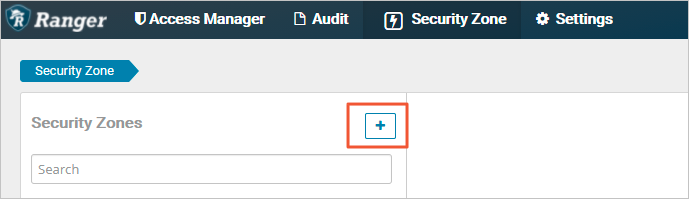
On the Create Zone page, configure the following parameters.
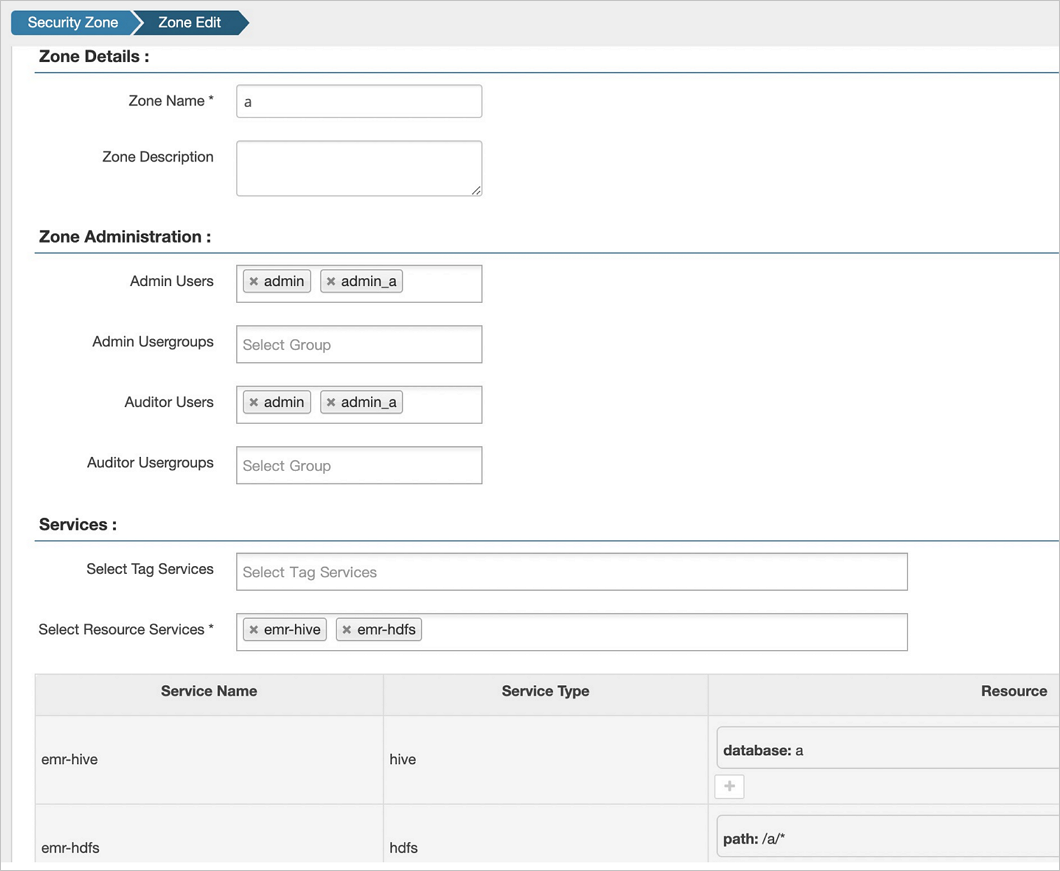
Parameter Description Example Zone Name The name of the security zone. aAdmin Users The zone administrators. Must be users with Select Role set to User in the Settings module (not Admin). See Create security zone administrators. adminandadmin_aAuditor Users The users who are allowed to view the audit logs of the security zone. adminandadmin_aSelect Resource Services The Ranger services whose resources you want to include in this security zone. emr-hiveandemr-hdfsResource The specific resources to allocate to the security zone. database=aandpath=/a/*Click Save.
Repeat steps 3 through 5 to configure Security Zone b.
Verify security zone isolation
Log on to the Ranger web UI as
admin_a. See Access the web UI of Ranger.In the upper-right corner, select
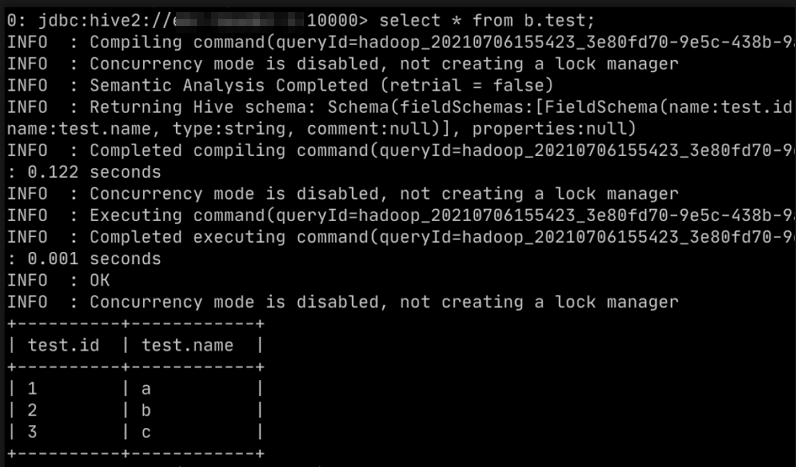
ain the Security Zone section.Click emr-hive. As
admin_a, you can view and modify only the policies in Security Zonea. To verify isolation, grant thetestuser SELECT permissions on a table in Hive Databaseb, then run the query using Beeline. The permission has no effect because Hive Databasebbelongs to Security Zoneb. Ranger evaluates the request using Security Zonebpolicies only.
Log on to the Ranger web UI as
admin_b. See Access the Ranger UI.In the upper-right corner, select
bin the Security Zone section.Click emr-hive. Grant the
testuser SELECT permissions on a table in Hive Databaseb, then run the query using Beeline. The permission takes effect becauseadmin_bis configuring policies within Security Zoneb, where Databasebbelongs.