When you need to push code changes to Spring Cloud, Dubbo, or High-Speed Service Framework (HSF) applications running on Elastic Compute Service (ECS) clusters, the toolkit-maven-plugin lets you build and deploy directly from your Maven project without switching to the Enterprise Distributed Application Service (EDAS) console.
Prerequisites
Before you begin, make sure you have:
A Spring Cloud, Dubbo, or HSF application deployed to an ECS cluster in EDAS
The application ID and region ID for the target application (available in the EDAS console)
An AccessKey pair for a Resource Access Management (RAM) user with Application Management permissions
This guide covers ECS cluster deployments. To update an application in a Kubernetes cluster, see Use Alibaba Cloud Toolkit to release an application to all instances in a Kubernetes cluster at a time.
Step 1: Add the plug-in dependency
Add the toolkit-maven-plugin dependency to the pom.xml file in your project root:
<build>
    <plugins>
        <plugin>
            <groupId>com.alibaba.cloud</groupId>
            <artifactId>toolkit-maven-plugin</artifactId>
            <version>1.1.5</version>
        </plugin>
    </plugins>
</build>
Use version 1.1.5. Later versions may not be fully supported.The toolkit-maven-plugin is an open source tool that you can use to build a complete application lifecycle framework and deploy an environment for a project. For more details, see toolkit-maven-plugin overview.
Step 2: Create a deployment configuration file
Create a file named .edas_config.yaml in the project root directory and define your deployment parameters.
Configuration file resolution
| Condition | Behavior |
|---|---|
.edas_config.yaml exists in the project root | The plug-in loads it automatically as the default configuration |
-Dedas_config=<config-file-name> is passed | The plug-in uses the specified file instead of the default |
Both a default file and -Dedas_config are present | The specified file takes precedence |
| Project is a Maven submodule | Place the configuration file in the submodule root directory |
For multi-module setup details, see Deploy multi-module projects.
Example configurations
Update all instance groups
To update every instance group of an application, specify only the region and application ID:
env:
    region_id: cn-beijing
app:
    app_id: eb20****-e6ee-4f6d-a36f-5f6a5455****
Update a specific instance group with a package version
To target a single instance group and set the deployment package version:
env:
    region_id: cn-beijing
app:
    app_id: eb20dc8a-e6ee-4f6d-a36f-5f6a5455****
    package_version: 1.2
    group_id: 06923bb9-8c5f-4508-94d8-517b692f****
Replace the placeholder values with your actual region ID, application ID, group ID, and package version.
For a full list of deployment parameters, see Configure the parameters related to application deployment.
Step 3: Create an AccessKey file
Create a YAML file on your local machine to store your credentials:
access_key_id: <your-access-key-id>
access_key_secret: <your-access-key-secret>
Replace the placeholders with your actual values:
| Placeholder | Description | Where to find it |
|---|---|---|
<your-access-key-id> | AccessKey ID of a RAM user | AccessKey Pair page in the RAM console |
<your-access-key-secret> | AccessKey secret of the same RAM user | Same page as above |
Use the AccessKey pair of a RAM user with Application Management permissions, not the Alibaba Cloud account root user. The plug-in uses the AccessKey pair only to generate request signatures. The credentials are not transmitted for any other purpose.
Step 4: Build and deploy
From the project root (or the submodule directory for multi-module Maven projects), run:
mvn clean package toolkit:deploy -Daccess_key_file=<path-to-access-key-file>Command parameters
| Parameter | Description |
|---|---|
toolkit:deploy | Triggers deployment through the plug-in after packaging completes |
-Daccess_key_file | Path to the AccessKey file created in Step 3 |
For other ways to configure credentials, see Account configurations and priorities.
Deploy a prebuilt package without rebuilding
To skip the build step and deploy an existing JAR or WAR file, use the -Djar_path parameter:
mvn toolkit:deploy -Daccess_key_file=<path-to-access-key-file> -Djar_path=target/demo.jarThe path can be absolute or relative to the project root.
The -Djar_path parameter takes precedence over env parameters in the configuration file. You can also set the AccessKey file path in the env section of the configuration file. For details, see Configure the parameters related to application deployment.
Verify the deployment
After the deploy command finishes, check the results:
Terminal output
Review the Maven output in your terminal:
BUILD SUCCESSin the output confirms that the deployment completed.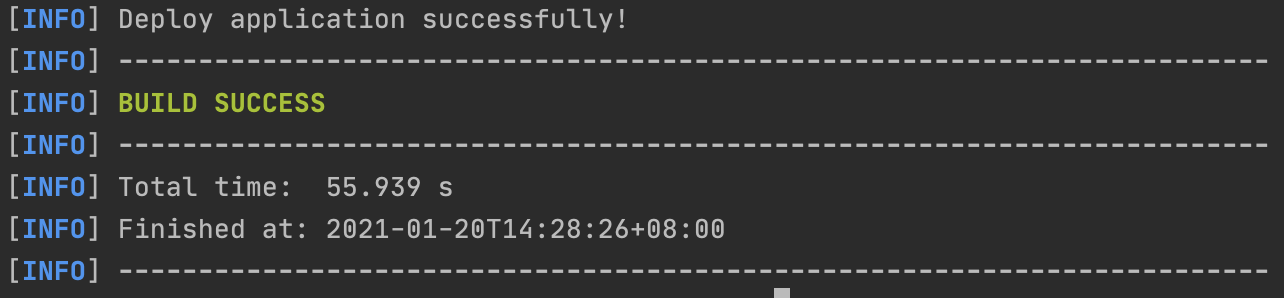
If the output contains
ERROR, review the error message, fix the issue, and redeploy.
EDAS console
Log on to the EDAS console and check the change records and application details pages to confirm the update was applied. For details, see Check the result.
Apsara Stack support
The toolkit-maven-plugin plug-in is available in Apsara Stack Enterprise V3.8.0 and later. Before you use the plug-in on Apsara Stack, configure an EDAS endpoint. For endpoint configuration details, see Configure the parameters related to application deployment. To get the endpoint, contact EDAS technical support.