Alibaba Cloud Toolkit is an IntelliJ IDEA plug-in that lets you deploy applications directly to Enterprise Distributed Application Service (EDAS) without leaving your IDE. After you develop and test your application locally, use the plug-in to deploy it to a Container Service for Kubernetes (ACK) cluster managed by EDAS.
Prerequisites
Before you begin, make sure that you have:
Java Development Kit (JDK) 1.8 or later
IntelliJ IDEA 2018.3 or later
An application deployed in an ACK cluster. For setup instructions, see Use an image to deploy a Java microservices application in a Kubernetes cluster
An AccessKey pair (AccessKey ID and AccessKey secret) for your Alibaba Cloud account or a Resource Access Management (RAM) user with EDAS deployment permissions
The JetBrains plug-in server is deployed outside the Chinese mainland. If you cannot download the plug-in due to a slow network response, join the DingTalk group provided at the end of this topic to obtain the offline installation package from Alibaba Cloud Toolkit technical support.
If you use a RAM user, the user must be synchronized to EDAS and authorized to deploy applications. See Authorize a RAM user for EDAS for setup instructions.
Step 1: Install Alibaba Cloud Toolkit
Open IntelliJ IDEA.
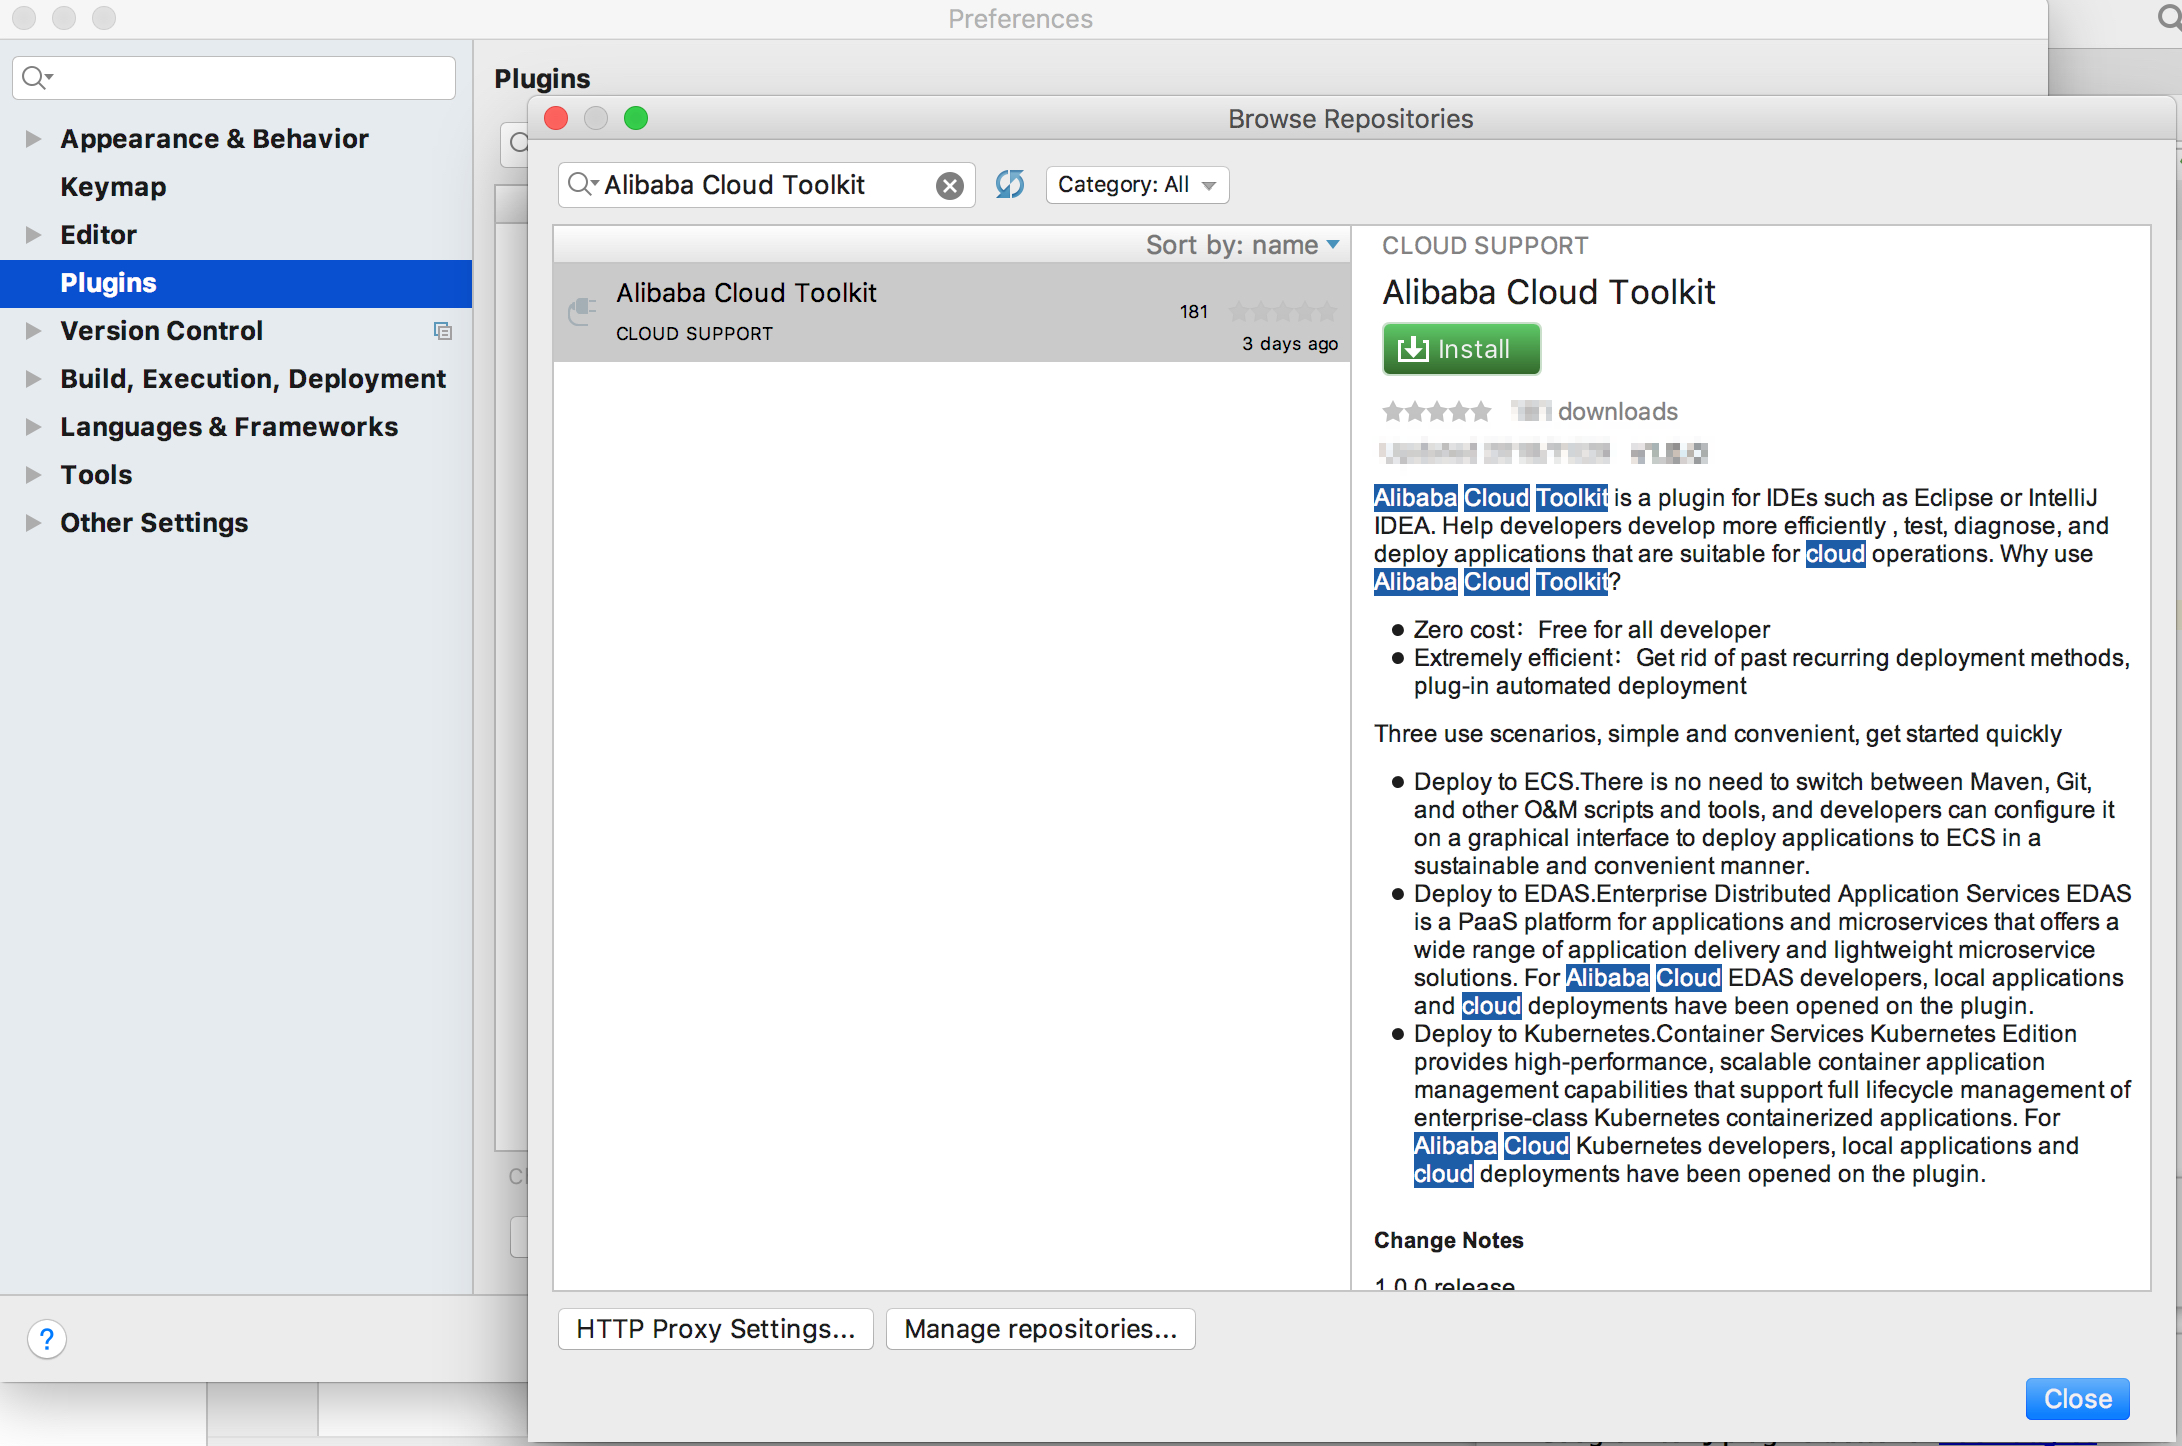
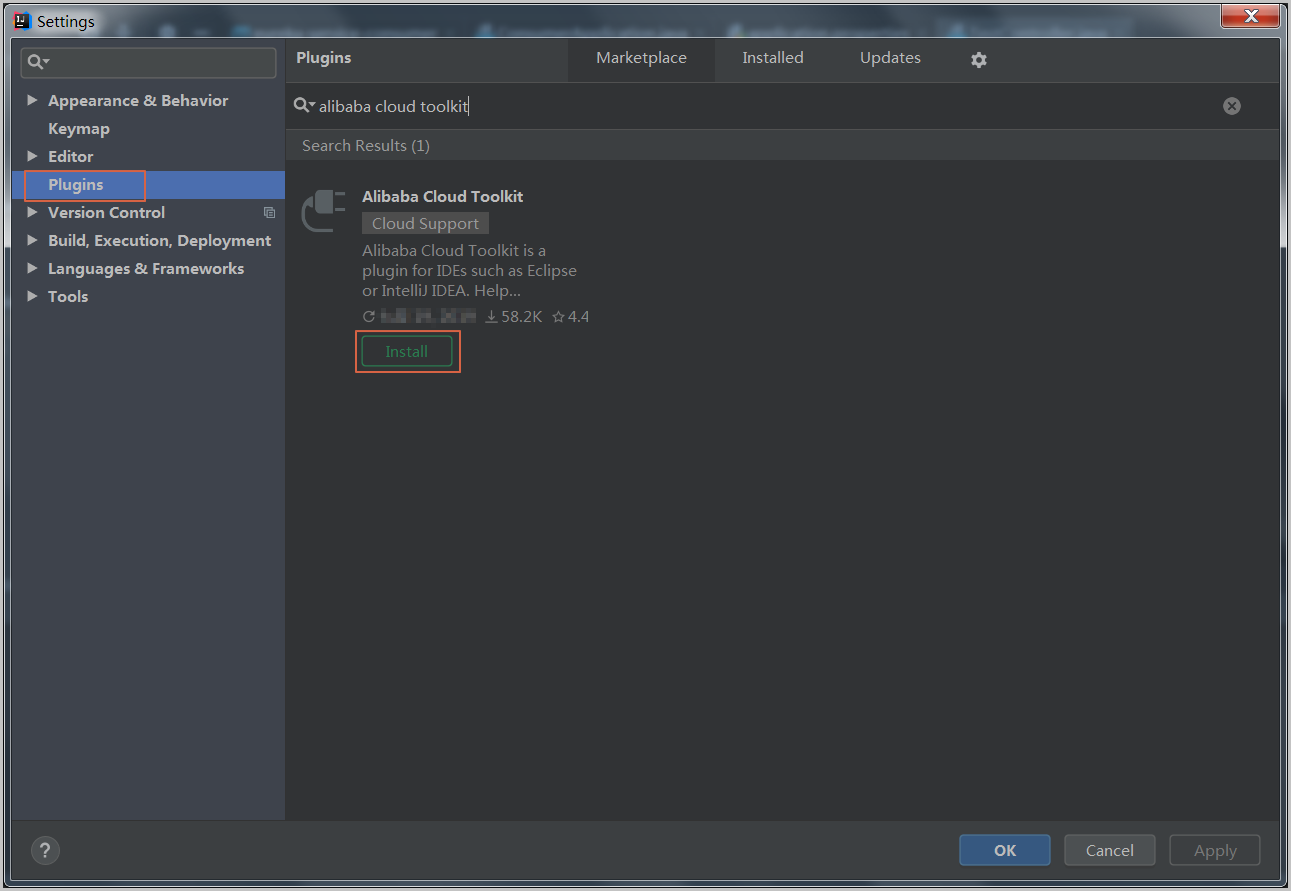
Open the plug-in settings:
macOS: Choose IntelliJ IDEA > Preferences > Plugins.
Windows: Choose File > Settings > Plugins.
In the search box, enter Alibaba Cloud Toolkit and click the search icon.
Click Install.
Restart IntelliJ IDEA. After the restart, the Alibaba Cloud Toolkit icon
 appears in the toolbar.
If you already have the plug-in installed, upgrade it to the latest version through the same Plugins settings page.
Step 2: Configure your Alibaba Cloud account
Set up your AccessKey pair so the plug-in can access EDAS on your behalf.
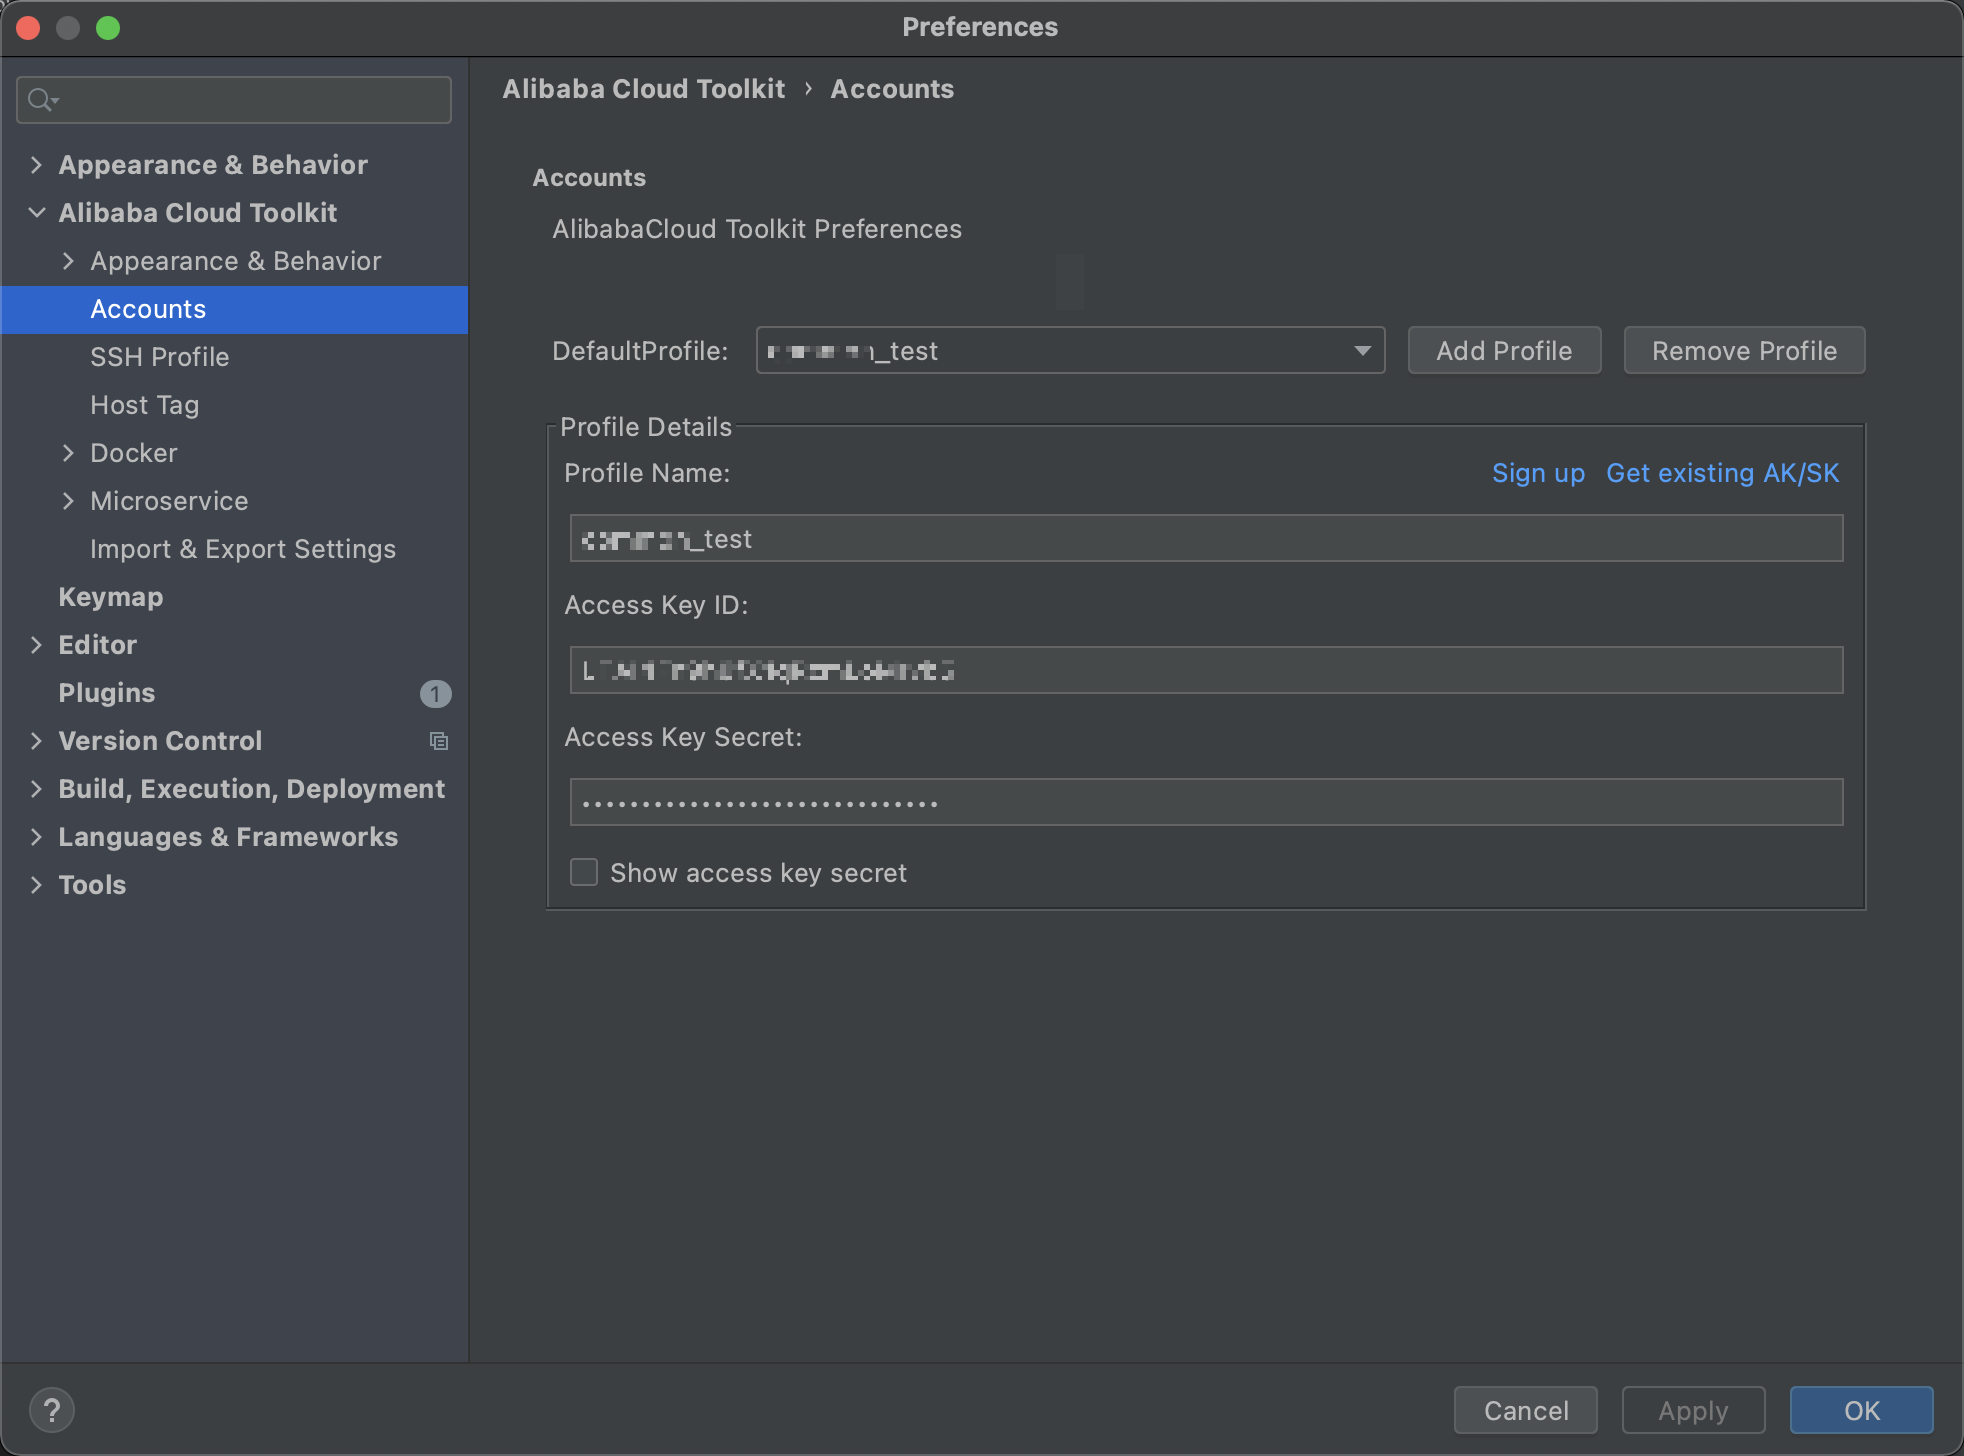
In IntelliJ IDEA, choose Tools > Alibaba Cloud > Preferences.
In the left navigation pane, choose Alibaba Cloud Toolkit > Accounts.
Enter your Access Key ID and Access Key Secret, then click OK.
Get your AccessKey pair:
If you have an Alibaba Cloud account, click Get existing AK/SK on the Accounts page. Log in and retrieve your AccessKey ID and AccessKey secret from the AccessKey Management page.
If you do not have an account, click Sign up to create one, then retrieve your AccessKey pair.
If you use a RAM user, make sure it is authorized to deploy applications in EDAS. See Authorize a RAM user for EDAS for details.
If your EDAS service runs on Apsara Stack Enterprise, configure an endpoint before proceeding. See Configure an endpoint for Apsara Stack Enterprise.
Step 3: Deploy your application
In IntelliJ IDEA, choose Tools > Alibaba Cloud > Deploy to EDAS > EDAS for Kubernetes Application. Alternatively, choose Run > Edit Configurations. In the Run/Debug configurations dialog box, choose Templates > EDAS on Alibaba Cloud > EDAS for Kubernetes Application.
On the Settings tab of the Deploy to EDAS dialog box, set the following parameters:
ImportantIf the application does not appear in the list, see Authorize a RAM user for EDAS.
Parameter Description Region The region where the application is deployed. Namespace The microservices namespace where the application is deployed. Application The name of the application. 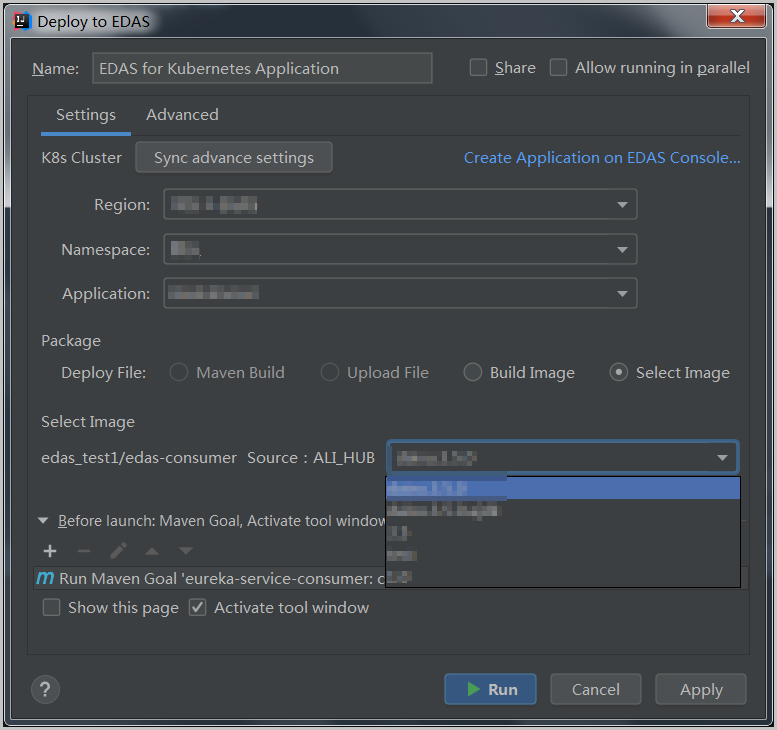
Select a deployment method:
Method Description Maven Build Adds a Maven build job to create the deployment package. For multi-module projects, see Deploy a multi-module project. Upload File Uploads a WAR or JAR package for deployment. Build Image Builds a container image from a Dockerfile. Set the Context Directory, Dockerfile path, and image Version. Select Image Deploys from an existing container image selected from the Select Image drop-down list. 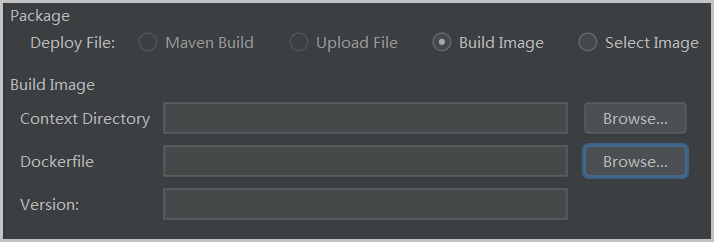
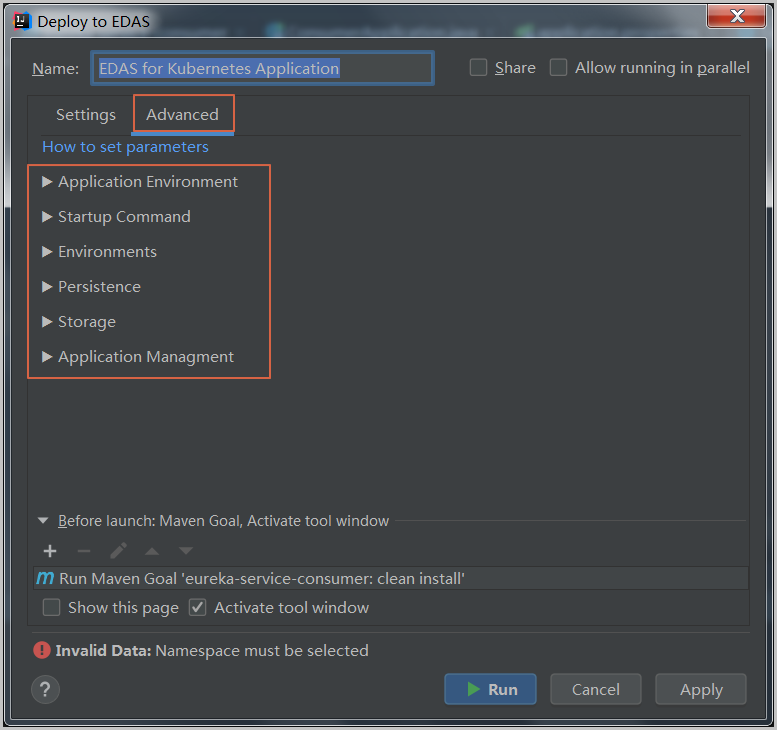
(Optional) Click the Advanced tab to configure additional deployment parameters. For full parameter details, see the DeployK8sApplication API reference.
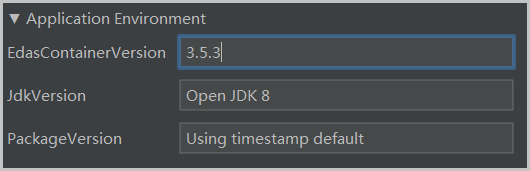
Application Environment: Set the runtime environment. Specify a new PackageVersion each time you deploy.
Startup Command: Specify the command and arguments to run when the container starts.
Environments: Define environment variables for the application.
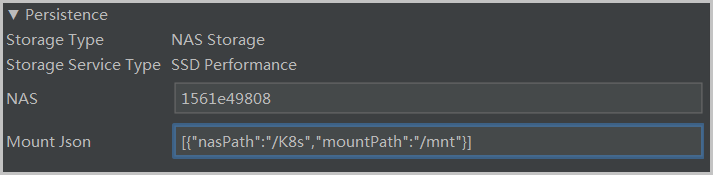
Persistence: Configure persistent storage volumes.
Storage: Configure local storage.
Application Management: Set lifecycle hooks and health probes:
Setting Description Poststart A container lifecycle hook triggered after a container is created. If the handler fails, the container is stopped and the restart policy determines whether to restart it. PreStop A container lifecycle hook triggered before a container is deleted. The handler runs before the delete request reaches the Docker daemon. The daemon sends a SIGTERM signal regardless of the handler result. Liveness A health probe that checks application health. If unhealthy, Kubernetes deletes and re-creates the container. Readiness A health probe that checks whether the application has started and is running as expected. If the application cannot run as expected, the container status is updated.
Click Apply, then click Run. Check the deployment log in the Console tab of IntelliJ IDEA to verify the result.
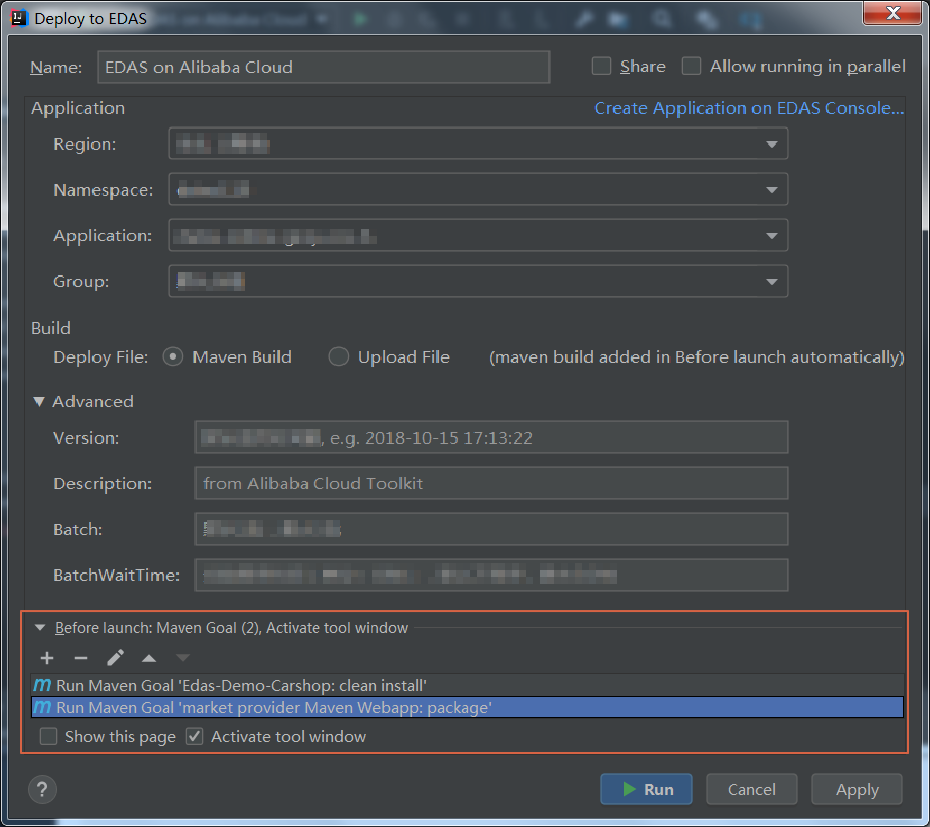
Deploy a multi-module project
For Maven multi-module projects, the last Maven job in the Before launch section must build the submodule you want to deploy.
Example: The CarShop project has the following structure:
carshop
├── itemcenter-api
├── itemcenter
├── detail
Both itemcenter and detail depend on itemcenter-api. To deploy the itemcenter submodule, add these two Maven jobs to the Before launch section:
Run
mvn clean installin the parent projectCarShop.Run
mvn clean packagein theitemcentersubmodule.
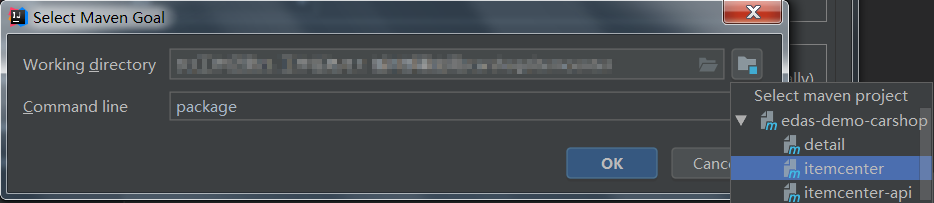
Manage Maven build jobs
In the Deploy to EDAS dialog box, the Before launch section lets you create, delete, modify, and reorder Maven build jobs.
In the Select Maven Goal dialog box, click the folder icon next to the Working directory field to select a module, then enter the build command in the Command line field.
Authorize a RAM user for EDAS
If a RAM user cannot see applications in the deployment list, the user is either not synchronized to EDAS or lacks the required permissions. Choose one of the following approaches to grant access.
Solution A: Grant full EDAS access through the RAM console
This approach grants the RAM user access to all EDAS resources.
In the RAM console, choose Identities > Users.
Find the RAM user and click Add Permissions.
In the Select Policy section, search for and select the AliyunEDASFullAccess policy, then click OK.
Review the authorization summary and click Complete.
Log in to the EDAS console with your Alibaba Cloud account. Choose System Management > RAM User, then click Synchronize RAM User.
Solution B: Grant fine-grained EDAS access through the EDAS console
This approach grants the RAM user permissions to specific applications only.
Log in to the EDAS console with your Alibaba Cloud account.
Choose System Management > Roles and click Create Role.
Enter a role name in the Role field. Under Optional Permissions, choose Applications > Basic Information > Deploy Application, click Add, then click OK.
Choose System Management > RAM User and click Synchronize RAM User.
Find the RAM user and click Manage Roles. Search for the role you created, select it, add it to the Selected section, and click OK.
Click Applications Authorized for the same RAM user. Search for the application, select it, add it to the Selected section, and click OK.
Configure an endpoint for Apsara Stack Enterprise
If your EDAS service runs on Apsara Stack Enterprise, configure an endpoint in Alibaba Cloud Toolkit before deploying. Contact EDAS technical support to get the endpoint value.
In the Preference (Filtered) dialog box, choose Appearance & Behavior > Endpoint.
Enter the endpoint value and click Apply and Close.