Re-initialize a data disk attached to an ECS instance to restore it to its initial state at creation.
Limitations
If the source snapshot of a data disk is deleted or unshared, the disk remains usable but cannot be re-initialized.
Potential impacts
Understand the following consequences before you proceed.
Re-initializing a data disk permanently erases all data added after its creation. Back up the data disk by creating a snapshot before proceeding.
|
Item |
Description |
|
Windows instances |
|
|
Linux instances |
|
Procedure
Step 1: Prepare
-
Re-initializing a data disk erases all its data. Back up your data by creating a snapshot before proceeding.
NoteSnapshots incur fees. See Snapshot billing.
-
The data disk is attached to an ECS instance.
-
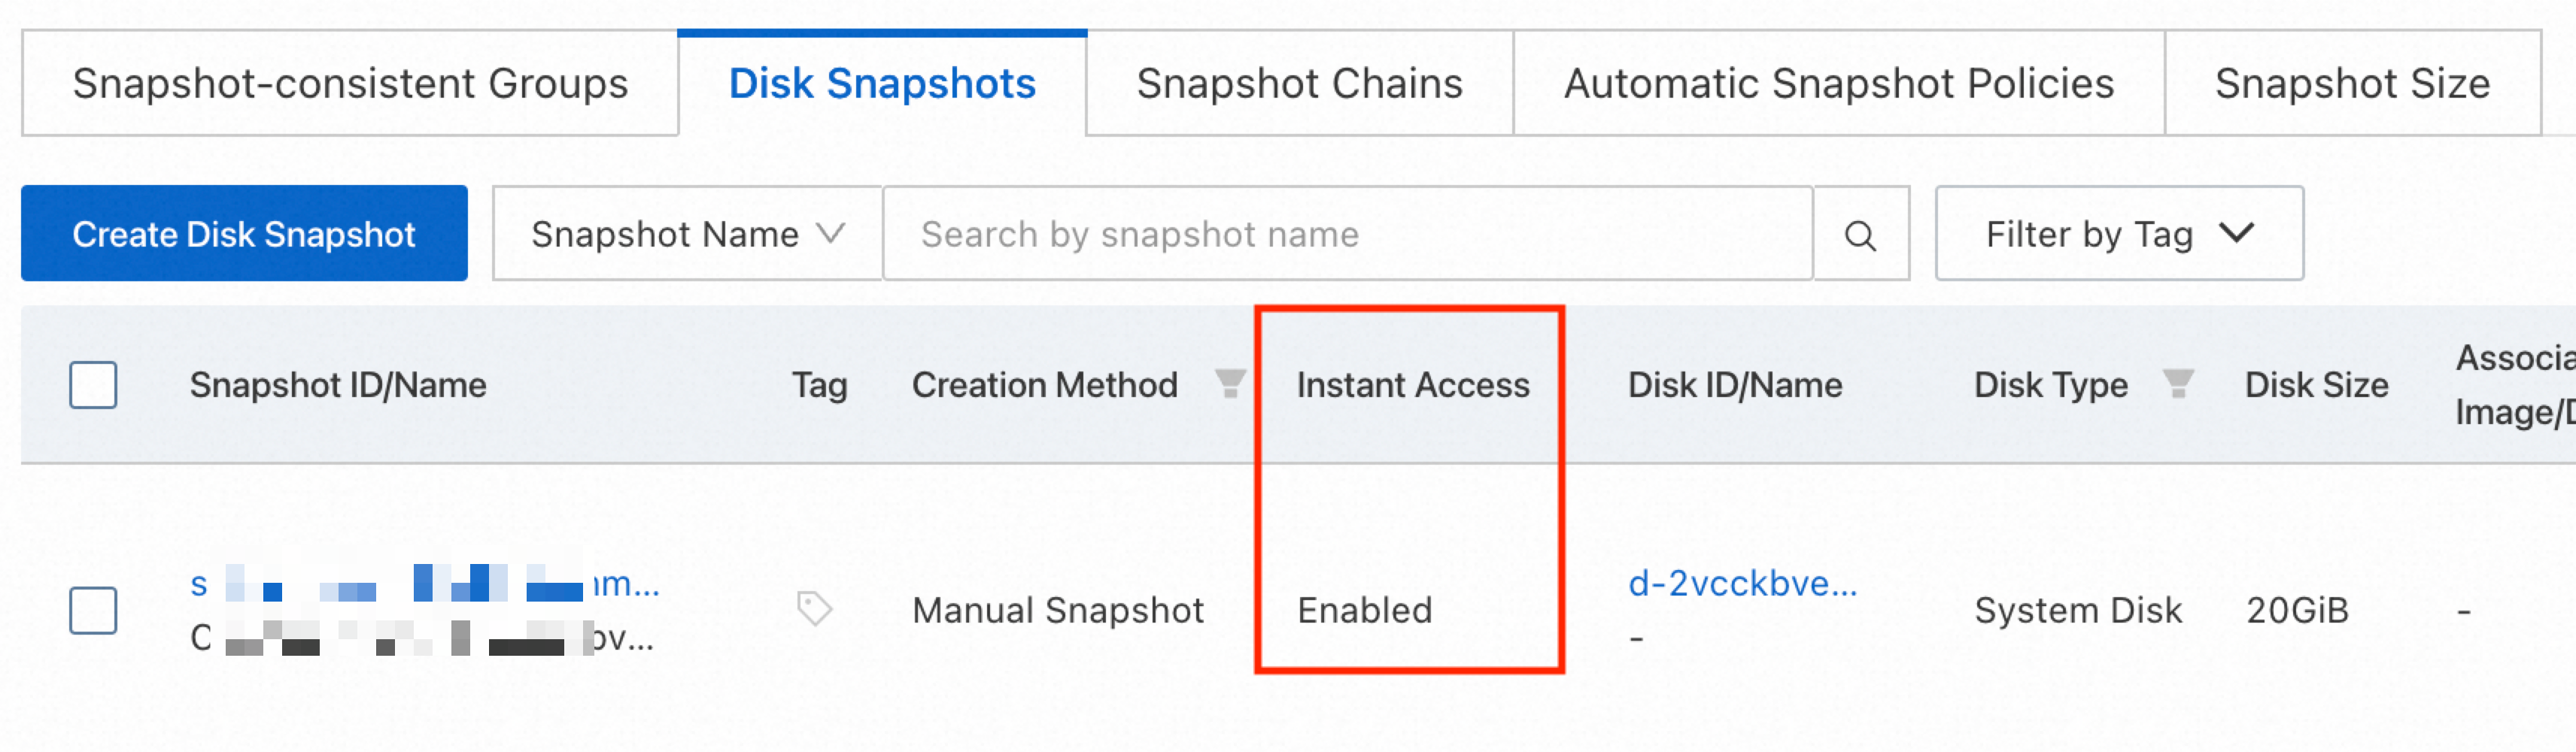
Legacy Instant Access is not enabled for your ESSD cloud disk. Re-initialization is not supported if a snapshot has legacy Instant Access enabled. The new version of Instant Access does not affect re-initialization. Check the snapshot list to determine which version is in use.
-
New version: The Instant Access status shows Enabled.
-
Legacy version: The Instant Access status shows an expiration date, such as Oct 20, 2023, 11:07:07 Remaining Before Expiration.

NoteTo disable legacy Instant Access, set the
DisableInstantAccessparameter in the ModifySnapshotAttribute operation. -
-
(Linux only) If
/etc/fstabcontains an auto-mount entry for the data disk partition, comment it out in/etc/fstabbefore re-initialization to prevent startup failures. Steps:-
Run
vim /etc/fstab. -
Press
Ito enter Insert mode. -
Add
#at the beginning of the data disk partition mount entry to comment it out.# /dev/vdb1 /mnt ext4 defaults 0 0NoteIn this example,
/dev/vdb1is the data disk partition and/mntis the mount point. Modify these values to match your actual configuration. -
Press
Esc, then enter:wqto save and exit.
-
Important
If an ECS instance uses the pay-as-you-go billing method and resides in a VPC, you must enable the standard mode when you stop the instance. If you enable the economical mode, you may be unable to start the instance after you re-initialize the disks attached to the instance.
-
The ESSD cloud disk does not have multi-attach enabled. Re-initialization is not supported for multi-attach data disks.
Step 2: Re-initialize the data disk
Re-initializing a data disk permanently erases all data added after its creation. Back up the data disk by creating a snapshot before proceeding.
Go to ECS console - Instances.
In the upper-left corner of the page, select a region and resource group.

-
Find the target ECS instance and click its ID to go to the Instance Details page.
-
Click the Block Storage tab, find the target data disk, and in the Actions column, click Re-initialize Disk.

-
In the Re-initialize Disk dialog box, read the notes and click Confirm.

Re-initialization is complete when the disk status changes to In Use.
-
Click Start to start the ECS instance.
-
Perform post-initialization tasks based on your instance type.
Linux instance
-
If created as an empty disk: The disk is reset with no data, partitions, or file system. Initialize the Linux data disk before use.
-
If created from a snapshot: Mount the file system again. Data added after creation is lost, but snapshot data, partitions, and file system are retained.
Windows instance
-
If created as an empty disk: The disk's file system and content are erased. Initialize the Windows data disk again.
-
If created from a snapshot: The disk is restored to the snapshot state. Mount the file system again. Data added after creation is lost.
-
After re-initialization, redeploy your applications and configurations to resume service.