This topic describes how to use an Elastic High Performance Computing (E-HPC) cluster in which GROMACS is installed to simulate water molecules to quickly run a job in Web Portal.
For more information about E-HPC Portal, see Overview.
Prerequisites
A service-linked role for E-HPC is created. The first time you log on to the E-HPC console, you are prompted to create a service-linked role for E-HPC.
A virtual private cloud (VPC) and a vSwitch are created. For more information, see Create and manage a VPC and Create a vSwitch.
Apsara File Storage NAS (NAS) is activated. A NAS file system and a mount target are created. For more information, see Create a file system and Manage mount targets.
Step 1: Create a cluster by using a template
Go to the Cluster List page.
Log on to the E-HPC console.
In the left part of the top navigation bar, select a region.
In the left-side navigation pane, click Cluster.
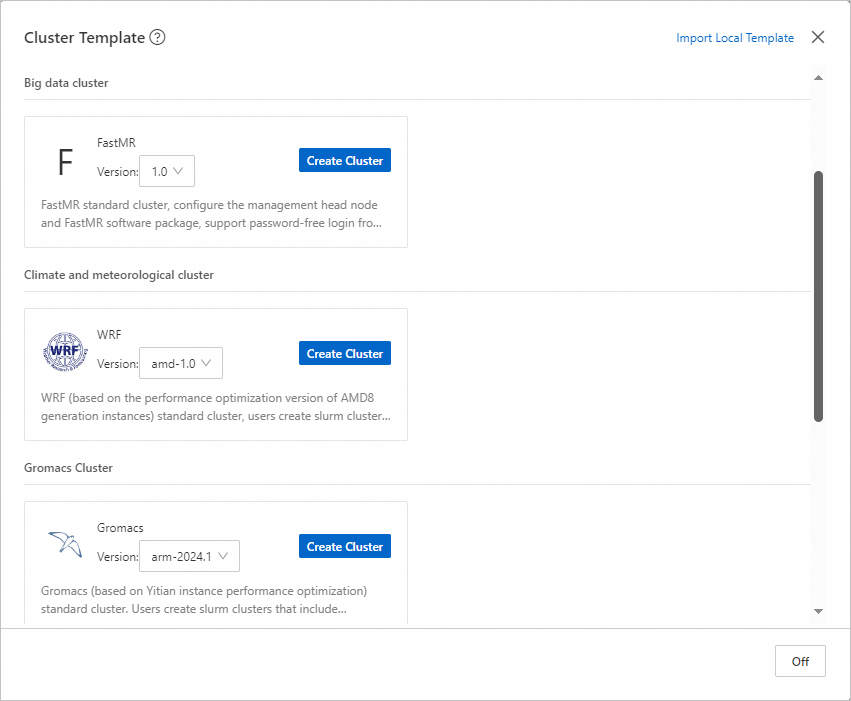
Click Cluster Templates. In the dialog box that appears, click Create Cluster next to Gromacs in the Life Science Cluster section.
 Note
NoteBy default, this template contains one management node, one logon node, and one compute node. The following items describe the node specifications:
Management node and logon node: Both nodes must be an ecs.c8y.xlarge Elastic Compute Service (ECS) instance that has 4 vCPUs and 8 GiB of memory.
Compute node: The compute node must be an ecs.c8y.16xlarge ECS instance that has 64 vCPUs and 128 GiB of memory.
Specify the cluster name and password, check the configurations, and then click Create Cluster.
Step 2: Use the Web Portal to submit a job
Before you submit a job in a cluster, you must create a user for the cluster. In this example, a user named
testuseris created.For more information, see User management.
Log on to E-HPC Portal as
testuser.For more information, see Log on to E-HPC Portal.
Upload data.
Click the
 icon in the upper-right corner to connect to the cluster by using Workbench.
 Run the following command to download and decompress a file.
NoteThis example is a simulation of water molecules. It is used to track the motion of water molecules in a specific space at a specific temperature.
cd /home/testuser;
wget https://public-ehpc-package.oss-cn-hangzhou.aliyuncs.com/water_GMX50_bare.tar.gz;
tar xzvf water_GMX50_bare.tar.gz;
chown -R testuser water-cut1.0_GMX50_bare;
chgrp -R users water-cut1.0_GMX50_bare
Run the following command to create a script file:
vim /home/testuser/testjob.slurmAdd the following content to the script file:
NoteIn this example, a job is submitted by testuser. This job is run on compute000, which is a compute node that has 8 vCPUs and 128 GiB of memory. You can modify the cluster configurations based on the actual scenario.
#!/bin/sh
#SBATCH --job-name=testjob
#SBATCH --nodes=1
#SBATCH --ntasks-per-node=1

export MODULEPATH=/opt/ehpcmodulefiles/   # Specify the environment variables on which the module command depends.
module load gromacs/2024.1
module load mpich/4.0.3
module load armpl/24.04
module load libfabric/1.20.0
module load gcc/12.3.0

cd /home/testuser/water-cut1.0_GMX50_bare/0096

gmx_mpi grompp -f pme.mdp -c conf.gro -p topol.top -o topol_pme.tpr
mpirun -np 32  gmx_mpi mdrun -ntomp 1 -nsteps 100000  -pin on -s topol_pme.tpr
In the top navigation bar, click Task Management.
In the upper part of the page, click submitter.
On the Create Job page, specify the parameters. The following table describes the parameters.
Parameter
Example
Description
Job Name
testjob
The name of the job.
Queue
comp
The queue on which you want to run the job.
Command
Select Use Local File and select
/home/testuser/testjob.slurmThe job execution command that you want to submit to the scheduler. You can enter a command or the relative path of the script file.
Click Submit.
Step 3: View the job results
In the top navigation bar, click Task Management.
Find the destination job in the job list.
If the job enters the COMPLETED state, the job is complete.

Click the job ID to view the job details.
(Optional) Step 4: Release the cluster
If you no longer require the cluster, you can release the cluster to prevent unnecessary fees.
After the cluster is released, you cannot restore the data stored in the cluster. Exercise caution when you release the cluster.
Go to the Cluster List page.
Log on to the E-HPC console.
In the left part of the top navigation bar, select a region.
In the left-side navigation pane, click Cluster.
On the Cluster page, find the cluster that you want to release and choose
 > Release the cluster in the upper-right corner.
 In the Deleting a Cluster dialog box that appears, click OK.