This topic describes how to schedule Notebook files using Airflow and monitor Notebook execution progress.
Prerequisites
Schedule Notebooks using Airflow
- Log on to the DMS console V5.0.
Go to the Workspace Management page.
DMS provides two paths to access the workspace. You can choose based on your needs.
Path 1
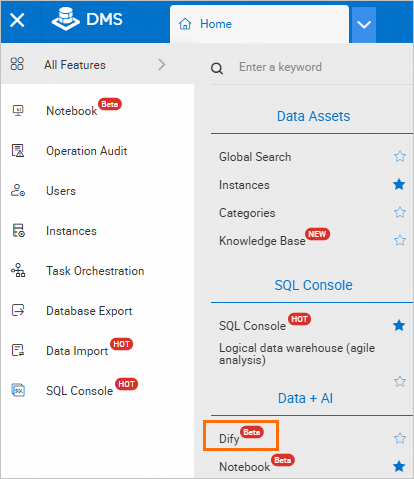
Move the pointer over the
 icon in the upper-left corner and choose . Note
If you use the DMS console in normal mode, choose in the top navigation bar.
Path 2
Click the Data Intelligence Factory
 icon on the left side of the page, and then click Workspace Management.Note
If you are using a non-simplified console, select from the top menu bar.
In the WORKSPACE area of the
 (Resource Manager) page, click
  and select Create Notebook File.
Configure any code in the Notebook file, such as
print(1).Write Python code in the REPOS (repository) area to configure the parameters required for scheduling the Notebook. The following is a sample code:
from doctest import debug
from airflow import DAG
from airflow.decorators import task
from airflow.models.param import Param
from airflow.operators.bash import BashOperator
from airflow.operators.empty import EmptyOperator
from airflow.providers.alibaba_dms.cloud.operators.dms_notebook import DMSNotebookOperator

with DAG(
    "dms_notebook_sy_hz_name",
    params={
    },
) as dag:

    notebook_operator = DMSNotebookOperator(
        task_id='dms_notebook_sy_hz_name',
        profile_name='test',
        profile={},
        cluster_type='spark',
        cluster_name='spark_cluster_855298',
        spec='4C16G',
        runtime_name='Spark3.5_Scala2.12_Python3.9_General:1.0.9',
        file_path='/Workspace/code/default/test.ipynb',
        run_params={'a':10},
        polling_interval=5,
        debug=True,
        dag=dag
    )

    run_this_last = EmptyOperator(
        task_id="run_this_last22",
        dag=dag,
    )

    notebook_operator >> run_this_last

if __name__ == "__main__":
    dag.test(
        run_conf={}
    )
The descriptions of some parameters in the code are as follows. For parameters not described, you can maintain the default values.
Parameter
Type
Required
Description
task_id
string
Yes
The unique identifier of the task that you define.
profile_name
string
Yes
The profile name.
You can click the
 (Configuration Management) icon on the right sidebar to configure a new profile.
cluster_type
string
Yes
The cluster type configured in the Notebook session instance.
Currently, two cluster types are supported: CPU cluster and Spark cluster. The CPU cluster is created by DMS by default, while the Spark cluster needs to be created manually. For more information, see Create a Spark cluster.
cluster_name
string
Yes
The cluster name.
spec
string
Yes
The cluster specification.
Currently, only the default specification 4C16G is supported.
runtime_name
string
Yes
The runtime environment.
Currently, the Spark runtime environment only supports
Spark3.5_Scala2.12_Python3.9_General:1.0.9andSpark3.3_Scala2.12_Python3.9_General:1.0.9.file_path
string
Yes
The file path.
View the file path. The path format is
/Workspace/code/default. Example:/Workspace/code/default/test.ipynb.run_params
dict
No
The runtime parameters that can replace variables in the Notebook file.
timeout
int
No
The maximum execution duration of a Notebook Cell. The unit is seconds.
When the execution duration of a Cell exceeds the timeout value, the entire file stops scheduling.
polling_interval
int
No
The interval for refreshing execution results. The unit is seconds. The default value is 10.
Attach a publishing environment to the repository.
Click the repository name, and on the configuration environment page, bind the environment to the workflow instance for later publishing. A workflow instance can be bound to only one type of environment.
Hover over the target repository name, click
 , select Publish and Environment For This Publish (the environment bound to the repository), and then click OK.Note
There is a 10-second delay for the publish operation.
Execute the Notebook.
Click the
 workflow icon on the left side of the workspace, and then click the target Airflow instance name to enter the Airflow space.
On the Code page, verify that the published code has been synchronized to the current page.
After confirming the synchronization to the current page, click the
 run button in the upper-right corner.
Click the Graph tab, find and click the corresponding task.
Click the Logs tab to view the task execution logs.
While the task is running, you can view the Notebook execution progress at any time.
View Notebook execution progress
View execution progress on the DAG page
View the current task execution progress in the Logs tab. For example, progress showing 2/15 indicates that there are a total of 15 Cells and the second Cell is currently being executed.
NoteWhen
notebook run successappears, it indicates that the task has been completed.View execution progress on the Notebook file page
In the Logs page, click the link after the Notebook page url in the log to enter the Notebook file and monitor the execution status. You can click the refresh button in the upper-right corner to update the execution progress in real time.
When execution results appear, it indicates that the Notebook task has been completed.