Notebooks let you combine code, text, and charts in an interactive workspace to query and analyze data. This guide explains how to create a Notebook, configure a session with the right compute resources, and run code in DMS.
Prerequisites
Before you begin, ensure that you have:
An AnalyticDB for MySQL instance imported into the target workspace. For details, see Resources required for Notebooks.
Regional availability
The new Notebook version is available only in the following regions: China (Hangzhou), China (Beijing), China (Shanghai), China (Shenzhen), Singapore, and Indonesia (Jakarta).
Billing
Notebook session fees are based on Specifications — the number of Compute Units (CUs) allocated. For pricing, see the information on the page when you configure resources.
Create and run a Notebook
Step 1: Create a Notebook file
Create a Notebook file using one of the following methods.
Create a file manually
Click the
 (resource manager) icon on the right side of the workspace.
In the WORKSPACE area, right-click a blank area and select New Notebook File.
Enter a file name and click OK.
Import a file
Click the
(resource manager) icon on the right side of the workspace.In the WORKSPACE area, right-click a blank area and select Upload File.
Select the file you want to upload and click OK.
If the file does not appear in the workspace after creation, click ![]() to refresh the resource manager.
to refresh the resource manager.
Step 2: Open the file and enter code
Double-click the file name to open the code execution page. Enter your code in a cell and click ![]() Execute.
Execute.
If you see the message "Execution failed. You need to create and mount a Notebook session resource first.", click Create Session and continue to the next step.
Step 3: Create a Notebook session
Click Create Session and configure the parameters.
Resource release duration — if the session is idle longer than the specified duration, resources are automatically released. Set to 0 to disable automatic release.
Parameter Description Cluster Select the cluster type. Choose the default DMS CPU cluster for CPU-only execution — this cluster is created automatically when you create the workspace. To develop Spark jobs, select a Spark cluster (must be created manually). From the cluster drop-down list, click Create Cluster and select Create Spark cluster. Session Name Enter a name for the session. Image Available options depend on the cluster type: Python3.9_U22.04:1.0.9,Python3.11_U22.04:1.0.9,Spark3.6_Scala2.12_Python3.9:1.0.9,Spark3.3_Scala2.12_Python3.9:1.0.9.Specifications Driver resource specifications: 1 Core 4 GB, 2 Core 8 GB, 4 Core 16 GB, 8 Core 32 GB, or 16 Core 64 GB. Configuration (Optional) Edit the profile name, resource release duration, data storage location, PyPI package management, and environment variables. Click Complete and Create. The session is ready when its status changes to Running. The first session takes about 5 minutes to start; subsequent starts take about 1 minute.
Step 4: Run the code
After the session is running, execute the code again. Spark SQL results appear in the ![]() data catalog area.
data catalog area.
Notebook interface
DMS automatically saves only executed code. Manually save unexecuted code before closing the page or browser, or your changes will be lost.
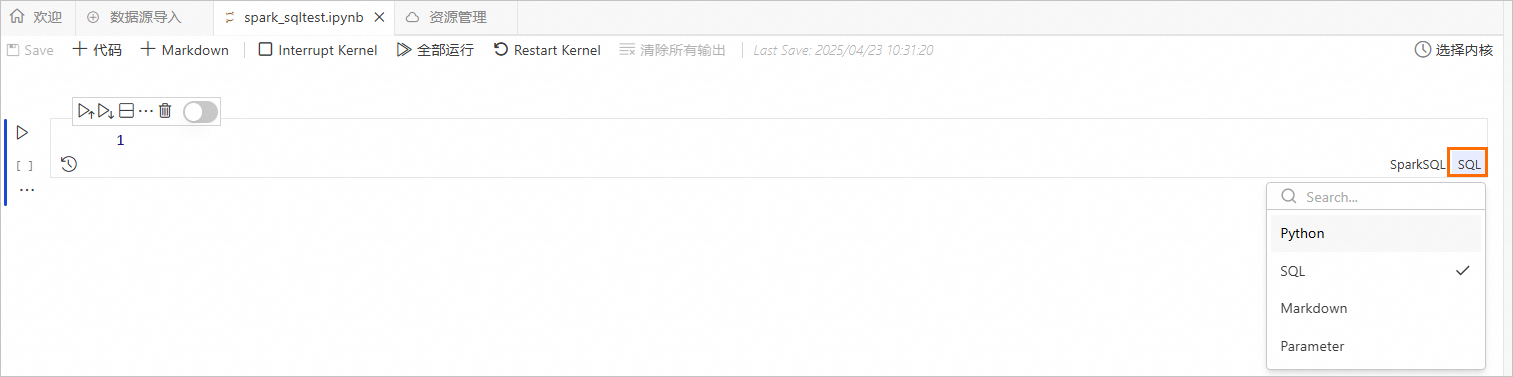
Cell types
Notebooks support four cell types:
| Cell type | Description |
|---|---|
| Python | Run Python code. |
| SQL | Run SQL queries. Make sure the SQL syntax matches the selected cell type. |
| Markdown | Write formatted text, headings, and documentation in the cell. |
| Parameter | Define parameters that can be passed to other cells. |
Toolbar reference
| Button | Action |
|---|---|
| Save the Notebook | |
| Add a Python cell | |
| Add a Markdown cell | |
| Interrupt the kernel (stops code running on the selected Spark resource) | |
| Run SQL in the current Notebook | |
| Restart the kernel (restarts the Spark resource) | |
| Execute the selected cell | |
| Execute all cells above the current one | |
| Execute the current cell and all cells below it | |
| Split the cell | |
| Delete the selected cell | |
| View the cell's execution history | |
| Disable the cell (prevents it from being executed) |
Create a Spark cluster
On the Create Cluster page, configure the Spark cluster parameters.
Parameter Description Cluster Name Enter a name that identifies the cluster's purpose. Environment Select a runtime image: adb-spark:v3.3-python3.9-scala2.12oradb-spark:v3.5-python3.9-scala2.12.AnalyticDB Instance Select the prepared AnalyticDB for MySQL instance. AnalyticDB For MySQL Resource Group Select the prepared Job resource group. Spark App Executor Specifications Select the resource specifications for the AnalyticDB for MySQL Spark executor. For available values, see the Model column in Spark application configuration parameters. vSwitch Select a vSwitch in the current VPC. Dependent Jars (Optional) The Object Storage Service (OSS) path of any JAR packages. Required only when submitting Python jobs that depend on a JAR package. SparkConf Spark configuration in key: valueformat. For parameters that differ from open-source Spark or are specific to AnalyticDB for MySQL, see Spark application configuration parameters.Click Create Cluster.
In the Notebook session, select the cluster you just created. The cluster status changes to Running once the session is associated with it.
More operations
Add a cell
From the Notebook toolbar, select SQL, Python, Markdown, or Parameter to add a new cell of that type. To add a cell in the editing area:
Above the current cell: Hover over the top edge of a cell to reveal the add button.
Below the current cell: Hover over the bottom edge of a cell to reveal the add button.
Switch a cell type
Click the cell type label on the right side of a cell to change it.
Edit code in a cell
Write SQL, Python, or Markdown code in the corresponding cell type. When writing code in an SQL cell, make sure the SQL syntax matches the selected cell type.