Events are independent, meaningful operations that occur at a specific point in time within an application, such as clicking a button, logging on, browsing, or completing a transaction.
Prerequisites
-
The event properties required for construction are created. For more information, see Create and manage event properties.
-
The event category to which the event belongs is created. For more information, see Create and manage event categories.
Create an event
-
Select Tag > Event Center from the top menu bar on the Dataphin home page.
-
In the left-side navigation pane, choose Event Center > Event Management.
-
On the Event Management page, click Add Event.
-
On the Create Event page, fill in the Basic Information and set up the Meta Table Structure And Property Mapping for the event.
-
Basic Information
Parameter
Description
Event Name
Enter the event name. Valid characters: Chinese characters, letters, digits, and underscores (_). Maximum length: 64 characters.
Event Code
Enter a unique identifier for the event. Valid characters: Chinese characters, letters, digits, and underscores (_). Maximum length: 64 characters.
Owner
Select the owner responsible for managing the event.
Data Source
Select the data source for the event. Options include DataHub and Kafka.
Source Table
Enter the name of the source table associated with the event.
Category
Select the event category for the event.
Event Format
For Kafka data sources, select the event format. Options include CSV and JSON.
Description
Enter a description of the event. Maximum length: 1,000 characters.
-
Meta Table Structure and Property Mapping
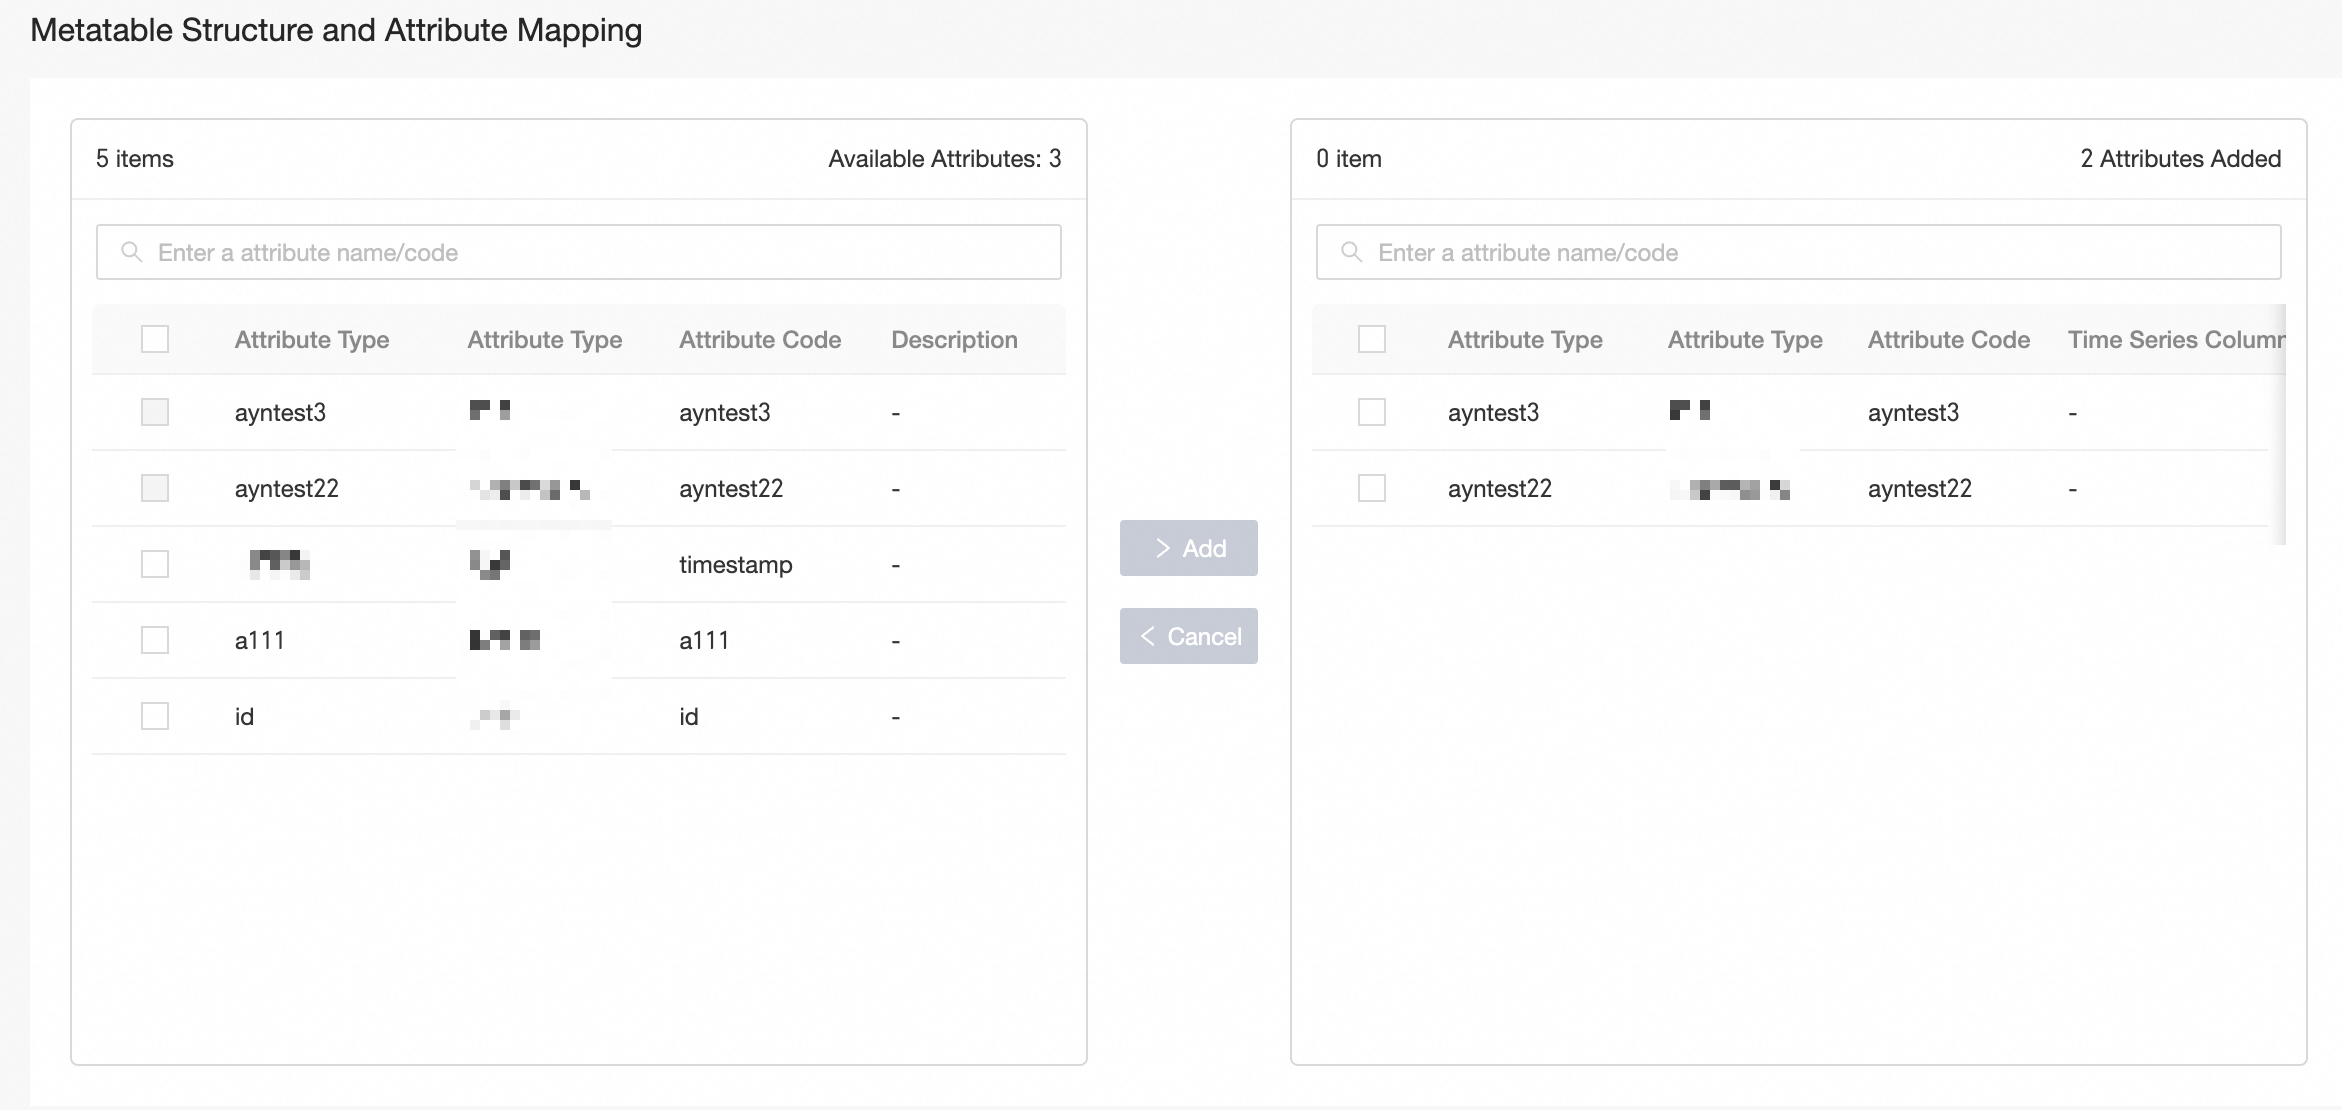 Select the properties to include in the event and click Add to construct the meta table structure and map properties. For properties of type Long Integer, you can specify whether it is a Time Series Field. A time series field stores time series data and is typically used for timestamps or datetime values.
-
-
Click Publish to finalize the creation of the event.
Manage events
-
On the event management page, the category list on the left displays event categories and their event counts. Click a category name to view all events in that category. Each event shows its Event Name, Owner, Status, Created At, Description, and available Actions.
-
(Optional) Filter events by selecting Owner, Status, entering Event Name or Code, or by choosing Only My Events to display events managed by the current user.
-
In the Actions column, you can perform the following operations:
Action Item
Description
View
Click the
 icon to view details of the event.
Edit
Click the
 icon to edit the event. Event Code, Datasource, Source Table, and Event Format cannot be modified. Events in Published status are read-only.
Unpublish
Click the
 icon to unpublish events in Published status.
Delete
Click the
 icon to delete the event. Events in Published status cannot be deleted.
What to do next
After creating and publishing an event, you can reference it when building a real-time dataset. For more information, see Create and configure a real-time dataset.