NVIDIA GPUs are used to accelerate scientific computation and graphics rendering. Container Service for Kubernetes (ACK) supports unified scheduling and operations management for various models of compute-optimized GPU resources. This significantly improves the utilization of GPU resources in a cluster. This topic describes how to add GPU nodes to a cluster.
Prerequisites
An ACK Pro cluster or an ACK dedicated cluster (no longer available for creation) is created.
Create a GPU-accelerated node pool
Log on to the ACK console. In the left navigation pane, click Clusters.
On the Clusters page, find the cluster to manage and click its name. In the left navigation pane, choose .
Click Create Node Pool, set Instance Type to Elastic GPU Service, and set Expected Nodes to the required number of nodes. For more information about other parameters, see Create and manage a node pool.
For more information about GPU-accelerated instance types, see GPU-accelerated ECS instance types supported by ACK.
NoteIf no GPU-accelerated instance type is available, change the specified vSwitches and try again.
If your node operating system is Ubuntu 22.04 or Red Hat Enterprise Linux (RHEL) 9.3 64-bit, the
ack-nvidia-device-plugincomponent sets theNVIDIA_VISIBLE_DEVICES=allenvironment variable for pods by default. After the node runs thesystemctl daemon-reloadorsystemctl daemon-reexeccommand, it may fail to access GPU devices. This causes the NVIDIA Device Plugin to stop working. For more information, see What do I do if the "Failed to initialize NVML: Unknown Error" error occurs when I run a GPU container?.
View GPUs that are attached to GPU-accelerated nodes
After you create a node pool, you can view GPUs that are attached to GPU-accelerated nodes.
Log on to the ACK console. In the left navigation pane, click Clusters.
On the Clusters page, click the name of the one you want to change. In the left navigation pane, choose .
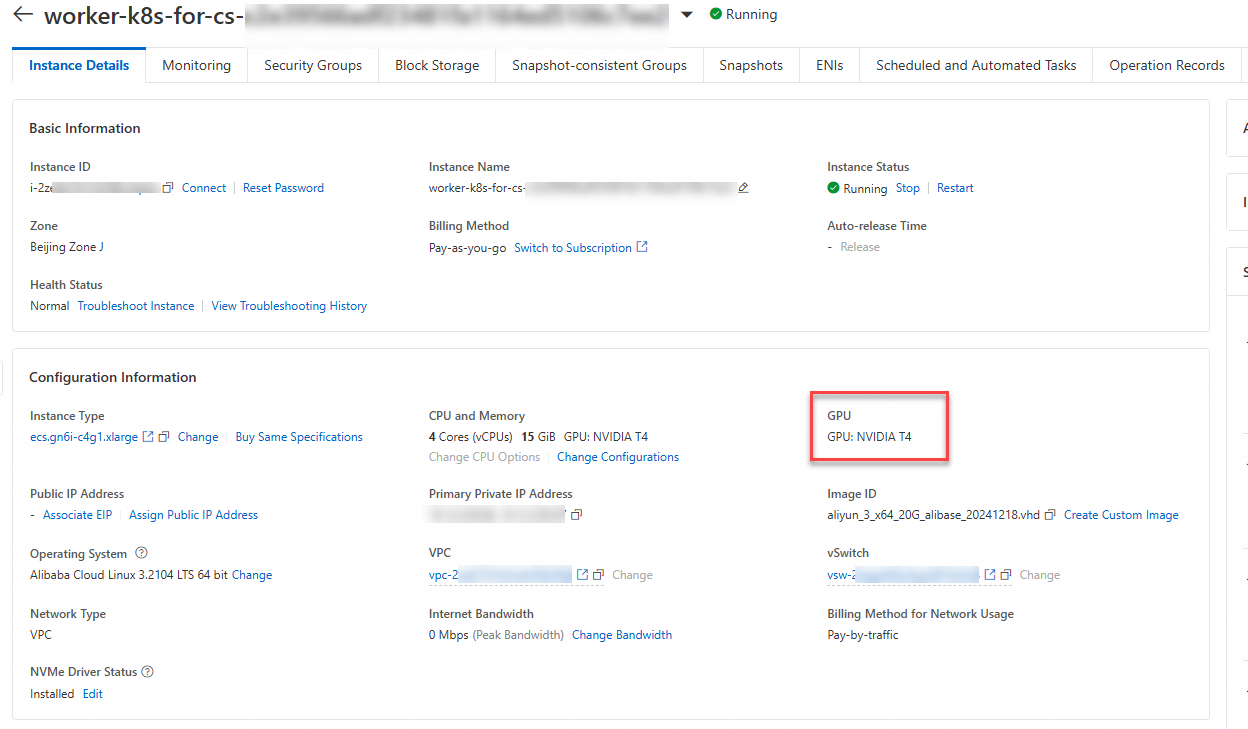
Find the target node and click Details in the Actions column to view the GPUs that are attached to it.