This topic describes how to use the System for Cross-domain Identity Management (SCIM) 2.0 protocol to synchronize users or groups from KeyCloak to CloudSSO.
Prerequisites
SCIM-based user synchronization is available for enterprise users who have enabled CloudSSO.
Background information
Suppose your company uses a local directory service based on the Lightweight Directory Access Protocol (LDAP) to manage users. You have also set up a multi-account structure in Alibaba Cloud Resource Directory (RD). The company wants to configure user synchronization from the local directory service to CloudSSO. This allows local users to use KeyCloak single sign-on (SSO) to access specified resources in specific member accounts of the resource directory.
To simplify the process, first configure SSO logon. Then, use the same application to synchronize users or groups through SCIM. For more information, see Example of single sign-on between KeyCloak and CloudSSO.
Because Keycloak does not provide built-in support for SCIM v2.0, this topic uses the SCIM-For-KeyCloak community extension to enable this feature. This is only a simple example in a staging environment using the free license for the plugin. Alibaba Cloud does not recommend or guarantee the stability of any plugins or third-party extensions.
Step 1: Create an SCIM key in CloudSSO
Log on to the CloudSSO console.
In the navigation pane on the left, click Settings.
On the User Settings tab, in the SCIM-based User Synchronization section, click Generate New SCIM Key.
In the SCIM Key Generated dialog box, copy and save the SCIM key, and then click OK.
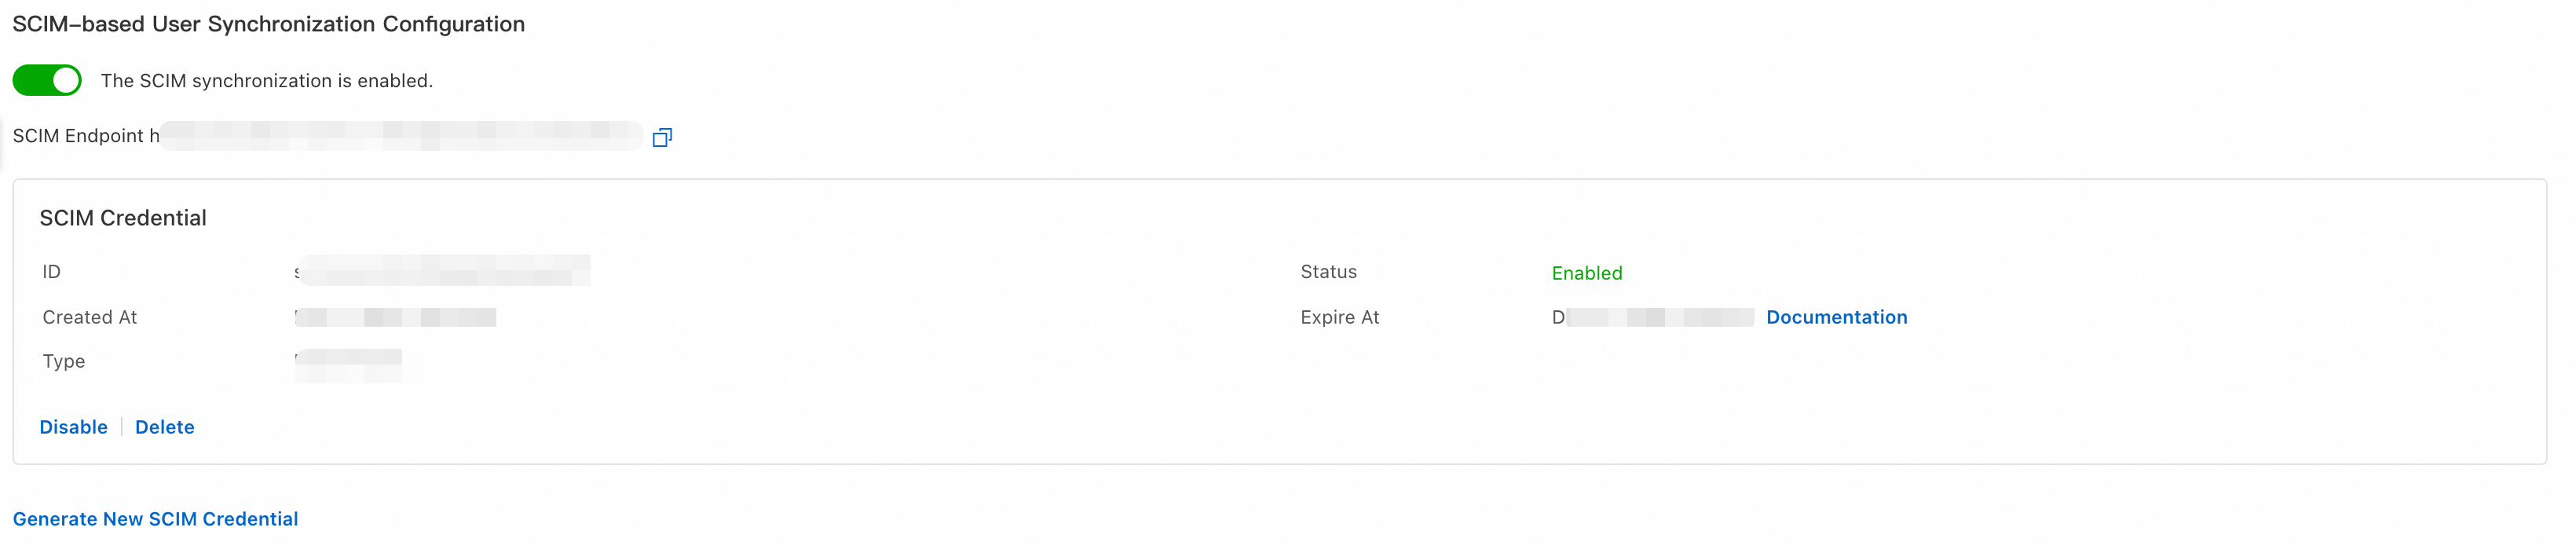
Step 2: Enable SCIM synchronization in CloudSSO
Log on to the CloudSSO console.
In the navigation pane on the left, click Settings.
On the User Settings tab, in the SCIM-based User Synchronization section, turn on the SCIM Synchronization switch.
Step 3: Configure SCIM for Keycloak
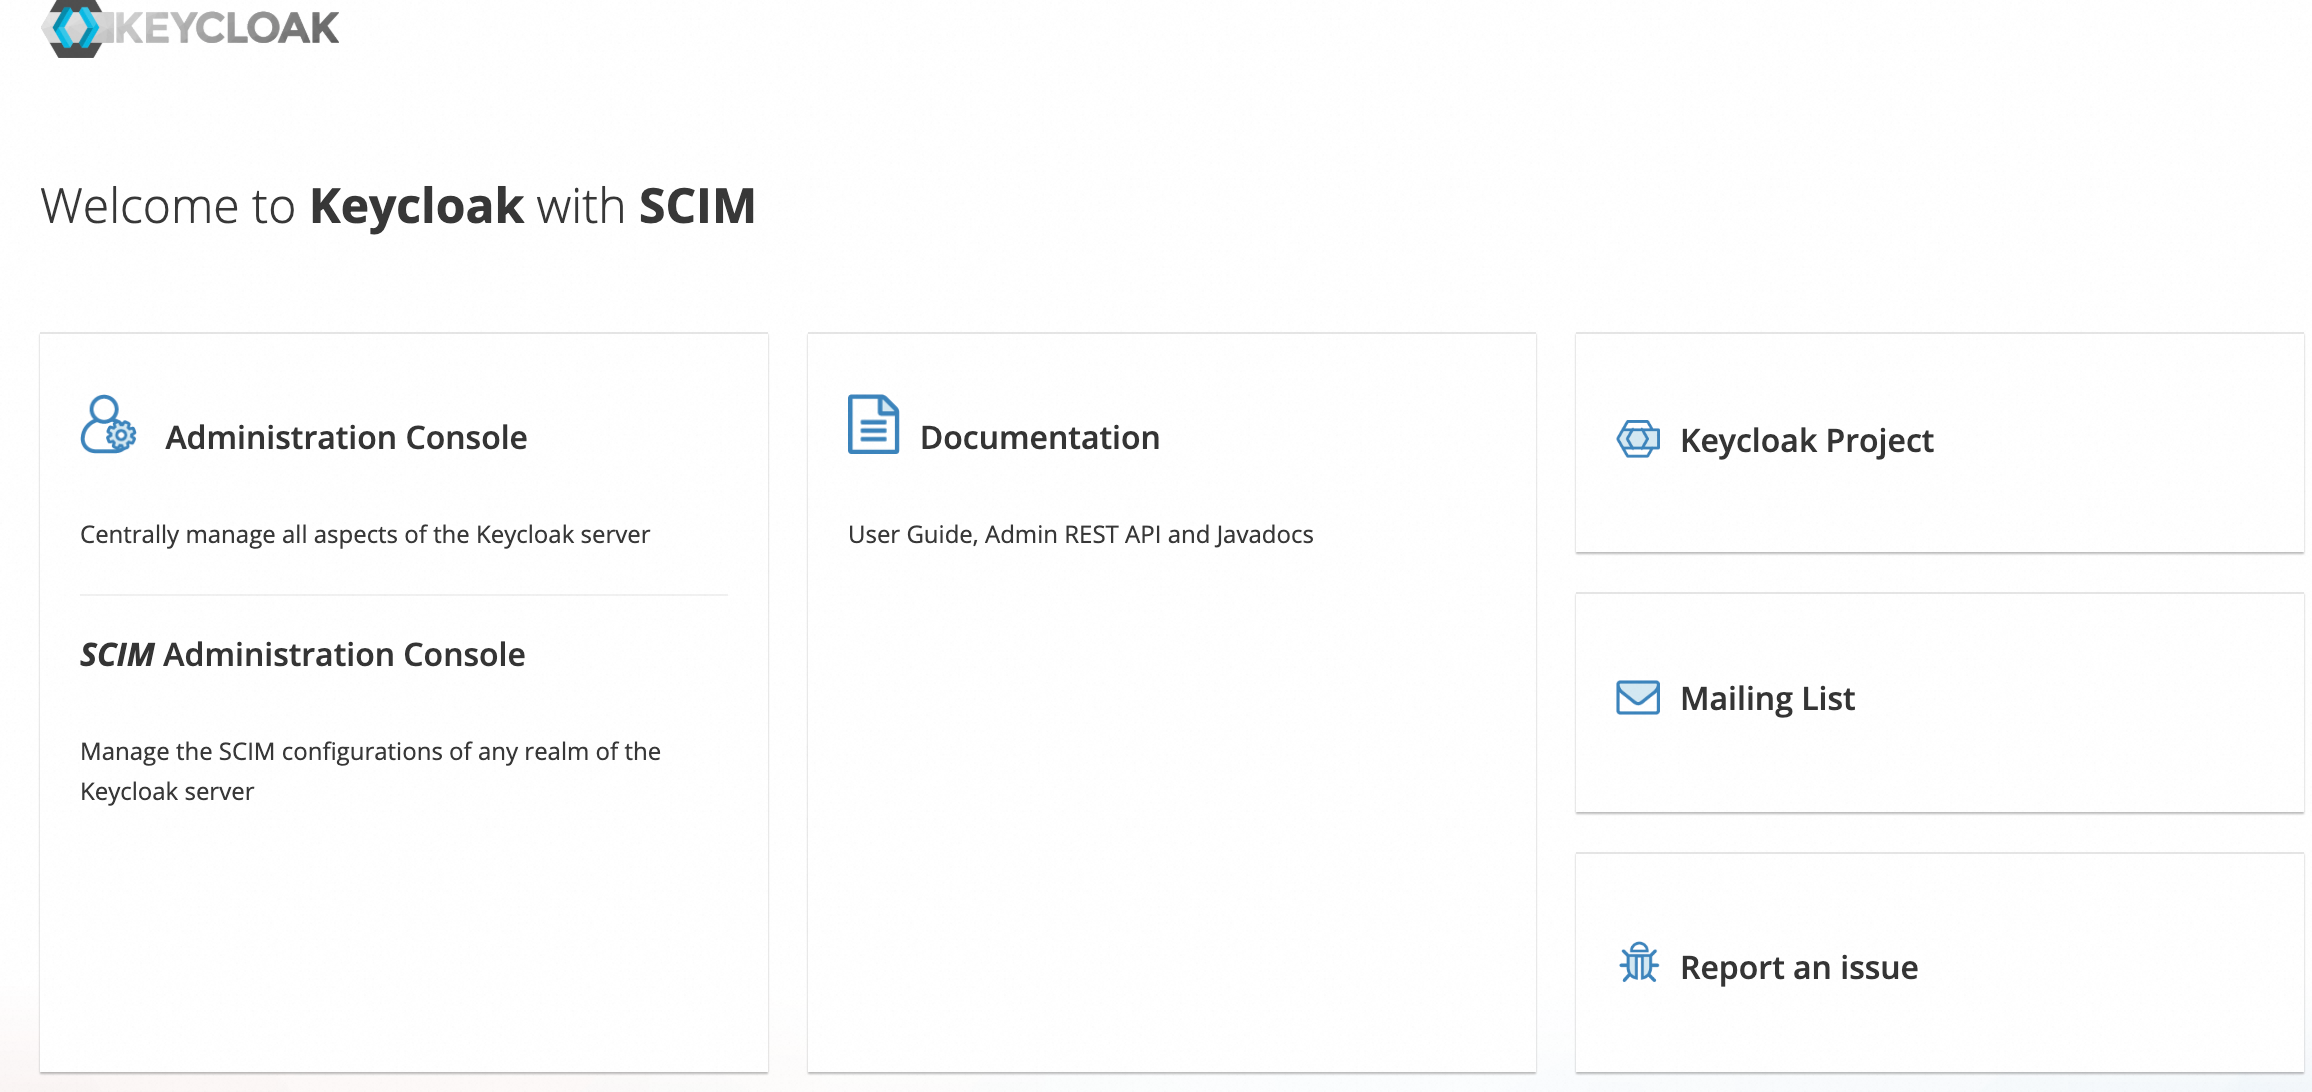
Access the Keycloak service and click SCIM Administration to log on to the Keycloak with SCIM console.
Turn on the SCIM Enable switch.
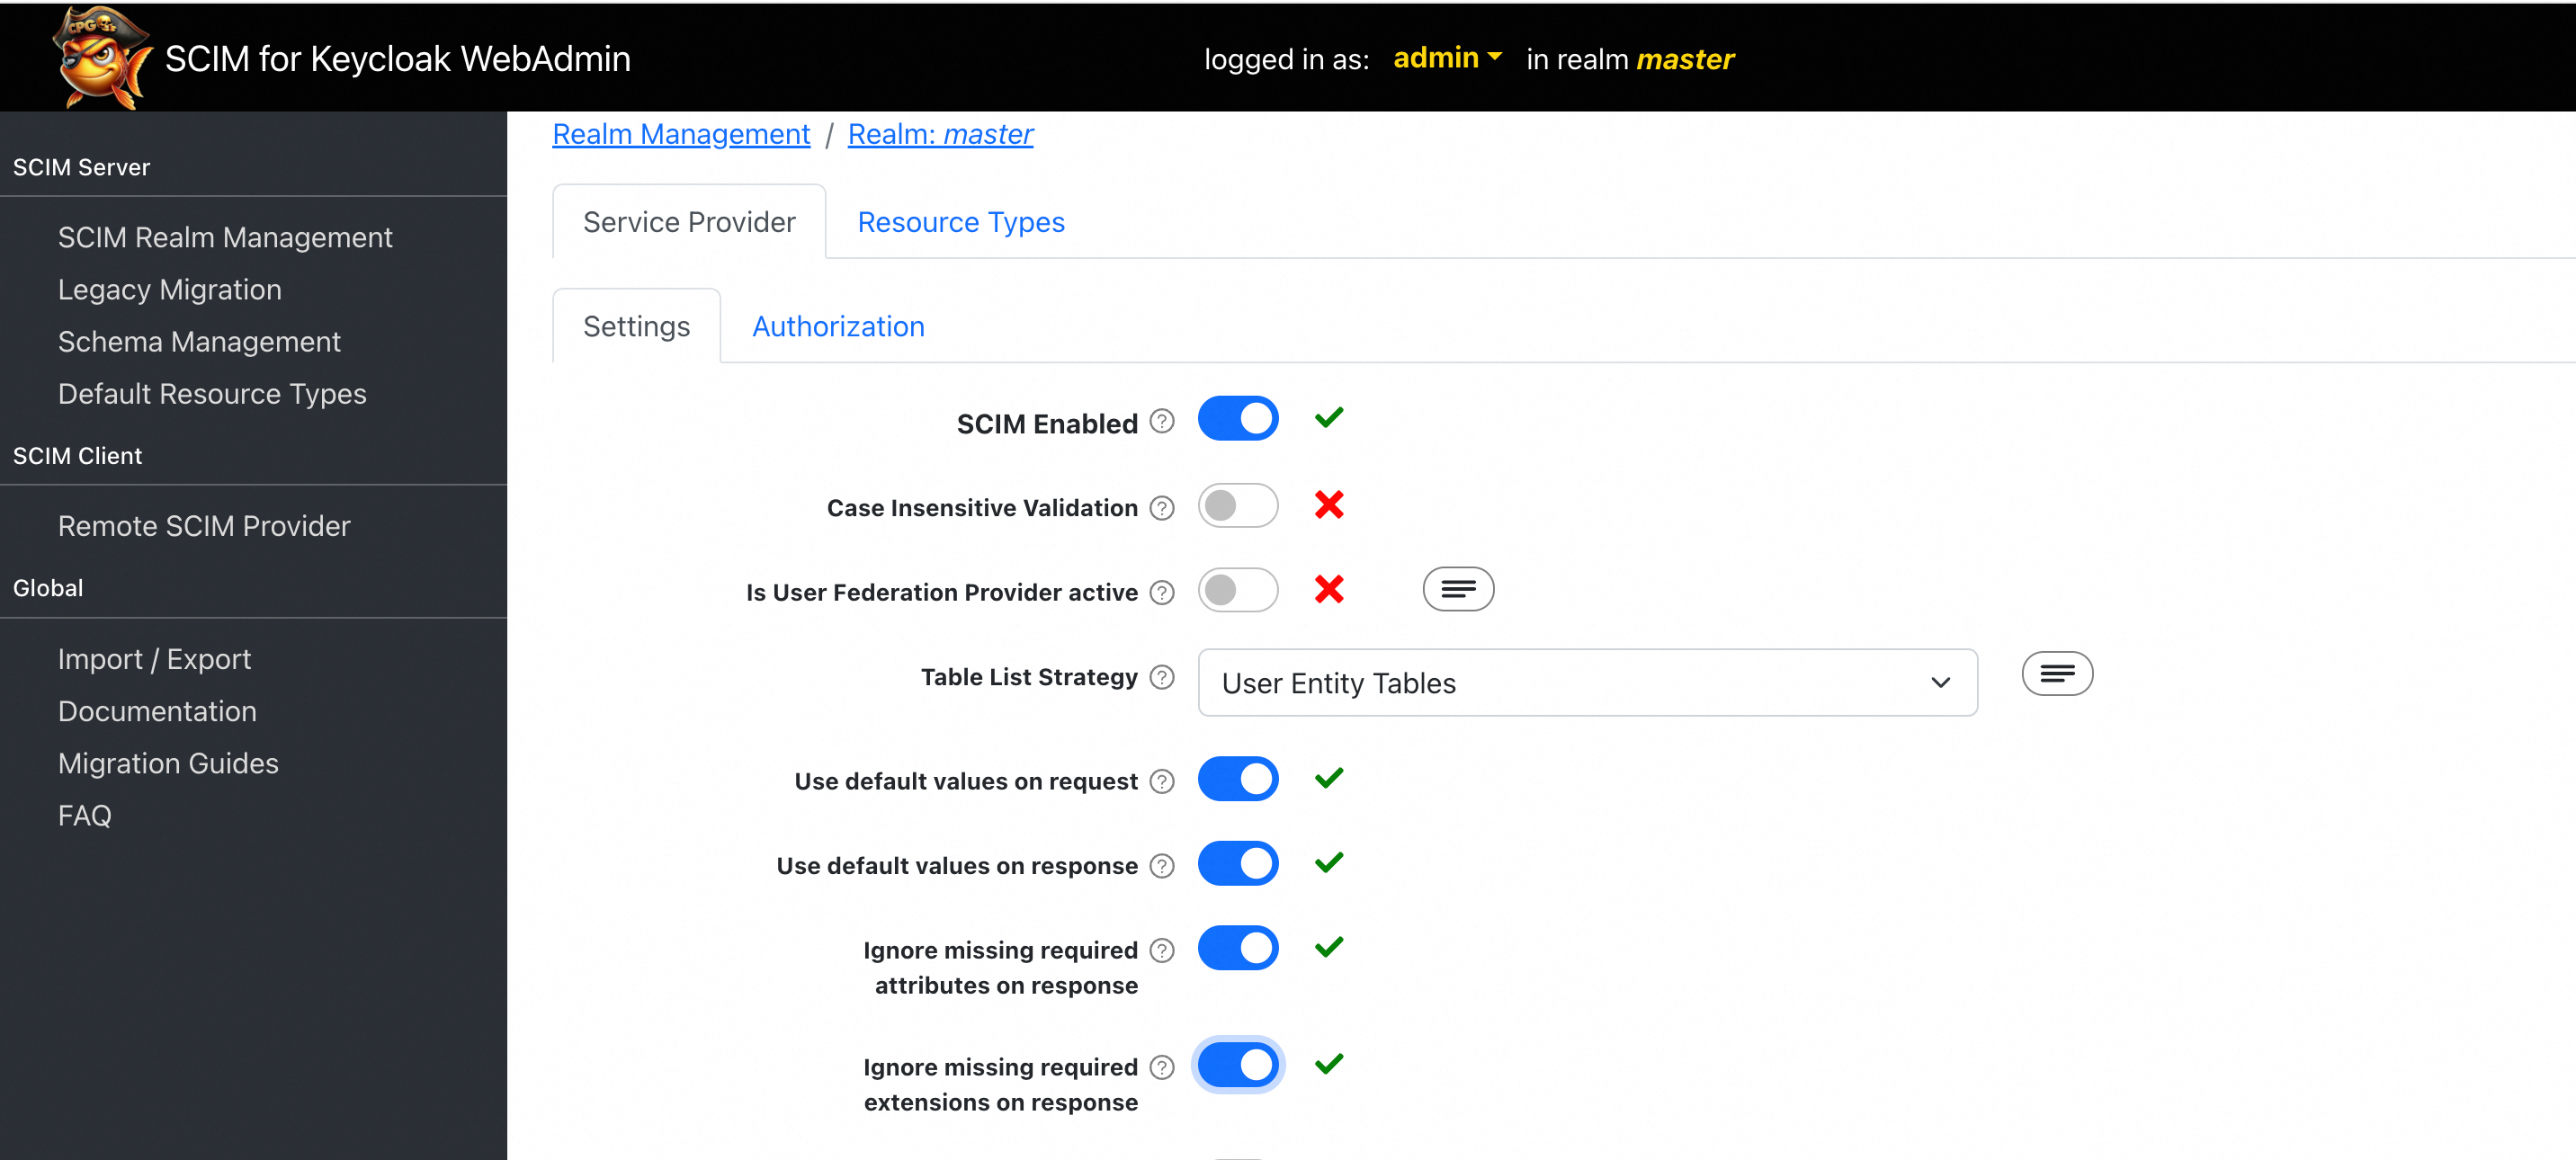
In the navigation pane on the left, click Remote SCIM Provider to configure SCIM synchronization information.
In the Connection Details section, enter the URL from the SCIM Server-side Address section of the CloudSSO SCIM configuration page into the Base URL field.

In the Authentication section, enter the key that you obtained in Step 1 in the OAuth 2 Bearer Token field, and then click Add.
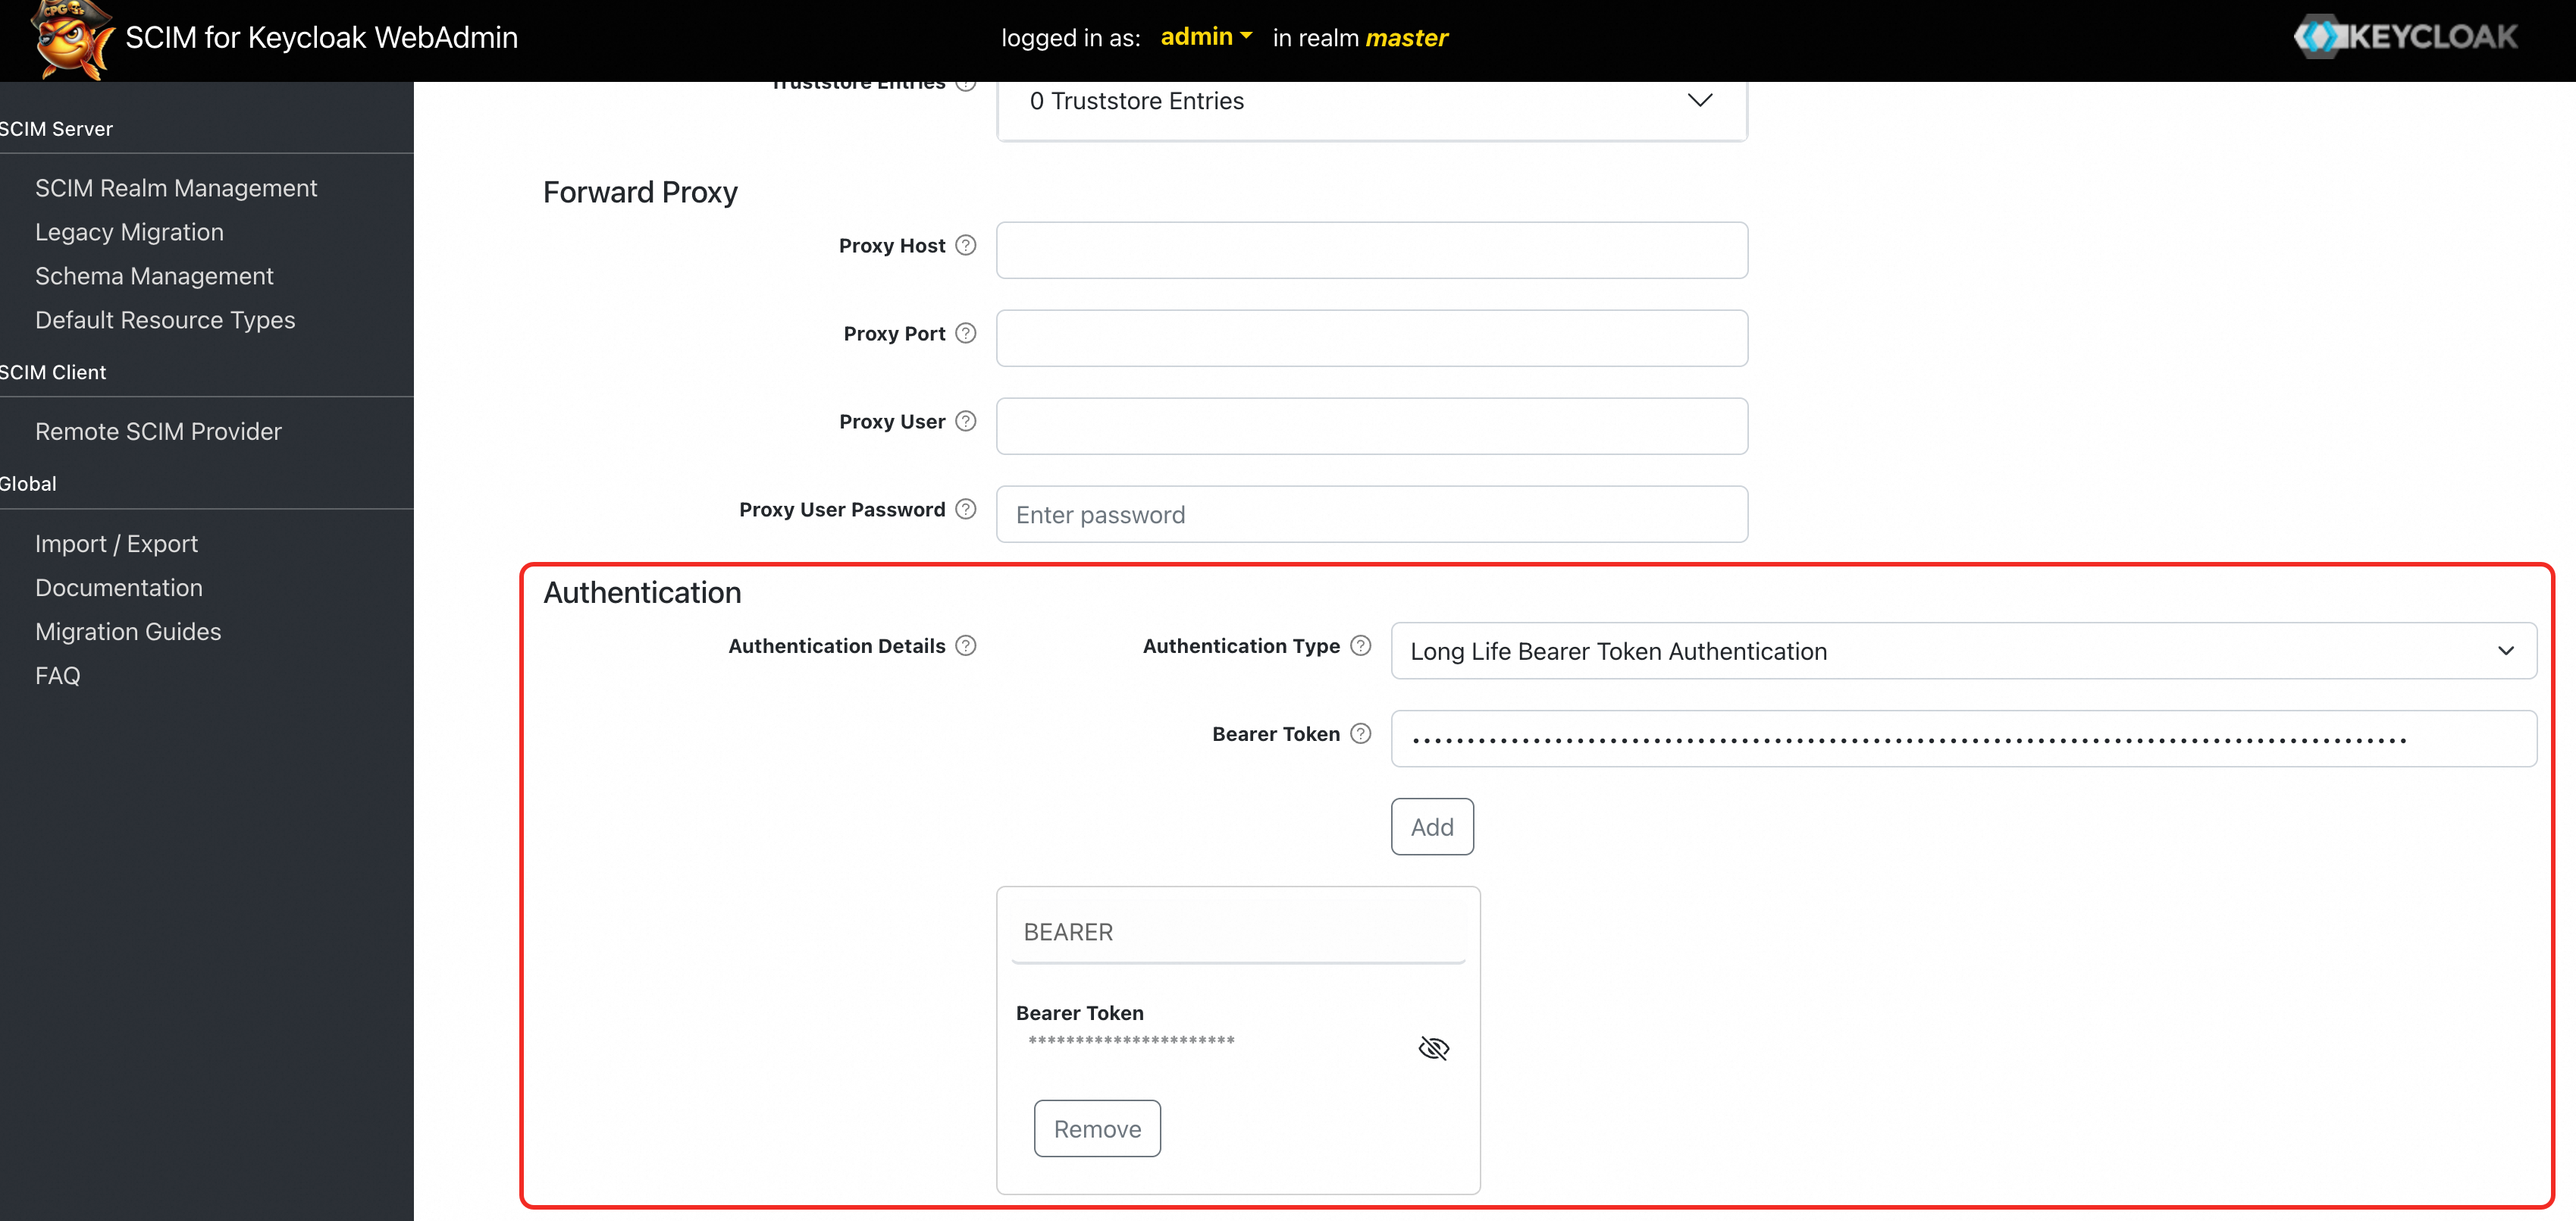
At the bottom of the page, click Save Configuration.
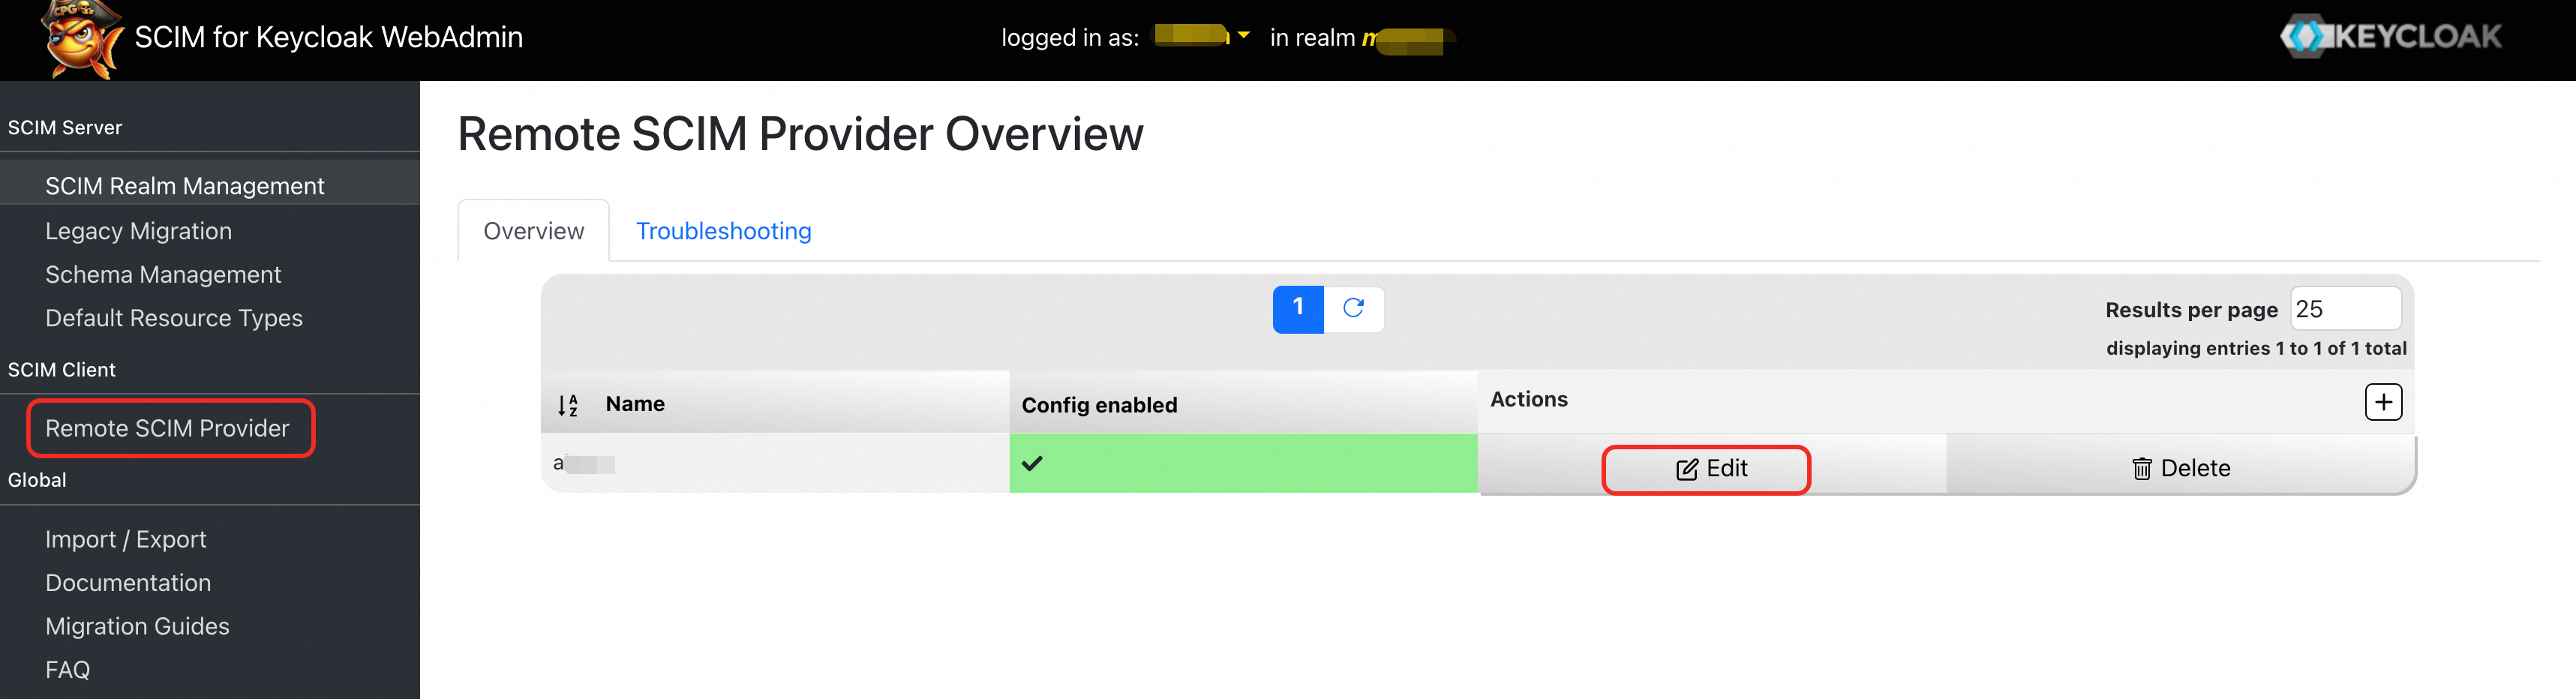
In the navigation pane on the left, click Remote SCIM Provider to go to the Remote SCIM Provider Overview page. Click Edit to modify the client that you just created.
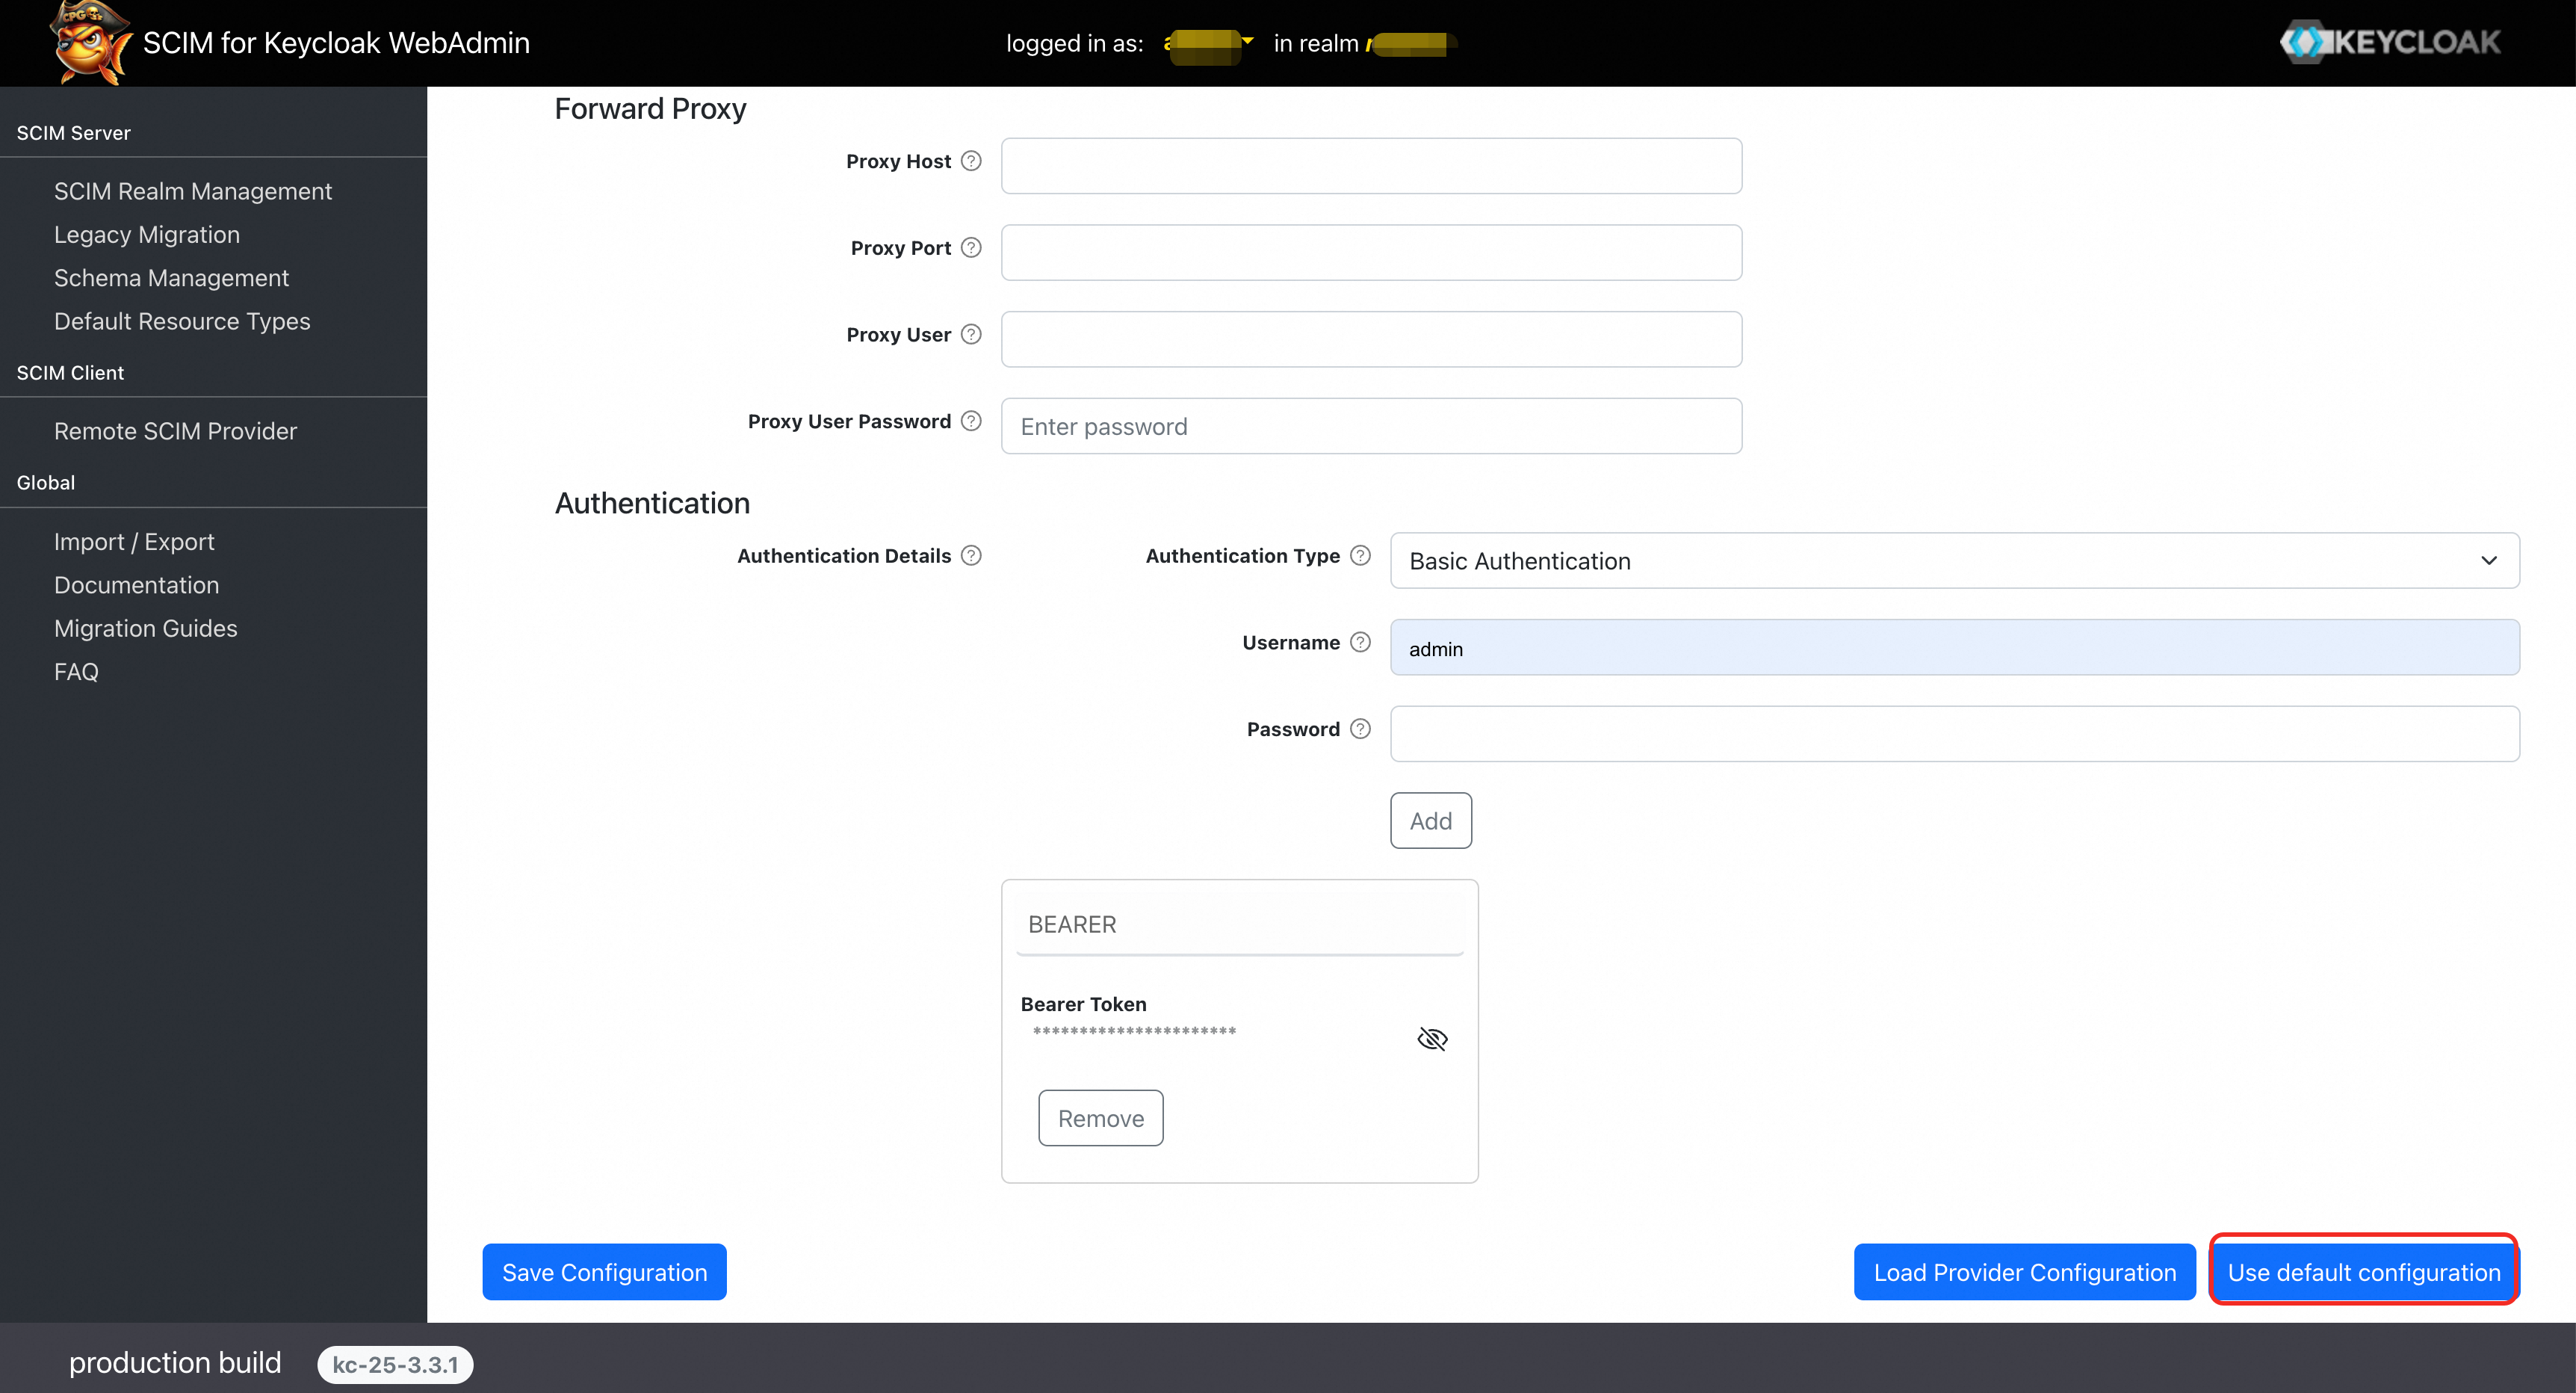
On the Remote Provider Detail tab, click Use Default Configuration.
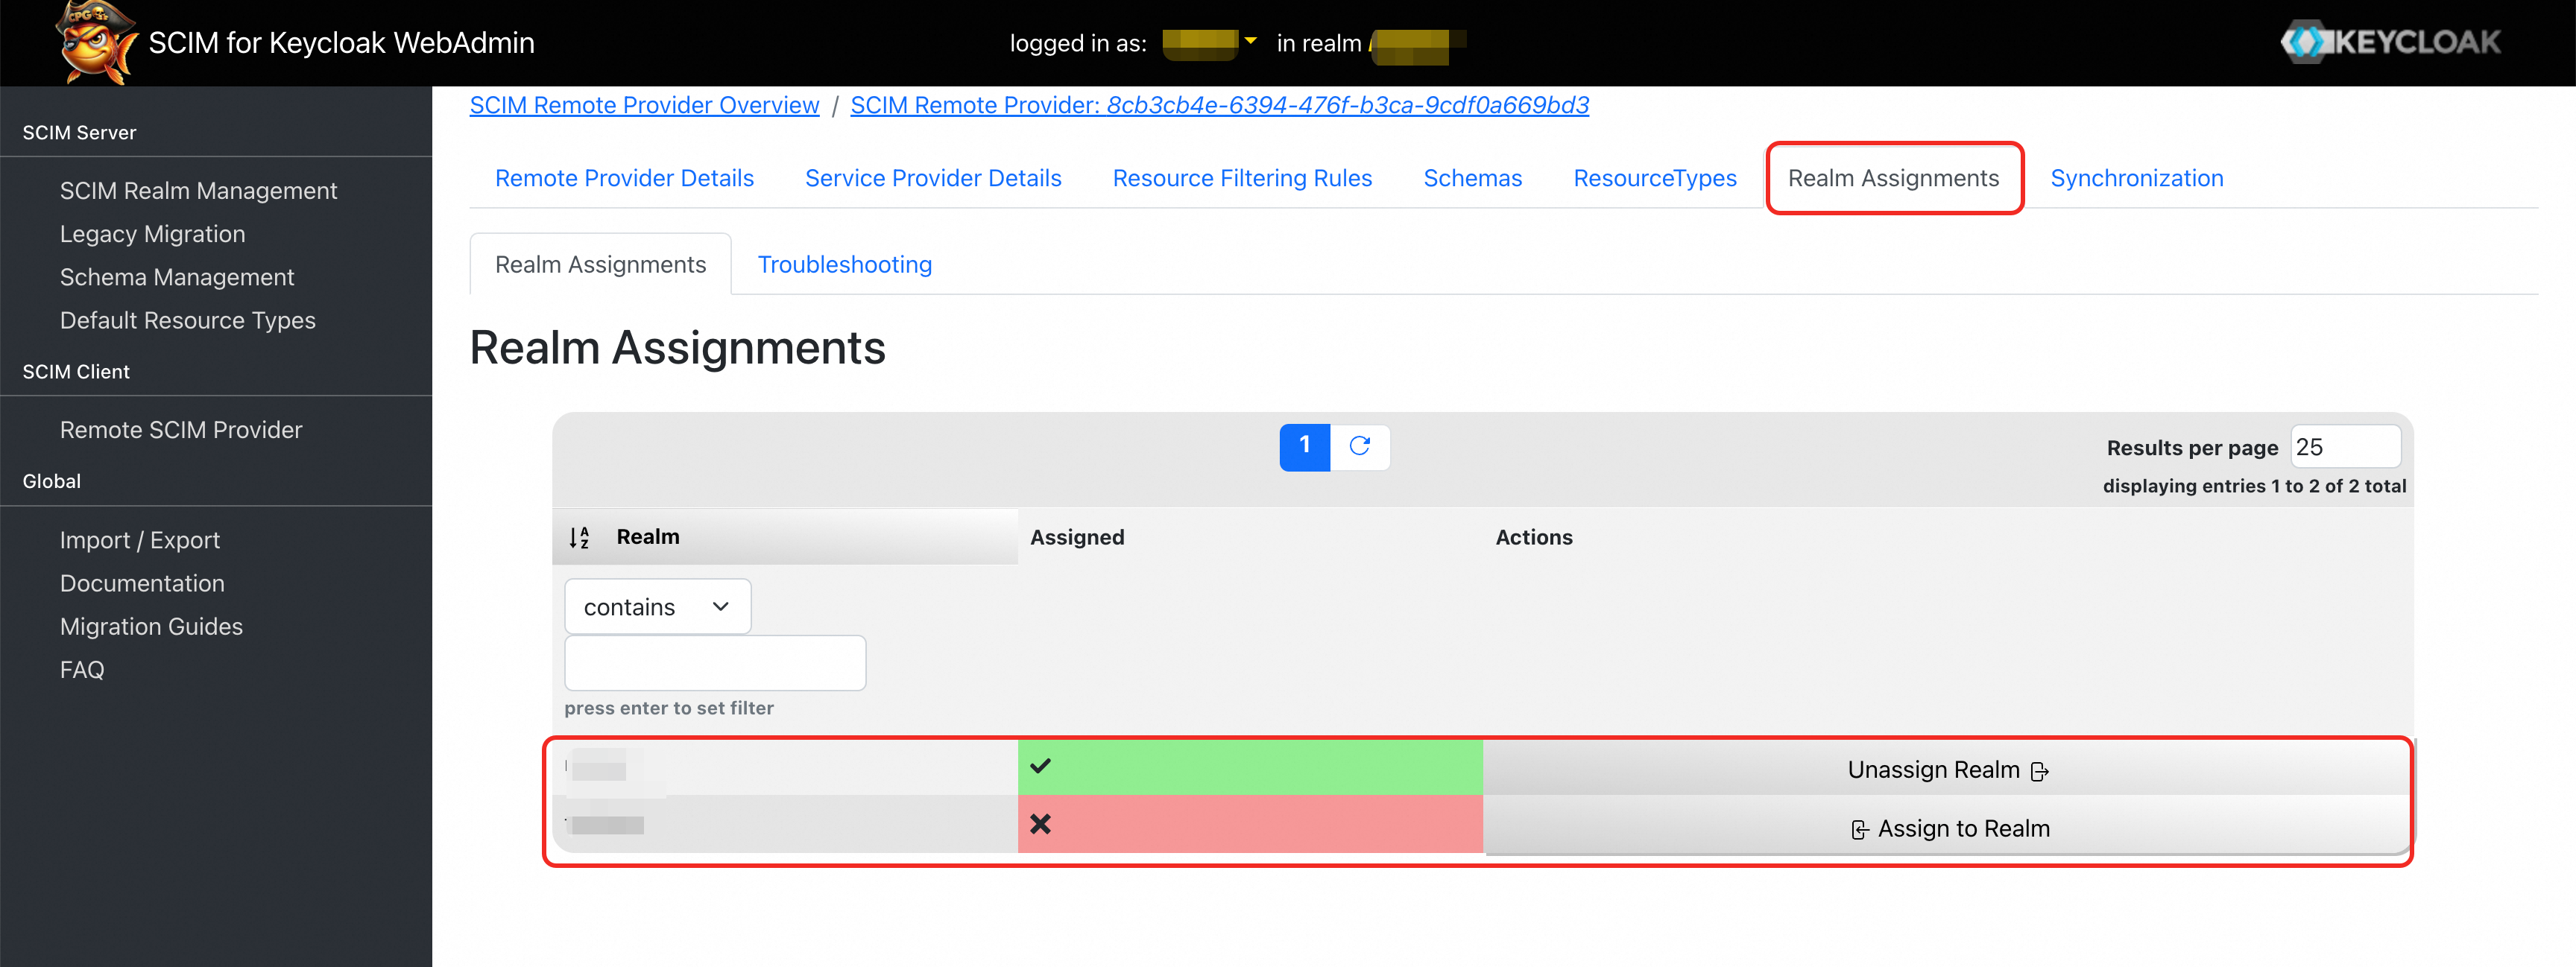
At the top of the page, click the Realm Assignments tab. Assign the current SCIM configuration to the domain that you want to synchronize.
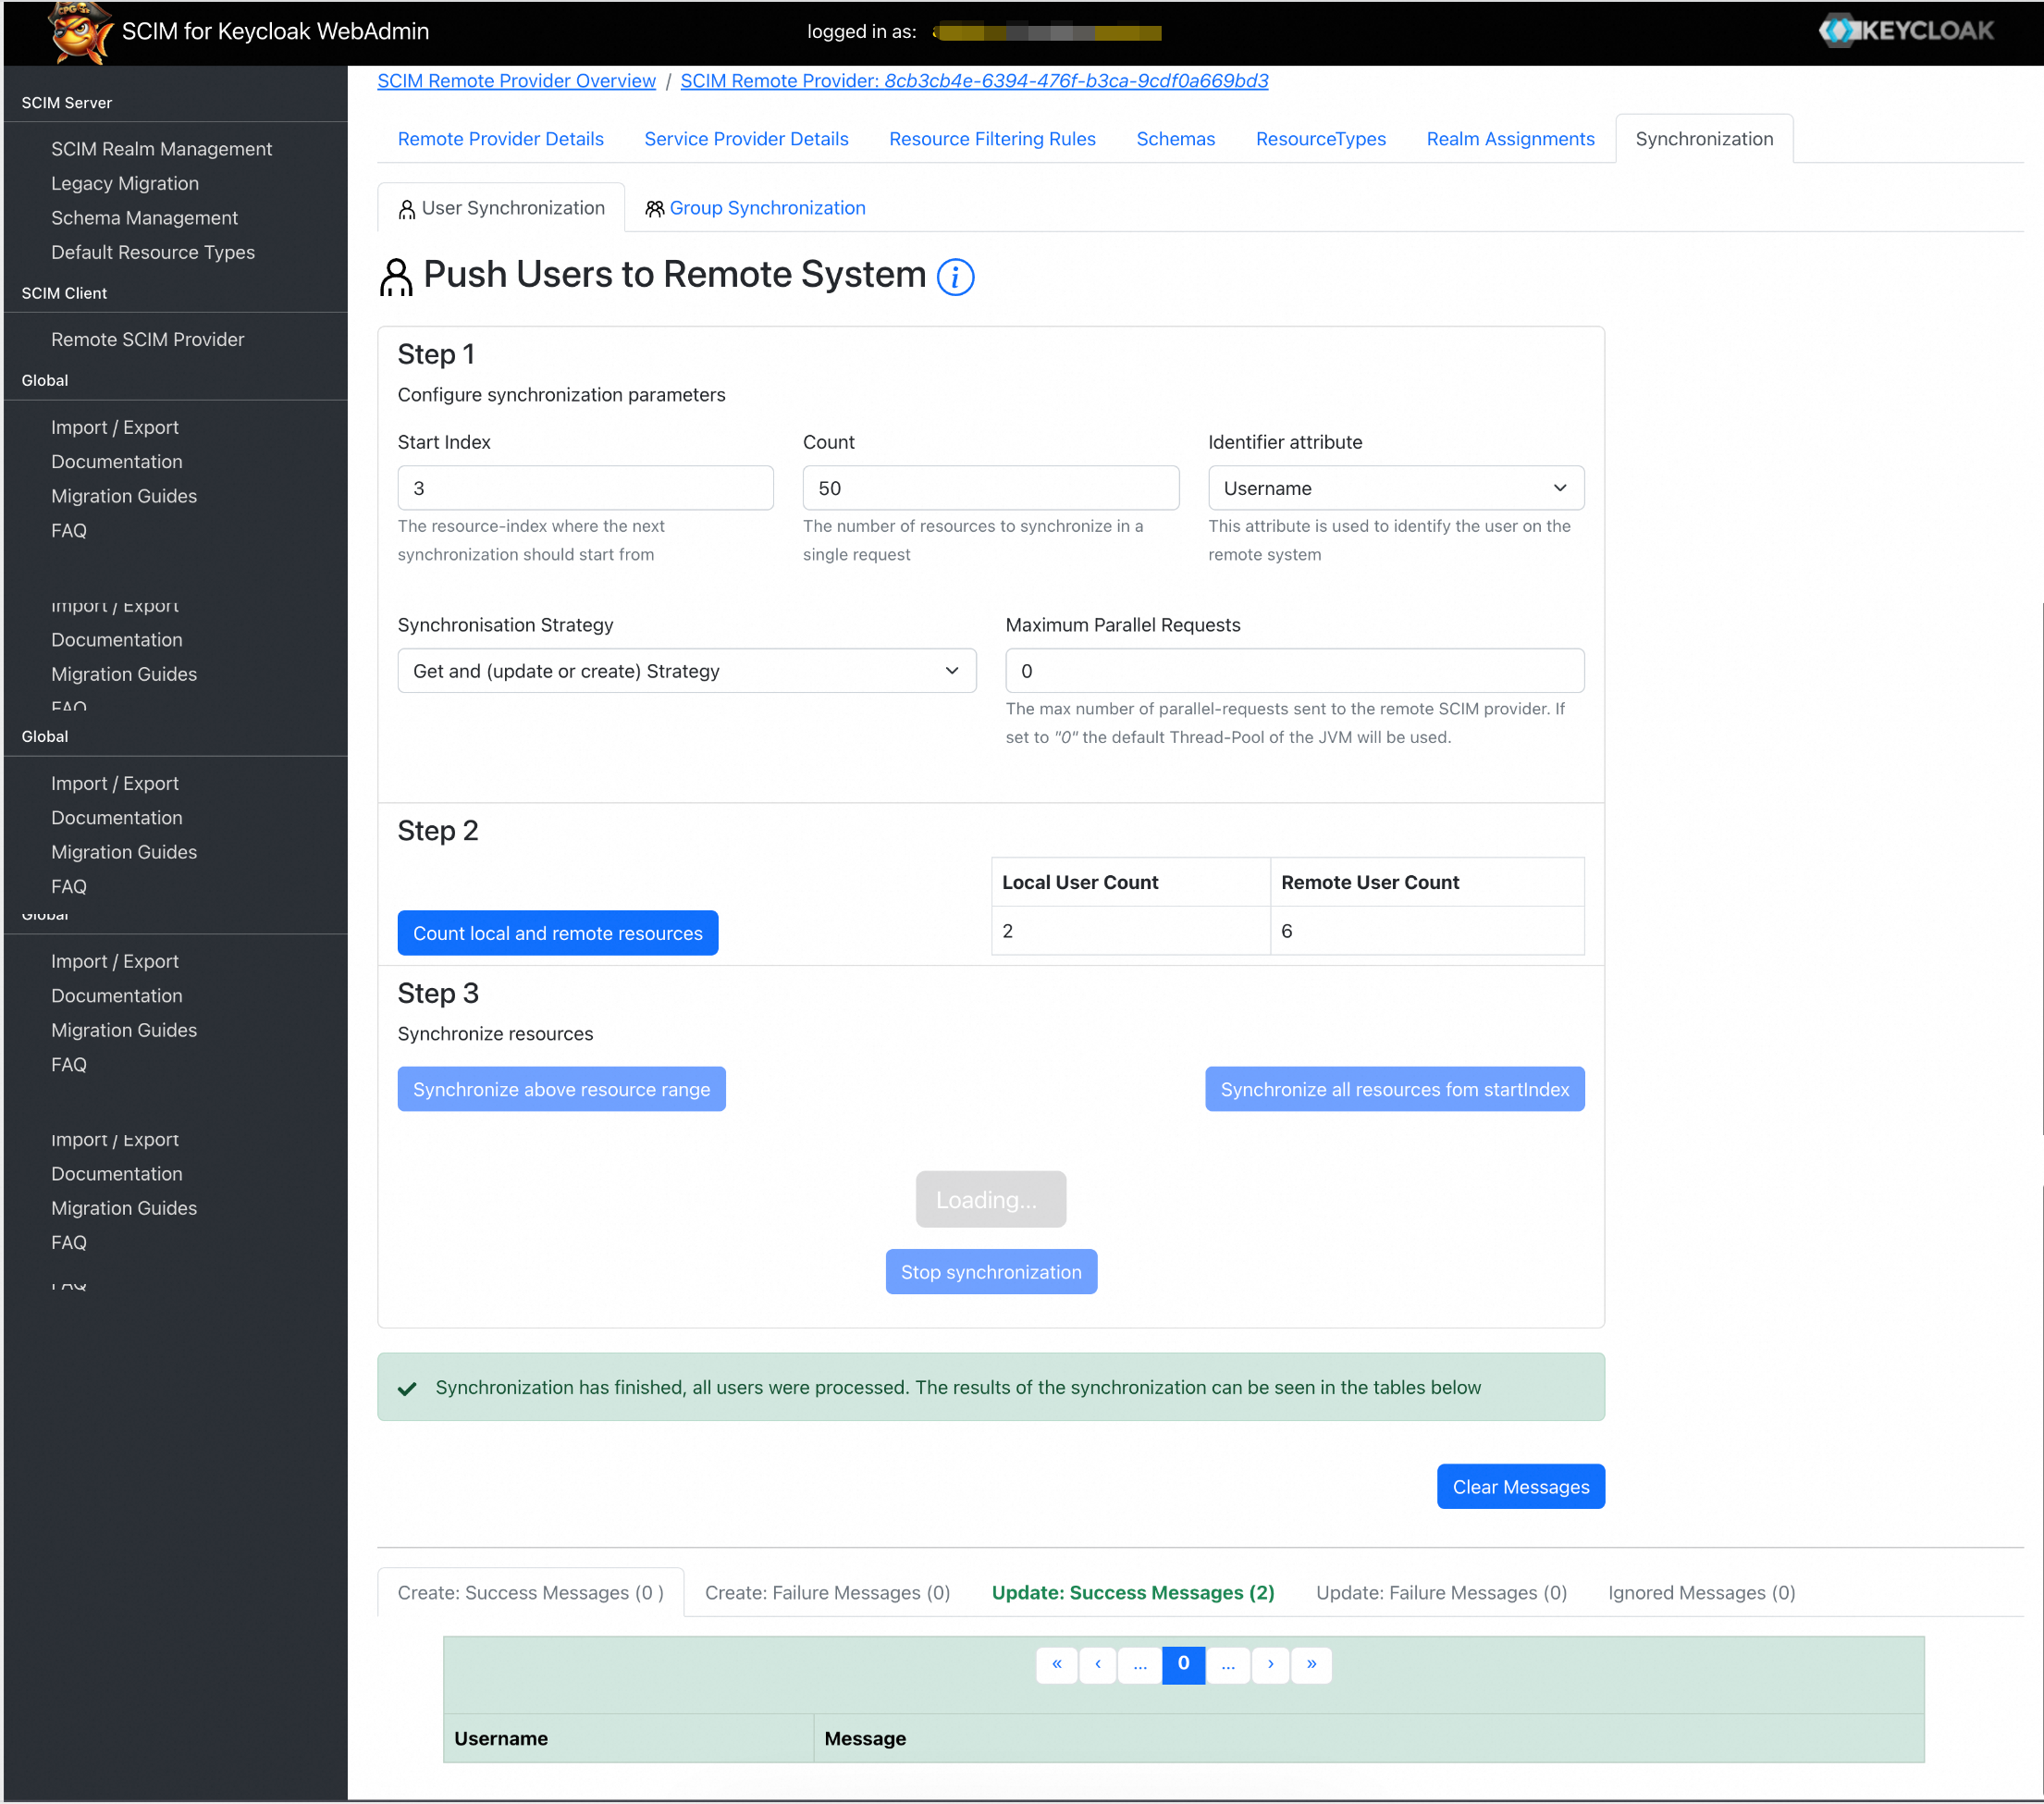
At the top of the page, click the Synchronization tab. Click Count local and remote resources and then Synchronize above resource range to start the synchronization. You can then verify the synchronization result on the page and in CloudSSO.
Authentication Result
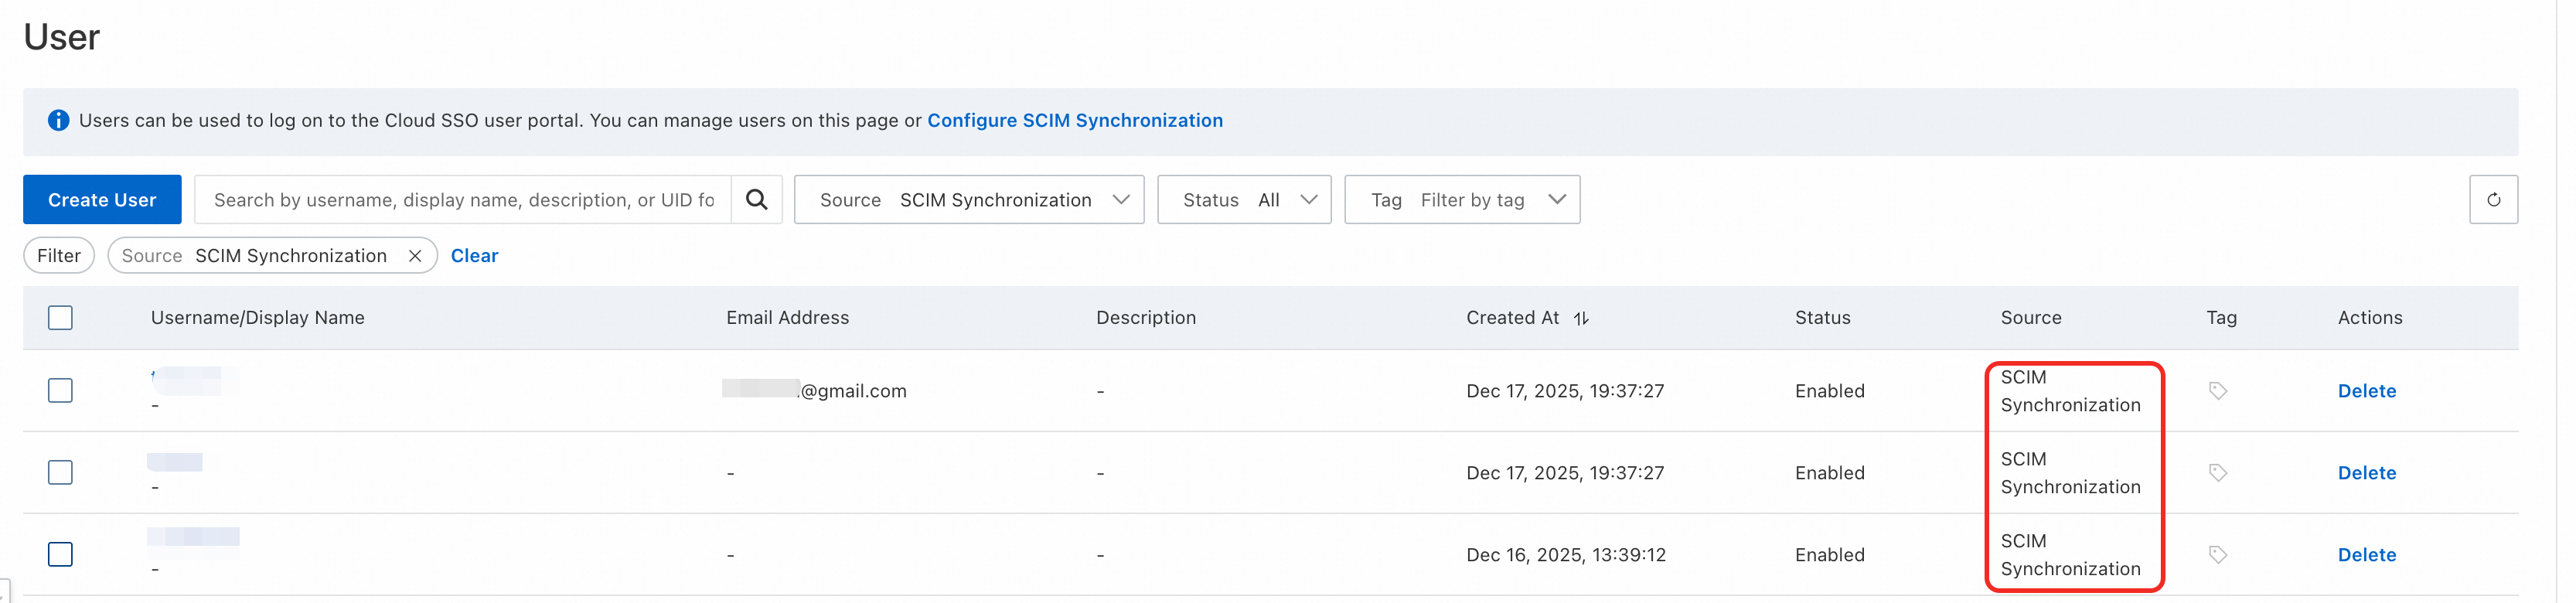
Log on to the CloudSSO console.
In the user or group lists, view the successfully synchronized users or groups.
The Source for the synchronized users or groups is automatically set to SCIM Synchronization.
For more information, see Basic operations and Basic operations.